Article description: A How To guide by ucongas ably assisted by Herne
Category: General LH-LX-UC
Date added: Aug 26 2008, 09:50 PM
Article starter: enderwigginau
The following is the process for installing front power windows into LH, LX & UC Torana�s (including Hatches).
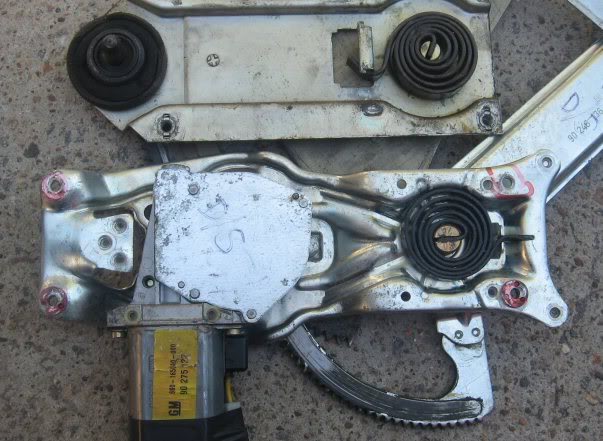
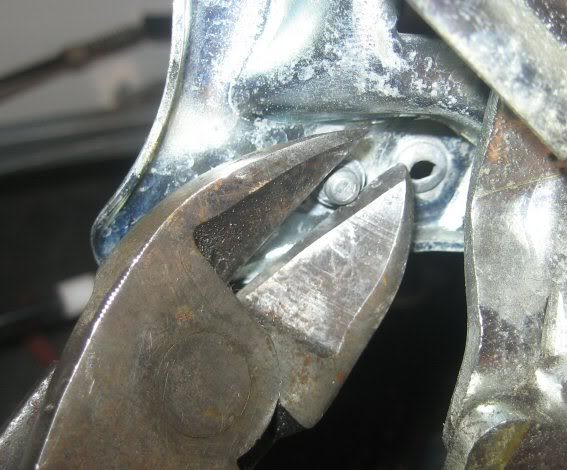
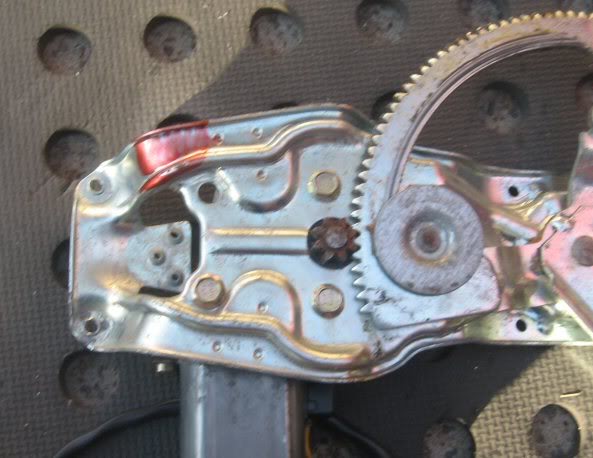
Righto.. here we have the actuators, the ones I bought were from a VR. They look fairly similar and after a bit of umm-ing and ahh-ing I picked out the four existing mounting holes and removed what was left of the factory rivets.
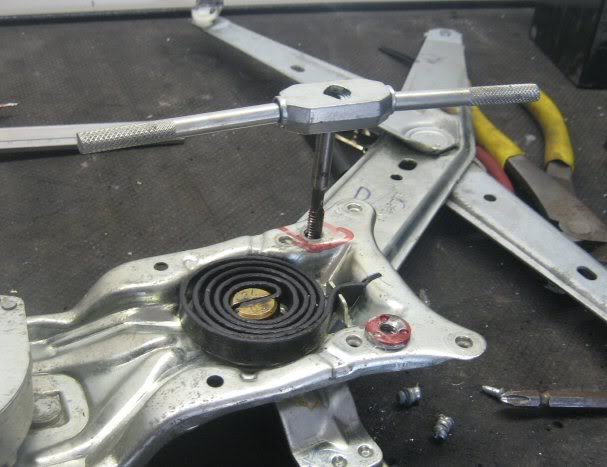
Then tap the holes out using a 1/4" BSW tap, no need to drill as the holes are good to go.
Then measure the hole centres and get your 5/16" drill out (8mm)
Remove the door handle, window winder, armrest and trim.
Undo the bolts that hold the existing actuator in and remove the actuator.
Reuse the existing sliding rail that bolts toward the rear of the door.
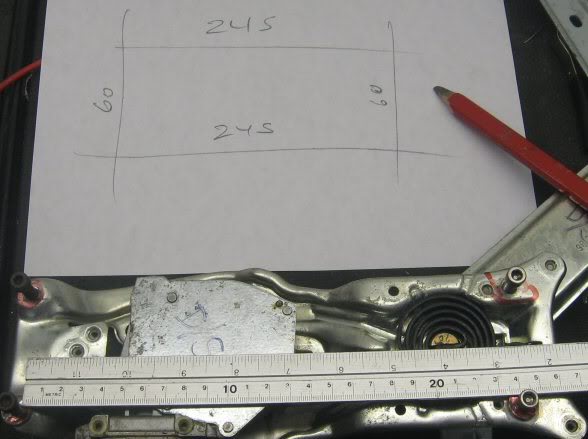
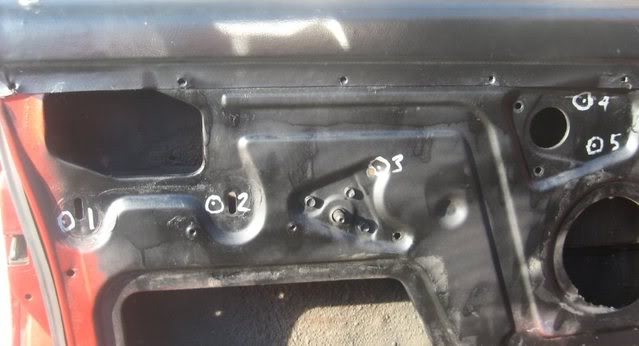
Mark out the holes for the new actuator using these dimensions as a guide:
Hole 1 is approx 20mm behind the existing vertical slot, it will vary in height depending on the adjustment required to make the window rise and fall at the right angles. Hole 2 is bang in the middle of the vertical slot and again 20mm behind.
Hole 3 is very important to get right and sits at about 2pm from the existing hole and 12mm away from centre to centre.
Hole 5 is 245mm (in this case and it should not change) from an imaginary point 60mm below hole 3, hole 4 60mm above 5 and at a right angle to the axis of the actuator.
On the back of the actuator is an area of sheetmetal that has to be ground a little to make clearance for the bottom of the window rail, take about 3mm off the edge with a grinder. not all the red area just the top of it.
This how it looks after fitting...
I only used 3 of the 4 holes in the actuator after all, works great.
Happy days.
-----------------------------------------------------------------------------------
Hernes pics - will rejig later - Grant..

VIEW ARTICLE
Front Power Windows


