The SLR 6000 Project
#51
Posted 13 November 2008 - 05:35 PM
I've made a start on the rear guards finally, so heres a few pics of where im up to. I got the idea of doing it this way from a thread I seen a while ago, but it was done on a hatchback.
Inner and outter guards both cut, fairly close to flare bolt holes to get as much clearance as we can. Inner guard cut in slit's so it bend's up to the outer guard easily.
A piece of small round bar bent up to the shape of the outer guard.
Round bar tacked in place to the outer guard.
Round bar fully welded to the outer guard and cleaned up with a sanding disk.
Inner guard tabs bent up to meet the round bar, they have to be trimmed to suit, and tacked to the round bar.
#52
Posted 15 November 2008 - 01:53 PM
#53
Posted 15 November 2008 - 02:31 PM
Top marks for quality mate!
#54
Posted 15 November 2008 - 06:36 PM
I've nearly got both rear guards finished, but back into work tonight, first nightshift, so back into it again in another 5 days.
Im wondering what size slick's i'll be able to fit under there when it's all done
#55 _2wild4u_
Posted 16 November 2008 - 10:57 AM
#56
Posted 22 November 2008 - 03:06 PM
#57
Posted 22 November 2008 - 06:23 PM
Is there any chance of a pic of the rotisserie from the front?
And how is it for balance?
#58
Posted 22 November 2008 - 07:21 PM
#59
Posted 26 November 2008 - 08:46 AM
#60 _Herne_
Posted 26 November 2008 - 10:45 AM
Herne
#61
Posted 28 November 2008 - 12:58 PM
Have finally got the sump on the way, apparently they are a lot better quality so we'll see when it gets here, So hopefully we'll see the new donk sitting in the engine bay soon, when we finally finish with the body fixing and modifying, ect. Im over welding atm, seem to work flat out and look like your getting no where.
#62
Posted 28 November 2008 - 01:09 PM
Im over welding atm, seem to work flat out and look like your getting no where.
But eventually, before you know it you have done heaps and almost finished!!!
#63
Posted 28 November 2008 - 01:14 PM
#64
Posted 29 November 2008 - 08:51 PM
#65 _brocky_2006_
Posted 05 December 2008 - 09:25 PM
#66
Posted 07 December 2008 - 06:38 PM
#67 _user asked to be removed_
Posted 06 February 2009 - 09:08 PM
#68
Posted 15 February 2009 - 08:10 PM
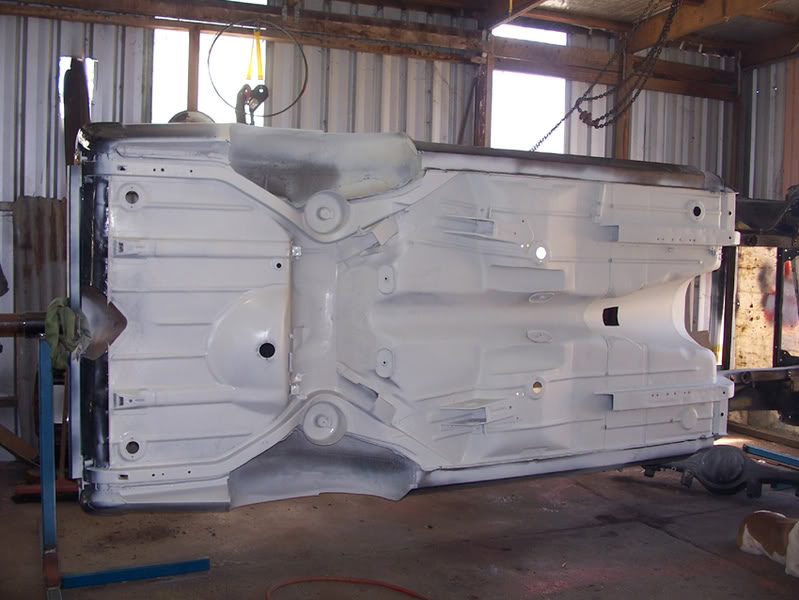
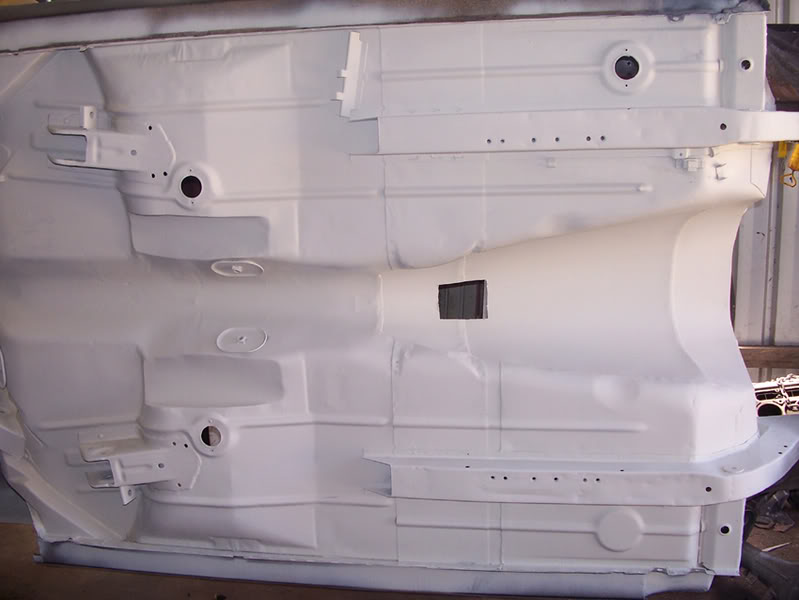
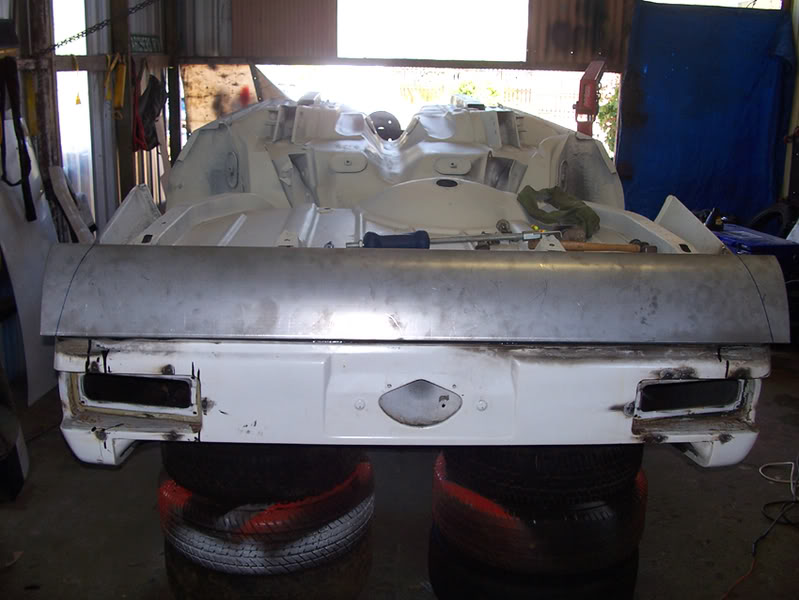
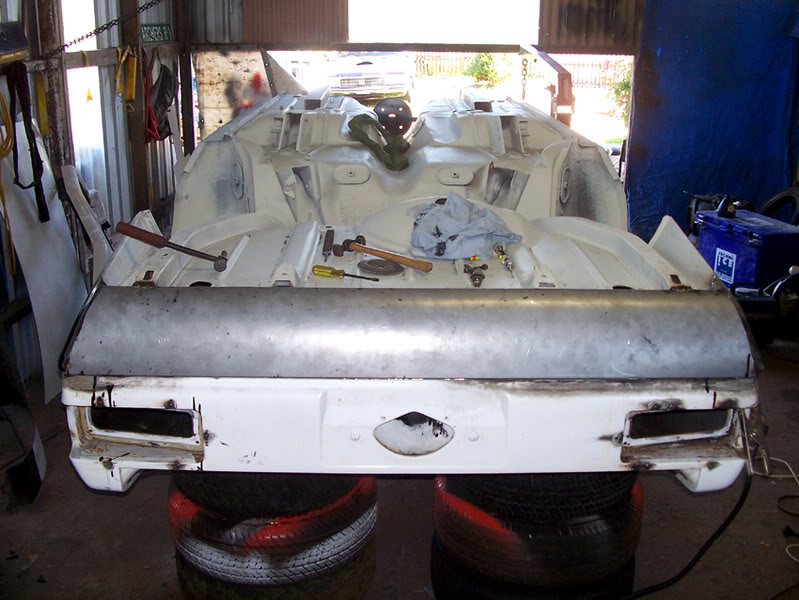
We put a quick squirt of primer underneath to cover all the welds ect for now, we welded all the seams on the trailing arm mounts, removed the original seat mounting brackets as they wont be used, finished off the tunnel and the floor pan, welded in sections for the exhaust to get it sitting a bit higher and have finally got the rear beaver panel welded on.
Have also fixed the rust where the radiator support was rusted out, so that will be going on shortly aswell.
#69 _186 torana_
Posted 16 February 2009 - 12:15 AM
#70
Posted 17 February 2009 - 08:05 AM
This is the front driver side wheel arch, where it has been butchered to fit the bigger wheels on the front at some stage. The other side was the same but probably a bit worse for wear,
#71
Posted 18 February 2009 - 07:57 PM
#72
Posted 18 February 2009 - 08:03 PM
Top effort!
Working in a shower of hot molten bloblets no doubt?
I bet your glad that jobs done!
#73
Posted 18 February 2009 - 08:10 PM
#74
Posted 18 February 2009 - 08:14 PM
I'm used to doing everything the hard way
#75 _torana_umunga74_
Posted 18 February 2009 - 09:20 PM
1 user(s) are reading this topic
0 members, 1 guests, 0 anonymous users