Project reHATCHed
#26
 _Kush_
Posted 29 June 2010 - 05:50 PM
#27
 _dirtbag_
Posted 29 June 2010 - 06:44 PM
#28
 _Kush_
Posted 29 June 2010 - 06:59 PM
Hey Kush, are you shaving the door handles and having little "popper" buttons instead? If so, cool, and they're really easy too : )
I was starting to think you fell off the edge of the world. I'll continue this yarn on your thread
ps Rana Girl, are you smoothing your engine bay or is it going to be left 'au natrale' ( I think my French spelling needs work )
#29
 _nial8r_
Posted 29 June 2010 - 07:09 PM
#30
 _patch_
Posted 29 June 2010 - 07:13 PM
#31
 _Kush_
Posted 29 June 2010 - 07:47 PM
lol is it just me or do kush and dirtbag like to
a lot...
I think we get easily distracted
but give me credit, at least I moved the conversation to his thread :(
Edited by Kush, 29 June 2010 - 07:48 PM.
#32
 _Rana Girl_
Posted 30 June 2010 - 10:34 PM
Had a look Kush and other one would have been no good to you anyway he hadn't intended trying to salvage it when he was cutting it out so it's pretty mangled now... if your in no hurry then I'll put an ear mark on it for you and let you know as soon as we decide... bit of indecision going on with two of them here if maybe it wouldn't hurt to keep as a spare but then hopefully we'd never need it anyway...
Smoothed bay does look good it's been said here fully smoothed would be the go but nah it's not currently on the agenda...
Yeah Lee rear beaver was a rares one like all their bits it wasn't an exact fit had to have a bit of manipulating... Pretty sure I have some more pics showing where he "edited" (for lack of a better word) it if they are of any use to you when you go to do it
We have progress been meanign to update for a couple of nights so will try and get new pics up in next few days
#33
 _nial8r_
Posted 01 July 2010 - 08:36 AM
i also dont mind when they thread jack as it gives me ideas and is interesting to read
#34
 _berro59_
Posted 26 July 2010 - 11:44 PM
I just bought a rare spares beaver panel today. If you have pictures of the "manipulation process that would be handy. Mine looks like it will need it! Keep up the great work.
#35

Posted 27 July 2010 - 11:20 AM
You must be hanging out for the day when this beauty gets painted! I'm sure you will just stare at it for hours and hours
#36
 _Rana Girl_
Posted 27 August 2010 - 10:31 PM
berro59 and Lee sorry so slow replying I've been slack with logging in here of late but had a dig and not sure if these help you but few of rear beaver going in...
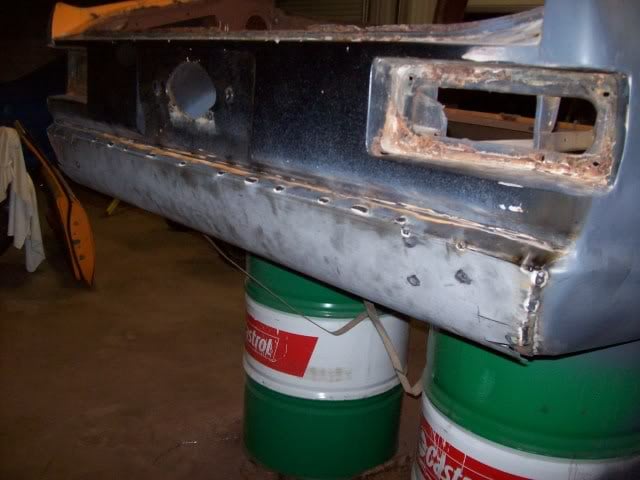
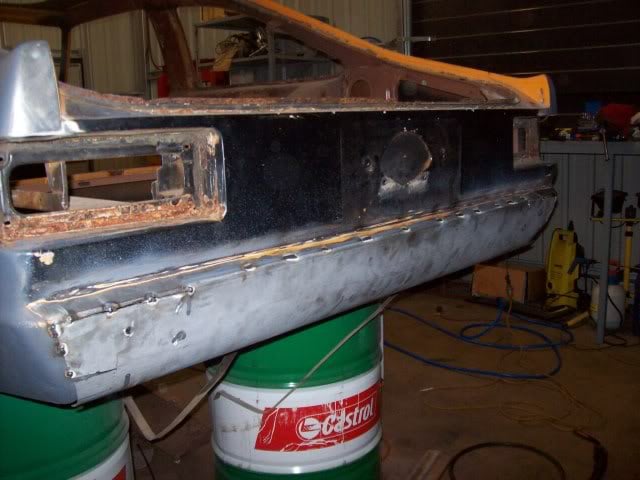
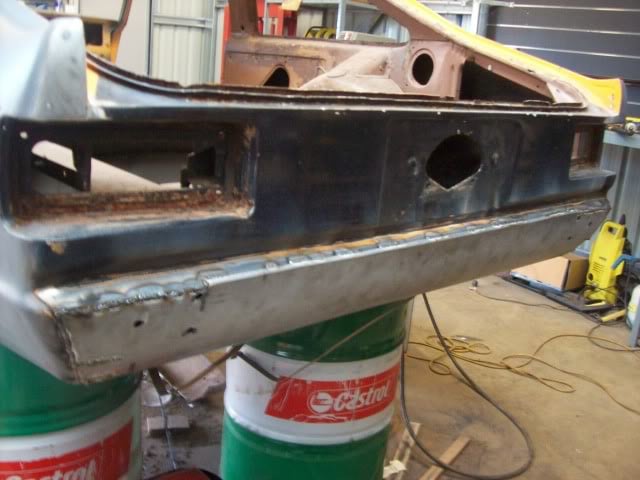
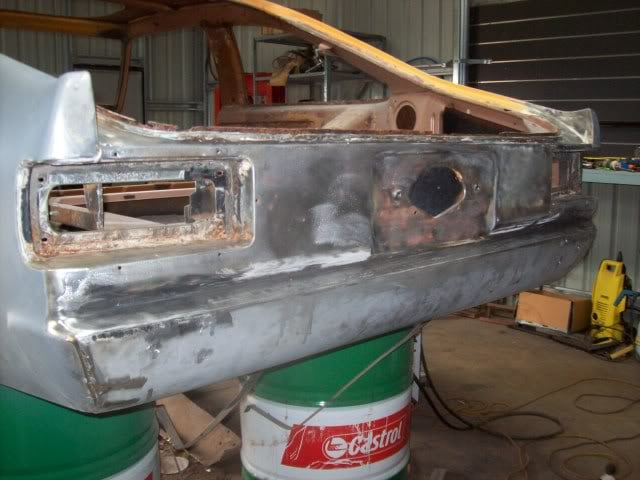
not sure if you can see it there but pretty much from the top to bit over half way down wasn't too bad but towards the bottom it had to be adjusted to follow the curve of the body... he said he winged it... basically I think measured down evenly on both sides cut a line, bent it round and then sliced off the overlap before welding the gap back up...
#37
 _Rana Girl_
Posted 27 August 2010 - 10:40 PM
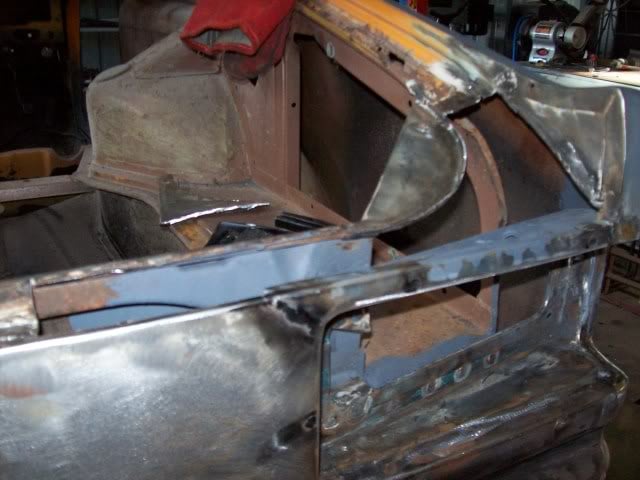
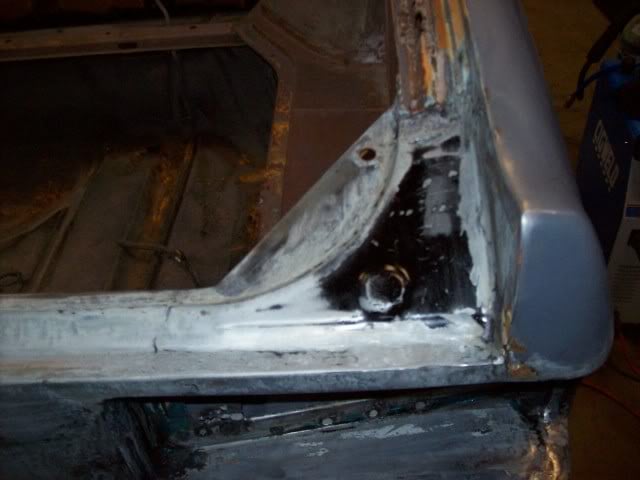
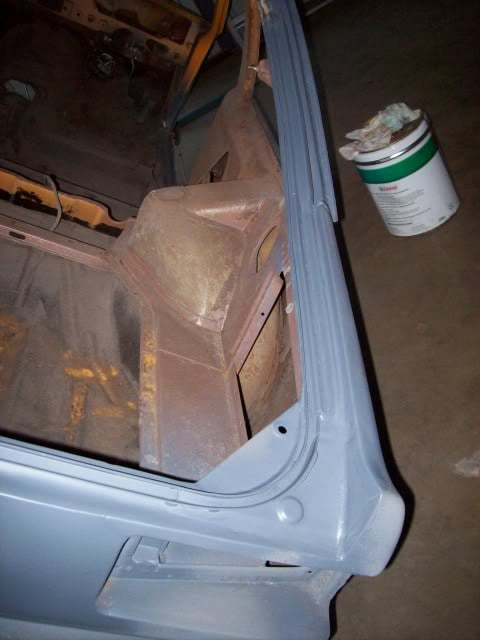
rear hatch had one bad section which has now been repaired...
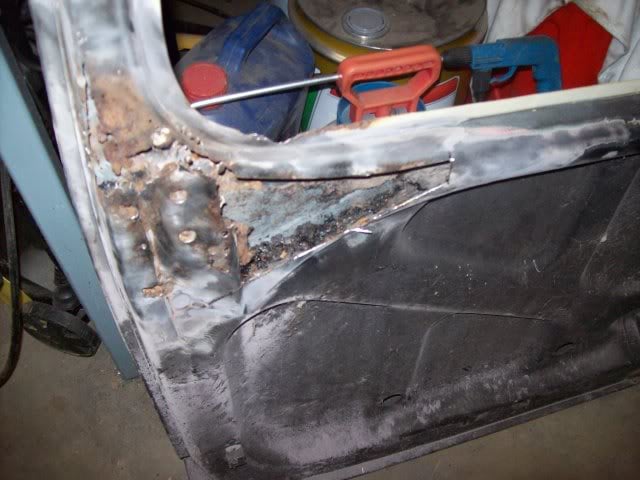
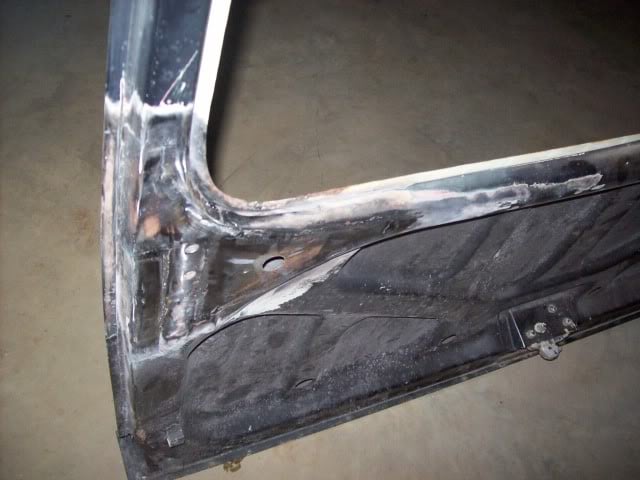
took off a layer of bog to find this hiding under it
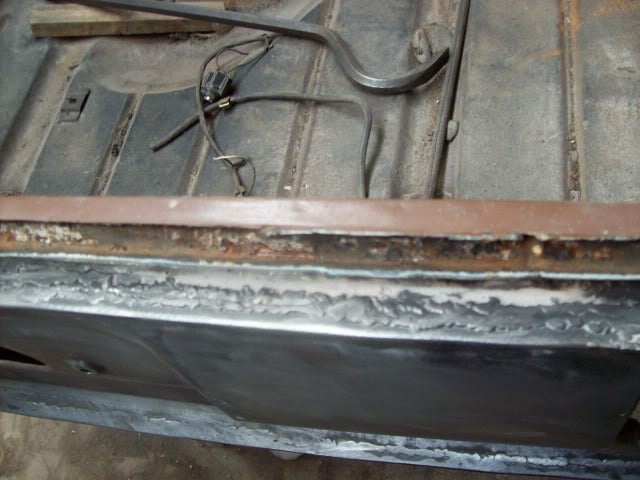
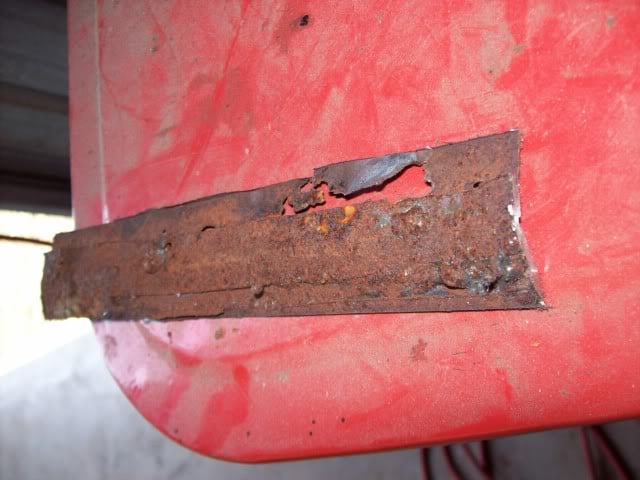
was another great repair she'd obtained somewhere in her past... whack a bit over rusted out area then fill it all up with weld... beautiful!... below is the bit that came out of there... noice!
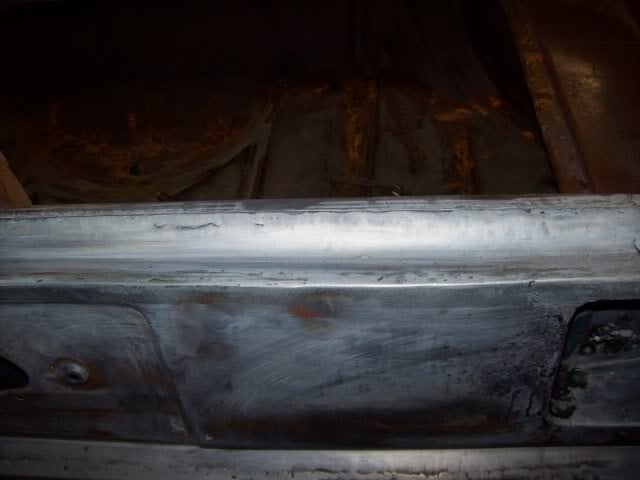
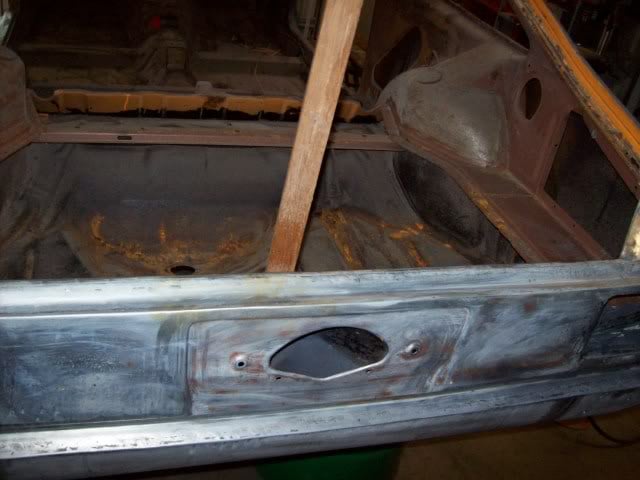
Think it's safe to say it looks better now
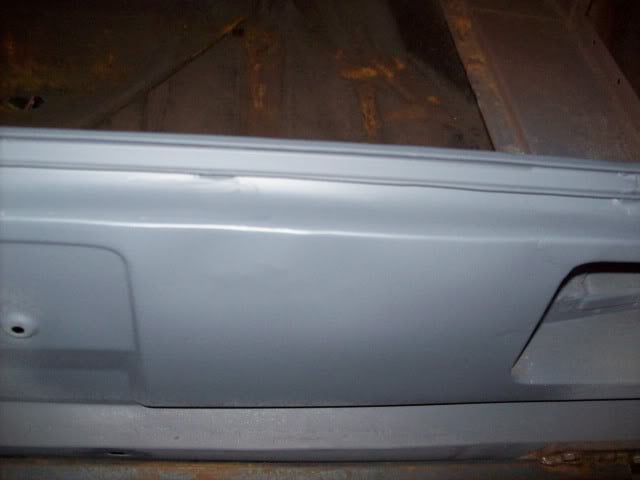
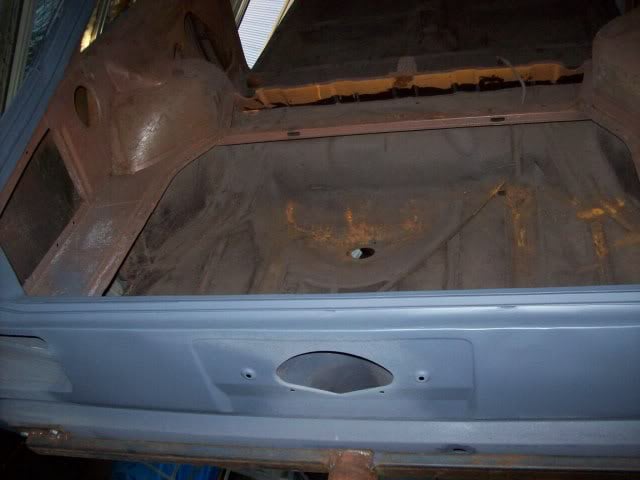
I'll ask the same question I just asked over on TTO... anyone wanna play spot what was clean missing from this area?....
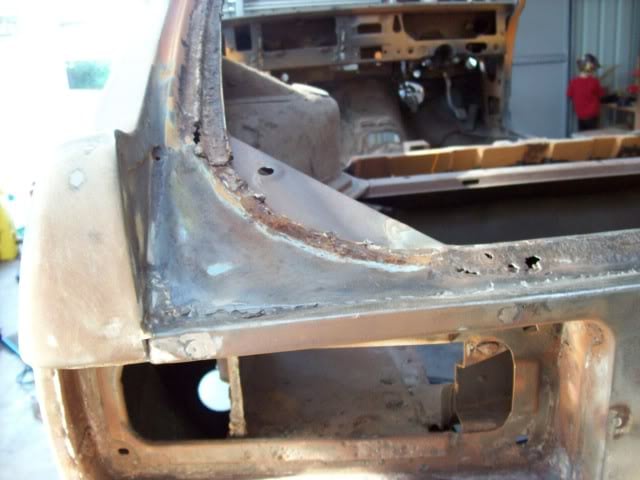
the after shot is prob going to give it away...
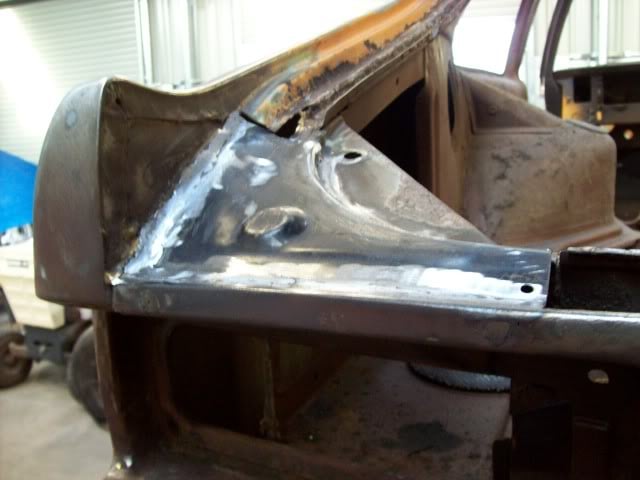
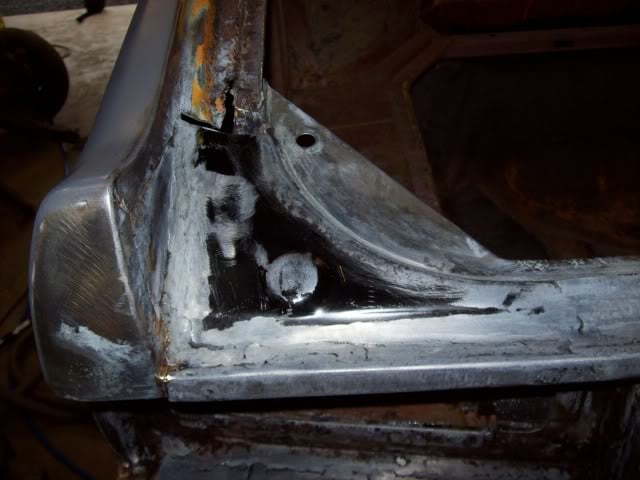
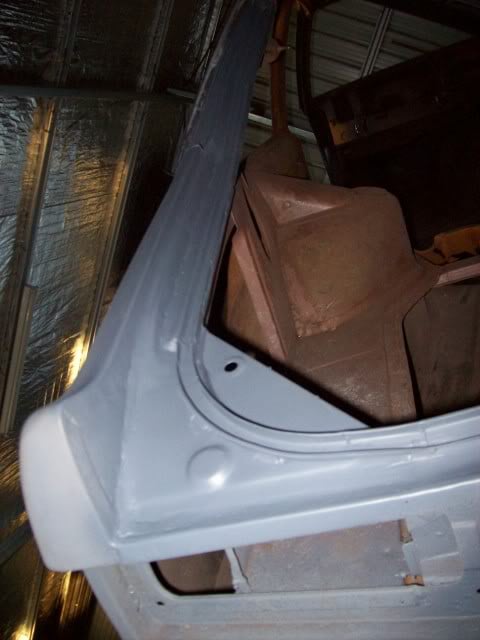
and other side
Edited by Rana Girl, 27 August 2010 - 10:44 PM.
#38

Posted 30 August 2010 - 11:02 PM
#39
 _The Baron_
Posted 31 August 2010 - 10:14 AM
That repair work looks great.
Another LX hatch saved.
#40
 _Rana Girl_
Posted 07 September 2010 - 04:54 PM
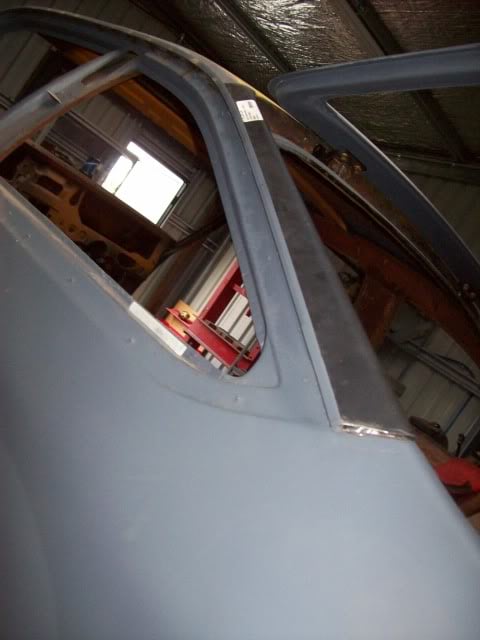
I think I somehow missed capturing some of the steps on this job but all basically inside the C pillars had to be reconstructed
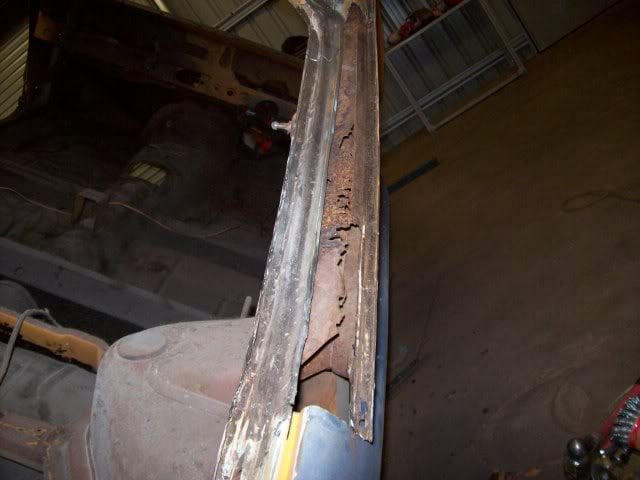
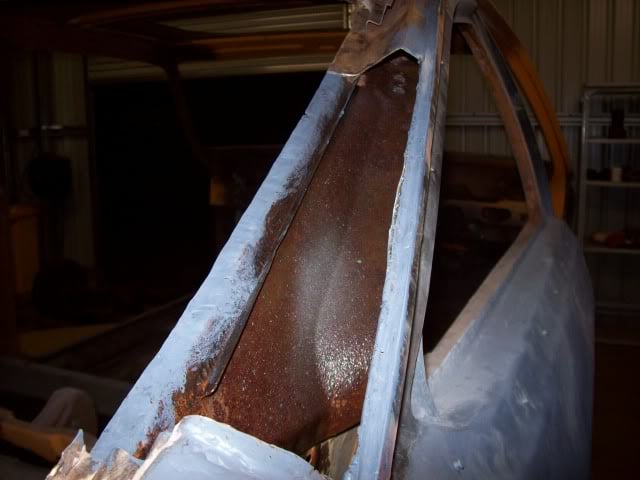
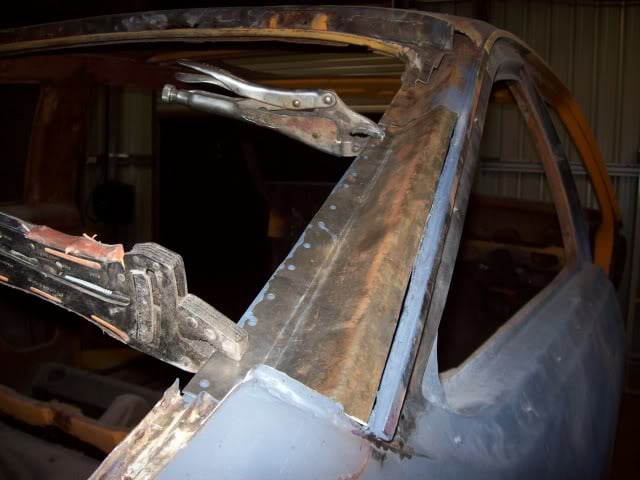
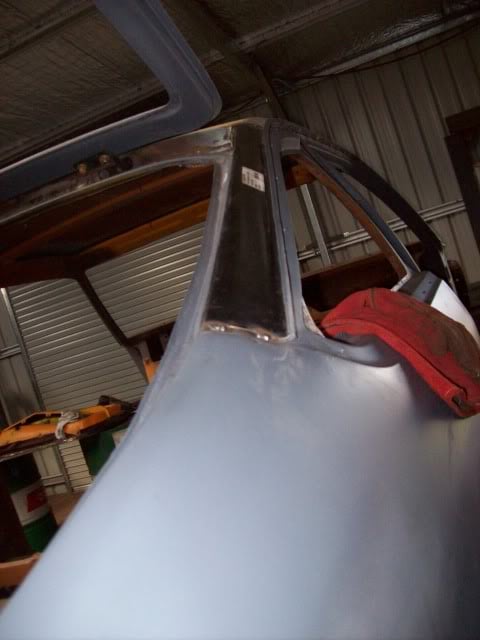
and basically the same was required for other side too...
#41
 _Kush_
Posted 07 September 2010 - 07:53 PM
#42

Posted 07 September 2010 - 08:15 PM
#43
 _Kush_
Posted 07 September 2010 - 08:20 PM
#44
 _hatch76_
Posted 07 September 2010 - 09:32 PM
Cheers Dan
#45
 _Rana Girl_
Posted 07 September 2010 - 10:32 PM
hatch76 not much rust repairs left to go now finally thankfully getting to the tail end of them think it's mainly only the floor in the rear hatch area left to go and as far as she goes that's looking pretty minor... oh and maybe a little up under the dash
I'm still a tad behind on photos though there's been one other pretty decent "repair" finished off in the last couple of weeks I'll try and get back with those picks in the next couple of days
#46

Posted 07 September 2010 - 10:52 PM
Condensation
Trick question?
Should we positively seal where the hinge goes into the turret?
Or
Should we let it breath in this area?
Is it a low pressure area that will draw moisture in?
Or
Is the moisture trying to exit here from the cabin?
How many holes in a crumpet?
#47
 _Rana Girl_
Posted 07 September 2010 - 11:15 PM
his theory was look at how many hatches are rusted and badly in the c pillars so what they did from factor didn't work let's try the let it breath option...
maybe the lack of scientific sounding sentences was why I lost the argument or maybe it was because I really couldn't disagree with his above argument let's face it the C pillars do seem to be a prone area which thus adds fuel to the design fault fire
but then another hole in that crumpet everywhere else he is talking seal it and seal it way properly so who knows why he decided C pillar should be given the alternative option
#48

Posted 08 September 2010 - 12:09 AM
The hinge cover to body hasn't a positive seal from the factory as I am aware and the only other sealing attempt was a foam pad on the hinge that sorta closed off where the hinge entered the cover plate when the hatch is shut.
I read that here 6 million years ago. I think Reda9x said it?
#49
 _Rana Girl_
Posted 01 October 2010 - 03:41 PM
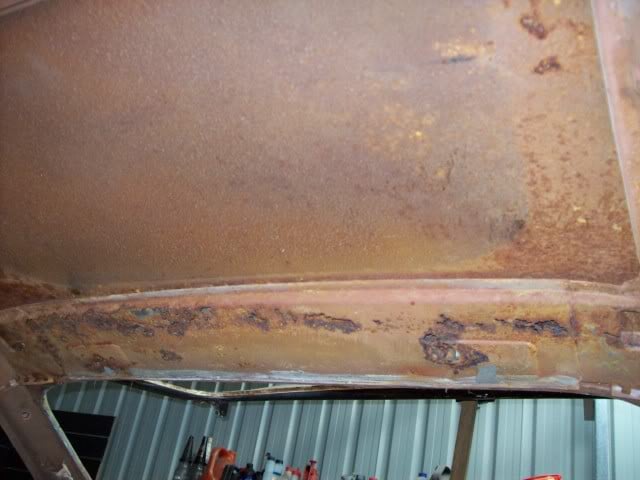
has now been fixed!
as has this
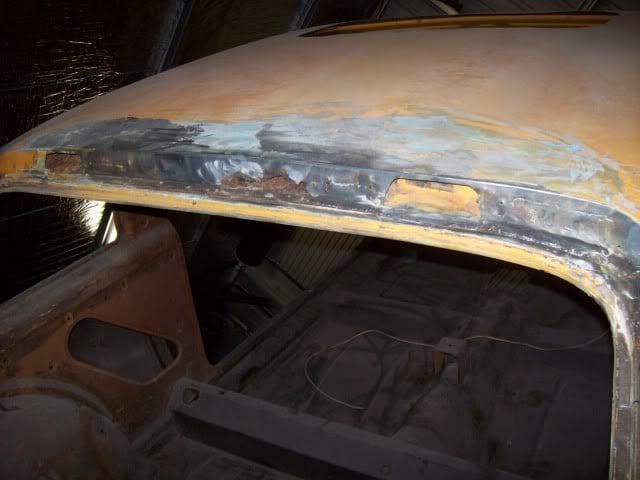
there was nice layer of bog along there
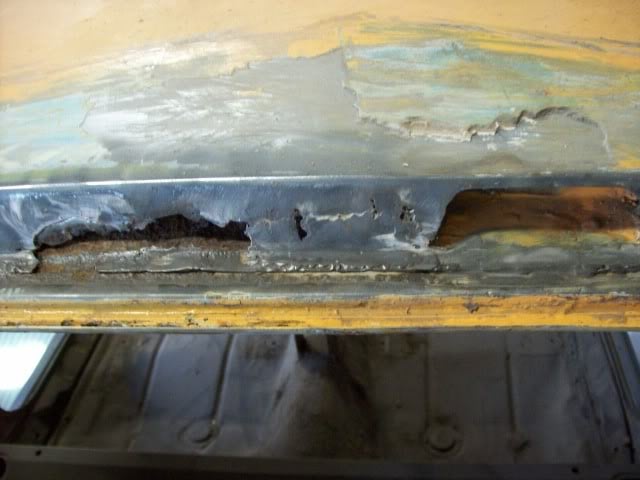
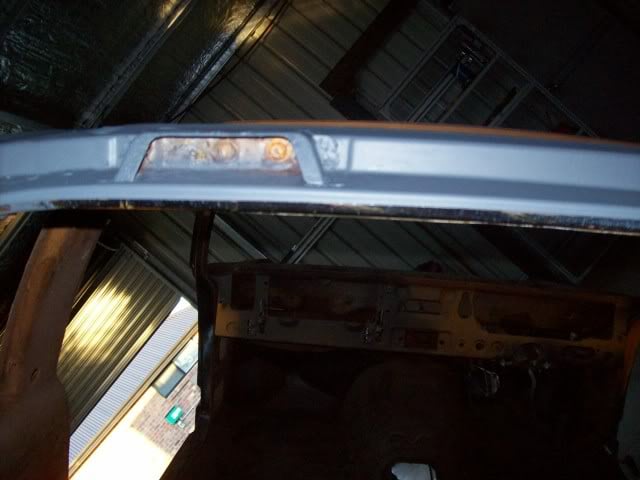
all looks a lot better now need to go out and take some more photos of the work completed but this gives you an idea...
#50
 _patch_
Posted 01 October 2010 - 07:36 PM
1 user(s) are reading this topic
0 members, 1 guests, 0 anonymous users


