


Azza's 304 LX
Started by
_Azza_
, Feb 18 2007 03:06 PM
205 replies to this topic
#26
 _noslx_
_noslx_
-

- Guests
Posted 05 March 2007 - 09:13 PM
coming along niceley keep up the good work
#27
_Azza_
_Azza_
-
- Guests
Posted 05 March 2007 - 09:16 PM
Well Im moving the battery to the other side so I can use an airbox. I will most likely cut out the original tray and weld in some sheet metal. Im going to make my own battery tray for the other side.
Will let you know how I go.
Cheers
Will let you know how I go.
Cheers
#28
_Azza_
_Azza_
-
- Guests
Posted 06 March 2007 - 08:39 PM
Went and bought a new grinder today as mine shat itself.. Made life a hell of a lot easier..
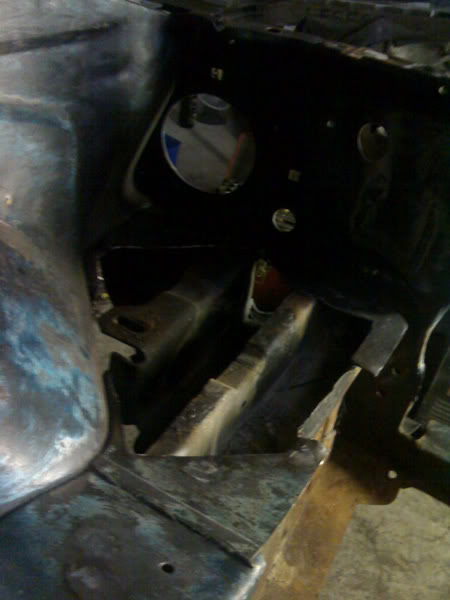
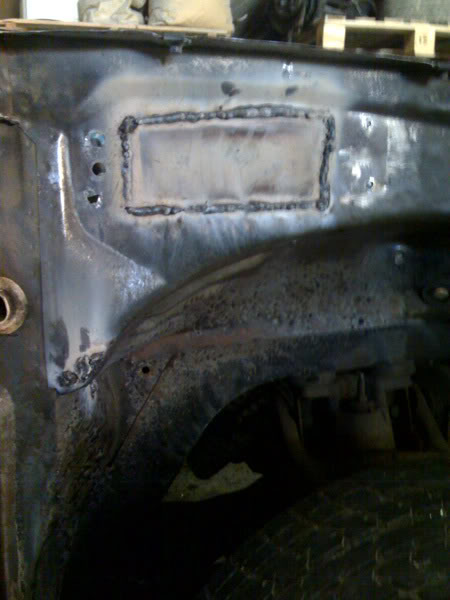
Finished grinding and welding a few parts today, and cut out the battery tray.. Hopefully have the new one made up and put in this week.
I am heaps happy the way this part turned out. It will look great when its smoothed with bog and its painted up..
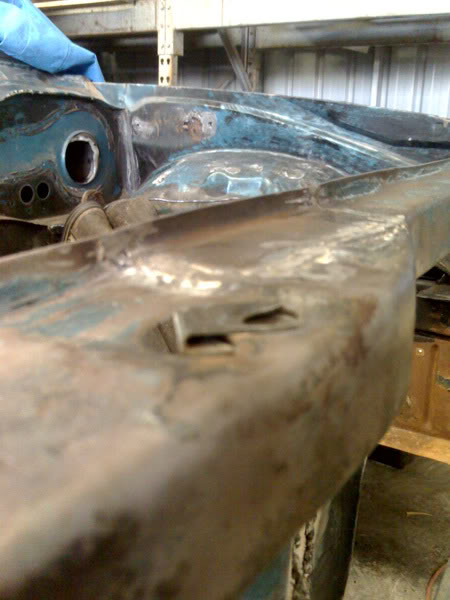
I ground down the rest of the welds on the holes..
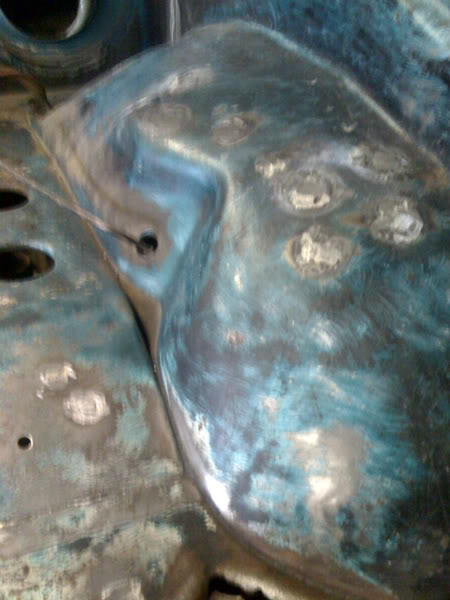
This is where the battery tray was..
Finished grinding and welding a few parts today, and cut out the battery tray.. Hopefully have the new one made up and put in this week.
I am heaps happy the way this part turned out. It will look great when its smoothed with bog and its painted up..
I ground down the rest of the welds on the holes..
This is where the battery tray was..
#29
arrimar
-

- Members
-

- 3,134 posts
"Have you still got that Torana!"
- Location:brisbane
- Car:Salamanca L34, Absinth LH SLR/5000, Caribean Blue LH 5.0, C250 Merc,
- Joined: 13-January 06
Posted 06 March 2007 - 09:47 PM
hey azza,good work.
i got a hint for ya.
2 litres of farmers union is $4.92 this week at coles but 3 litres is only 6 cents more.
goes great with a bit of bundy in it around breaky time ...hic.
i got a hint for ya.
2 litres of farmers union is $4.92 this week at coles but 3 litres is only 6 cents more.
goes great with a bit of bundy in it around breaky time ...hic.
#30
_Azza_
_Azza_
-
- Guests
Posted 06 March 2007 - 09:56 PM
Bundy, no way! That shit is toxic.
Thanks for the info on the 3L though!
Thanks for the info on the 3L though!
#31
_Azza_
_Azza_
-
- Guests
Posted 08 March 2007 - 09:03 PM
Started on the bonnet hinge spots today. I drilled the spot welds out and took the backing plate off.. Cut out the rust and welded a new bit in. It's all grinded down and looks pretty killa but I didnt take a finished pic.
Donated from the VH
All welded up..
I am going to do the other side tomorrow.. Im getting there slowly. Not too much more to do in the engine bay until I start sanding it up properly and bogging..
Donated from the VH
All welded up..
I am going to do the other side tomorrow.. Im getting there slowly. Not too much more to do in the engine bay until I start sanding it up properly and bogging..
#32
_rhysandhisLJ_
_rhysandhisLJ_
-
- Guests
Posted 08 March 2007 - 09:19 PM
Engine bay is looking good Azza.
I thought the same when doing my TH700, EFI 5.0litre conversion about it being reasonably priced. Even with mates in various handy trades i still ended up spending much more than anticipated.
Keep up the top work.
Rhys.
I thought the same when doing my TH700, EFI 5.0litre conversion about it being reasonably priced. Even with mates in various handy trades i still ended up spending much more than anticipated.
Keep up the top work.
Rhys.
#33
_Azza_
_Azza_
-
- Guests
Posted 08 March 2007 - 09:31 PM
Yeh I dont mind what it's gonna cost anymore. Just gonna spend the money and do the job right the rist time, so I dont have to do it again.
#34
_Azza_
_Azza_
-
- Guests
Posted 19 March 2007 - 07:35 PM
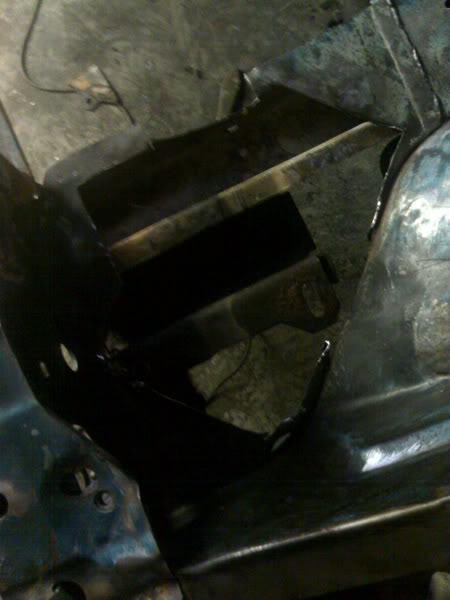
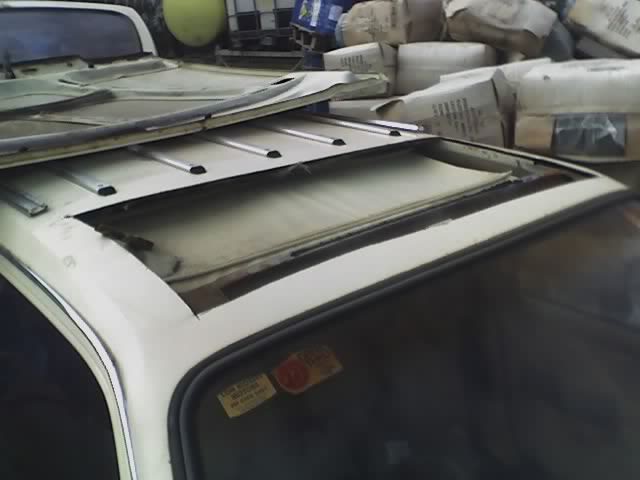
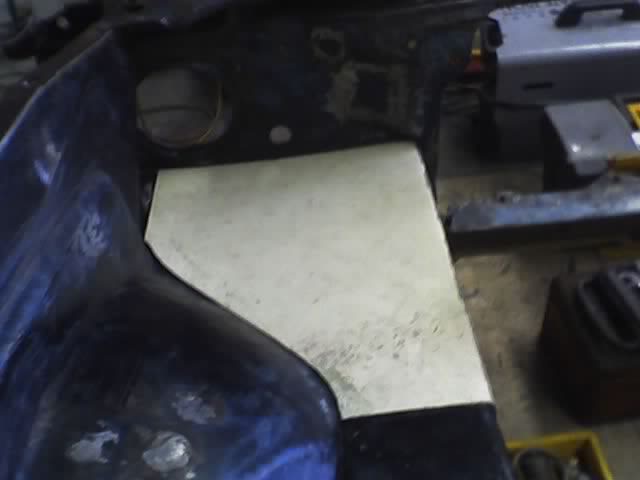
Made up a new battery tray today. Fits sweet. I cut the roof out of the VH haha, it's going to SIMS anyway so it doesnt matter..
Going to weld it in tomorrow, and then make up one for the other side..
Getting so close now
Will upload pics in a sec
Going to weld it in tomorrow, and then make up one for the other side..
Getting so close now
Will upload pics in a sec
#35
_Azza_
_Azza_
-
- Guests
Posted 19 March 2007 - 07:51 PM
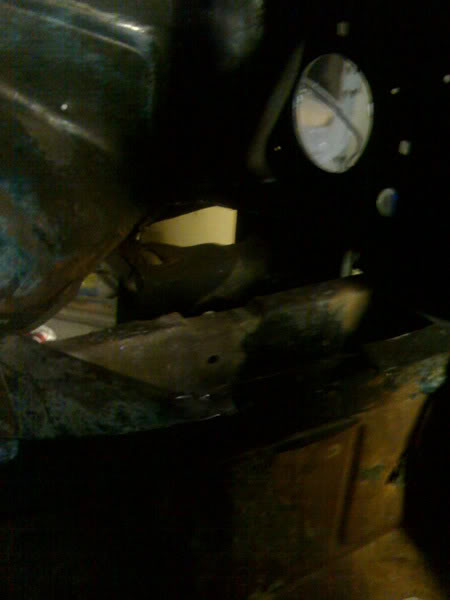
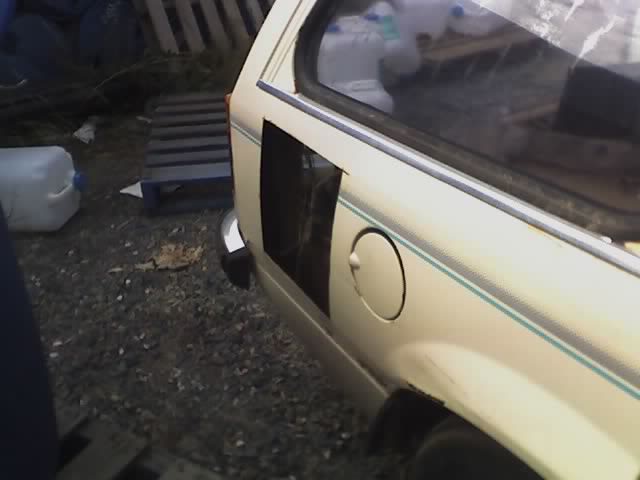
Made up a dummy
Fits like a glove
and this was donated to make the bits behind the bonnet hinges..
#37
toryman76
-

- Members
-
- 1,082 posts
Forum Fixture
- Location:Melbourne, Vic
- Joined: 16-January 06
Posted 19 March 2007 - 09:08 PM
looking good azza!! top use of that commo too!!  how did you remove the old rusty battery tray? as i have two good ones to choose from on my spare cars so removing in a neat fashion is essential. is it as easy as removing that seam weld and the spot welds?
Cheers Leigh
how did you remove the old rusty battery tray? as i have two good ones to choose from on my spare cars so removing in a neat fashion is essential. is it as easy as removing that seam weld and the spot welds?Cheers Leigh
#38
_Azza_
_Azza_
-
- Guests
Posted 19 March 2007 - 09:31 PM
I didnt remove it completely. I just cut as close as I could to all the edges with an angle grinder. Most of the spot welds that connected the tray to the chassis rail where rusted out, the others that were there I grinded off..
But if you want one removed with minor damage then you will have to drill out every single spot weld.. And there are lots!
But if you want one removed with minor damage then you will have to drill out every single spot weld.. And there are lots!
#39
toryman76
-
- Members
-
- 1,082 posts
Forum Fixture
- Location:Melbourne, Vic
- Joined: 16-January 06
Posted 20 March 2007 - 01:26 PM
yeah i bet there is... thats going to be a fun job in the not too distant future... ah well i have the proper bit now for the drill! 
Cheers
Cheers
#40
_Azza_
_Azza_
-
- Guests
Posted 20 March 2007 - 03:43 PM
you will have to take off your nose cone aswell to get to them..
#42
toryman76
-
- Members
-
- 1,082 posts
Forum Fixture
- Location:Melbourne, Vic
- Joined: 16-January 06
Posted 20 March 2007 - 08:56 PM
oh no.... thats not going to be fun at allyou will have to take off your nose cone aswell to get to them..

#43
_Azza_
_Azza_
-
- Guests
Posted 20 March 2007 - 09:59 PM
yeh its a bit of a fembity job just to remove a battery tray lol..
#44
toryman76
-
- Members
-
- 1,082 posts
Forum Fixture
- Location:Melbourne, Vic
- Joined: 16-January 06
Posted 21 March 2007 - 01:45 PM
yep sure is!! i might have to take another look... becuase my battery tray isnt too bad to warrant the removal of the front nose cone. Although the nose cone also has rust down the bottom so i dont know... could be worth changing the whole thing and doing the battery tray properly.yeh its a bit of a fembity job just to remove a battery tray lol..
Cheers Leigh
Edited by toryman76, 21 March 2007 - 01:45 PM.
#45
_Azza_
_Azza_
-
- Guests
Posted 21 March 2007 - 06:43 PM
Take it off the road and go all out, If you do it right the first time, you wont have to do it again for another 30 odd years lol..
I have just been altering the tray I made a tad and am about to weld it in..
Will let you know how I go.. I'll take lots of pics too
I have just been altering the tray I made a tad and am about to weld it in..
Will let you know how I go.. I'll take lots of pics too
#46
toryman76
-
- Members
-
- 1,082 posts
Forum Fixture
- Location:Melbourne, Vic
- Joined: 16-January 06
Posted 21 March 2007 - 07:06 PM
azza the car is off the road, and has been for some time. it is basically getting a full rebuild and is pretty much a bare body at the moment. the plan is to do all the rust repairing as properly as possible so hopefully it does last 30 years!!Take it off the road and go all out, If you do it right the first time, you wont have to do it again for another 30 odd years lol..
I have just been altering the tray I made a tad and am about to weld it in..
Will let you know how I go.. I'll take lots of pics too

Keep the pics coming!
i love lotsa pics and take lots myself.Leigh
#47
_Azza_
_Azza_
-
- Guests
Posted 21 March 2007 - 09:51 PM
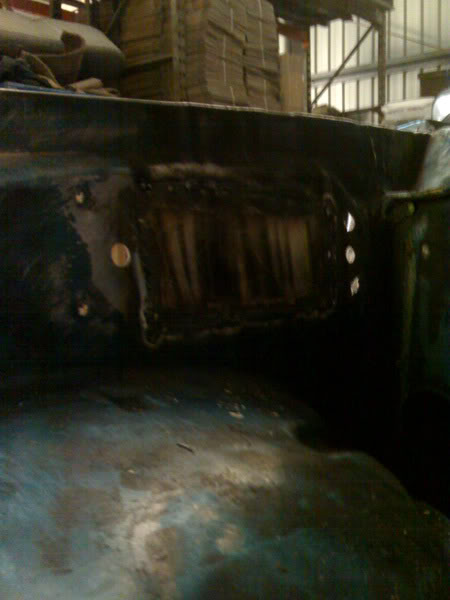
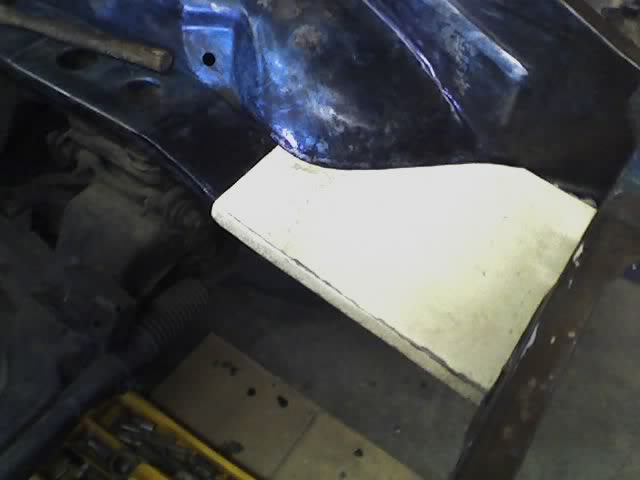
I took off a bit more of the folded edge so it looked a bit better. And that allowed me to get the bend correct.
Ground off all the paint around the edges so I could weld it easier..
Here it is all finished.. Its all welded from underneath and it's strong as. Heaps happy with how it turned out
Ground off all the paint around the edges so I could weld it easier..
Here it is all finished.. Its all welded from underneath and it's strong as. Heaps happy with how it turned out
Edited by Azza, 21 March 2007 - 09:53 PM.
#49
_Azza_
_Azza_
-
- Guests
Posted 22 March 2007 - 07:40 PM
Got stuck into the other side today. Not quite finished just needs a bit more taken off one edge, then welded in.
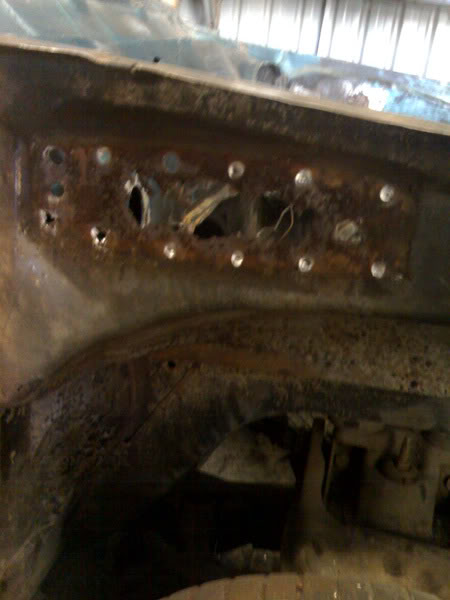
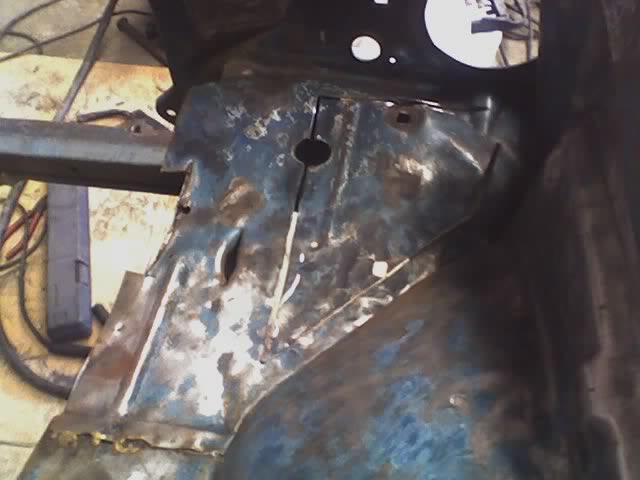
This is the before shot.. Pretty ugly
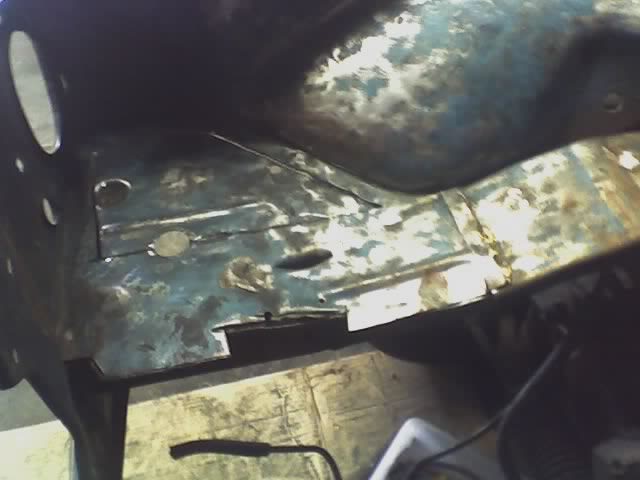
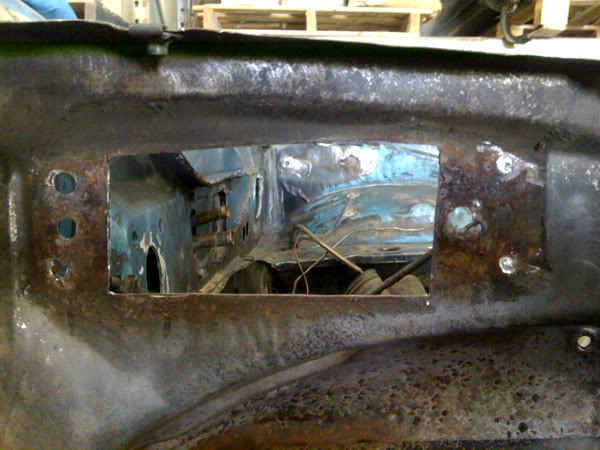
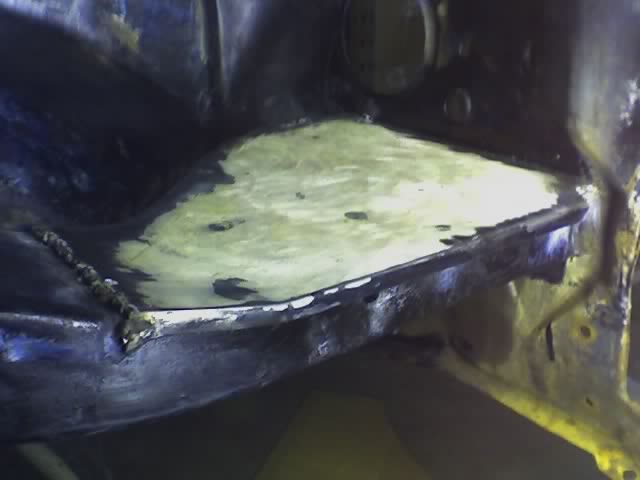
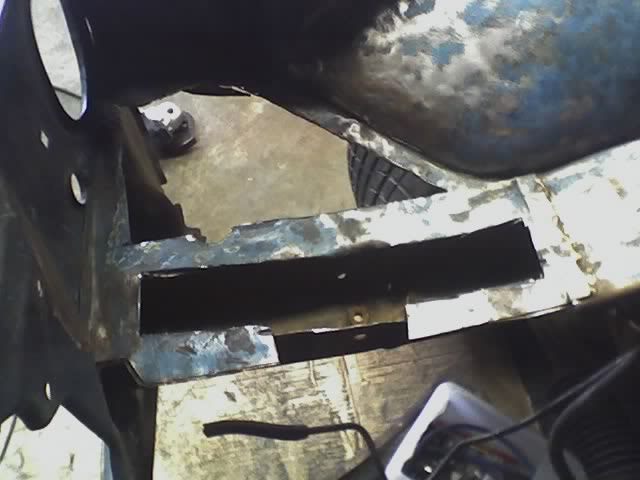
This is after I cut away most of the shitty bit. I left about 20mm around the whole lot so I have something to weld it to later on.
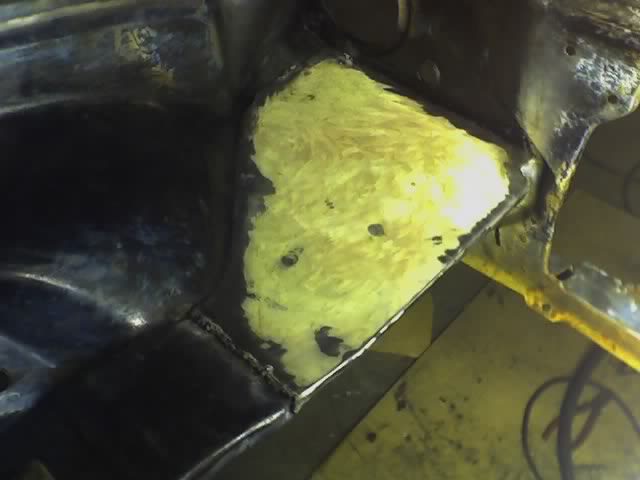
Shit load of rust converter over the whole lot
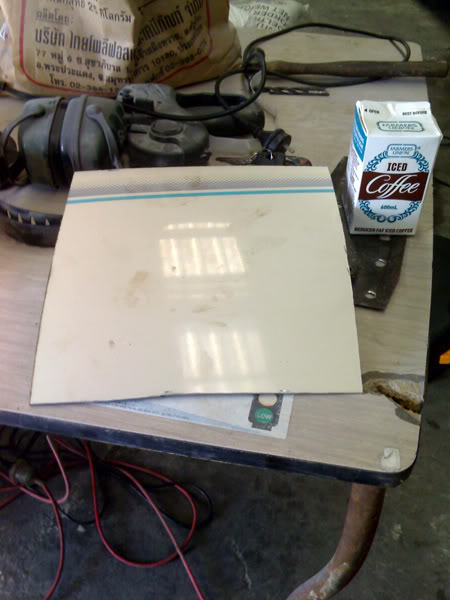
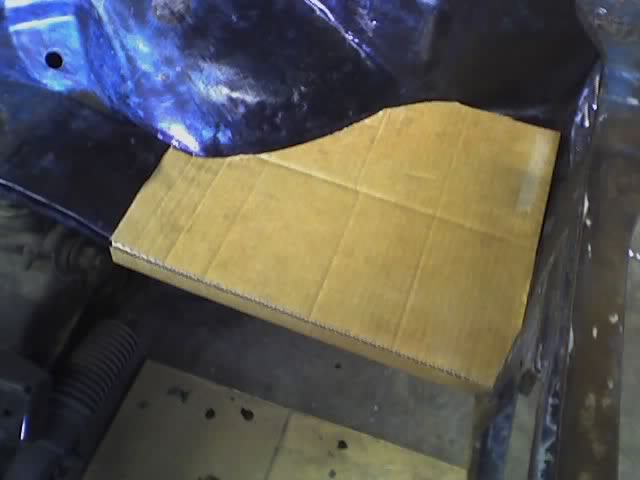
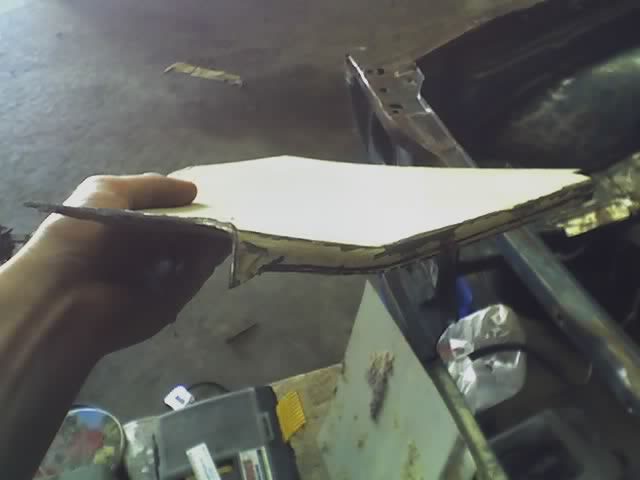
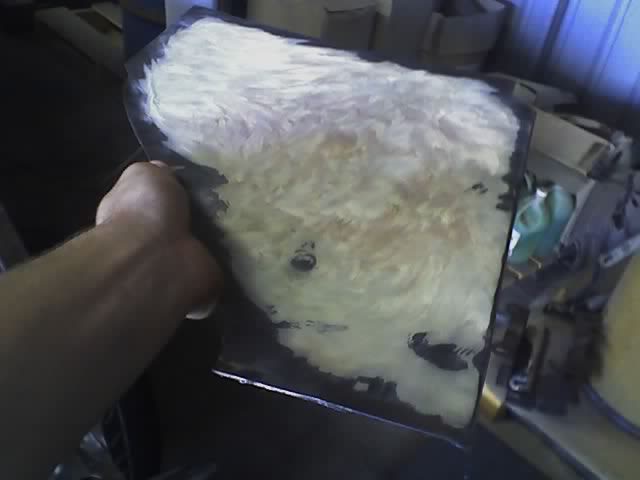
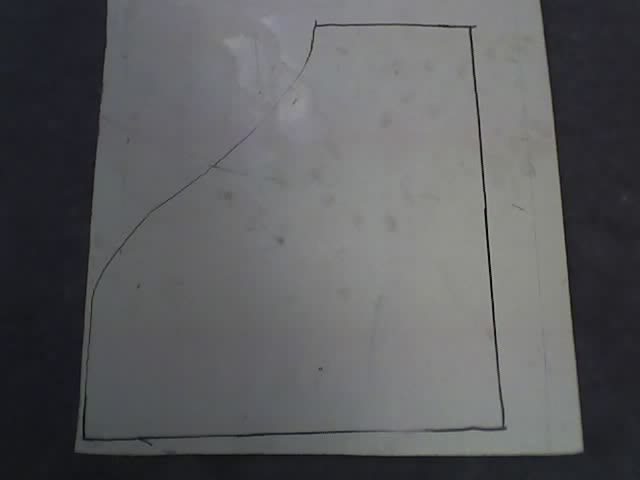
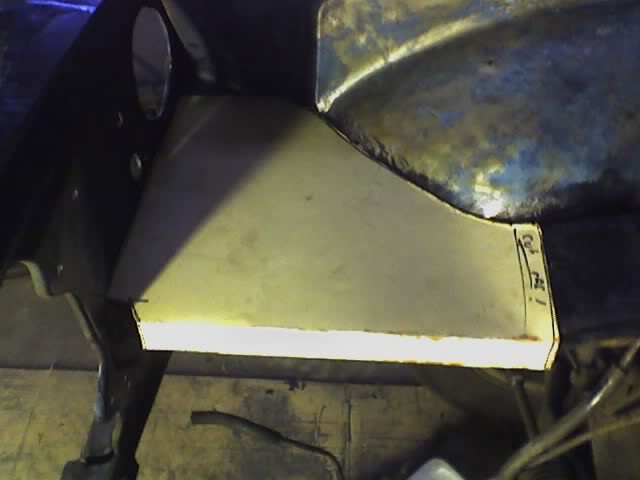
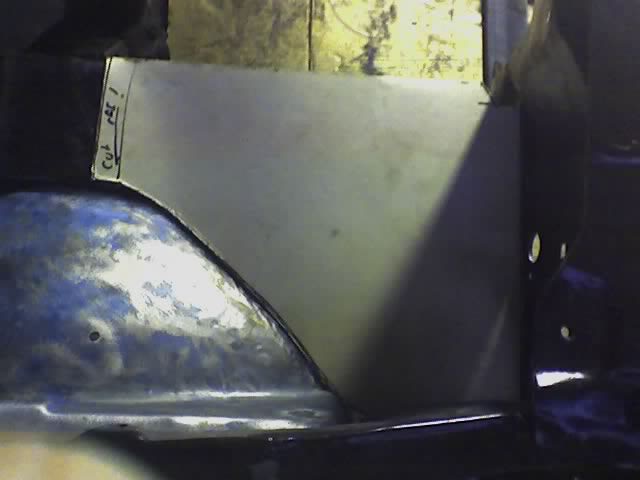
Using that cardboard template I made I just traced around it onto the donor metal
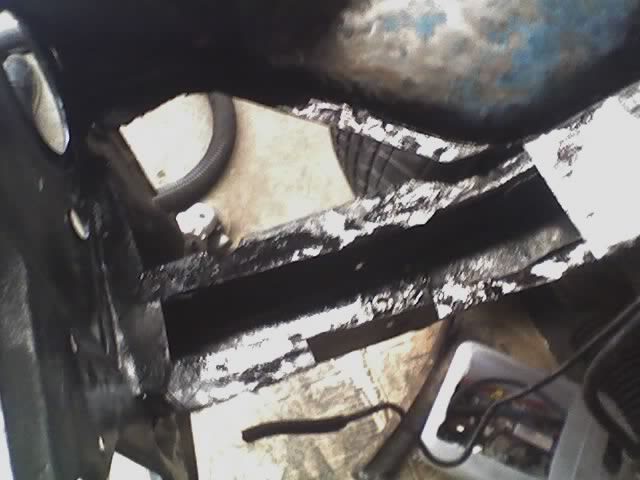
And this is how it looks so far. Fits pretty nicely only a tiny bit more needs to be removed. And the bend put into it.
Will update you tomorrow, hopefully it will be welded in!
This is the before shot.. Pretty ugly
This is after I cut away most of the shitty bit. I left about 20mm around the whole lot so I have something to weld it to later on.
Shit load of rust converter over the whole lot
Using that cardboard template I made I just traced around it onto the donor metal
And this is how it looks so far. Fits pretty nicely only a tiny bit more needs to be removed. And the bend put into it.
Will update you tomorrow, hopefully it will be welded in!
#50
toryman76
-
- Members
-
- 1,082 posts
Forum Fixture
- Location:Melbourne, Vic
- Joined: 16-January 06
Posted 22 March 2007 - 09:16 PM
looking real good azza!


1 user(s) are reading this topic
0 members, 1 guests, 0 anonymous users

