Jump to content


Hiding the wiring


  • Please log in to reply
48 replies to this topic

#1 _Herne_

_Herne_
  • Guests

Posted 17 December 2007 - 09:37 AM

Hi guys, as many of you may have read Jeremy (j7723 forum member) started to hide my wiring yesterday (Sunday) Here are some progress photo's and a few words on what we have accomplished so far.

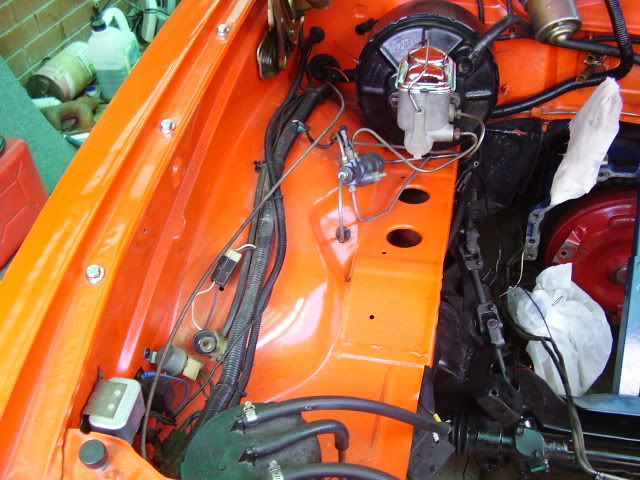
The engine bay before we started
Posted Image

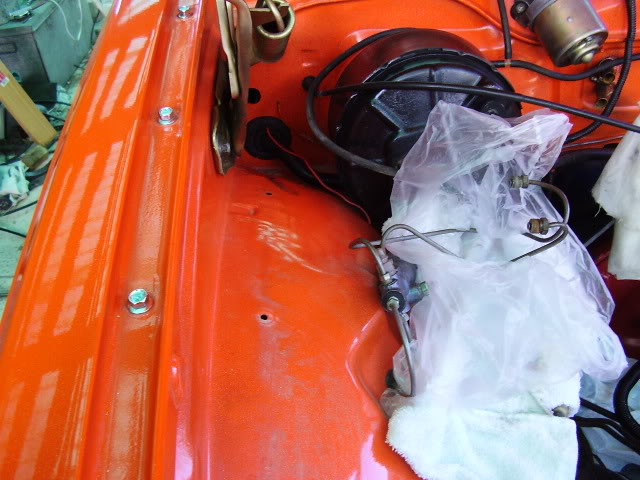
The engine bay with the wires removed
Posted Image

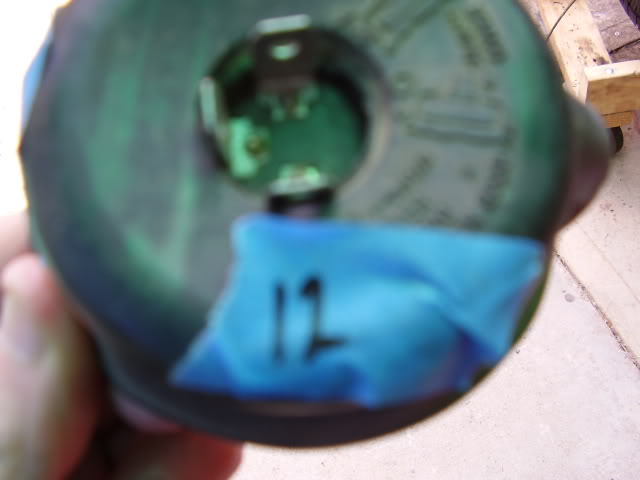
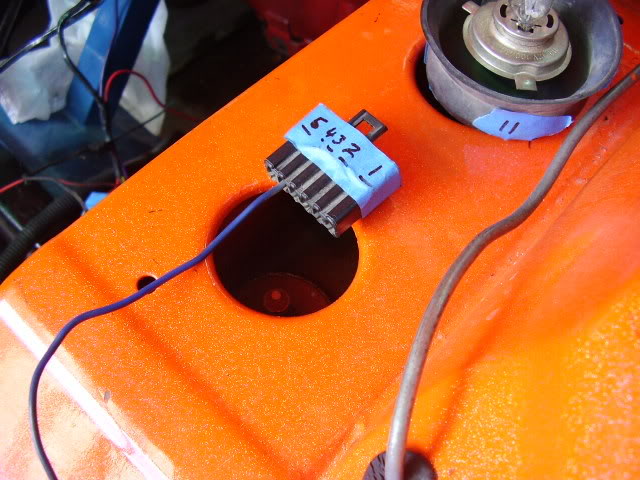
What we did here was to disconnect all the wires we could see in the engine bay (drivers side) As we unplugged them we numbered the wire and the part the number connected to with the same number eg this is a headlight connection number 12 and the corresponding wire was also marked #12
Posted Image

This process was repeated over every wire we disconnected
Posted Image

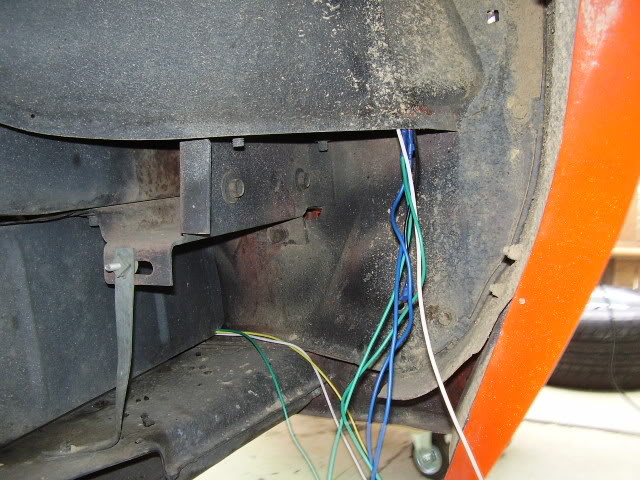
Once the wires were all individually disconnected and respectively numbered Jeremy then unplugged the harness from inside the car on the drivers side, to do this he reached up under the dash.

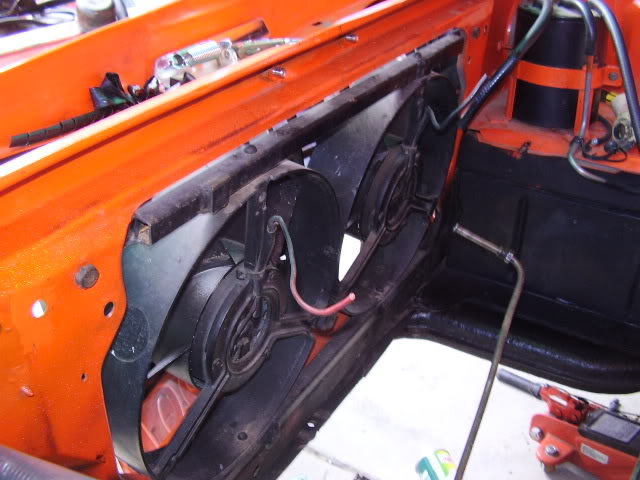
Where things were hard wired like the electric fans we cut them and when we replace the wires which we had already labelled they will be reconnected with plugs to enable easy removal should anything need to be worked on in the future.
Posted Image

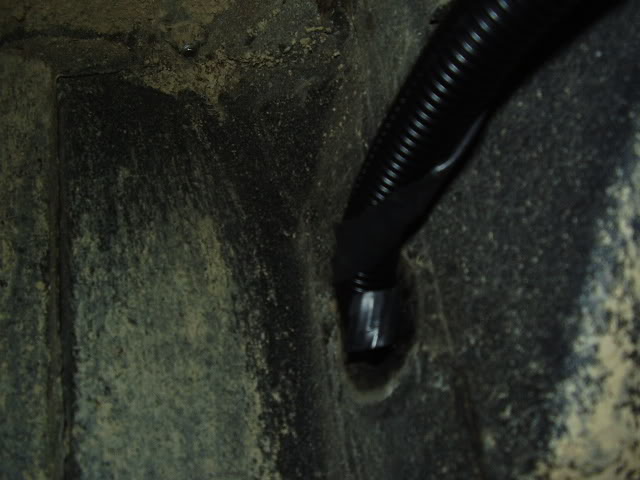
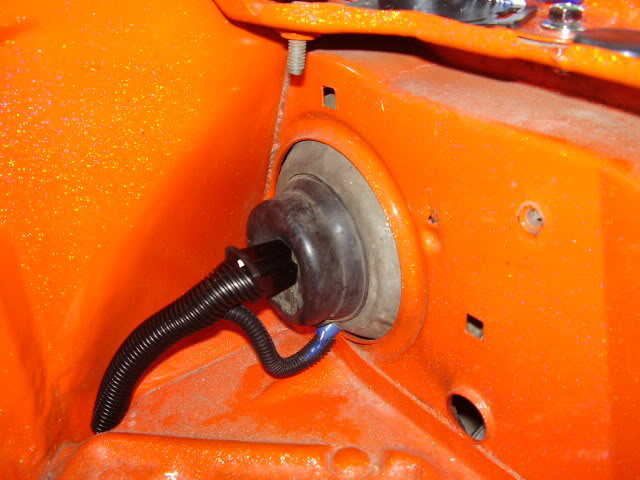
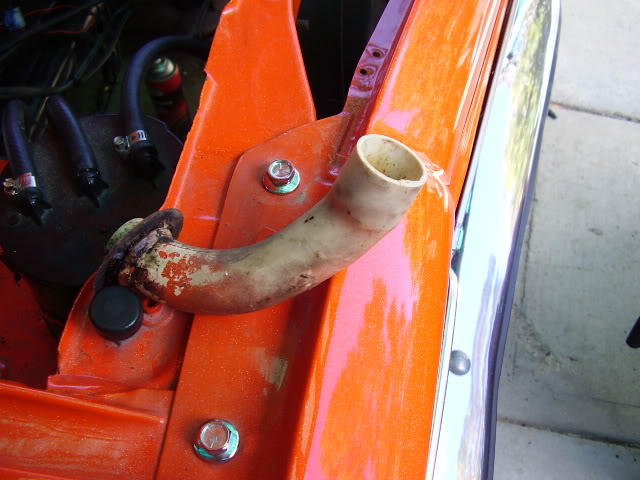
When the harness was unplugged Jeremy removed this pipe - again from inside the car under the dash and run theharness through the hole which comes out under the guard.
Posted Image

This pipe will be replaced but sealed off and any excess water will hopefully transfer to the similar pipe on the passengers side of the car where it will freely run out.

We have yet to finish the job off as we are replacing much of the old headlight wiring which quite frankly was a real mess with wires being cut and rejoined in many places.

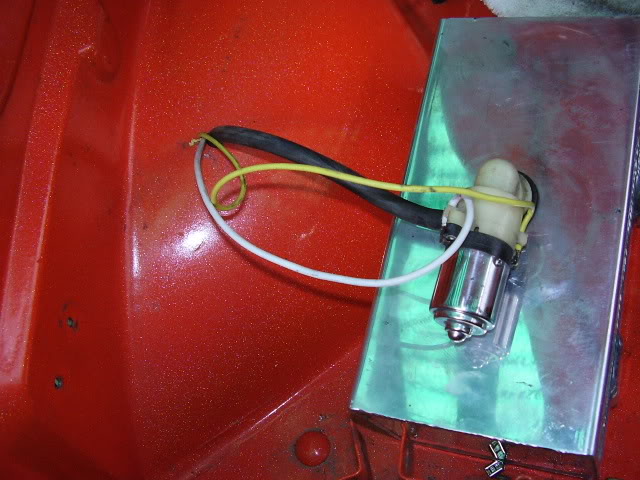
More photo's next week where we will show how we re routed the water bottle pump and hose and also of the wires now hanging under the guard when they are attached high under the guard
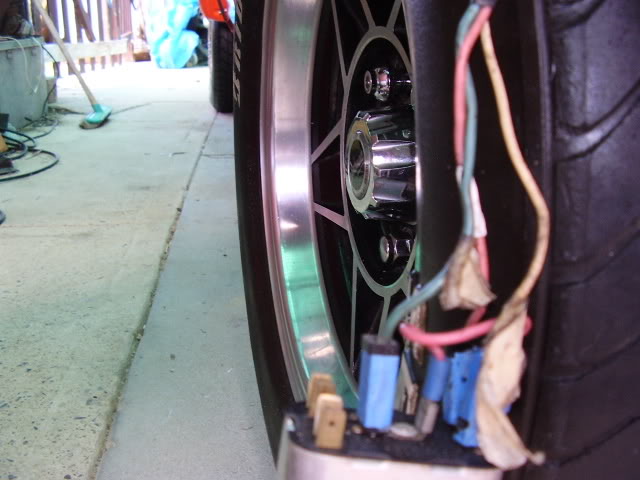
Posted Image

Whilst we were in the engine bay we removed the Master Cylinder which has been taken away for polishing.

I hope this is clear and is of use to forum members, I am sure I or Jeremy will jump in and answer any questions should there be any.

Many many thanks to Jeremy, I cant wait for next weekend when we will finish the job.

Cheers
Herne

#2 toryman76

toryman76

    Forum Fixture

  • Members
  • PipPipPipPipPip
  • 1,082 posts
  • Location:Melbourne, Vic
  • Joined: 16-January 06

Posted 17 December 2007 - 09:01 PM

very informative stuff Herne. maybe a sticky could be made of it? i know ill definately be using the information here as its hard to try and think about hiding the wiring when its not even there and nothing is in the engine bay! :P

im interested to know how it will work with that pipe being blocked off. what you should be careful of is that it doesnt end up being a water trap, where water sits and cant go anywhere... would hate for it to start rusting out that way! :spoton:

excellent stuff and hanging out for more progress

cheers

toryman76

#3 _Herne_

_Herne_
  • Guests

Posted 17 December 2007 - 09:49 PM

im interested to know how it will work with that pipe being blocked off. what you should be careful of is that it doesnt end up being a water trap, where water sits and cant go anywhere... would hate for it to start rusting out that way! :spoton:

excellent stuff and hanging out for more progress

cheers

toryman76

I too am wary of that pipe being blocked off. It is my only concern and I will be watching it closely. If need be I will reconnect and extend the pipe thus drilling a new hole for it.

I am told the water runs out the other side with no troubles at all but time will tell! I certainly do not want any water traps that can be avoided, Torana's rust away willingly by themselves and certainly don't need a helping hand lol.

Cheers
Herne

#4 _TJ253_

_TJ253_
  • Guests

Posted 17 December 2007 - 10:04 PM

Its amazing how much better it looks buy hiding some Wires
i agree herne Toranas Rust enough dont need our help

#5 _j7723_

_j7723_
  • Guests

Posted 18 December 2007 - 08:24 AM

I to have been thinking after reading I think if we get that stopper and run a smaller tube herne in the same hole we will buypass any water siting there
I just dont like to drill holes as these cars twist and need all the metal thay have

I will make this on sunday and get herne to take photos of this before putting it in the car

#6 _Herne_

_Herne_
  • Guests

Posted 18 December 2007 - 08:34 AM

yeah, that sounds good to me :)

Herne

#7 davelh

davelh

    Forum Fixture

  • Members
  • PipPipPipPipPip
  • 818 posts
  • Location:Adelaide
  • Car:74 LH SL
  • Joined: 10-November 05

Posted 18 December 2007 - 03:52 PM

why cant you just drill another hole next to it and put a glad/grommet in there
save mucking around and wont mess with any water run off

#8 _Herne_

_Herne_
  • Guests

Posted 18 December 2007 - 04:37 PM

Problem has been solved, I gave Jeremy the part required today and he has manufactured a fix. More on this and photo's by the end of this weekend.
We decided not to drill yet another hole :)

Herne

#9 _Herne_

_Herne_
  • Guests

Posted 23 December 2007 - 09:32 PM

Hi Guys

Although Jeremy and I had a late start at around 4:00pm we managed to nearly finish the job today. We have an hours work to do to finalise the job on Boxing Day before I light the BBQ for late lunch. Traditionally at our home the Boxing Day BBQ is open to any friends that turn up during the afternoon.

PS, the new wheels will also be fitted on Boxing Day :)

This is part two of Hiding The Wiring.

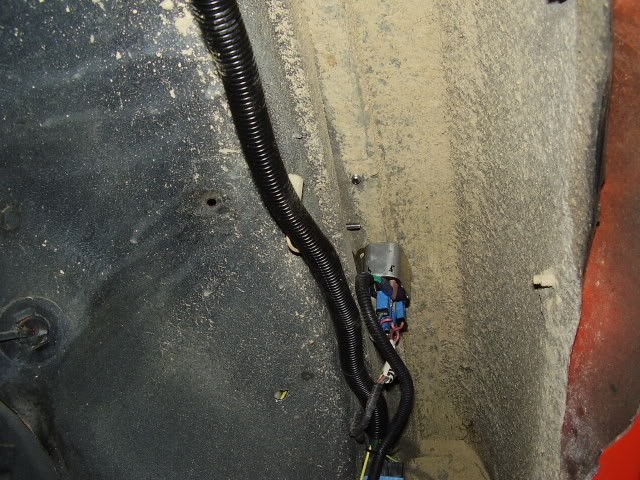
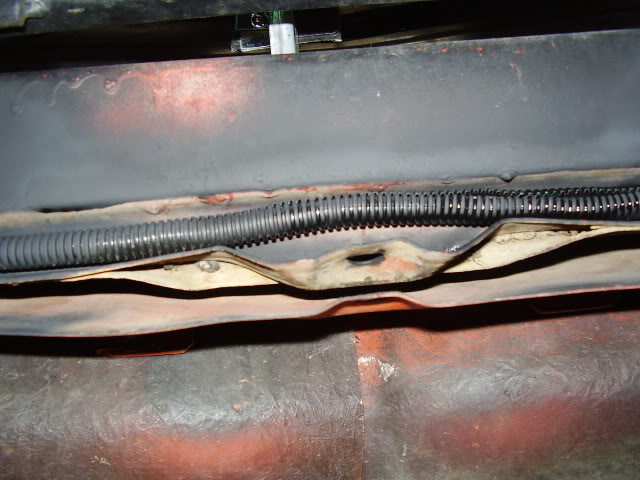
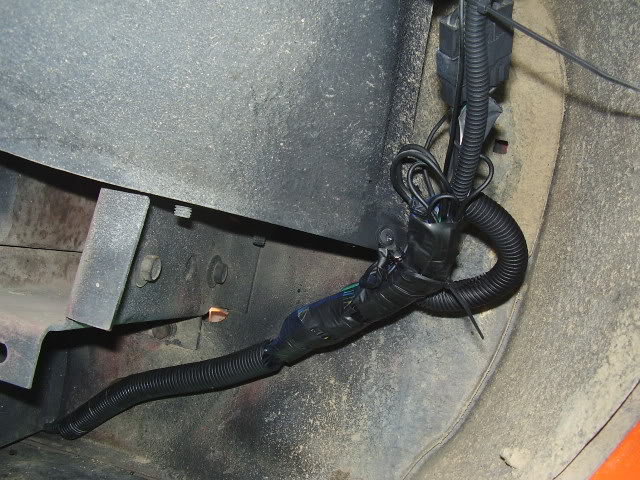
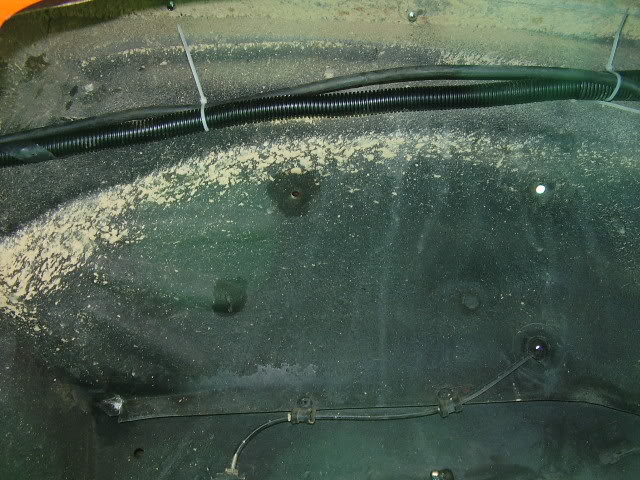
The wiring where it enters the underneath of the mudguard:

Posted Image

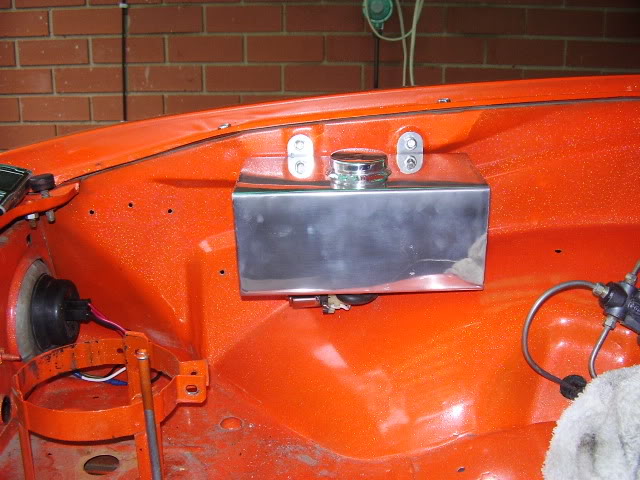
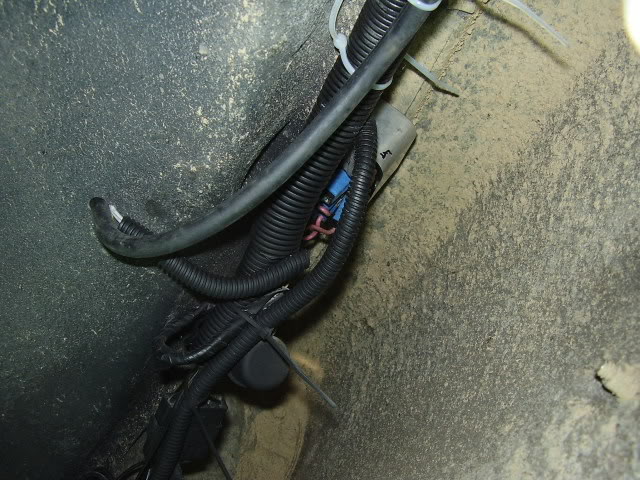
Advancing along the mudguard towards the headlight and behind the water bottle for the wipers. I need to remove the wheels and give all 4 wheel arches a good scrub:

Posted Image

Engine bay before tidying up, note new headlight connector plug which replaces the old individual push on connections.

Posted Image

Battery side of engine bay not completed:

Posted Image

Battery side after tidying:

Posted Image

Drivers side after tidying:

Posted Image

Water bottle plumbing and wiring:

Posted Image

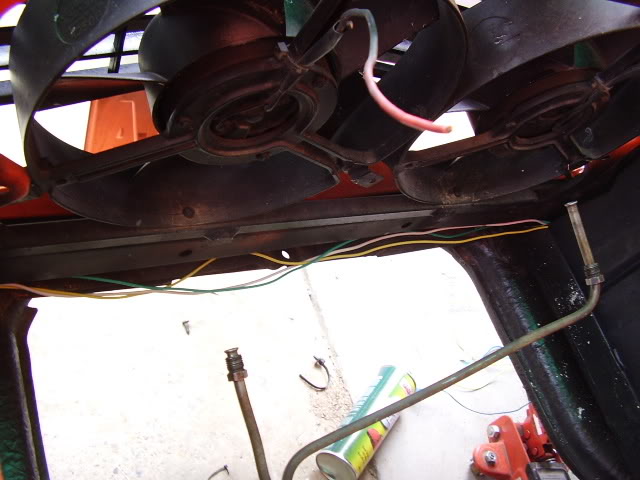
Wiring being hidden along lower radiator support panel:

Posted Image

Wiring finalised along rad support panel which will be further hidden when the radiator is fitted:

Posted Image

These are the headlight and horn wires we ran from passengers side to drivers side

Posted Image

The first remodelled water vent, still not fitted and we are about to have a go at a second version of this:

Posted Image


Jeremy is so pleased at the way this job is turning out he is now going to alter his hidden wiring to suit in a likewise fashion. Needless to say I am ecstatic at the results so far.

Cheers
Herne

Edited by Herne, 23 December 2007 - 09:39 PM.


#10 _Herne_

_Herne_
  • Guests

Posted 26 December 2007 - 06:20 PM

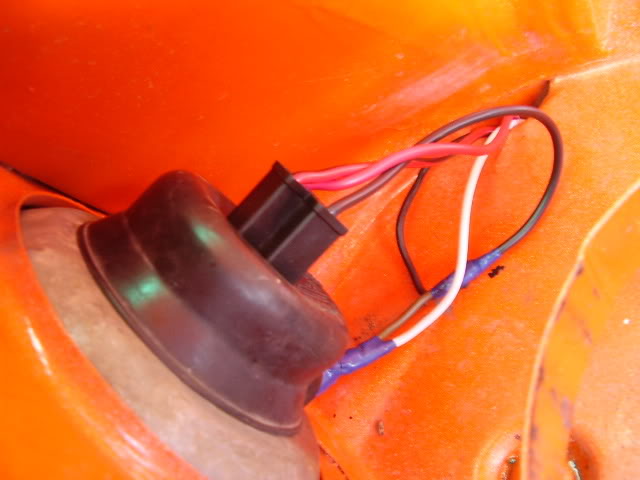
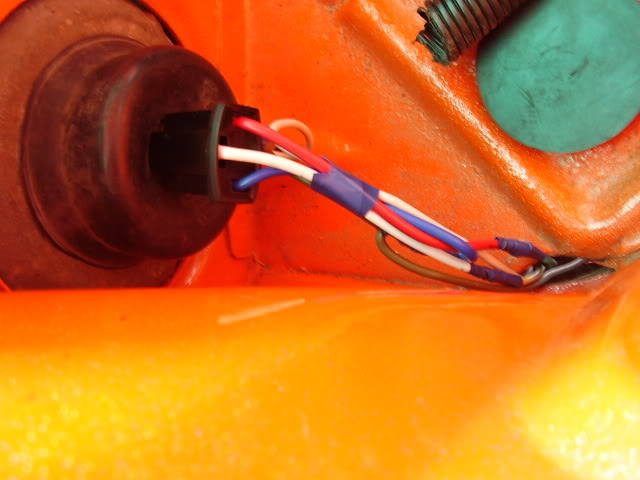
Today Jeremy finished off my wiring, we wont be touching this again now until after the engine is fitted when we will complete the final touches.

Posted Image

Posted Image

Posted Image

Thanks Jeremy, the car will look great after I have cleaned it up and its running :)

Cheers
Herne

***** Mods, if you would like to make a sticky out of these threads please be my guest. You have full permission to edit as you see fit to tidy the story up.

#11 _slr253_

_slr253_
  • Guests

Posted 03 January 2008 - 08:58 PM

What a fantastic job! Congratulations to Herne and Jeremy.

I hope to do this in the future too.

Cheers,
Brett

#12 _Herne_

_Herne_
  • Guests

Posted 03 January 2008 - 09:24 PM

Thankyou, hopefully the guide will give a few novices a working knowledge of at least how to go about the process. :)

Cheers
Herne

#13 Tiny

Tiny

    Oh My, Don't you post alot

  • Administrators
  • PipPipPipPipPipPipPip
  • 10,018 posts
  • Name:Tiny
  • Location:Sydney
  • Joined: 04-February 07

Posted 03 January 2008 - 09:45 PM

Excellent thread, I think this needs to be a sticky as you mentioned!

Feel free to keep posting in it too!

#14 _70rey_

_70rey_
  • Guests

Posted 27 January 2008 - 01:10 PM

mate thats awsome... ill be doin the same to my torana and wanted to see pics.

cheers kris

#15 _Herne_

_Herne_
  • Guests

Posted 27 January 2008 - 02:52 PM

Thanks 70rev

I will have some final photo's to publish in approx 1 months time when the engine is fitted and the final tidying up has been done.
My car needs to be finished off reasonably soon because today I have booked it into the Lakes Auto Fest Car Show, Lakes Entrance, VIC. in early April 2008 and although the date seems a way off its not that far away in reality being Sat. 5th April. I have much to complete before that date.

Cheers
Herne

#16 racean69

racean69

    Forum Fixture

  • Members
  • PipPipPipPipPip
  • 781 posts
  • Name:Rod
  • Location:Central QLD
  • Car:LH sedan
  • Joined: 07-November 05

Posted 27 January 2008 - 07:21 PM

well done, looks great....very neat ... how do the relays, connecters go if you are caught in a bit of rain with water comeing up from tyre?

#17 _Herne_

_Herne_
  • Guests

Posted 27 January 2008 - 07:56 PM

Err Umm, get back to you on that one...

Herne

#18 _ChevLX_77_

_ChevLX_77_
  • Guests

Posted 27 January 2008 - 08:03 PM

As long as you have the relay up nice and high the relays are fine.

The headlights relay is up under the gaurd on my SLR.

#19 _CHOPPER_

_CHOPPER_
  • Guests

Posted 27 January 2008 - 09:47 PM

how do the relays, connecters go if you are caught in a bit of rain with water comeing up from tyre?

Shitloads of heat shrink tubing has worked for more years than I care to remember for an occaisional splash. Must be some reason why GMH put them in a plastic box when they went in the VK engine bay...

#20 _UNVSM8_

_UNVSM8_
  • Guests

Posted 25 February 2008 - 12:11 PM

may have missed it but where did u get ur chrome window washer bottle from?

cheers Ben

#21 _Eddie_

_Eddie_
  • Guests

Posted 25 February 2008 - 01:16 PM

I just finished hiding the wiring in mine just yesterday. Mine wasn't as elaborate as Hernes' - i just snuck it under the brake booster as it came out of the original firewall spot, then down and around under the chassis rail where I just zip tied it to the fuel line, then all the way along to the front then up again underneath the radiator over flow bottle where it branched out to the lights. Very simple but effective. I'll take photos tonight.

#22 _Herne_

_Herne_
  • Guests

Posted 25 February 2008 - 01:24 PM

may have missed it but where did u get ur chrome window washer bottle from?

cheers Ben

I got my polished (not chrome) washer bottle from ebay but I have noticed Rare Spares sells them now.

Eddie, looking forward to seeing your photo's :) God work.

Herne

#23 _UNVSM8_

_UNVSM8_
  • Guests

Posted 25 February 2008 - 01:28 PM

ah no worries cheers Herne! :)

Ben

#24 _Eddie_

_Eddie_
  • Guests

Posted 27 February 2008 - 11:22 PM

As said, my little scheme wasn't as elaborate as Herne's but it seems to have come up ok. All I did was go out of the firewall, under the booster, down to the fuel lines, then back up again underneath the radiator over flow, then out to the respected outputs. I had to solder in about another 20-30cm of extended wires to make it fit. Sorry about the blurry, crappy photos - lets say my brother is a good actor, but not a photographer...


Posted Image


You see the wiring running zip tied to the fuel line. I might replace the tacky looking yellow insulation tape with a bit of black heat shrink to make it a little tidier and not so conspicuous.

Posted Image


Lastly, the end result - you can't really see in this light but the wires just sneak up behind my ...world war 2 type looking radiator flow bottle.


Posted Image

#25 _Herne_

_Herne_
  • Guests

Posted 27 February 2008 - 11:33 PM

That looks very good Eddie, just shows there is more than one way to skin a cat.

Nice neat engine bay too mate, a credit to you :)

Cheers
Herne


2 user(s) are reading this topic

0 members, 2 guests, 0 anonymous users