Article description: A How To guide by ucongas
Category: General LH-LX-UC
Date added: Aug 21 2008, 07:36 PM
Article starter: enderwigginau
The following is how to install an electric rear window setup in LH/X/UC Toranas.
You will need VP to VT rear door power window actuators which are available in most Berlina and Calais. (Correct? - ender)
I used VR actuators.
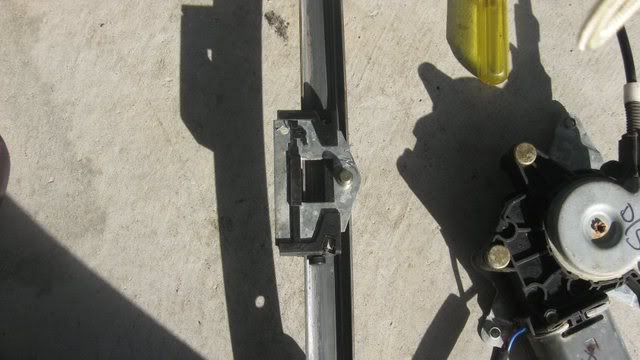
Figure 1: Close up of Actuator with hole drilled
(Does anyone have a wide shot of the complete actuator? Maybe with std torana one side-by-side. - ender)
Pop the white plastic driving part off it's gymble. (*and one of where this bit is originally fitted - ender)
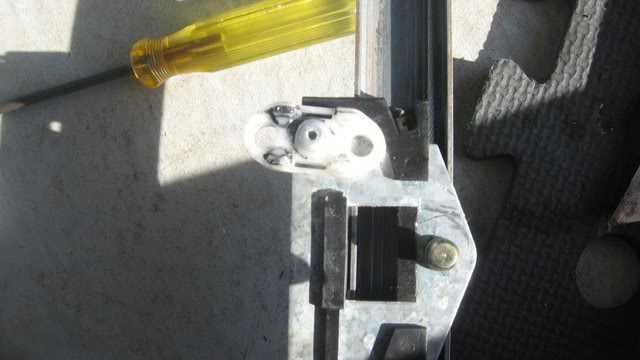
Figure 2 : Close up of white fitting rivetted back onto on Actuator
Drill a 4.8mm hole through the top of the bracket on the other side and rivet it in the uppermost position.
You will need to add a small spacer behind the white plastic bit so it'll go into the window runner.
If you dont move the plastic bit your window wont reach the top.
Fit some new wires to the actuators, make sure at least one of them is fully insulated. (More pics required - ender)
Remove the old actuator and slip the new one in, being sure to insert the slider to the window before going any further.
Figure 3 : Actuator fitted to bottom of window
Run your wires out through the bottom of the door near the lower hinge area.
Figure 4 : Actuator mounted, showing wires exiting near front of door
(If you exit the wiring out the side of the door your can use a rubber connector to cover the wires as they go into the pillar. There is a small hole at the base of the pillar where they can exit into the cabin - ender)
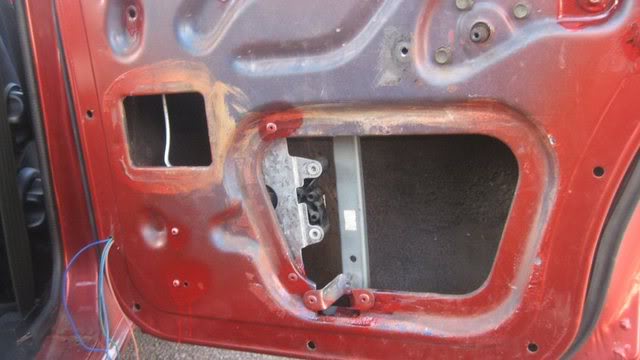
You can either spread the lower mount and rivet it to the door or cut a small relief in the door like I did and rivet it in place.
Either way the slider has to be closer to the doorskin or the window will catch.
Paint all the holes before riveting.
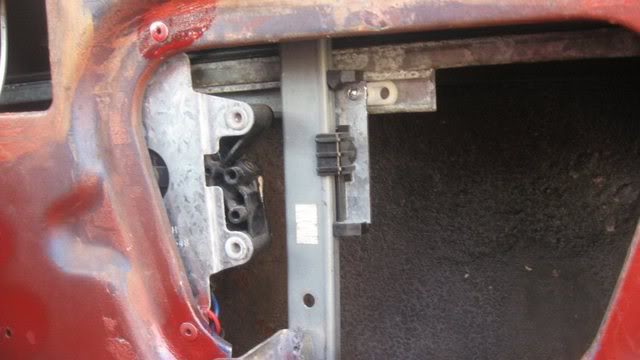
Figure 5 : Actuator Fitted in Door showing lower slider mount.
Two rivets for the motor assembly are visible on the left.
Youll also need a hole at the top for the lowermost of the upper mounting holes, forget the uppermost mounting hole as it's not needed.
Now drill two holes for the motor assembly and rivet it in place.
The only other thing you might need to do is remove a little off the bottom of the inside window seal, easily done with a pair of tinsnips.
I don't have wiring details yet as the switchblock is yet to arrive, but basically you just reverse the polarity to go up or down, you'll learn this whilst fitting though as you'll have to move the actuator from time to time.
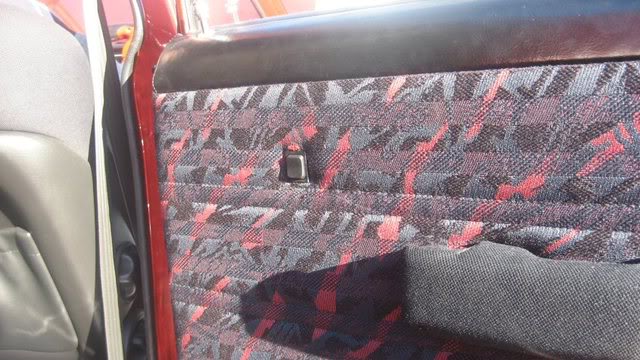
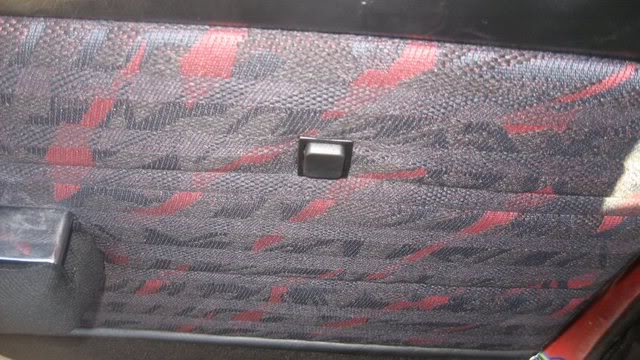
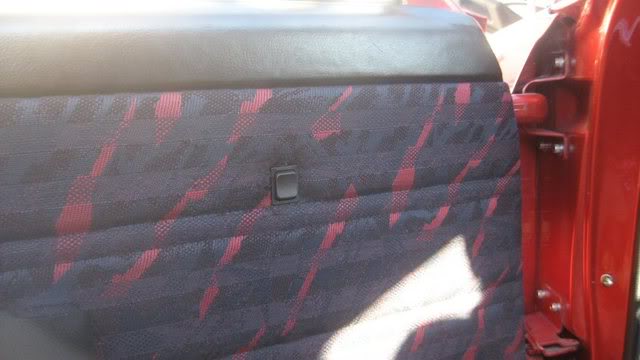
Here are the switches fitted, they are all finished now so I'm feverishly on the hunt for electric mirrors..The Jaycar switches cost me around 28 bucks for four, they fitted straight into the existing trim holes with no modifications whatsoever, very happy about that.
One wire to the switch from the accessory circuit, the other grounded to the door.
(A short earth is good, but a better plan would be
to run the earth all the way to the main body - ender)
Wiring diagram to follow.
Whirrr... Whirrr... up and down..
Now the kids have something to play with..
Cheers. PJ
VIEW ARTICLE
Rear Power Windows


