and swapped the mazda to mum (we bought the torry for me instead of a new car for mum lol) then mum got a new car and the mazda went into the shed. now im puttin the old girl (bertha) back on the road so the torry and the mini will fit downstairs for their work. basically the car is a gem, everything is 100% original except my black and white tile lino floor covers i made in highschool when the carpets got wrecked
  the engine is super sweet jus needs a cleanup and the interior needs a lot of work. so the first steps are find the rust, then the plan is to weld everything i can, so there is as little bog as possible. this is my learning curve for all my car work, im basically teaching myself how to do this stuff. i know how to weld (which doesnt make me a welder
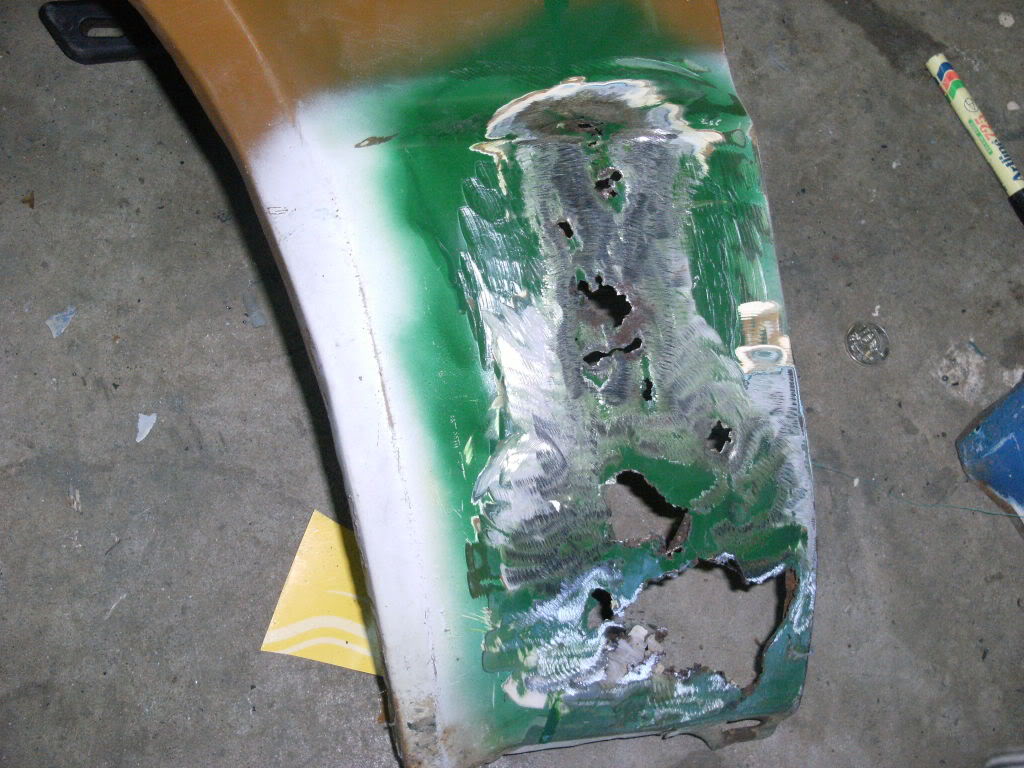
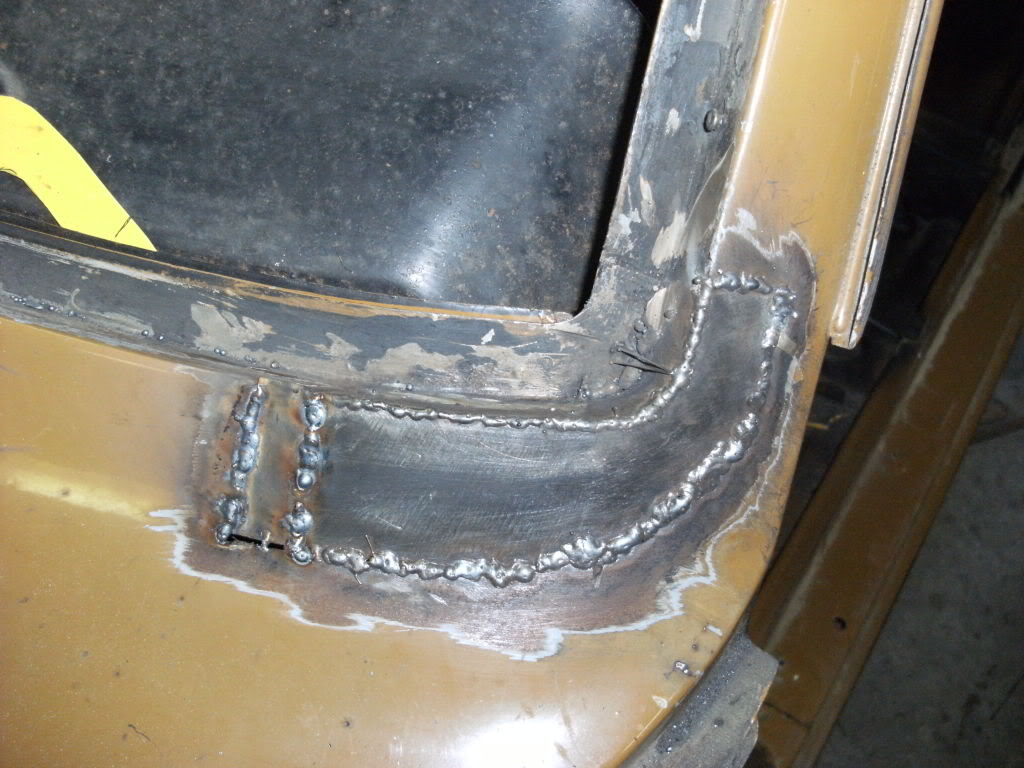
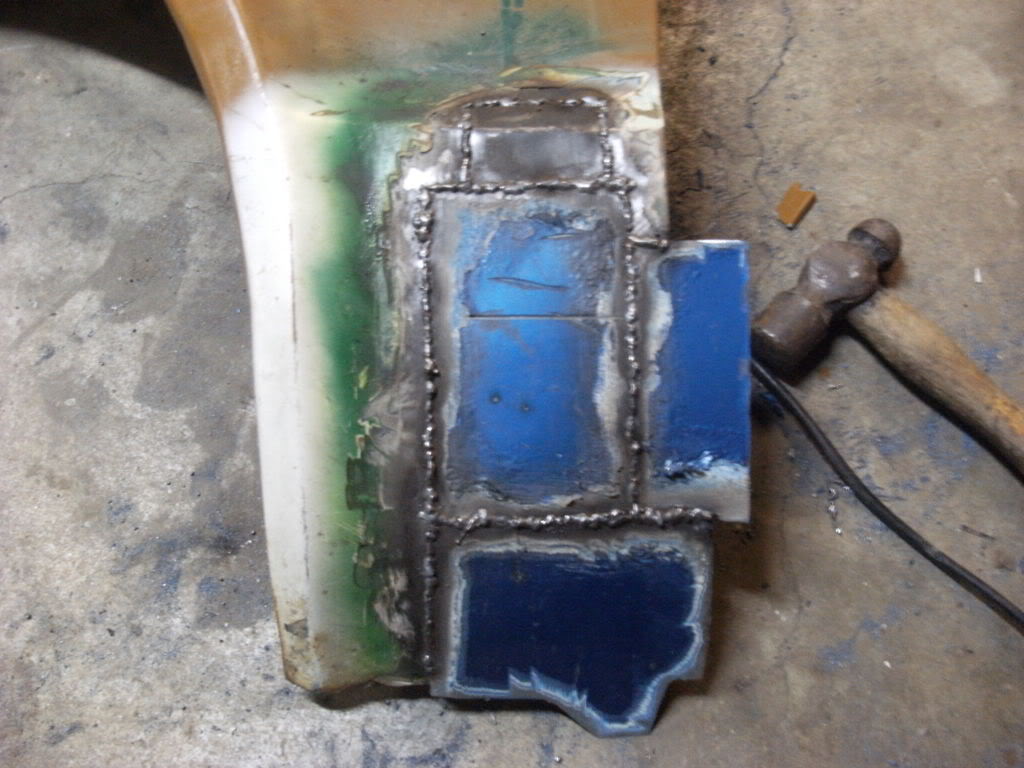
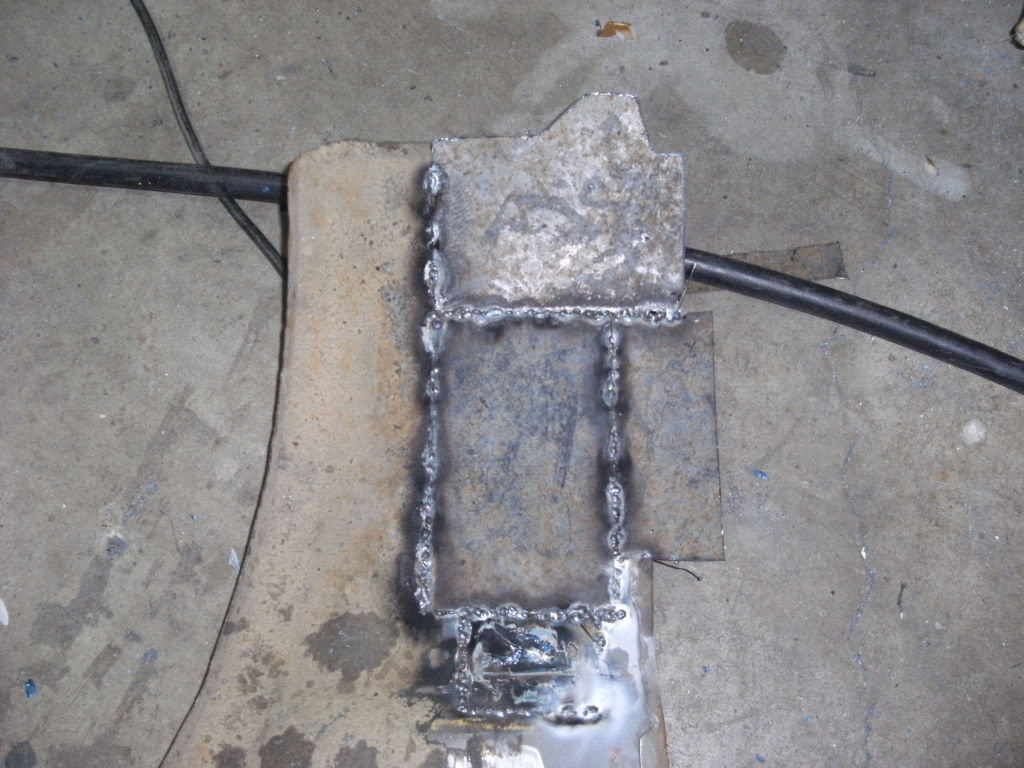
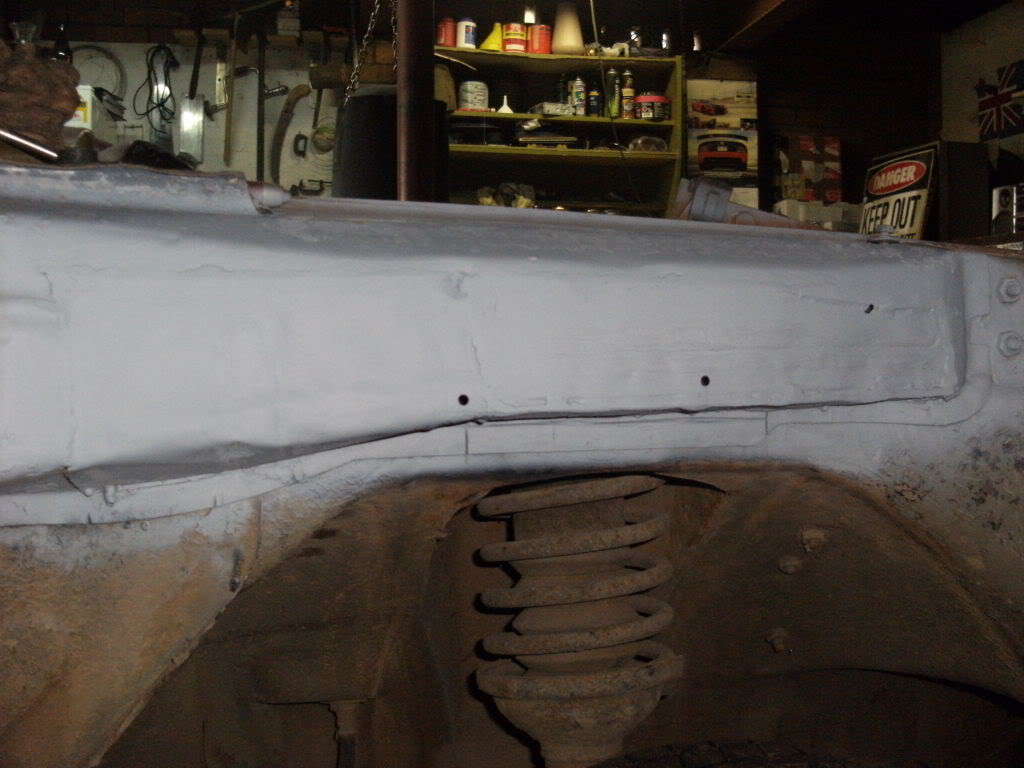
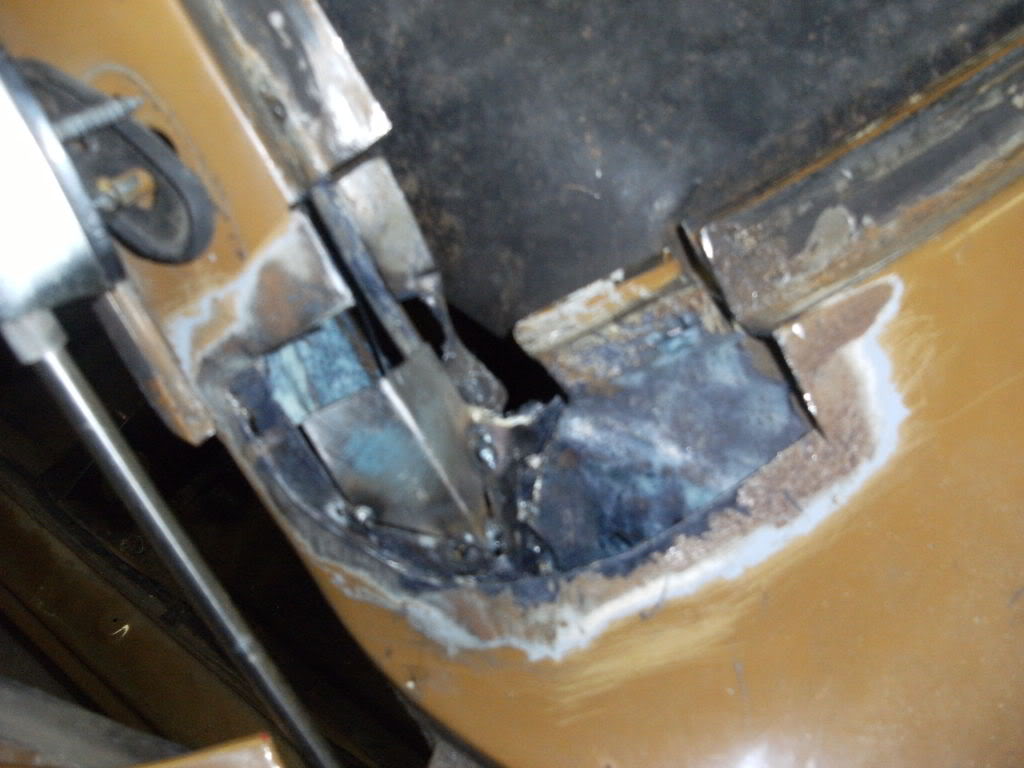
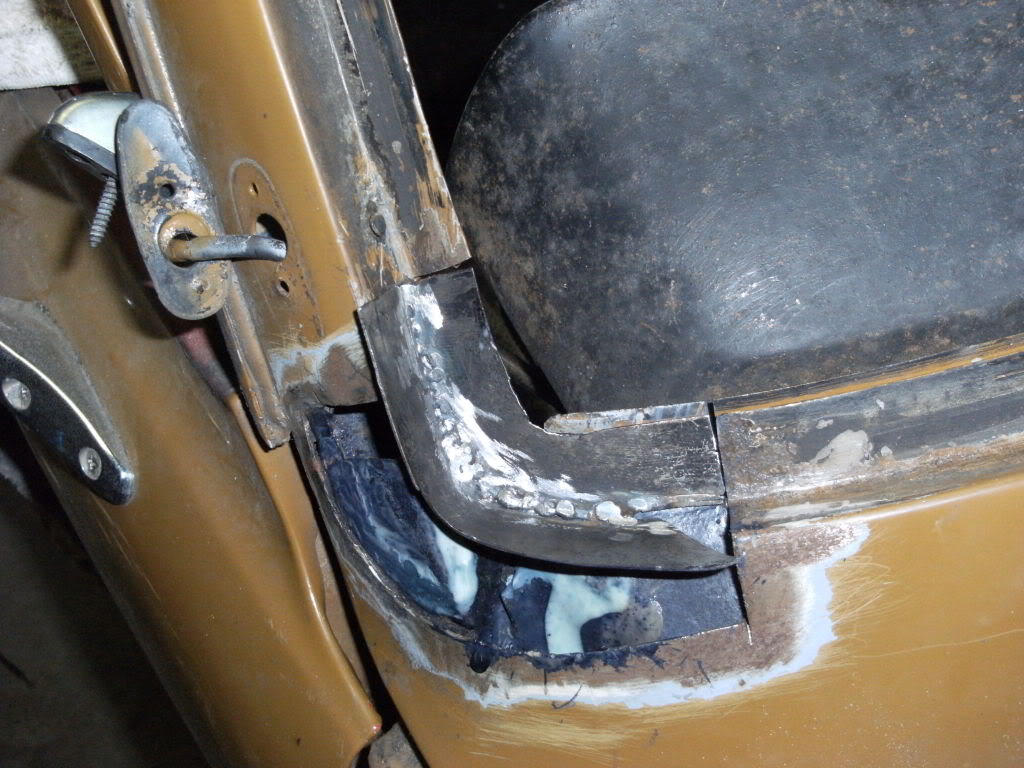
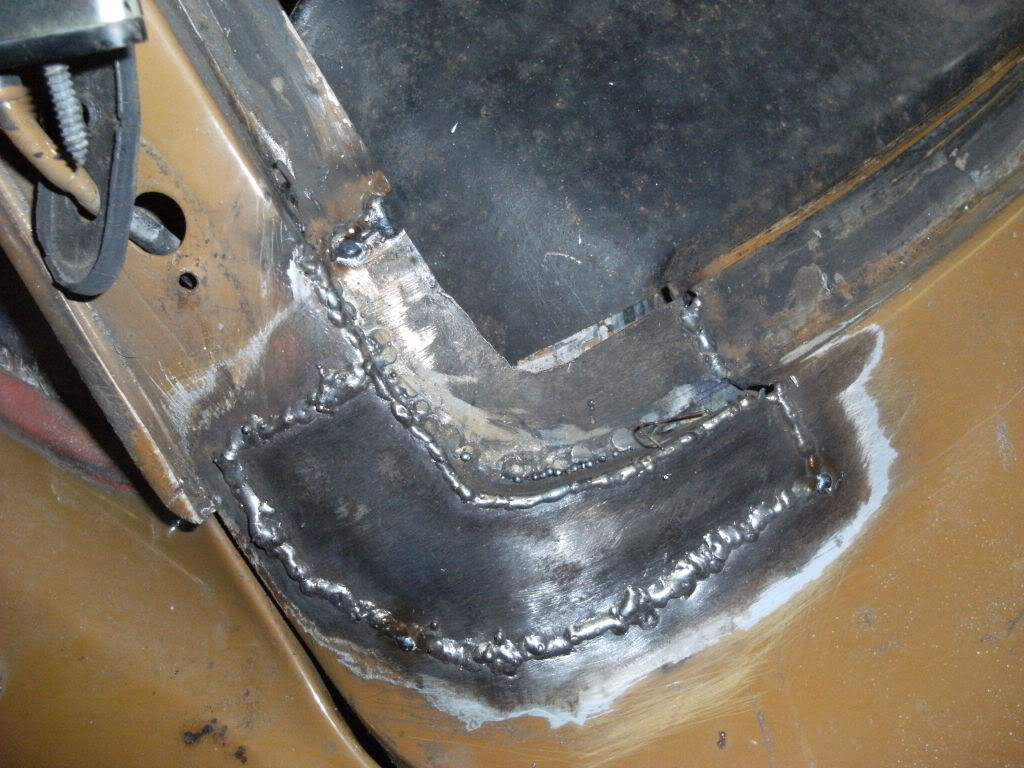
  ) and i have steel to do the job. the rust is in all 4 lower windows and one of the doors one guard and two reinforcement arms which are under the guards. this car has lots of fiddly curves and corners and chrome strips to go everywhere so everything has to be awful close. this isnt a car thats gonna be busted into a rotary its a real classic as it is and im sure one day itll be one of the last of its kind ie no rotary. here are some pics of the progress, its been sitting waiting for a long time..
 SMDC0112.JPG 70.8K
50 downloadsas it sits in the shed right now
SMDC0113.JPG 71.88K
74 downloads
SMDC0114.JPG 57.38K
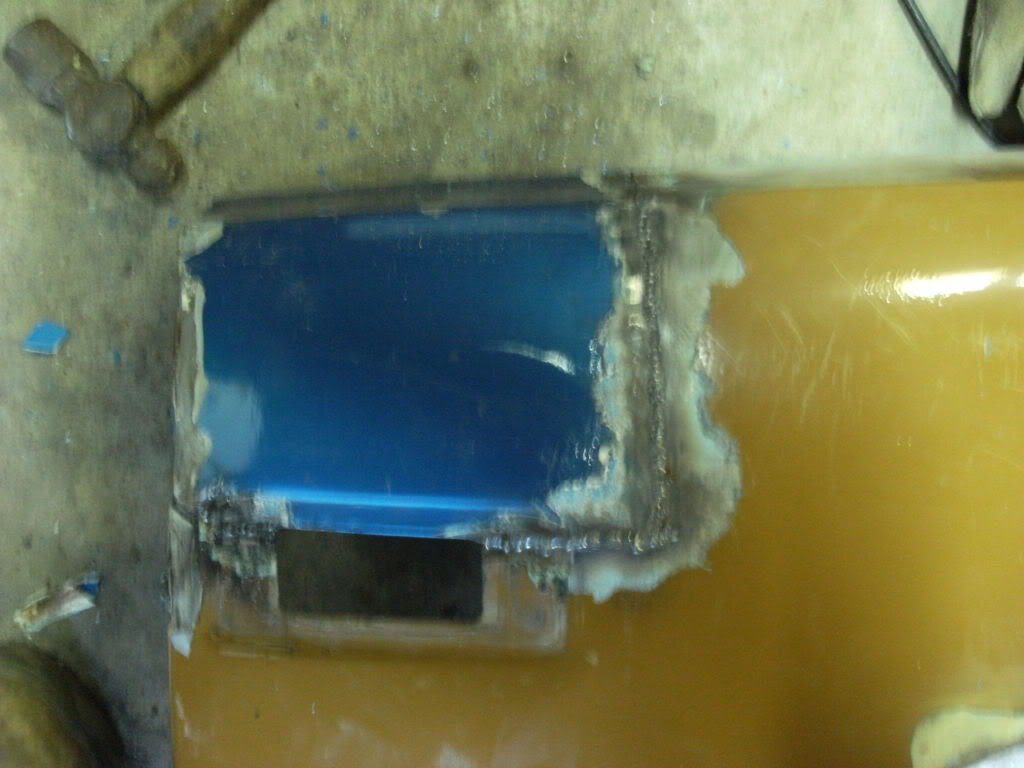
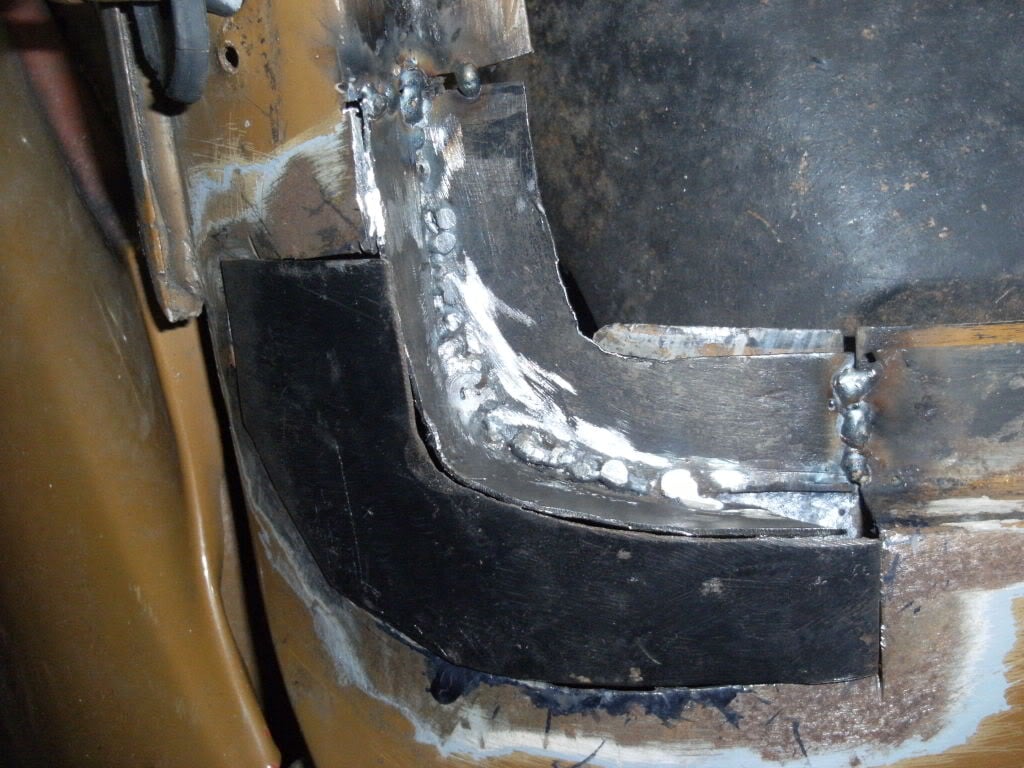
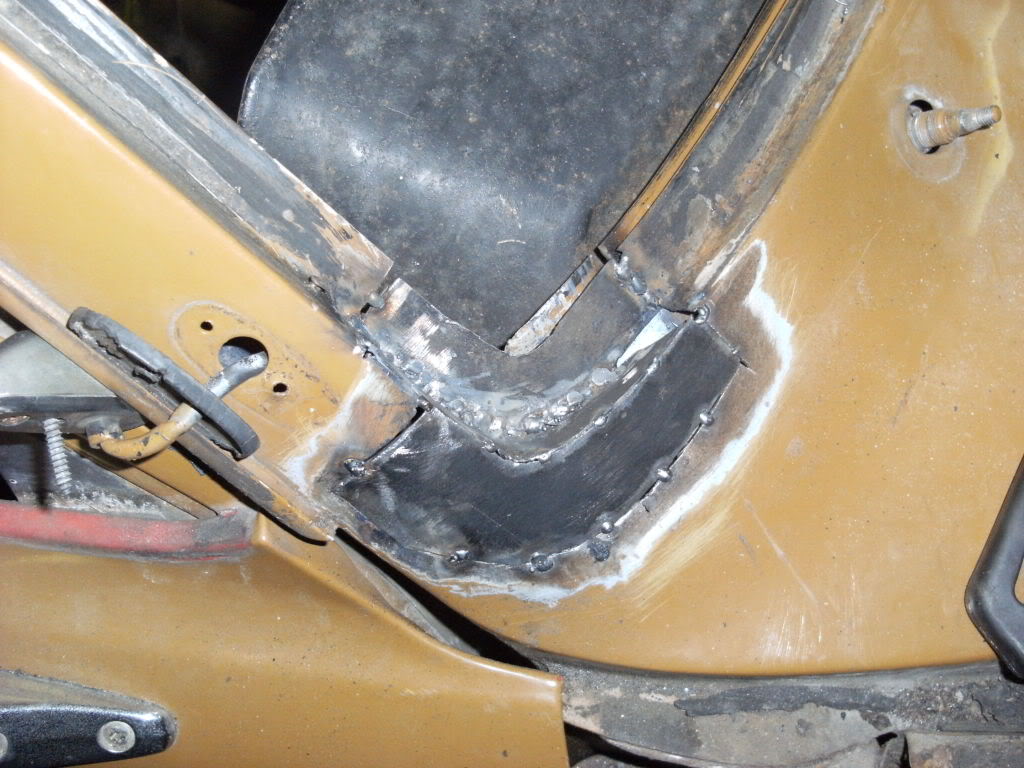
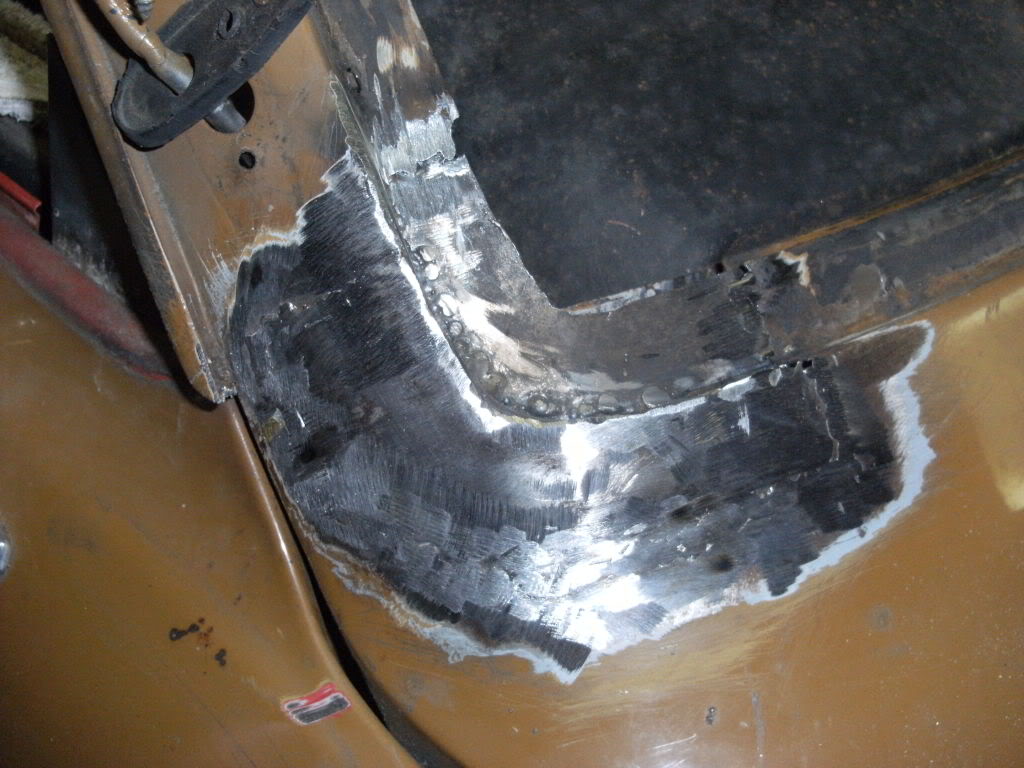
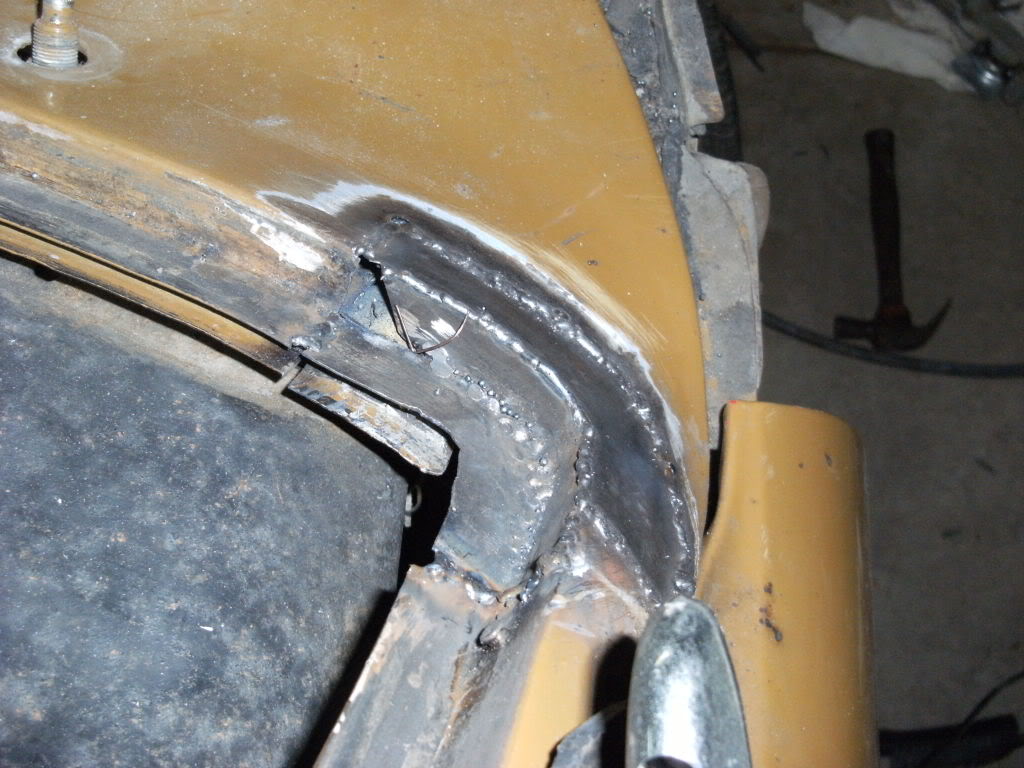
24 downloadsmost of the rust thats out on it is pretty fiddly
SMDC0116.JPG 64.02K
25 downloads
SMDC0117.JPG 78.11K
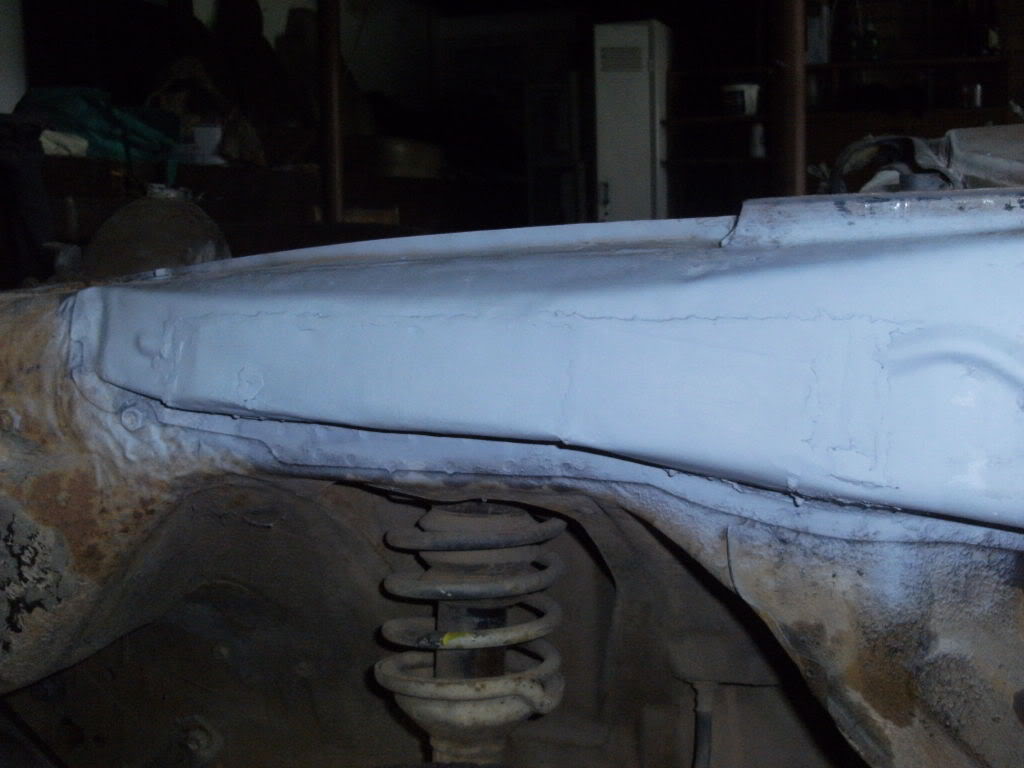
20 downloadsbig fan of fishoil
SMDC0112.JPG 70.8K
50 downloadsas it sits in the shed right now
SMDC0113.JPG 71.88K
74 downloads
SMDC0114.JPG 57.38K
24 downloadsmost of the rust thats out on it is pretty fiddly
SMDC0116.JPG 64.02K
25 downloads
SMDC0117.JPG 78.11K
20 downloadsbig fan of fishoil  SMDC0118.JPG 83.37K
18 downloads
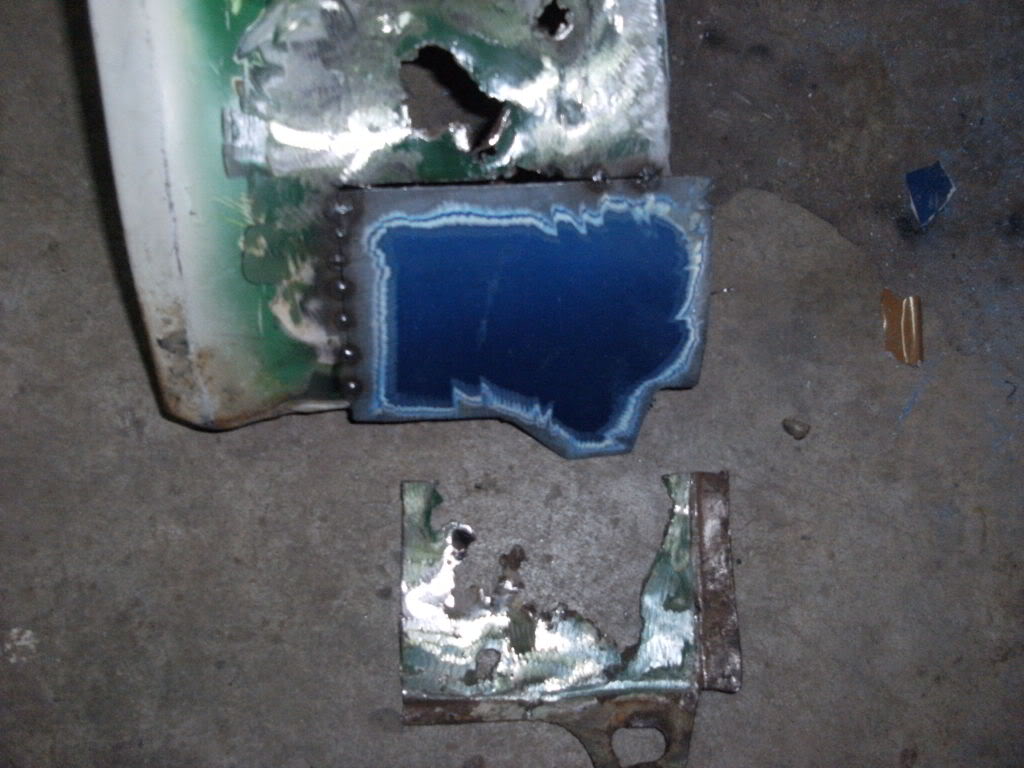
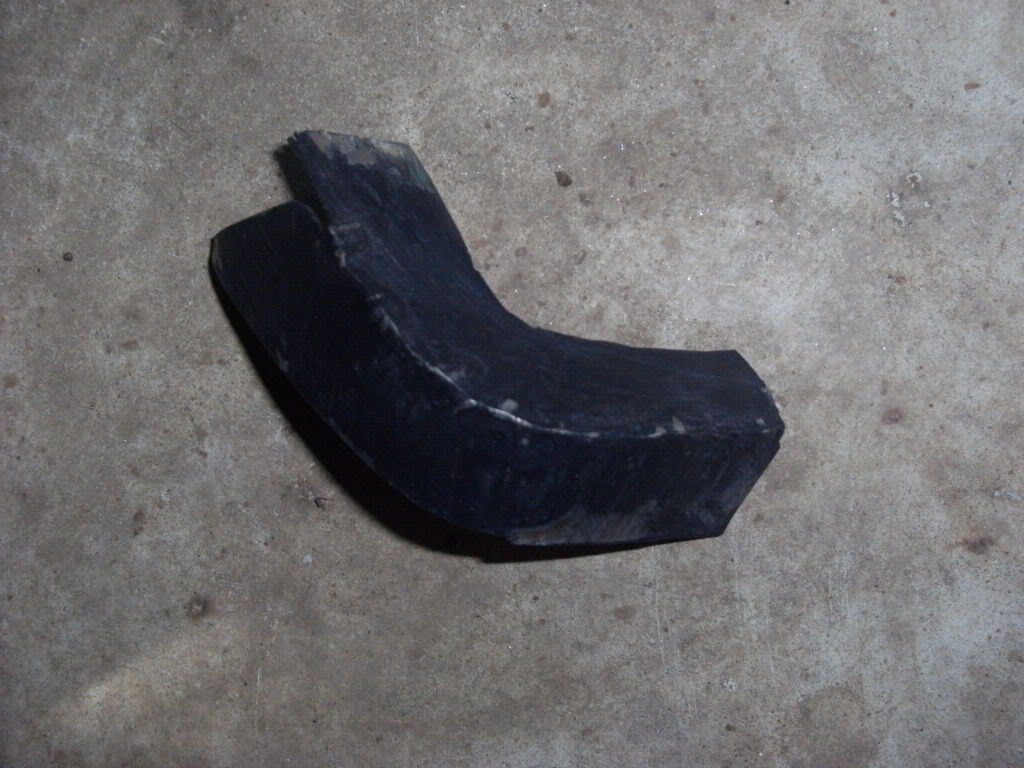
SMDC0119.JPG 93.18K
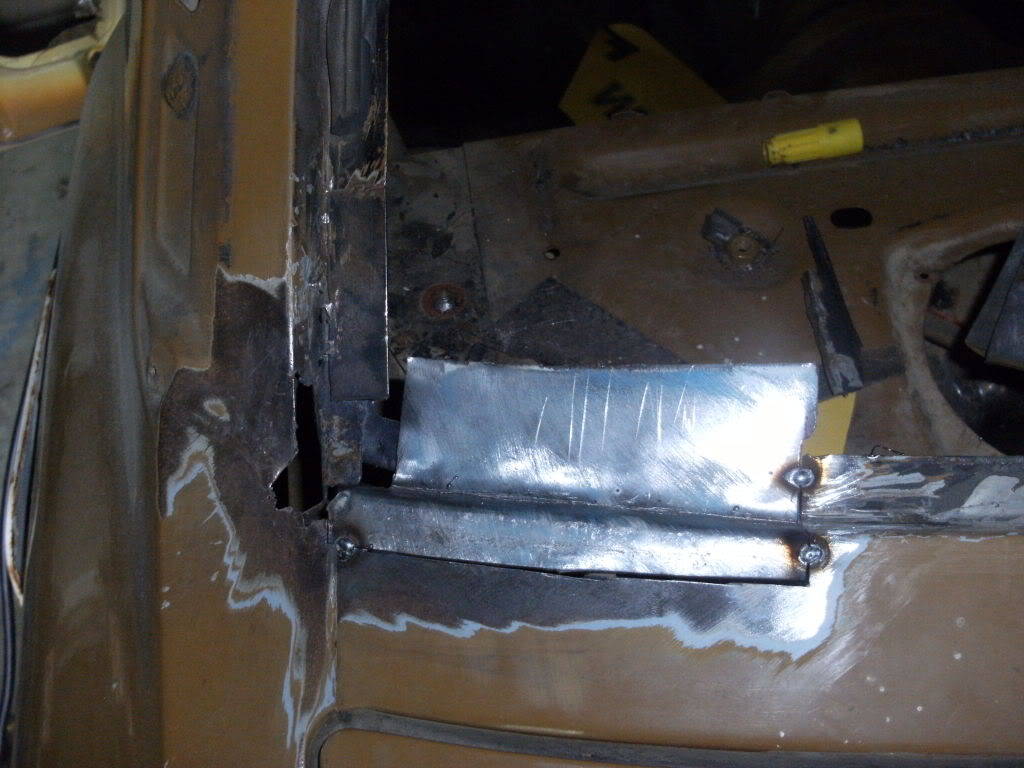
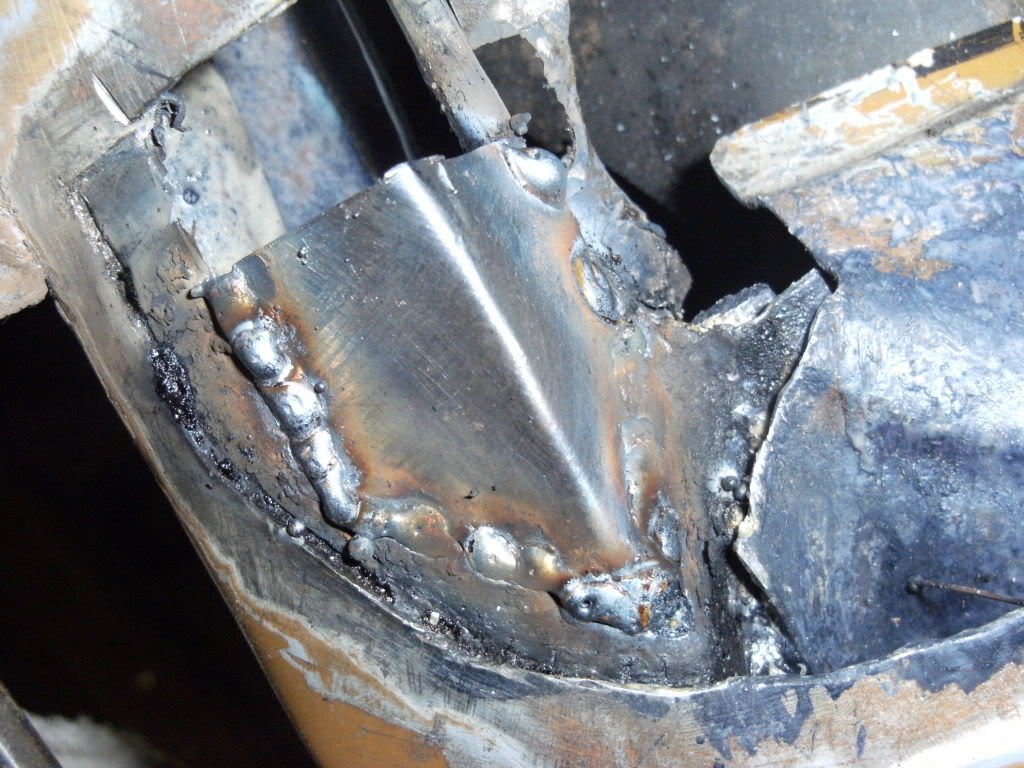
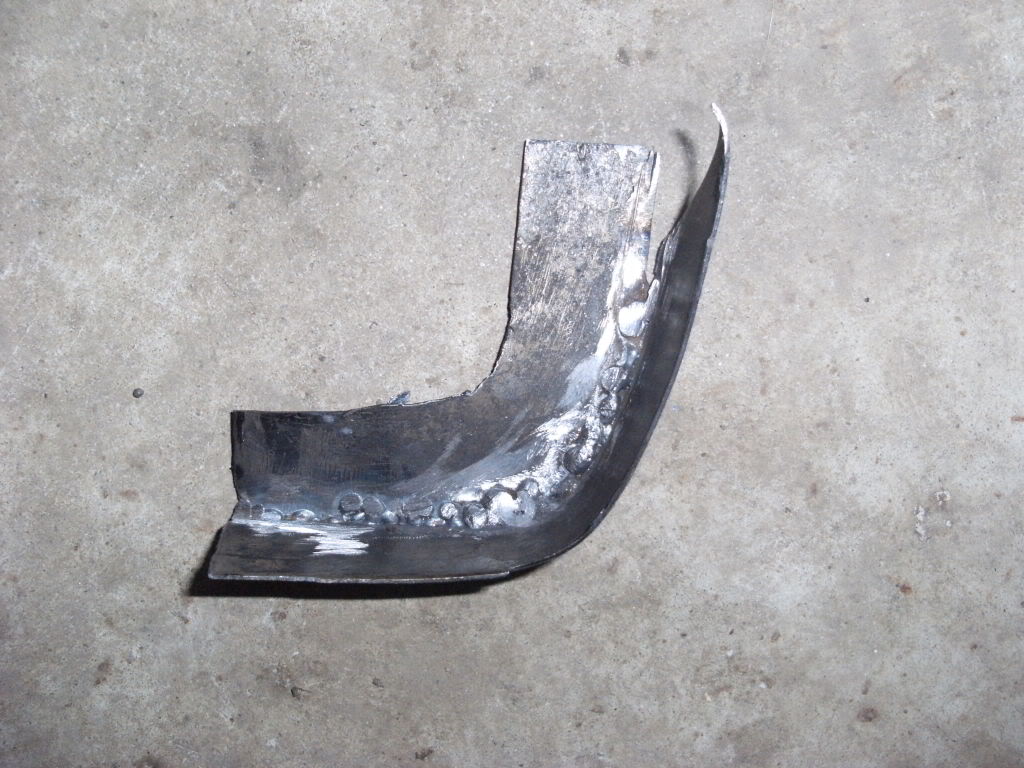
22 downloadsmaking some cut outs to try cut the strips for welding
SMDC0124.JPG 92.68K
32 downloads 200 hp... hen power
SMDC0126.JPG 72.07K
28 downloadsits a bit of a dog
SMDC0122.JPG 86.74K
15 downloadsbackseat is rooted
SMDC0115.JPG 75.86K
11 downloadsnice brown vinyl matches the original colour
SMDC0118.JPG 83.37K
18 downloads
SMDC0119.JPG 93.18K
22 downloadsmaking some cut outs to try cut the strips for welding
SMDC0124.JPG 92.68K
32 downloads 200 hp... hen power
SMDC0126.JPG 72.07K
28 downloadsits a bit of a dog
SMDC0122.JPG 86.74K
15 downloadsbackseat is rooted
SMDC0115.JPG 75.86K
11 downloadsnice brown vinyl matches the original colourshes my baby and ill keep it forever. ill post up as i go at the same time doing the new paint on the torry


 View Garage