Jump to content


- - - - -

LX under construction


  • Please log in to reply
250 replies to this topic

#176 _nial8r_

_nial8r_
  • Guests

Posted 31 October 2010 - 02:34 PM

Thx Matt the sad thing is i done them repairs about a month or 2 ago, just forgot about the pic's and to upload them Posted Image
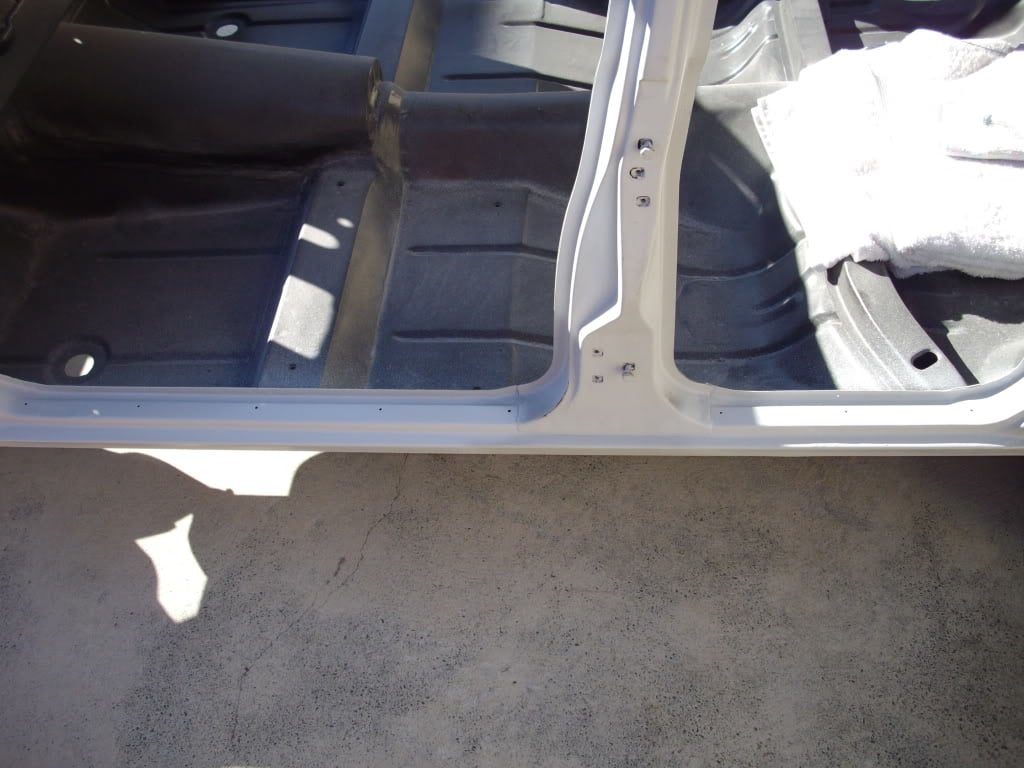
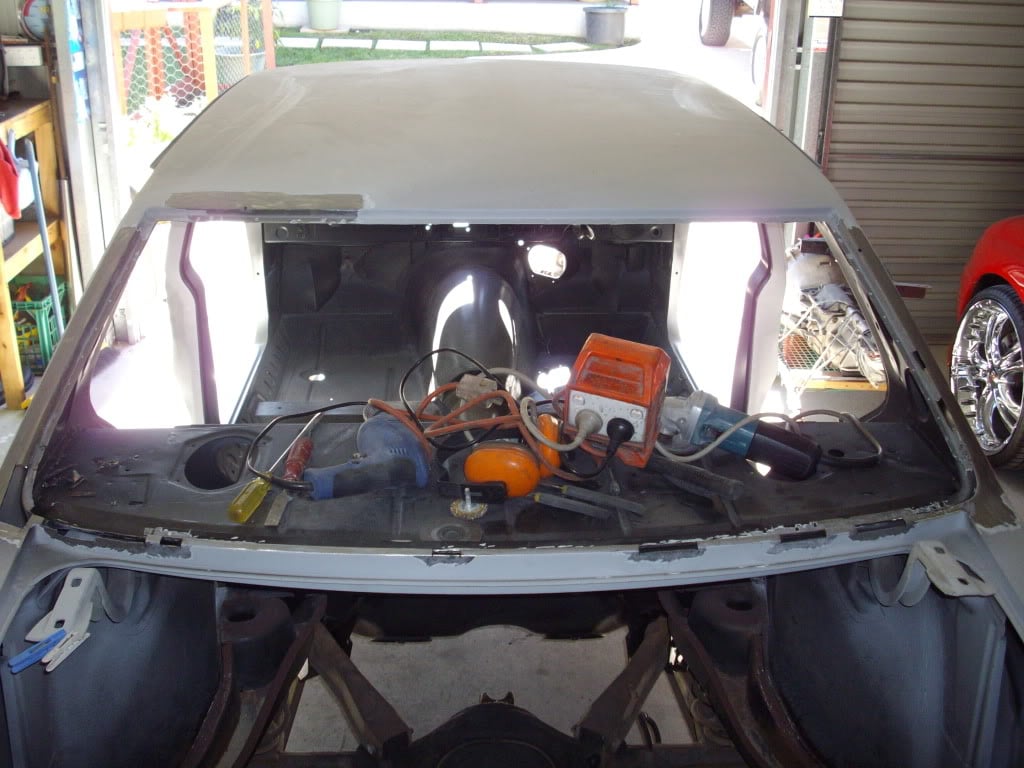
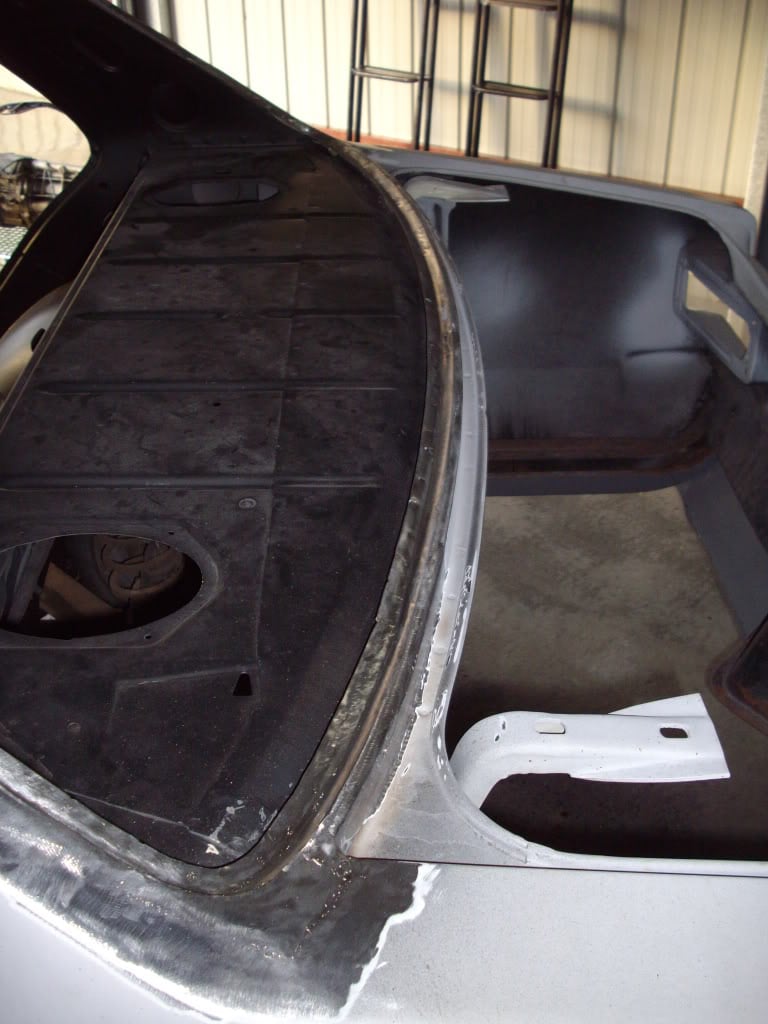
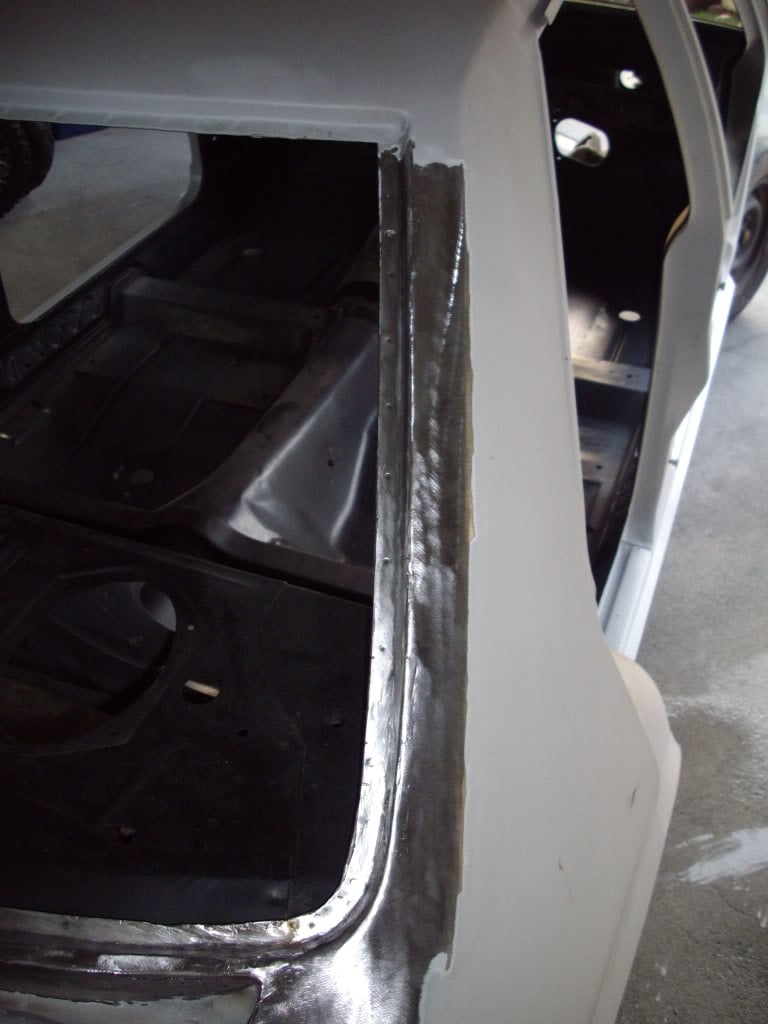
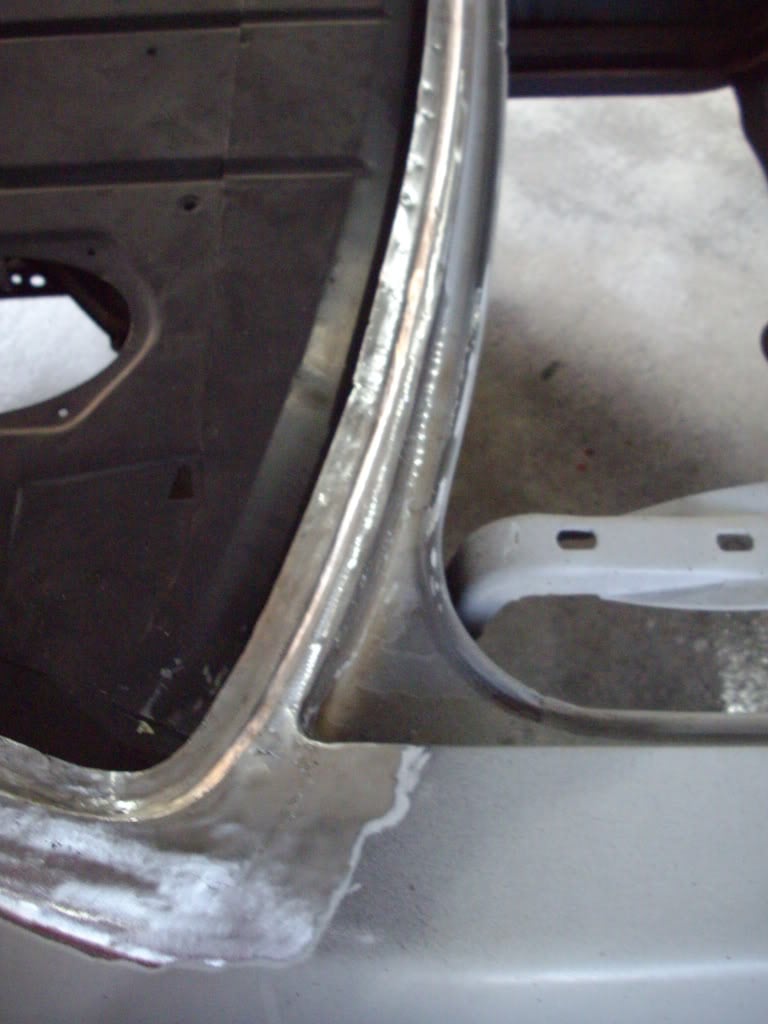
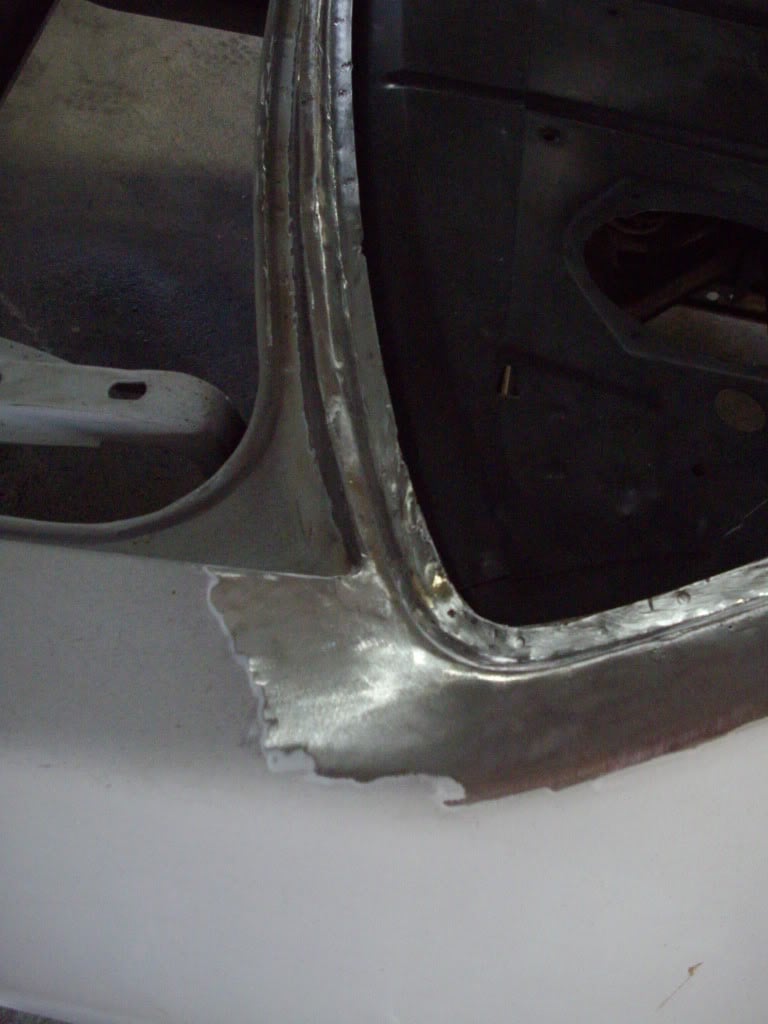
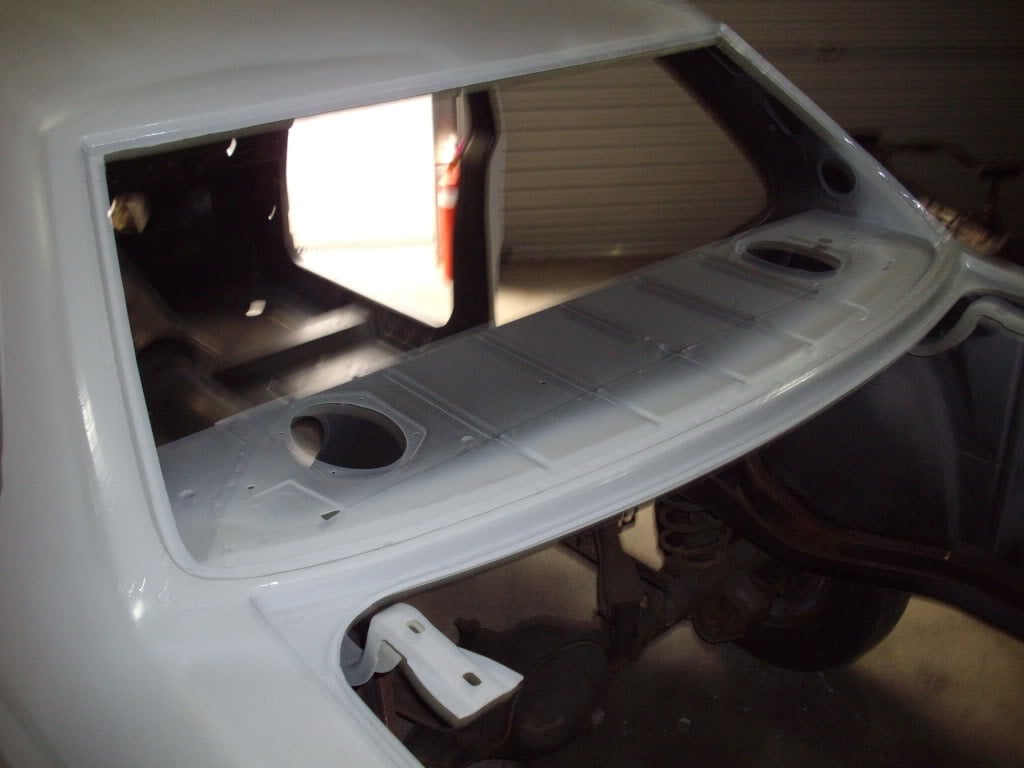
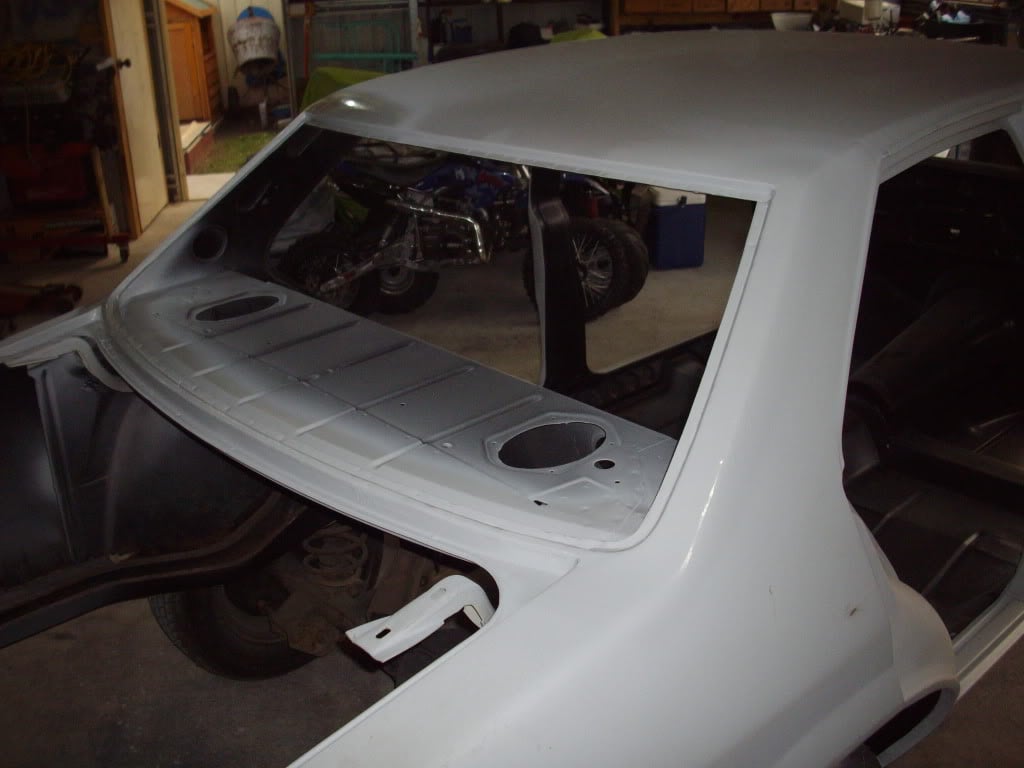
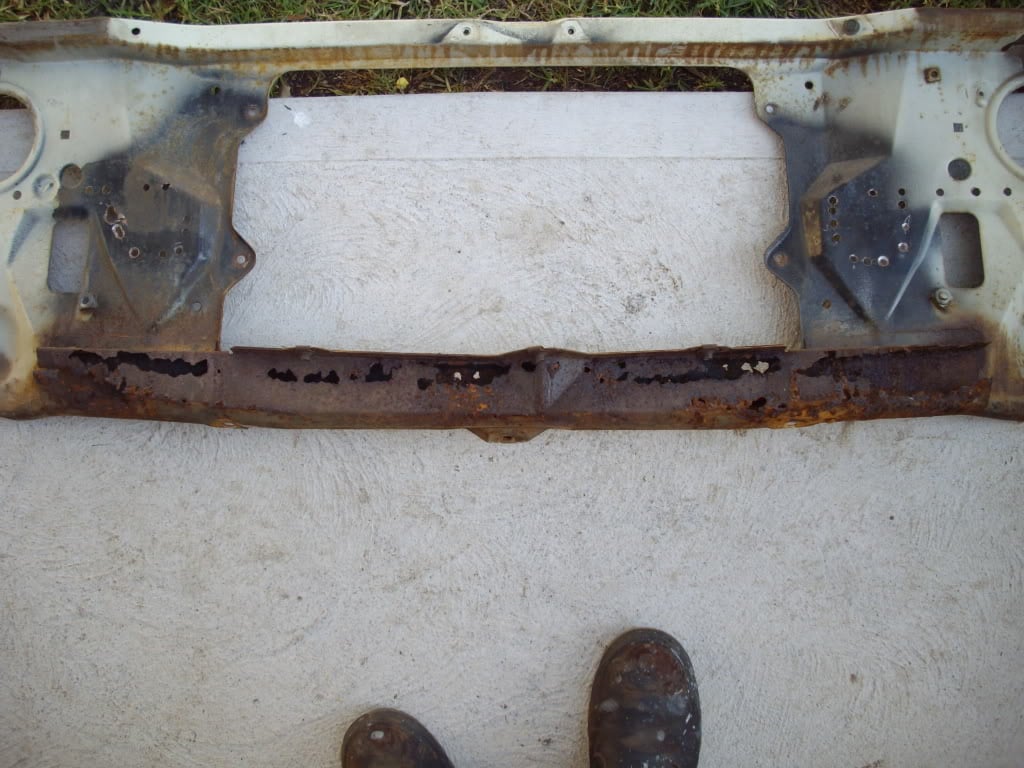
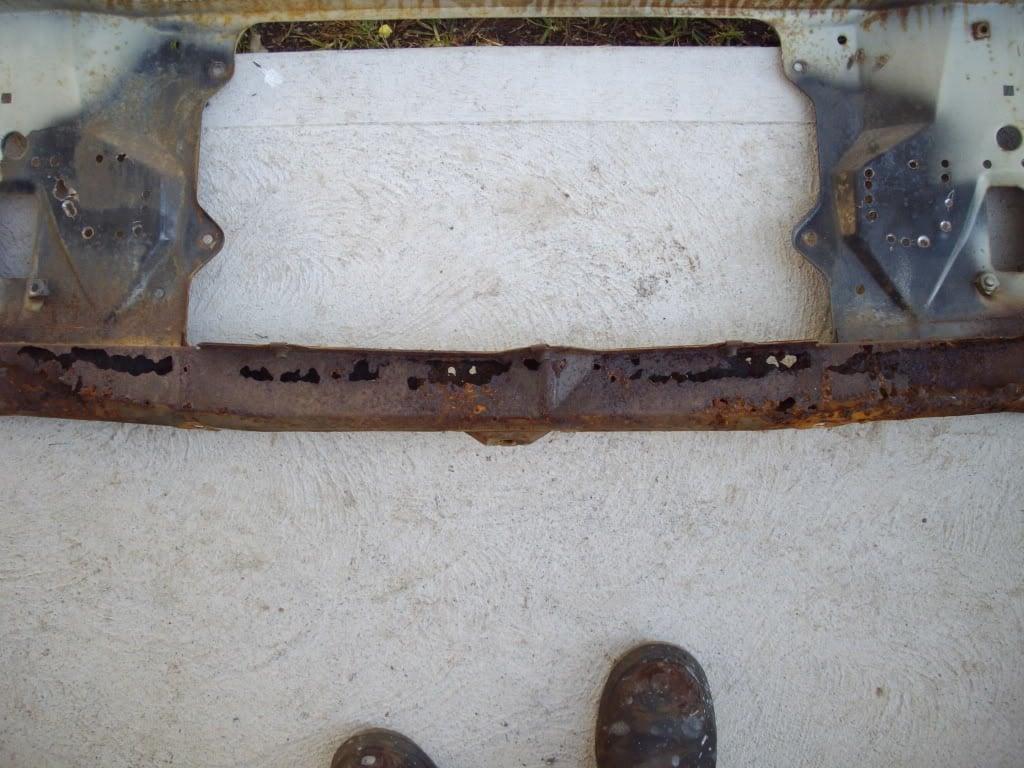
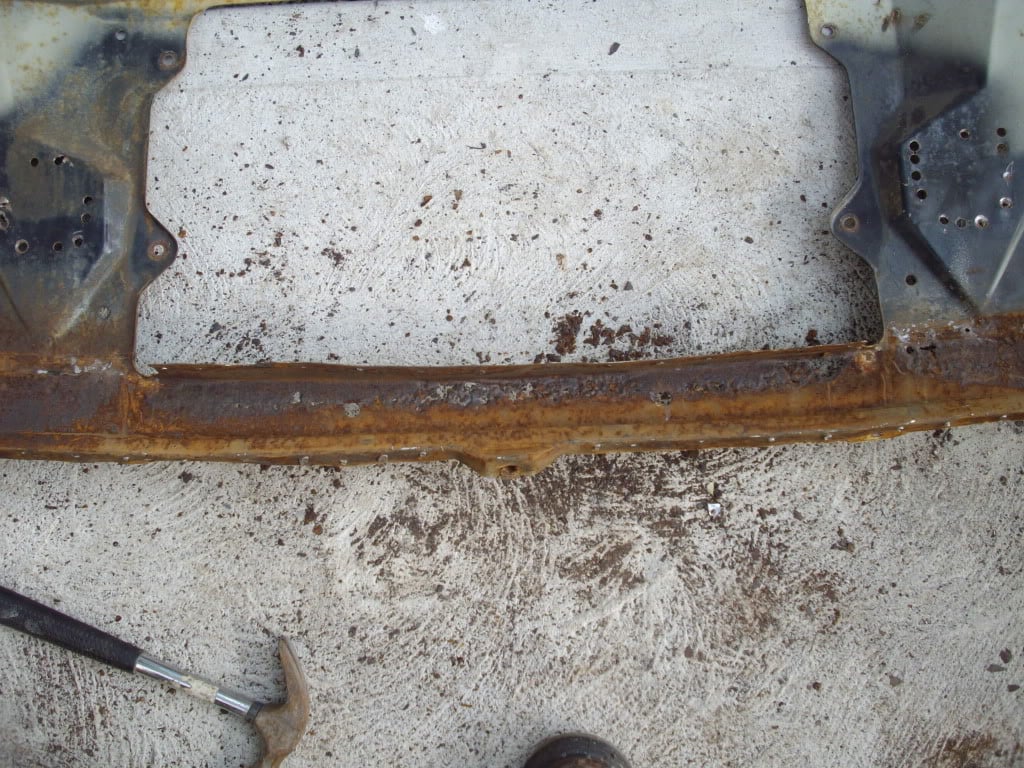
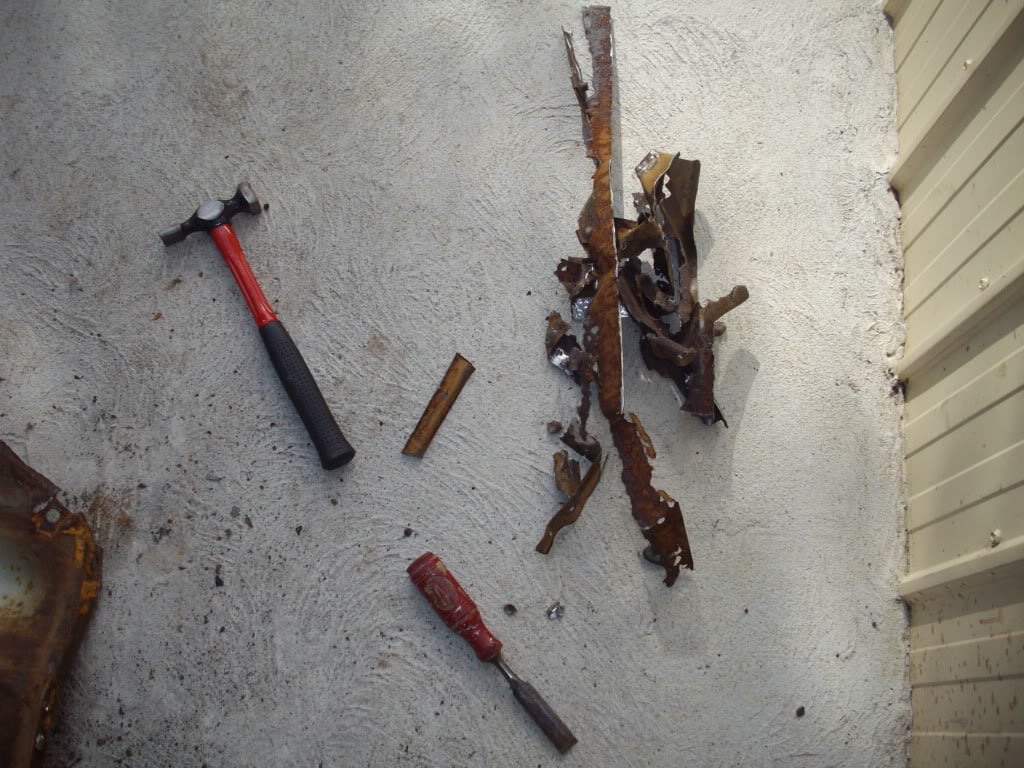
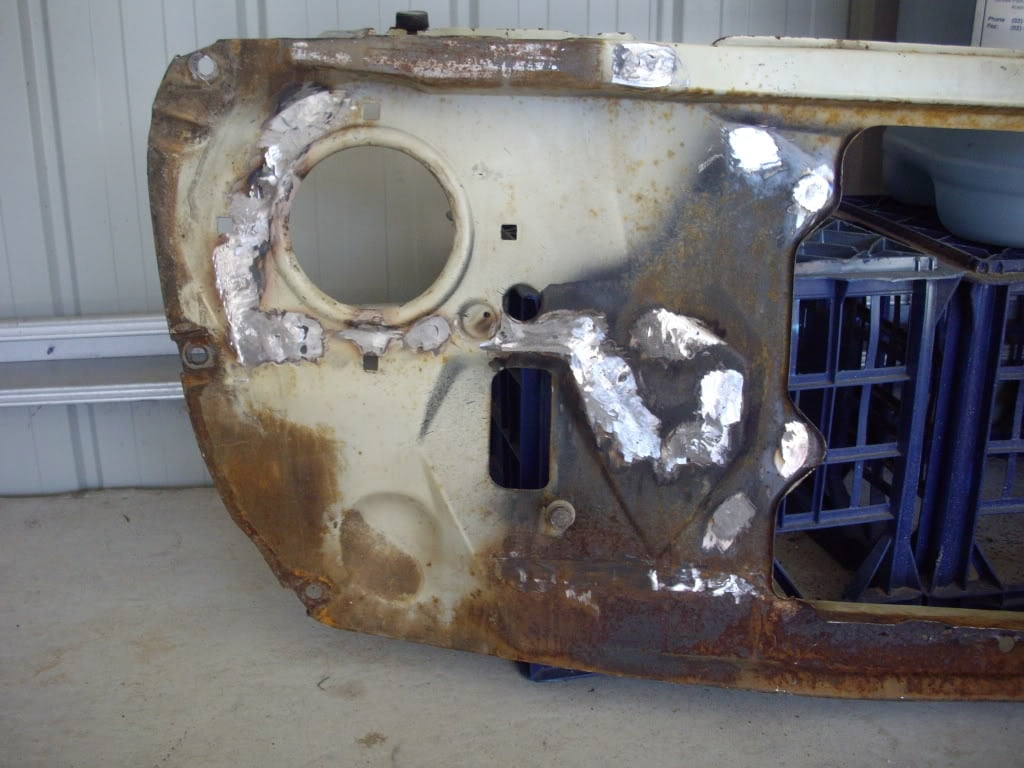
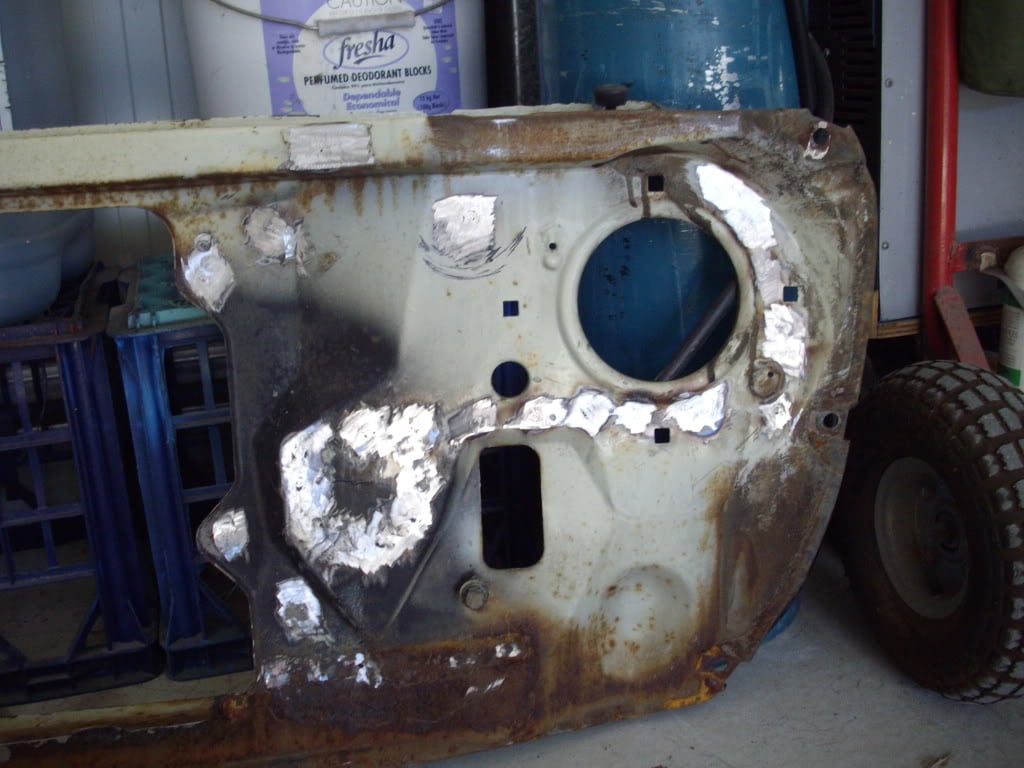
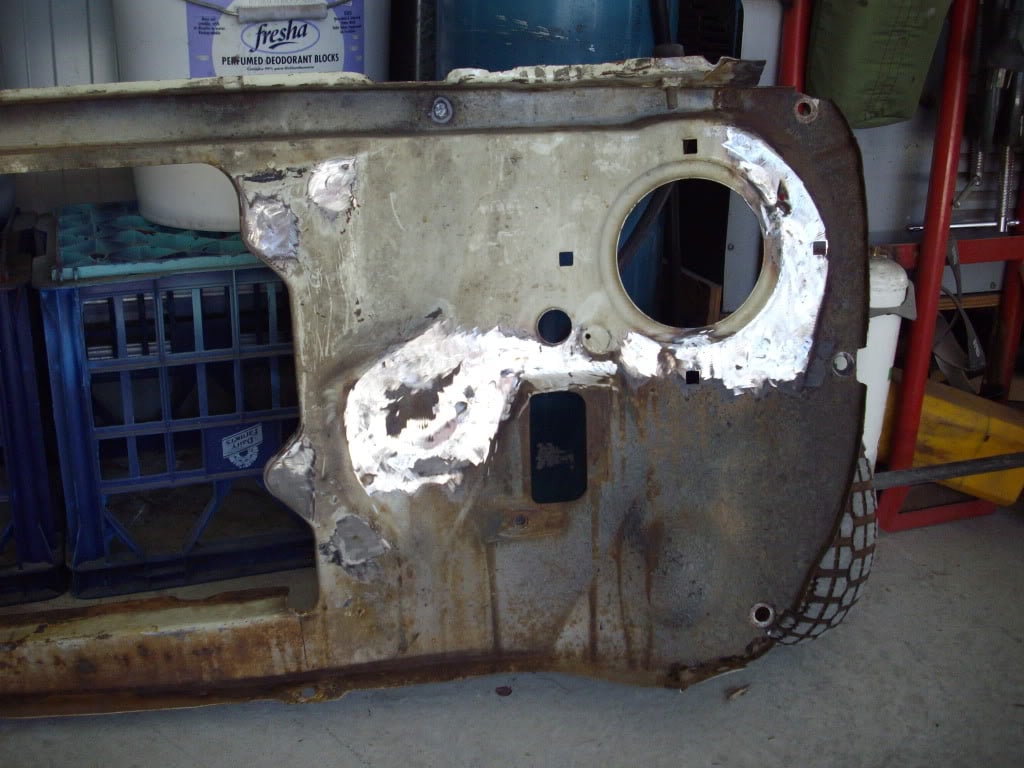
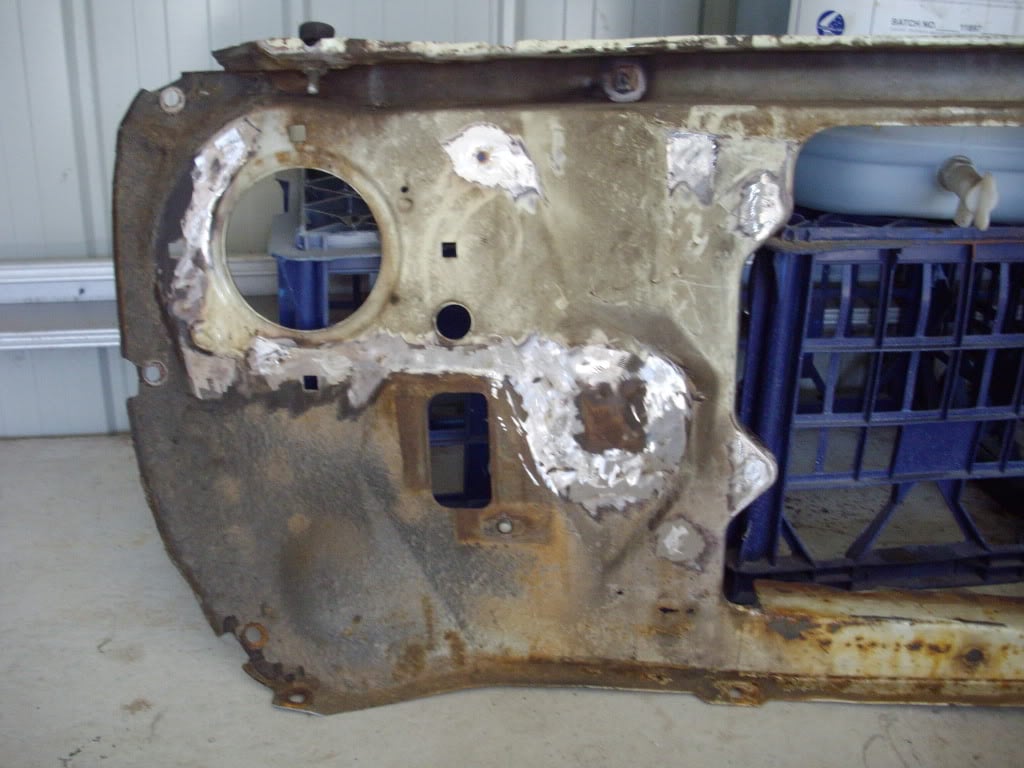
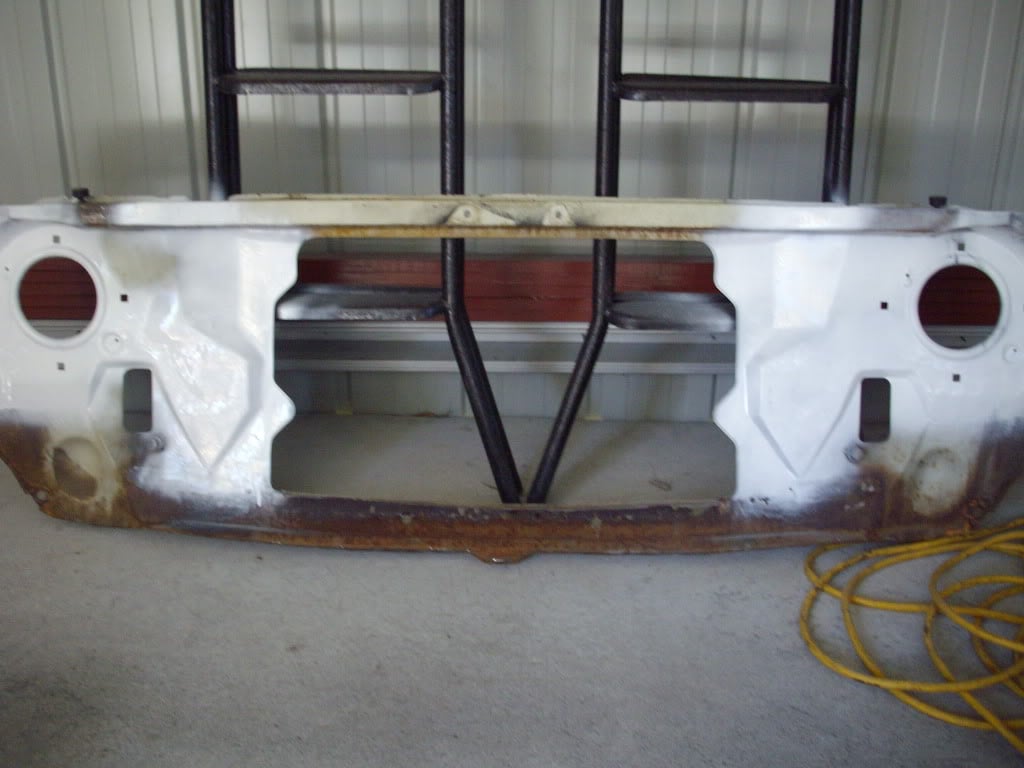
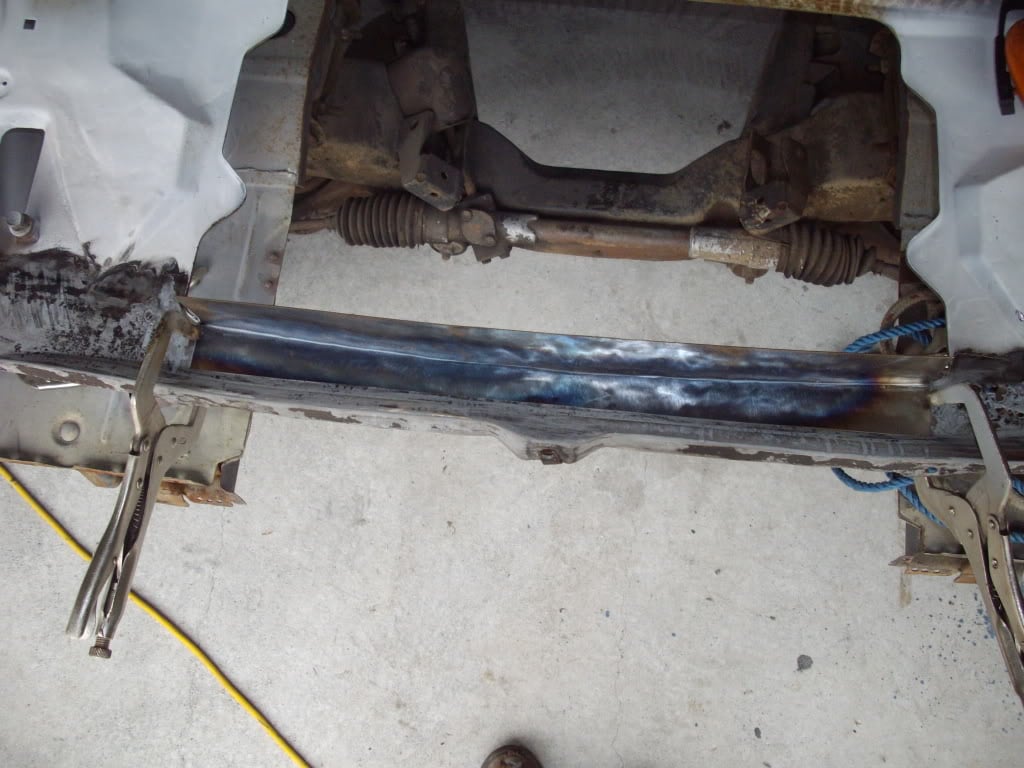
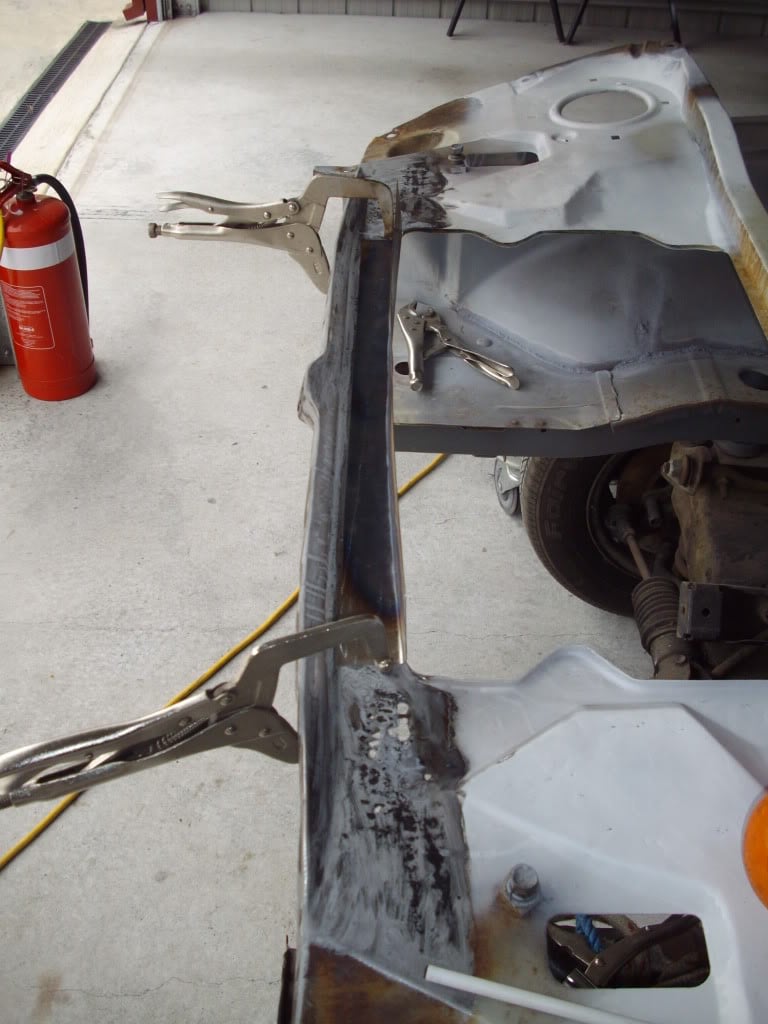
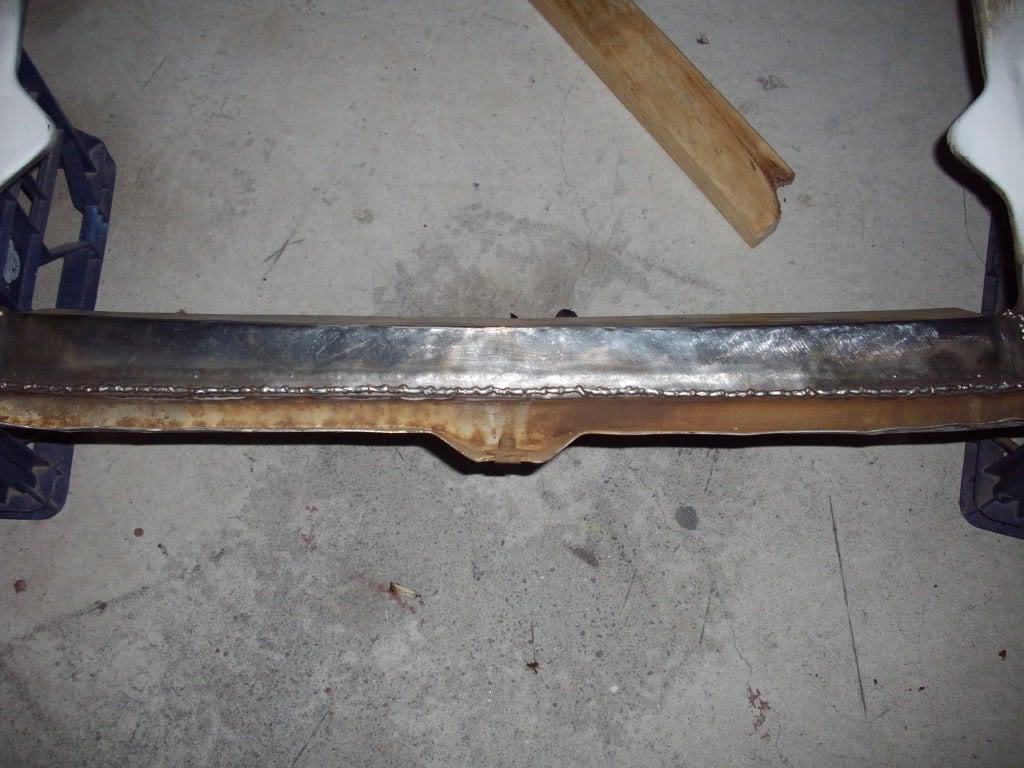
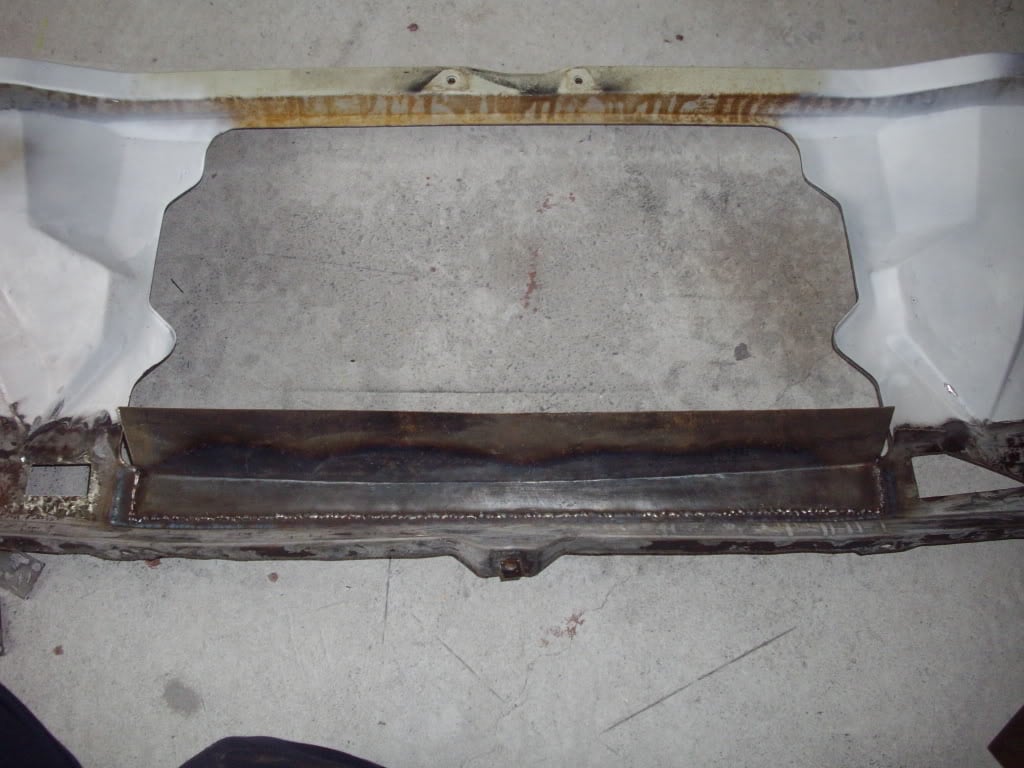
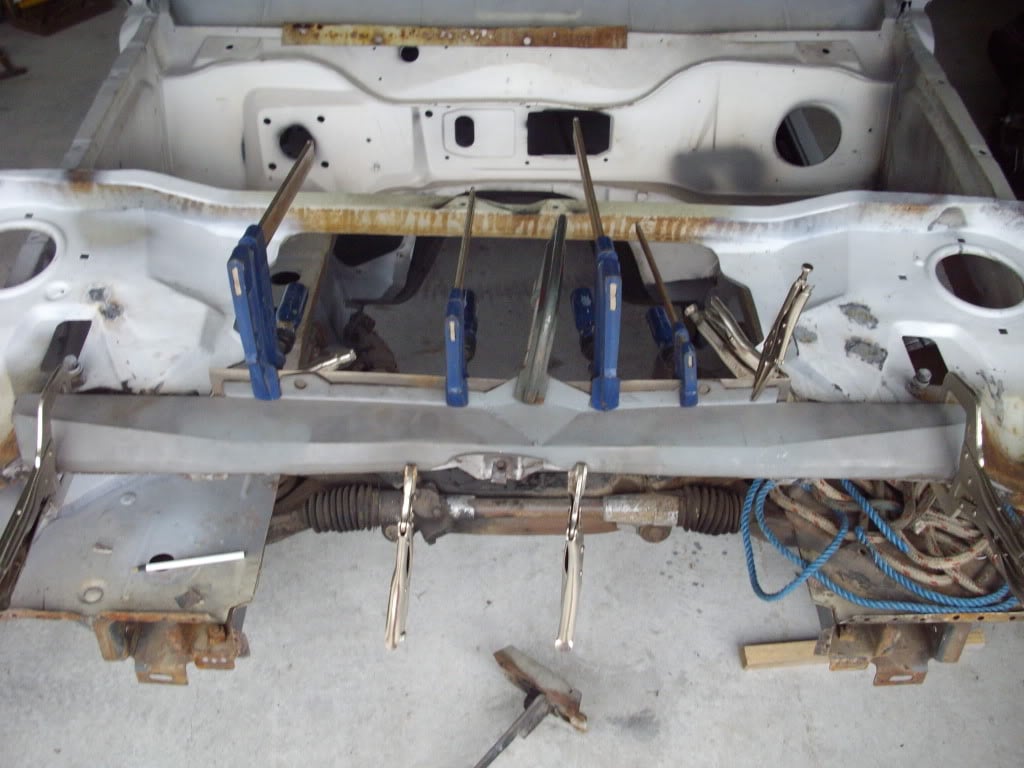
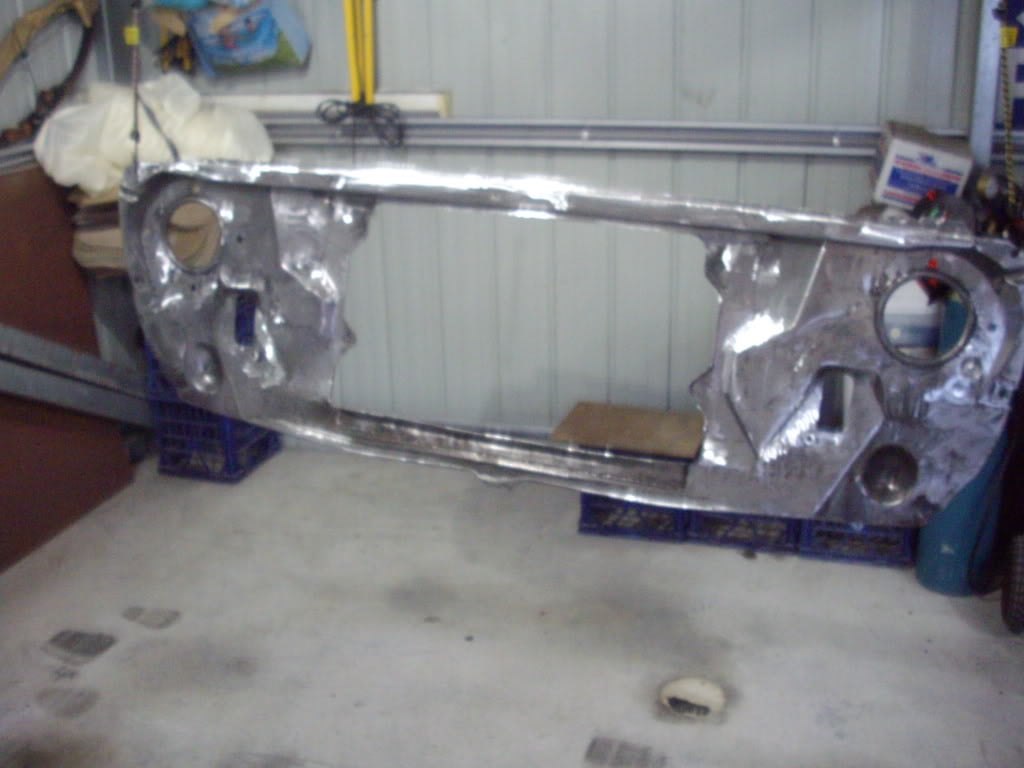
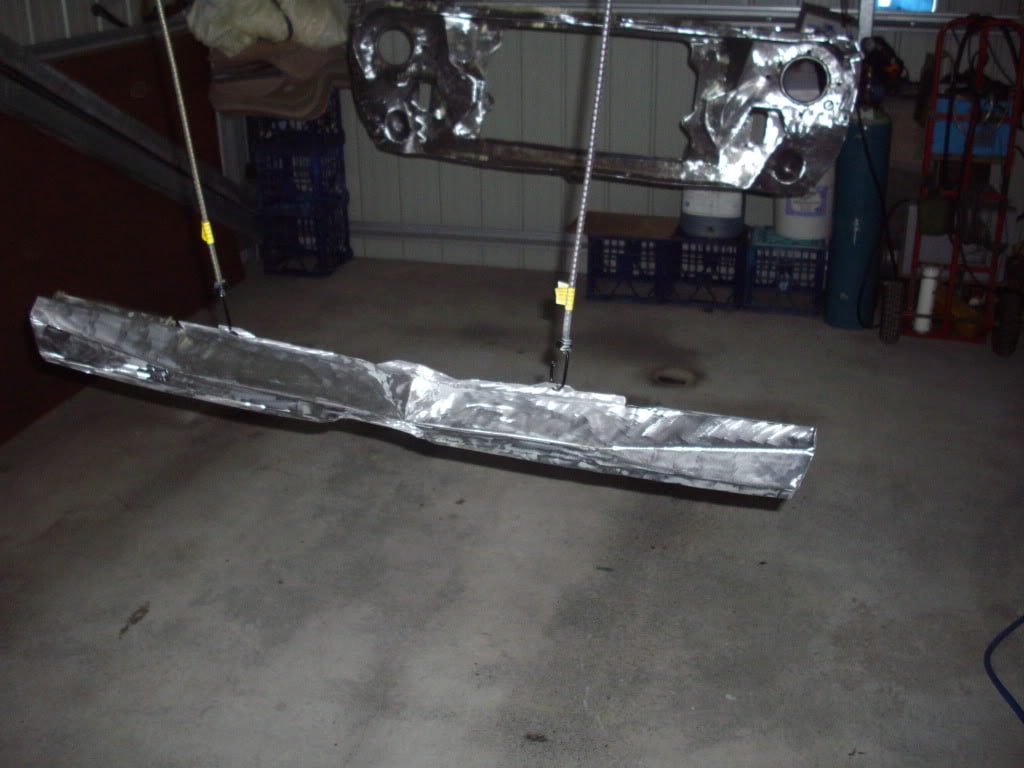
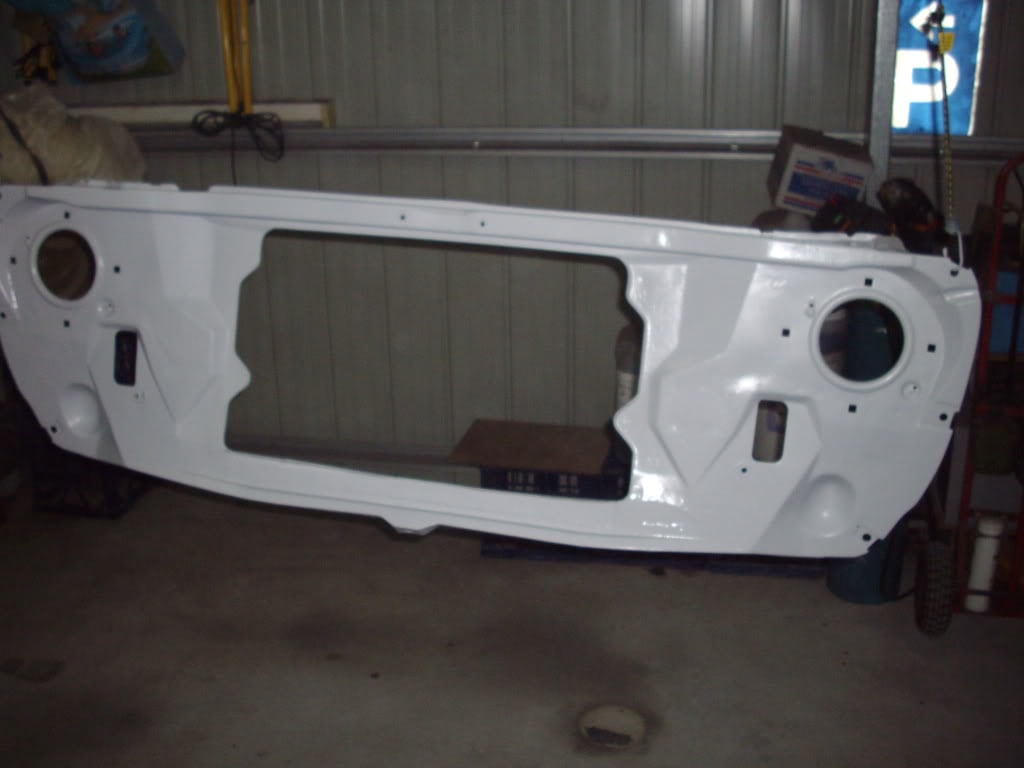
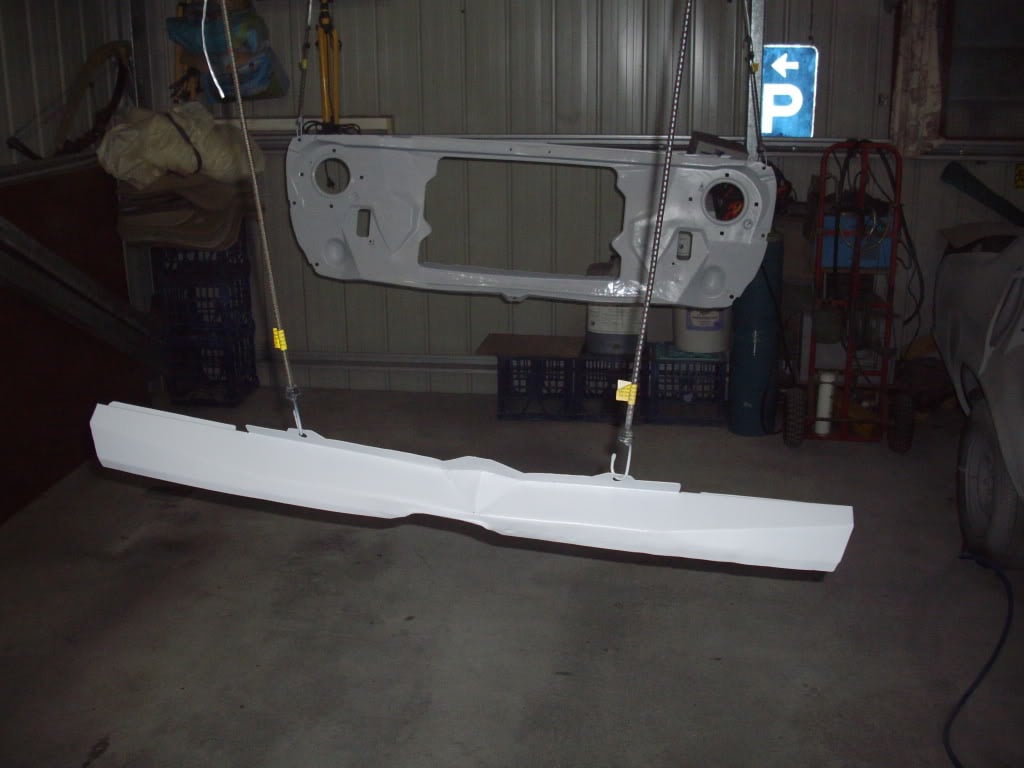
i am really hoping to get the rad support sorted and back on then im thinking of getting someone to tub the bum for me as im not confident then the boot floor can go in and then i think its only the rear window aperture and the bolt on panels Posted Image still also lost for a colour but have one in mind just hope its not to popular like my all time fav Orange Posted Image

#177 notna

notna

    Forum Fixture

  • Members
  • PipPipPipPipPip
  • 706 posts
  • Name:Reverse of username
  • Location:Sydney
  • Car:1976 LX L32 SL/R
  • Joined: 21-May 07

Posted 01 November 2010 - 02:23 PM

Nice work mate.... bloody show off!

Get that rad support done!

.... and Orange is an AWESOME colour for an LH / LX 4 door! Posted Image

Edited by notna, 01 November 2010 - 02:24 PM.


#178 _nial8r_

_nial8r_
  • Guests

Posted 19 May 2011 - 08:03 PM

well it been a long time with no progress but finally i have a update :badabing: i got the sill's done were the scuff plates go and the whole rear apature, here's some pic's


seems i only took a pic of one side :dontknow:

Posted Image

this is after i cut all the rust spots out, gezz these kinda repairs shit me :furious:

Posted Image

this was the worst spot were i found the T-Shirt stuffed and a tonne of bog over the top

Posted Image

had to put it back together in a couple of different pieces

Posted Image

but i got there in the end :buttrock:

Posted Image

Posted Image

Posted Image

Posted Image

Posted Image

Posted Image

and back in 2K etch

Posted Image

Posted Image

now i just have to fix the beaver panel that i replaced as i dont like how its sitting, then get the radiatpr support back on smooth the engine bay out and then send it of to get a boot floor & tub's fitted :stirpot:

#179 _Liam_

_Liam_
  • Guests

Posted 19 May 2011 - 08:20 PM

Nice mate good work. :buttrock:

#180 _Kush_

_Kush_
  • Guests

Posted 19 May 2011 - 10:41 PM

I likey :buttrock:

#181 _nial8r_

_nial8r_
  • Guests

Posted 20 May 2011 - 04:01 PM

thanks fella's, im happy to announce that i have started to repair the radiator support today and squared it up on the car aswell and i got it down to only 3mm out so i marked it on the car before i took it back off so when it comes time to fit it back up i wont have to sit there for an hour trying to squre it up by my self :Headbang2:

Edited by nial8r, 20 May 2011 - 04:01 PM.


#182 its Paul

its Paul

    Formerly lx8vd77

  • Members
  • PipPipPipPipPip
  • 1,577 posts
  • Name:Paul
  • Location:Gold Coast
  • Car:LXSS, VUSS, VESSv & the mighty HB
  • Joined: 07-January 08

Posted 20 May 2011 - 05:34 PM

Jesus, those 4 doors have big boots.......

Great work Lee, Keep at it, and keep posting photos, you know we all like photos. :)

#183 _nial8r_

_nial8r_
  • Guests

Posted 20 May 2011 - 05:50 PM

thanks Paul the boot floor goes all the way to the ground :unsure: as it was pretty shagged, come to think of it the only part of it that was any good was the spare wheel tub belive it or not :dontknow:

#184 _A9XOSS_

_A9XOSS_
  • Guests

Posted 20 May 2011 - 08:32 PM

top job u r doing there Lee, well done.

#185 _nial8r_

_nial8r_
  • Guests

Posted 21 May 2011 - 08:47 AM

thanks A9X i managed to get the lower section of the support yesterday, just have to weld in a couple of bits on the lower section were it had also rusted out then i can fit up the outta section that i got Paul to make up for me early last year. :badabing:

#186 notna

notna

    Forum Fixture

  • Members
  • PipPipPipPipPip
  • 706 posts
  • Name:Reverse of username
  • Location:Sydney
  • Car:1976 LX L32 SL/R
  • Joined: 21-May 07

Posted 21 May 2011 - 10:28 AM

Progress! Woohoo! Quality work Lee. I need to see this.... it fuels my own motivation!

I'm taking a month off work in 4 weeks. My job is mega stressy.... If i don't take the month I will burn out. I'm planning to wok on my SL/R every day, so watch out mate! :P

#187 _nial8r_

_nial8r_
  • Guests

Posted 21 May 2011 - 04:19 PM

lol dont worry mate, it was a big shock to me seeing the support clamped on the front of the car :mellow: after all this time. wich points one the front did you use to make sure your was square ??

#188 notna

notna

    Forum Fixture

  • Members
  • PipPipPipPipPip
  • 706 posts
  • Name:Reverse of username
  • Location:Sydney
  • Car:1976 LX L32 SL/R
  • Joined: 21-May 07

Posted 21 May 2011 - 06:38 PM

Mate, I measured all my suspension from ground up first, to make sure the car was sitting straight from a suspension perspective. Then I measured from the ground up to the underside of the top bit that you lean on when looking into the engine bay, usually saying "fwoooor" or "bugger". I had to make sure both sides were the same as my priority, because my front end wasn't square. This aint gunna help you, because your's wasn't bent. I would assume that you would be putting yours back in the same spot it came off from, lining up your holes from drilling out your spot welds?

I'm no expert, but sometimes you JUST gotta go with your gut feeling. My father in law spends half a day measuring everything 20 times, and it shits me like you wouldnt believe. NIKE had the idea.... JUST DO IT!!!! :P

#189 _nial8r_

_nial8r_
  • Guests

Posted 21 May 2011 - 07:05 PM

lol yeah sometime i just NIKE it :buttrock: the reason i was asking you how you squared yours up as this support is off another LX so the hole are all way out. i did square it up by my self and got it down to only 3mm out. i know 3mm out in one spot can lead to much more in another spot so i think i will just nip the 2 bolts up were the bar iron go and put a tac weld on top on each side then throw the gaurds and apron on and see how it looks before i weld it all up :dontknow:

#190 _nial8r_

_nial8r_
  • Guests

Posted 21 May 2011 - 07:10 PM

heres some pic's of the new support before i started to unpick/ shake off

Posted Image

Posted Image

after i got it off, i didnt drill the spot welds out on this as i couldnt really see were they were so i tapped away at them with a sharp chisle and hammer and only got one pull through

Posted Image
and well this is the lower section off. its for sale if anyone wants it :DOH:
Posted Image

Edited by nial8r, 21 May 2011 - 07:13 PM.


#191 notna

notna

    Forum Fixture

  • Members
  • PipPipPipPipPip
  • 706 posts
  • Name:Reverse of username
  • Location:Sydney
  • Car:1976 LX L32 SL/R
  • Joined: 21-May 07

Posted 21 May 2011 - 09:31 PM

OK... I didn't know it was off another car. That's very different.

If you "hang" the rad support on top of each inner guard, and clamp it like you are going to weld, how does the rest line up? I clamped and welded in those 2 places, and THEN had to raise it up, pulling the inner guards with it, to line up the holes where the spot welds were split.

I reckon that when you remove the rad support, its only then that things move out of alignment, because the rad support holds quite a few different things in place.

Lots of push and shove mate! Show it who the boss it! :P

and well this is the lower section off. its for sale if anyone wants it :DOH:


LOL! You never know mate!!

#192 _LH SLR 3300_

_LH SLR 3300_
  • Guests

Posted 21 May 2011 - 10:23 PM

JMO, with the rad support clamped on the car roughly in what you think is the right spot, get a tape measure & do diagonal measurements from the rear most guard bolt hole to the fore most guard bolt hole on the support. Both diagonals should be the same length. Then check your lengths each side from rear most to fore most holes. To check height, place a spirit level on the roof turret, mark where the bubble is, then check on the wiper panel. The bubble should be in the same spot. Then place on the top lock panel of the rad support. The bubble should be in the same spot, if not, place a straight edge across the chassis rails & check height. If one rail is up or down, do a diagonal & length measurement. If they vary by more than a couple of mm, PM me. Although not a perfect method of squaring up a front end, it should get you very close. Once you've got it within1- 2mm, self tapper the support in place & trial fit bonnet, guards,etc to check for overall panel alignment.

#193 _nial8r_

_nial8r_
  • Guests

Posted 22 May 2011 - 08:56 AM

thanks Matt so i did remember right from mthe last time you told me :buttrock: i just didnt do the spirt level one, but i did measure from the top gaurd bolt hole to the last hole on the support on the diagonal and got it as close as 3mm out, i put some wittness marks on the inner gaurds so when it goes back on i know im still only 3mm out and will get the wife on the job just to try and get them last few mm sorted if possible. i should have it on in a couple of days after i repair it then its out with the hanging panels to make sure it all good, but you still might get a PM if i cant get it close enough ^_^

#194 _nial8r_

_nial8r_
  • Guests

Posted 31 May 2011 - 08:00 PM

quick update on the radiator support

all the holes were i unpicked it are all filled in useing the copper backing plate that worked a treat, thx again for the info fella's

Posted Image
Posted Image
Posted Image
Posted Image
Posted Image

always got a pressure pak of etch to cover up while i move onto other repairs

Posted Image

now the fun part was shaping up the inner lower section, it has a slight bow in it so i has to get the wife on the blow torch heating the new piece while i tapped away useing a big pice of 10mm plate steel for the edge untill i got the right curve, it took a bit but i got there in the end

Posted Image
Posted Image

all welded in, i left a 5-10mm overlap so that i could blend it in when it was cleaned up, in the 2nd pic i had to do 2 small repairs either side of the centre section.

Posted Image
Posted Image

then it was time to clamp the outter section on so that i could mark out the new inner section and cut it to shape

Posted Image

all stripped back and ready for some 2k etch

Posted Image
Posted Image

all in 2k etch finally :buttrock:

Posted Image
Posted Image
Posted Image

now all i have to do is give it a day or so and then brush some seam sealer over the welded section on the front before i attach the outta section, then its right to go back on the car saturday morning :party:

Edited by nial8r, 31 May 2011 - 08:08 PM.


#195 _Kush_

_Kush_
  • Guests

Posted 31 May 2011 - 08:26 PM

That is excellent stuff, Lee!
Also, I wish my missus helped me with my car..........
And I wish I had as many clamps as you....... Clamps are like getting your mates over to hold stuff that don't complain or annoy you or offer their stoopid opinions all the time :)

I'm DEFINATELY going to have to buy more clamps.

Edited by Kush, 31 May 2011 - 08:29 PM.


#196 notna

notna

    Forum Fixture

  • Members
  • PipPipPipPipPip
  • 706 posts
  • Name:Reverse of username
  • Location:Sydney
  • Car:1976 LX L32 SL/R
  • Joined: 21-May 07

Posted 31 May 2011 - 09:40 PM

LOL @ the clamps. I have clamp envy too Lee... ya bastard! :P

I only learnt the copper behind the hole trick recently too. Wish I had known that one earlier!!

Quality work as usual mate. Looking forward to seeing you work in fitting it.

#197 _Liam_

_Liam_
  • Guests

Posted 31 May 2011 - 09:55 PM

Oh nice work Lee! Making it look relatively easy. What's next on the list mate?

#198 _nial8r_

_nial8r_
  • Guests

Posted 01 June 2011 - 09:10 AM

thanks fella's i ran out of clamps and had to dig out bloody G-Clamps, i really need to get some more, some 400mm C claps would be nice. Kush just chuck a hammer a few times at something and let her see and theres a good chance she might offer some help lol im glad that mine will help out when needed.

The copper backing for filling holes make life so much easyer and neater too, i only wish i had a decent lump as the the bit of copper pipe a made flat got f%$king hot real quick :surrenderwave: but it did the job and i only need it now to fill the holes at the front of the inner gaurds and the ones on the ends of the rails but this time i will try not to forget its hot :soapbox:

when i look back at the pic's i think to my self that doesnt look to hard but most of it is just time consuming as with the lower section i couldnt just have a good run at it as i had to keep the heat down so that it didnt warp thats the worst part, well for me anyway cause every time i stopped to let it cool a bit i fired up another ciggy ^_^ next step is to get the support back on then trim and smooth the rails and find someone that will restamp the number that is on the R/H side when i replace both the battery tray and the same on the other side. then i should be right to send it off to have the whole new boot floors and tubs done while i start on all the hanging panels.

#199 _BrettLH253_

_BrettLH253_
  • Guests

Posted 02 June 2011 - 10:47 AM

Unreal work mate, your a genius in panel beating and fabrication.

#200 _nial8r_

_nial8r_
  • Guests

Posted 02 June 2011 - 11:48 AM

Thanks for the kind words Brett, i wouldn't go as far as " genius " im just the average back yard tin tapper :spoton:
have a gander at some of " Dirtbags " build threads, he turns wheel barrow loads of mangled rusty metal in to show quality cars. he has a talent that alot of us envy :cry:


1 user(s) are reading this topic

0 members, 1 guests, 0 anonymous users