As most people will know, good straight rust free doors for Toranas are getting hard to get & with some companies like Rare Spares making reproduction skins for Toranas, repairing & reskinning your original doors can be a easier & better alternative.
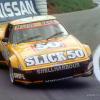
The subject of the reskinning here is my LH Torana but the basic principal is the same for alot of cars.
The door on my car was badly damaged from contact with a garage wall or something so was beyond reasonable repair. I was lucky & found a genuine NOS skin for $200 which is cheap as a VZ Commodore skin is over $220 & easily found.


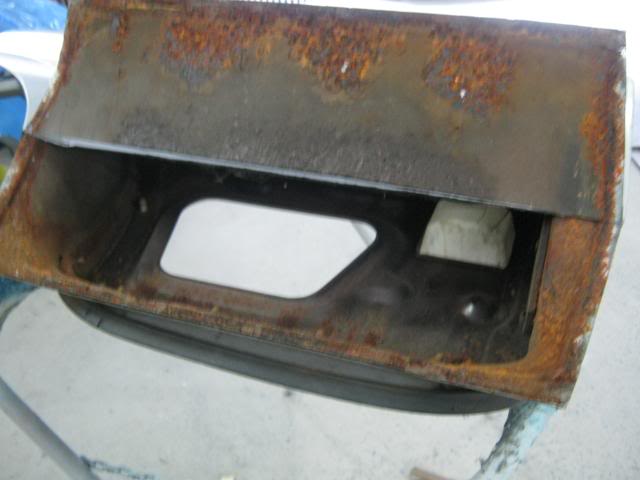
First step is to remove the trims, door glass etc. I leave the rubber seal (in this case I pulled back & taped away from the main part of the door to the top of the window frame) & door latch in place for reasons i'll explain later. Once disassembled & placed upside down on a suitable stand, there will usually be spot welds around the flange fold. These will have to be drilled or ground away. This door had been reskinned in the past & had the folds brass welded.


Once these are removed, using a disc sander with coarse grit disc, carefully gring around the edge until two layers of steel are visible. Once this done the flange fold should come off relatively easy.


Before trying to remove the skin, you will have to find the join on the window frame. I don't think Rare Spares skins join the same, in which case I would lay the new skin over the old one & mark out the join & cut acordingly leaving about 10mm overlap.

Carefully cut the join, taking care not to cut through the frame as well. You will have to turn the door over & cut the flange fold too. Now the skin should lift off.


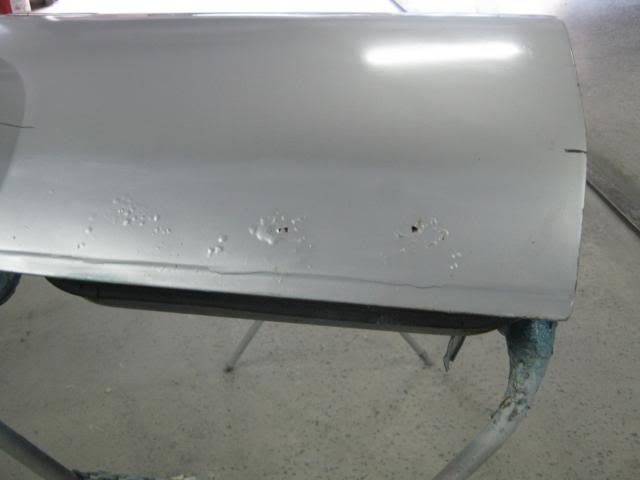
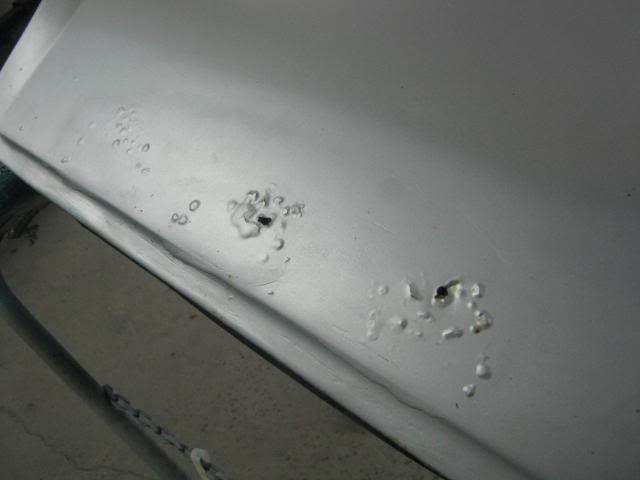
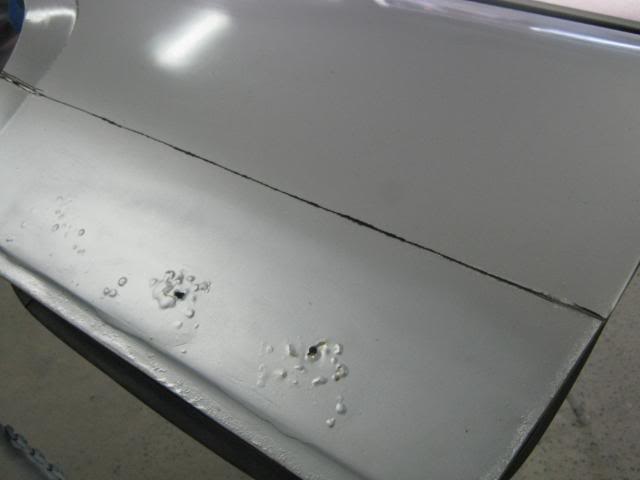
Using a wire wheel & sander, clean any rust etc off the edge of the door shell so it is clean, even & rust free. If any serious rust is found, it will have to be repaired before the new skin goes on. If is only lightly pitted treat with POR or deoxidine. Once this is done, apply zinc primer aound the shell frame including the flange fold. To avoid water from getting in between the skin & shell, I apply a bead of seamsealer around the edge before I lay the skin down.

Now making sure your stand is padded to prevent damaging the new skin, turn the door over & using a panel hammer & heavy flat dolly, start turning the flange fold over. I usually start on the lower edge & work my way around. Don't hammer the fold completely down just yet.

Next step is to bolt the door back on the car to check alignment & fit (which is critical on the likes of LC LJ coupes where there is no adjustment in the fitting of the door) This is why I leave or refit the rubber seal & catch on the door & only lighty fold the flange over as if any adjustment of the skin fitment is needed, it can be done now. Vise grips come in handy now to hold the skin in place.

Once alignment etc is correct, remove the door & finish turning the flange fold over. Then turn the door over. No matter how carefull you turn the flange fold over, there will always be a minimal amount of distortion, so the next step is to lighty sand the edge of the skin with coarse sander such as P80 & using a body file, lightly file in a cross hatch pattern to find any high or low spots. If you have taken your time & used care these should be minimal & file out. If not a light skim of body filler may be neccesary.

Once you are satisfied with the finish on the edge, join the skin to the window frame.

This can be done before you sand & file the edge of the skin, however my personal preference is to do it last. Now turn the door over again & tack weld the flange fold. I was lucky in that I had access to a single side spot welder. For those who don't, a few tacks around the edge are just as good & can be lightly ground smooth to "hide" them. Another method is using a 1/4 drill, drill through the fold carefully to the door shell & "plug" weld. Once ground smooth it will be hard to pick that the skin has been replaced.

Bolt the door back on the car to do final alignment/fitment check & if all is OK the door will be ready for priming & painting. Once paint etc is done, apply fish oil or caity wax around the inside of the door making sure it's applied all around the edge of the skin where it meets the door shell& your repair will easily last another 30 odd years.
 If anyone has any questions or advice I am always happy to help in anyway I can.