MRLXSS - The Complete Build Thread
#326
 _Quagmire_
Posted 19 August 2010 - 10:42 PM
but if your lazy blasting will work i spose
if your not reusing your old rubbers/ball joints?
#327

Posted 20 August 2010 - 08:06 AM
beleive me the shit goes every were
Edited by mr5000, 20 August 2010 - 08:07 AM.
#328

Posted 20 August 2010 - 09:02 AM
After seeing heaths thread with the KBS paint, I'll probably go down that path (Or POR15) Looks nice and easy and gives a good quality finish.
I can't believe how oily and dirty all these parts are!!!
#329
 _Kush_
Posted 20 August 2010 - 09:31 AM
#330
 _gen3torrie_
Posted 21 August 2010 - 11:03 AM
#331

Posted 21 August 2010 - 01:06 PM
#332

Posted 21 August 2010 - 06:20 PM
#333
 _SS Hatchback_
Posted 21 August 2010 - 06:44 PM
^ Yeah that's another point Chris, I guess there is more than one way to skin a cat. Needs to get up on a 4p Hoist to see how it all sits when under weight...
Matt, i have just finished chasing my vibration issues and originally thought it was my tailshaft which was bent so had a new stronger one made, it reduced about 85% of the problem. I had the luxury of a mates 4 post hoist and we could get a good look at the whole pinion angle. With my car sitting so low it was it obviously changes all the factory angles and made for a very ordinary long distant drive. I have used hq engine mounts to lower the engine, then raised the gearbox slightly and then used top adjustable arms to fine tune the angles. Although not ideal my diff pinion actually faces up around 1 deg but its the only way we could get it stop vibrating. Also found that although the shaft was brand new the angles i had stuffed the new unis
#334

Posted 21 August 2010 - 10:41 PM
#335

Posted 21 August 2010 - 11:07 PM
#336

Posted 22 August 2010 - 12:07 AM
Do remember that a universal joint is not designed to connect two shafts that are on the same axis. That is bad and it will destroy the uni
To be honest, I got no idea what angle anything is on underneath the car... The uni's are easily destroyed... So i assume that my angles are not good.
Page 120 of the current Street Machine mag - tech talk on pinion angles!
I better grab that.... might help me understand my problems!!! At the moment i have no clue!
#337

Posted 22 August 2010 - 10:18 AM
The other main point to note, is that the static pinion angle can be set (negative), to allow movement once under power.
#339

Posted 22 August 2010 - 05:27 PM
Yep they need to be parallel but specifically not concentric. If the tailshaft axis/centreline is the same as these, the unis will be brinnelled and you will frOck them.Yep the article is a good read. It highlights the point that the only thing you need to worry about is that the horizontal centrelines are parallel (between the pinion and the engine/gearbox).
#340
 _mick74lh_
Posted 22 August 2010 - 05:52 PM
Do remember that a universal joint is not designed to connect two shafts that are on the same axis. That is bad and it will destroy the uni
To be honest, I got no idea what angle anything is on underneath the car... The uni's are easily destroyed... So i assume that my angles are not good.Page 120 of the current Street Machine mag - tech talk on pinion angles!
I better grab that.... might help me understand my problems!!! At the moment i have no clue!
Yeah that article in SM explains it pretty clearly. Matt I'm in same boat in that I wouldn't have a clue what angle anything is underneath my car. If the rear uni destroys itself again, then it will probably be worth measuring everything and finding a solution.
If you don't fix it straight away then maybe a tailshaft hoop would be a wise investment.
#341

Posted 22 August 2010 - 06:51 PM
#342

Posted 22 August 2010 - 10:24 PM
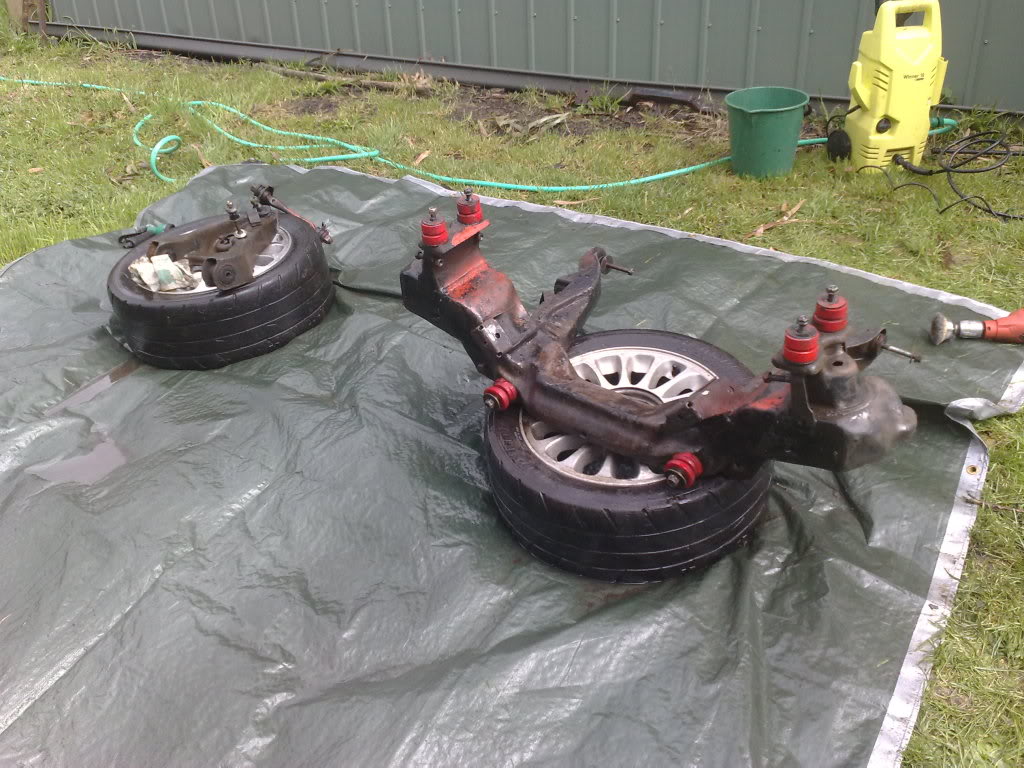
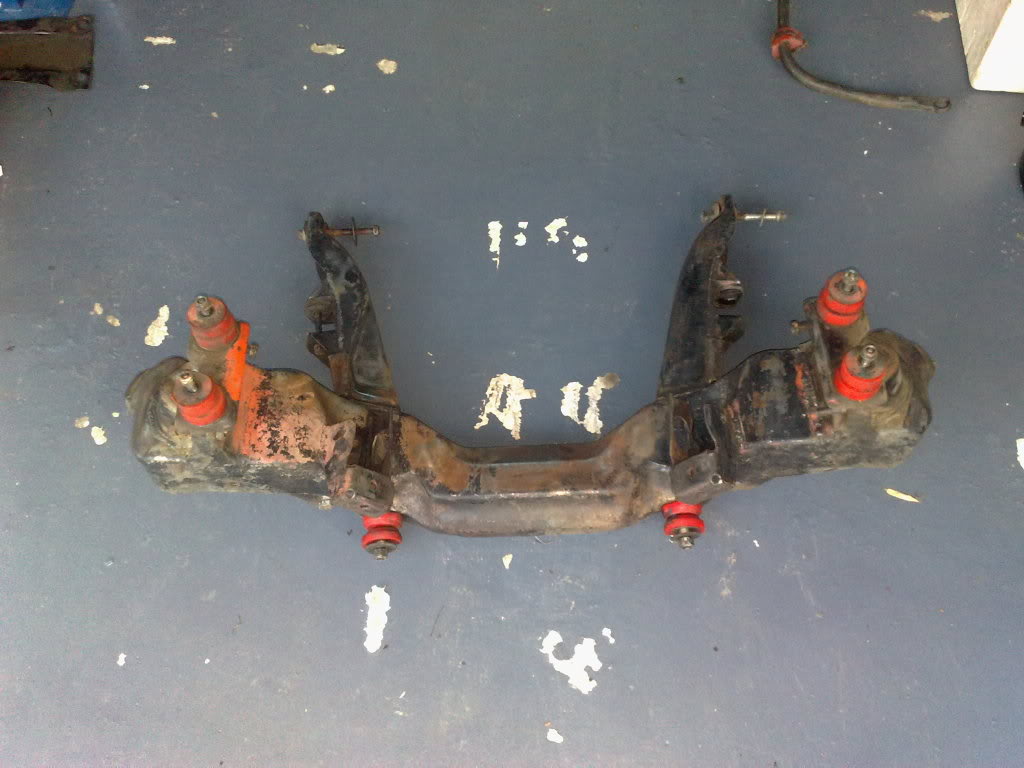
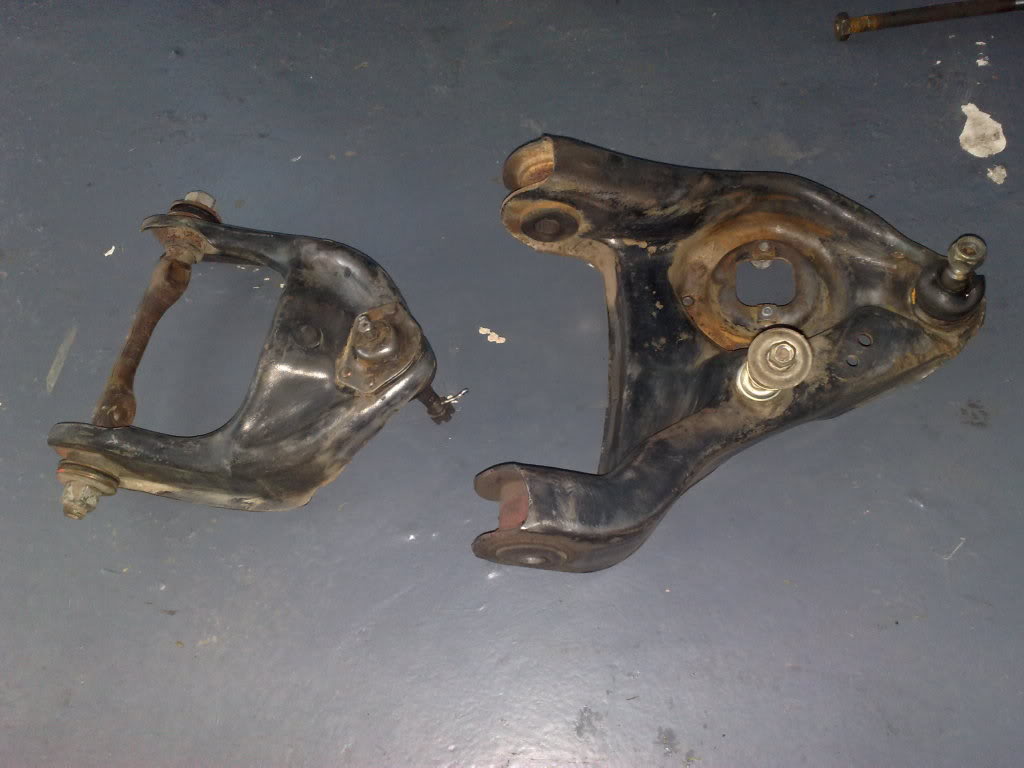
I should have got a before shot of this stuff.... The dirt & grease was about 5-10mm thick all over it!!! Now it's clean and basically ready for a lick of paint!


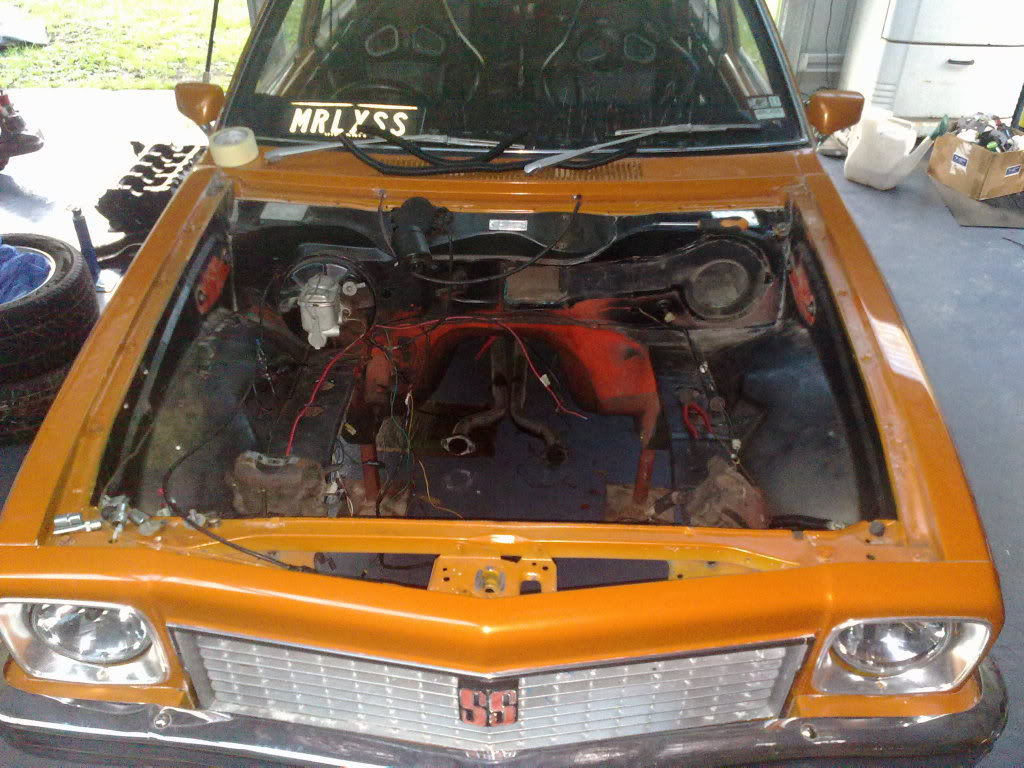
Also got started on the wiring.... Either going to run it under the lip, or inside the guard.... So far i'm liking the idea of it running under the rail... Very easy and simple!

Engine will probably get started on later in the week.... Crank is an AUSCRANK (Thats whats stamped on it). Going to chase up the numbers stamped on it and try and suss out exactly what it is.
Everything else seems to be pretty good.... Just going to machine up the surfaces, clean it all up, new rings, bearings, cam, springs etc and also reco the heads... I'm really looking forward to dropping this sucker in!!! It's going to go well for what it is!
#343
 _Brad1979UC_
Posted 22 August 2010 - 11:07 PM
I reckon run wiring under the lip in the engine bay in dune tubing, still accessible yet tucked neatly away out of sight.
Edited by Brad1979UC, 22 August 2010 - 11:07 PM.
#344

Posted 23 August 2010 - 07:49 AM
I'm guessing you used degreaser and that high pressure gadget to get all the crap off the kframe??
I reckon run wiring under the lip in the engine bay in dune tubing, still accessible yet tucked neatly away out of sight.
Yeah, i use petrol that i scrub on with a brush.... works HEAPS better than out of the can degreaser.
The wiring looks terrible at the moment... Hope i remember how it all goes back together! HAHA!
#345

Posted 23 August 2010 - 07:54 AM
#346

Posted 23 August 2010 - 09:01 AM
Engine will probably get started on later in the week.... Crank is an AUSCRANK (Thats whats stamped on it). Going to chase up the numbers stamped on it and try and suss out exactly what it is.
Found out what crank it is... It's a 5 Litre crank, it was built in 1994 for the Group A car of Terry Finnigan. So i can say that i have a V8 Supercar crank! HAHA
Edited by MRLXSS, 23 August 2010 - 09:04 AM.
#347
 _SS Hatchback_
Posted 27 August 2010 - 06:21 PM
#348
 _Kush_
Posted 27 August 2010 - 07:00 PM
Cleaning those control arms is a pain, just did a set for mine cause im going back to rubber bushes and wanted them all painted and ready to change over.
why are you using rubber ones again? What are the pros and con of rubber vs polyurethane ? I only ask this question because I'm going to have to do the bushes and stuff eventually
#349
 _SS Hatchback_
Posted 27 August 2010 - 07:31 PM
Cleaning those control arms is a pain, just did a set for mine cause im going back to rubber bushes and wanted them all painted and ready to change over.
why are you using rubber ones again? What are the pros and con of rubber vs polyurethane ? I only ask this question because I'm going to have to do the bushes and stuff eventually
differences of opinions around but personally for the street i think rubber is fine and a little easier on the car. Read some info on this link
http://www.gmh-torana.com.au/forums/index.php?showtopic=46246
#350
 _Kush_
Posted 27 August 2010 - 08:27 PM
1 user(s) are reading this topic
0 members, 1 guests, 0 anonymous users


 View Garage


