Jump to content


Photo
- - - - -

LXCHEV - The Ongoing Story of 'My Beast'


  • Please log in to reply
445 replies to this topic

#1 LXCHEV

LXCHEV

    Lotsa Posts!

  • Members
  • PipPipPipPipPipPip
  • 3,536 posts
  • Name:Brett
  • Location:Melbourne
  • Car:'76 LX - 383 Chev
  • Joined: 08-November 05

Posted 06 July 2009 - 07:37 PM

Well MRLXSS has inspired me with his build thread...

I don't think I have a thread on my LX on these current forums, so for those interested, read on and I'll post up my 12+ year obsession with my beast!

Brett's 1976 LX Sedan

Before:

Posted Image

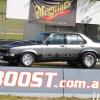
After:

Posted Image


She's come a long way over the last decade, but I'll just post up the basics.

#2 mr5000

mr5000

    chief break-everything

  • Members
  • PipPipPipPipPipPip
  • 3,455 posts
  • Location:melbourne
  • Car:77 lx 4door
  • Joined: 08-January 06

Posted 06 July 2009 - 07:40 PM

geez ya summed that up pretty quick haha look forward to seeing the hole build again i rember when i read the amc thread from start to finish took a while but great read

#3 MRLXSS

MRLXSS

    The Render Garage

  • Members
  • PipPipPipPipPipPipPip
  • 12,400 posts
  • Name:Matt
  • Location:Upwey, Melbourne
  • Car:355 LX Hatchback, DeLorean DMC-12, LX SS Hatch, VY Cross8 Crewman
  • Joined: 09-November 05

Posted 06 July 2009 - 07:46 PM

Jeez.... I think you can do a better job than that!!!

MORE PICS BRETTO!!!!

#4 LXCHEV

LXCHEV

    Lotsa Posts!

  • Members
  • PipPipPipPipPipPip
  • 3,536 posts
  • Name:Brett
  • Location:Melbourne
  • Car:'76 LX - 383 Chev
  • Joined: 08-November 05

Posted 06 July 2009 - 07:50 PM

Stage 1 � The Original Purchase �My P-Plater Hoon Machine�

I first got my hands on the LX back in 1996. I was only 16 then, and totally obsessed with Torana�s! It was a pretty rough car to start with, but really, it was perfect for me to play around with to learn on, and to get ready for the day I got my P-plates. Bottom line though, it was cheap! I handed over $1600 of my hard-earned cash from part time jobs, and it was all mine!

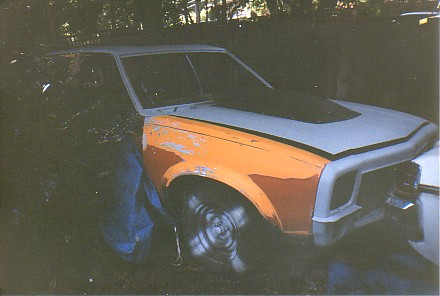
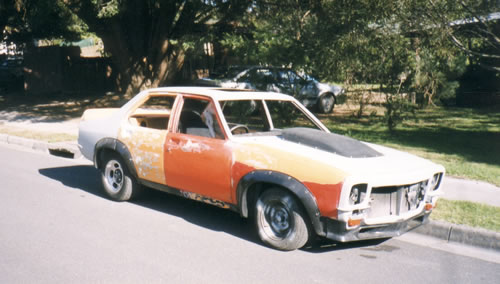
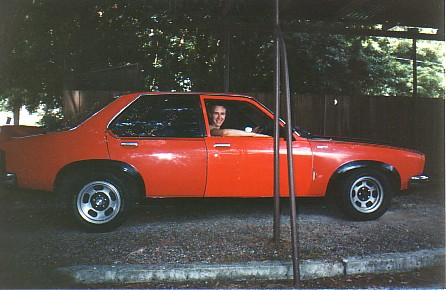
This pic was taken the day I bought it home..... I was grinning like an absolute mad idiot!!!! Probably the most exciting day of my life. Check out the super cool orange door... sexy!! (The odd-coloured door added character - seriously - I was a fair-dinkum Torana bogan at last!)
Posted Image

Looking back is quite funny -I thought it was so cool, but it was definitely a bit of a shitbox! Had lots of goodies though, went great and ripped a good skid!

Posted Image

Posted Image

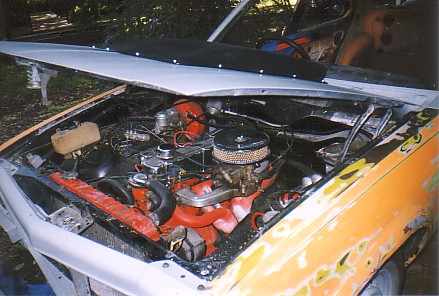
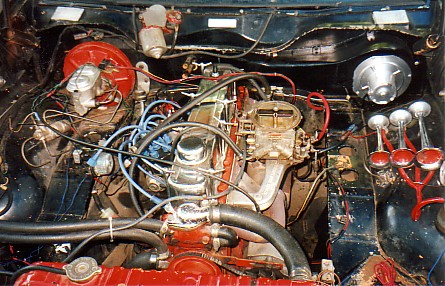
As I picked it up, a very worked 202 (with all the usual mods), Yella Terra spec 186 head, 500 Holley, extractors etc. It was backed up with a Celica 5 speed box and a banjo rear end. It certainly had some good poke for a six banger.
Posted Image

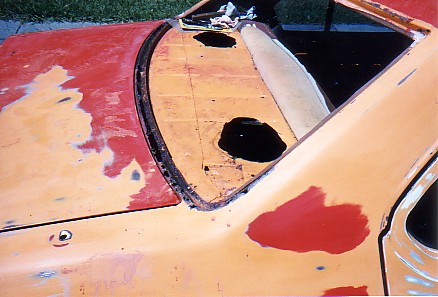
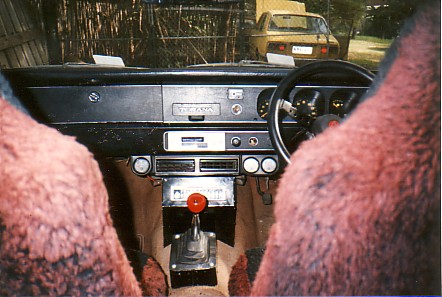
There was rust in the quarters, rear window area and a couple of the doors. But apart from that it was an ok project starter. It had typical old skool 5 slotter mags, with fatties on the rear (245�s) which looked pretty tough on an un-flared Torry. The other reasons I bought this car were the tough exhaust note, the air horns, and of course, the main selling point � the redback spider gearknob! (Small things amuse teenage minds hey)...
Posted Image

Posted Image

Over the next year and a half, the car remained basically the same, but was majorly cleaned up, with lots of little jobs taken care of as I saved the cash to tinker with it and of course to get it up to roadworthy standards. It was registered a few months ahead of my licence test, ready to rock n roll! The day I turned 18, I had my licence that morning, the P-plates were slapped on, and I was off cruising! It was a great car over the next year or so, and served me very well for a first car...
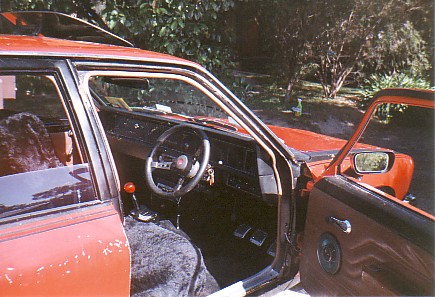
Posted Image

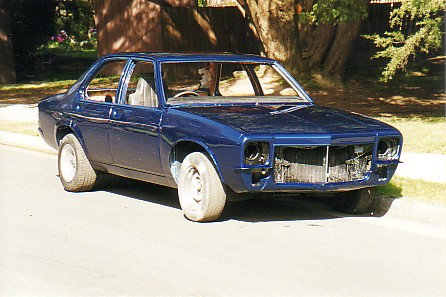
During 1999, I finally had enough of the orange door, so the decision was made to pull her off the road for a quick �1 month� freshen up, mainly to make her all one colour. I seriously thought I could do it in one month, however as I ripped more and more things apart, I suddenly realised I was sadly mistaken! It snowballed into an 18 month rebuild.
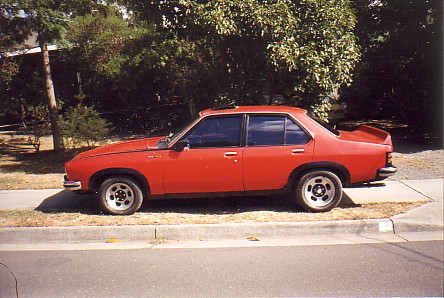
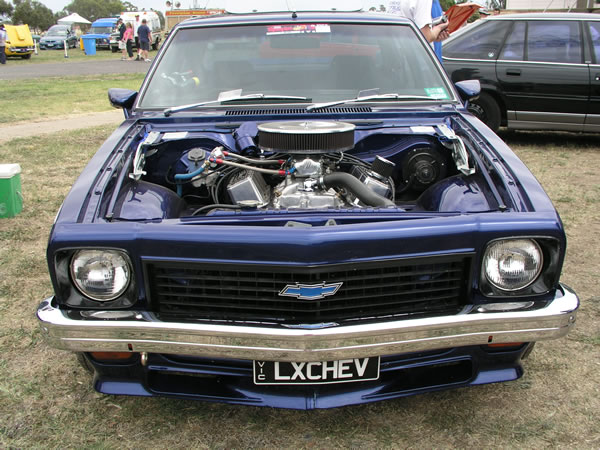
#5 LXCHEV

LXCHEV

    Lotsa Posts!

  • Members
  • PipPipPipPipPipPip
  • 3,536 posts
  • Name:Brett
  • Location:Melbourne
  • Car:'76 LX - 383 Chev
  • Joined: 08-November 05

Posted 06 July 2009 - 07:53 PM

Yeah I'm just going to summarise my thread from the AMC forums guys! But cut out all the crap! And then I will use this as my only thread for future upgrades!

#6 MRLXSS

MRLXSS

    The Render Garage

  • Members
  • PipPipPipPipPipPipPip
  • 12,400 posts
  • Name:Matt
  • Location:Upwey, Melbourne
  • Car:355 LX Hatchback, DeLorean DMC-12, LX SS Hatch, VY Cross8 Crewman
  • Joined: 09-November 05

Posted 06 July 2009 - 07:55 PM

Thats better Brett! I love this story!!! It always inspires me! (And makes me jealous)

#7 LXCHEV

LXCHEV

    Lotsa Posts!

  • Members
  • PipPipPipPipPipPip
  • 3,536 posts
  • Name:Brett
  • Location:Melbourne
  • Car:'76 LX - 383 Chev
  • Joined: 08-November 05

Posted 06 July 2009 - 08:05 PM

Stage 2 - The Ground-Up Rebuild Begins - "The Body"

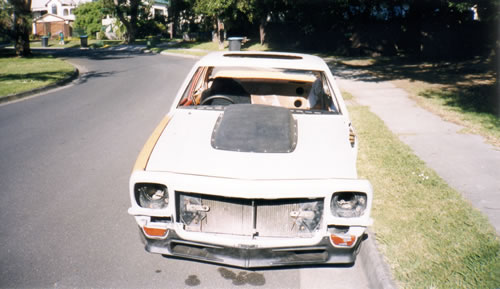
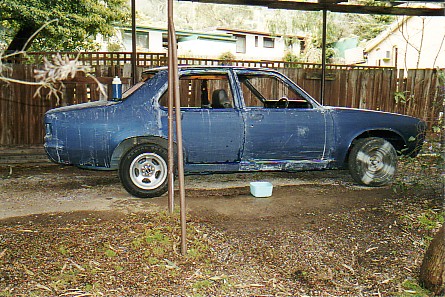
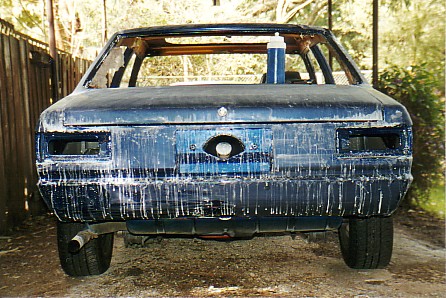
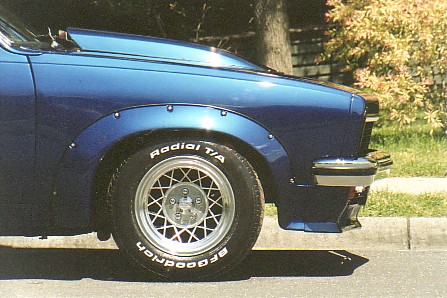
I went to town on the car, and totally stripped and gutted it. During this time, I added the flares, front spoiler, and A9X bonnet scoop. Endless hours of my time was spent hand sanding the body back. It was never bare-metalled, just smoothed and feathered.

Posted Image

Posted Image

The only "major" rust repair was welding in the Rare Spares replacement panel for the lower section of the rear window. I replaced one door with a <cough> UC door </end cough>, and the rest of the body just received heaps of sanding and some minor panel beating in some areas.
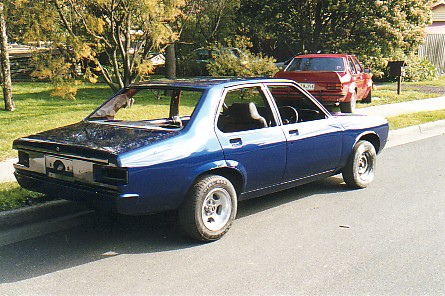
Posted Image

Posted Image

Posted Image

Posted Image

Posted Image

#8 LXCHEV

LXCHEV

    Lotsa Posts!

  • Members
  • PipPipPipPipPipPip
  • 3,536 posts
  • Name:Brett
  • Location:Melbourne
  • Car:'76 LX - 383 Chev
  • Joined: 08-November 05

Posted 06 July 2009 - 08:07 PM

Here are my favourite pics of the car - what a heap of .... !!!!!!! Looks so tough, I should of just clear coated it right here.... picture this baby in a burnout comp!!

Posted Image

Posted Image

Posted Image

Posted Image

Posted Image

Posted Image

#9 MRLXSS

MRLXSS

    The Render Garage

  • Members
  • PipPipPipPipPipPipPip
  • 12,400 posts
  • Name:Matt
  • Location:Upwey, Melbourne
  • Car:355 LX Hatchback, DeLorean DMC-12, LX SS Hatch, VY Cross8 Crewman
  • Joined: 09-November 05

Posted 06 July 2009 - 08:17 PM

Love those type of pics! The car just looks tough and rough as!

#10 LXCHEV

LXCHEV

    Lotsa Posts!

  • Members
  • PipPipPipPipPipPip
  • 3,536 posts
  • Name:Brett
  • Location:Melbourne
  • Car:'76 LX - 383 Chev
  • Joined: 08-November 05

Posted 06 July 2009 - 08:20 PM

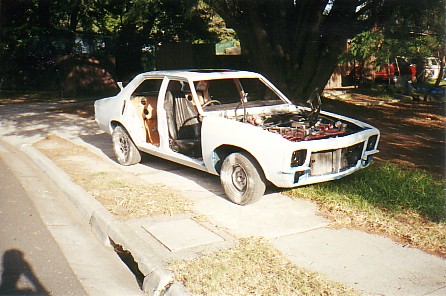
As you can see, I was prepping and undercoating the car panel by panel, teaching myself as I went. It was a testing time and a very slow process.

And of course, the usual story - the car lived outside in the parents carport, the good old gravel driveway etc etc, and I was using an old spray putty gun that I borrowed. Every time it rained the car got wet, I still don’t know how the car survived through that Winter, but it did! I still remember picking bugs and leaves out of my paint.

Posted Image

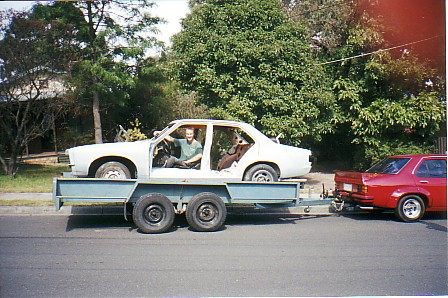
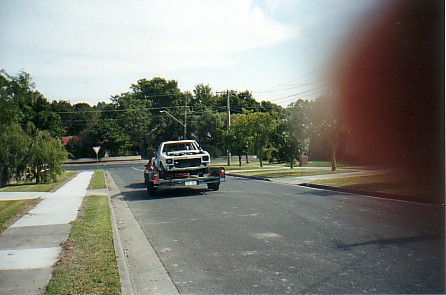
I was happy with my efforts so far, but wasn’t game to attack the colour and clear coats myself (and I really wanted a nice 2-pak paint-job), so I had a chat to my local panel shop who agreed to take on the project and apply the colour for me. As soon as I had finished spraying the primer and finished sanding back, it was off to the panel shop.....

Posted Image

That's my Dad's red LH doing the towing...

Posted Image

Posted Image

Edited by LXCHEV, 06 July 2009 - 08:22 PM.


#11 LXCHEV

LXCHEV

    Lotsa Posts!

  • Members
  • PipPipPipPipPipPip
  • 3,536 posts
  • Name:Brett
  • Location:Melbourne
  • Car:'76 LX - 383 Chev
  • Joined: 08-November 05

Posted 06 July 2009 - 08:30 PM

Stage 3 - Drama's With The Paint-Job

So the old Torry had finally made it to the panel shop. Prior to this, I had spent months trying to decide on a colour, at one stage it was going to be Porsche Guards Red, and at another time it was going to be Gunmetal Grey. But in the end, I settled on Galaxy Blue Metallic.

After long delays with the panel shop, the beast was blue. (I have to admit they took on a mongrel of a project, with all my bits and pieces scattered all over their workshop for several months!). I was very grateful and met a great bunch of blokes during this time.

Unfortunately, the 2-pak did not come out as hoped though over my acrylic undercoat (we had just hoped it was going to work ok), however it bit too hard and showed every single last ripple and imperfection. Still ok in general, but with all my hours invested in it to date, the guys weren't happy with the results. So the car came home once again, and I got to sand back my brand new paint job! I pretty much just took off the top clear coats, this left a really good solid 2-pak foundation for the second attempt:

Posted Image

Posted Image

Posted Image

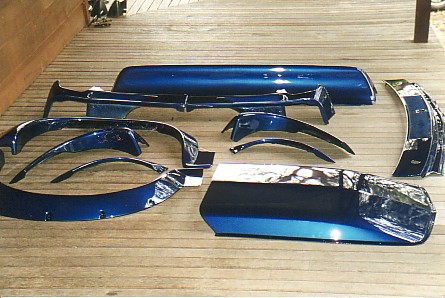
The fibreglass parts were fine though - the paint came up fine on them first time around:

Posted Image

Stage 4 - Second Attempt & Success At Last!


So back to the panel shop again (don't tell anyone, but this time I just drove it down there as it was, couldn't be bothered with a trailer, hahaha, the looks I got were fantastic!)

They hit it with paint again, finished it with clear, and this time we were cooking with gas! I breathed a huge sigh of relief, let me tell you! The car came home once again, ready for assembly:

Posted Image

Posted Image

Posted Image

Posted Image

During all these times, I'm sure my neighbours were watching with great interest! lol. The entire project to date had been done in the driveway. It was very common that I would spend hours on the weekends chatting to strangers who stopped to ask questions and to have a closer look at the project. Great times indeed!

#12 LXCHEV

LXCHEV

    Lotsa Posts!

  • Members
  • PipPipPipPipPipPip
  • 3,536 posts
  • Name:Brett
  • Location:Melbourne
  • Car:'76 LX - 383 Chev
  • Joined: 08-November 05

Posted 06 July 2009 - 10:16 PM

Stage 5 - Re-assembly Time

Time to chuck it all back together again.

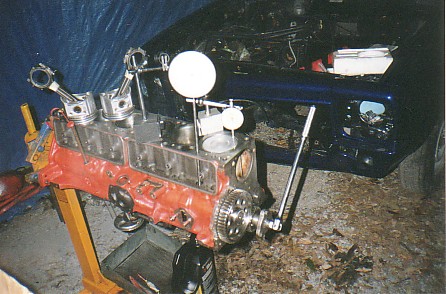
The 202 (now out to 208) was freshened first... bigger cam, new Pacemaker pipes, straight cut gears, and triple SU's.

Posted Image

Posted Image

Posted Image

Posted Image

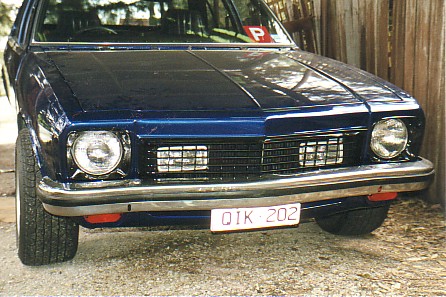
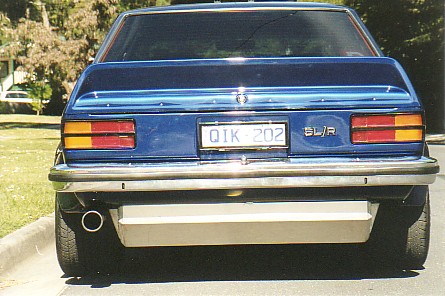
'QIK202' Is Born!!!!

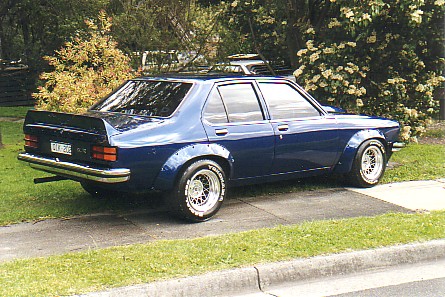
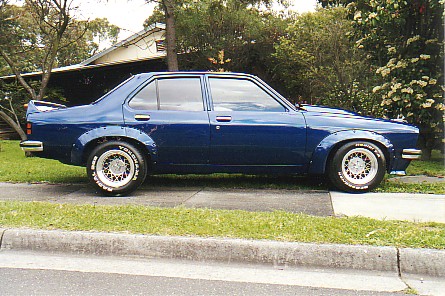
As re-assmebly continued, things were shaping up nicely. I hit the trading post desperately in need of wheels... and as luck would have it I found some nice FATTIES! A trip down to Korrumburra saw me returning home with a set of 14x10 and 14x8 Torana pattern Hotwires, wrapped in 265/50's and 245/50's. I had them professionally polished and then detailed them myself. It was the exact look I was after, and filled the guards out like a dream....

While the windows had been out of the car, I had them tinted to the legal limit (wish I had of gone darker), and I had also ordered 'QIK202' plates. At the time, Vicroads were issuing the QIK series plates, so I managed to have number '202' put aside for me. A very cheap alternative compared to custom plates, and also very subtle!

Posted Image

Posted Image

Posted Image

The 120 litre Brown Davis droptank came shortly after (after all, I worked there part time for a few years after school and during holidays). The tank completely changed the ass of the car, instant hotty!

Posted Image

Posted Image

And that is pretty much how I then spent the rest of my time on P-plates. Certainly a huge improvement looking back to the original pics! I was totally stoked to have it on the road, and took it everywhere. The rebuild was finally complete...

Posted Image

Posted Image

Posted Image

#13 Guns n roses

Guns n roses

    Forum Fixture

  • Members
  • PipPipPipPipPip
  • 575 posts
  • Joined: 08-November 05

Posted 06 July 2009 - 10:43 PM

wheres interior lxchev??

#14 MRLXSS

MRLXSS

    The Render Garage

  • Members
  • PipPipPipPipPipPipPip
  • 12,400 posts
  • Name:Matt
  • Location:Upwey, Melbourne
  • Car:355 LX Hatchback, DeLorean DMC-12, LX SS Hatch, VY Cross8 Crewman
  • Joined: 09-November 05

Posted 07 July 2009 - 08:15 AM

Posted Image

Thats the first time i have seen a slimline plate on the back of the car actually look good and not out of place!

#15 _SS Hatchback_

_SS Hatchback_
  • Guests

Posted 07 July 2009 - 08:52 PM

Unbelieveable when you think about what it looked like to even this point , gotta love buld up threads , so much incentive for guys building now
Great pics keep them coming , probably one of my favourite 4 doors getting around , nice work

#16 LXCHEV

LXCHEV

    Lotsa Posts!

  • Members
  • PipPipPipPipPipPip
  • 3,536 posts
  • Name:Brett
  • Location:Melbourne
  • Car:'76 LX - 383 Chev
  • Joined: 08-November 05

Posted 08 July 2009 - 10:14 PM

Also good incentive to make us want to build more cars!! Build-up threads always give me bad thoughts :)

I'll continue with the second installment over the next couple of days, stay tuned. Cheers for the comments mate.

#17 _torana_umunga74_

_torana_umunga74_
  • Guests

Posted 08 July 2009 - 10:31 PM

its funny how fast it looks when you cut out the moaning an groaning as ya go. looks hot. damn do i want flares?? i think i do! :D

#18 _ass308_

_ass308_
  • Guests

Posted 09 July 2009 - 07:42 AM

top effort LXCHEV.i love the transformation

#19 76lxhatch

76lxhatch

    That was easy!

  • Members
  • PipPipPipPipPipPipPip
  • 7,195 posts
  • Location:Unzud
  • Car:SS
  • Joined: 04-August 08
Garage View Garage

Posted 09 July 2009 - 08:00 AM

Build-up threads always give me bad thoughts :)

I know exactly what you mean

#20 MRLXSS

MRLXSS

    The Render Garage

  • Members
  • PipPipPipPipPipPipPip
  • 12,400 posts
  • Name:Matt
  • Location:Upwey, Melbourne
  • Car:355 LX Hatchback, DeLorean DMC-12, LX SS Hatch, VY Cross8 Crewman
  • Joined: 09-November 05

Posted 09 July 2009 - 08:01 AM

Don't know if you'll have the time to build a new car in the future Brett... You struggle to find spare time now! HAHA!

;)

House that house going? Turned your carport into a shed yet?

#21 _AGGRO_

_AGGRO_
  • Guests

Posted 09 July 2009 - 08:26 AM

well done so far with the build thread, cant wait to read the rest.

its a great looking car, loving the look with the hotwires - so tough!

#22 orangeLJ

orangeLJ

    Yes, yes I do post alot!

  • Members
  • PipPipPipPipPipPipPip
  • 10,261 posts
  • Joined: 02-May 06

Posted 09 July 2009 - 11:07 AM

can you hurry up and add the next installment....

Im waiting.

#23 micklx

micklx

    Forum Fixture

  • Members
  • PipPipPipPipPip
  • 1,785 posts
  • Name:Mick
  • Location:Frankston South
  • Joined: 18-November 05

Posted 10 July 2009 - 12:03 AM

Car looks great - typical old school Torana build up.
Love the way the wheels fill out the guards.

#24 LXCHEV

LXCHEV

    Lotsa Posts!

  • Members
  • PipPipPipPipPipPip
  • 3,536 posts
  • Name:Brett
  • Location:Melbourne
  • Car:'76 LX - 383 Chev
  • Joined: 08-November 05

Posted 12 July 2009 - 09:22 PM

AGGRO - I seriously miss my old Hotwires! They were so fat and chunky, I never should have sold them. To this day, even after several other sets of wheels, I've never matched that old stance. There is something about 8's and 10's isn't there!

PS. Matt, yeah I struggle for time now. The carport/shed project is slowly progressing... I'll start a different thread on that later down the track..... once the house reno is finished, and the house is extended, and the new garage is built, and we have kids, and once they move out probably in their 30's, then I'll build another car, hahahaha. Nah hopefully I can do one much sooner than that.

Anyway, time to get back to the build..... where to next...

Interior

Next up, I attacked the interior. I drove the car to the trimmers with no windows, man that was an experience in itself. Never realised how much air flows through a car with no windows! Even with sunnies on, my eyes were watering to the max and my hair looked like I had been electrocuted. Great fun!

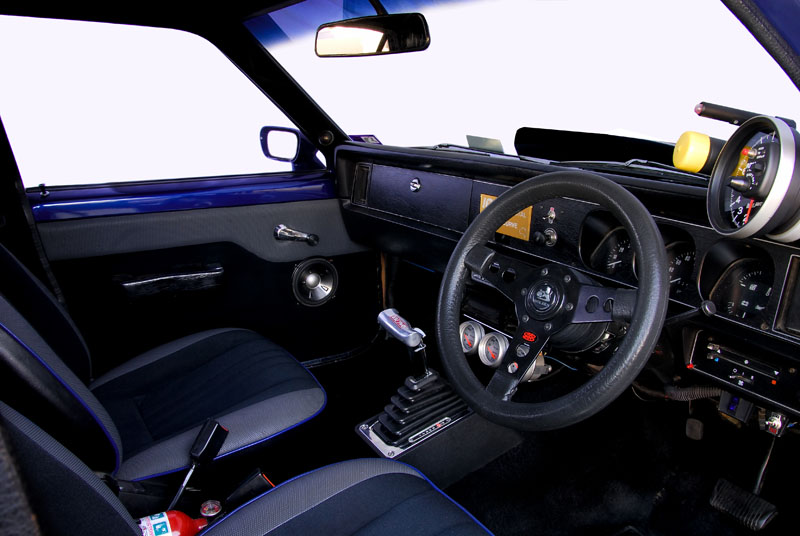
Anyway, I went for a pretty basic, but customised interior - it's all top quality black velour - the headlining extends down the pillars. Matching door trims and seats were also done in the same stuff with blue piping and grey mesh inserts to break it all up. The seats had extra padding added, and I'm stoked how comfy they are. Awesome for long road trips.

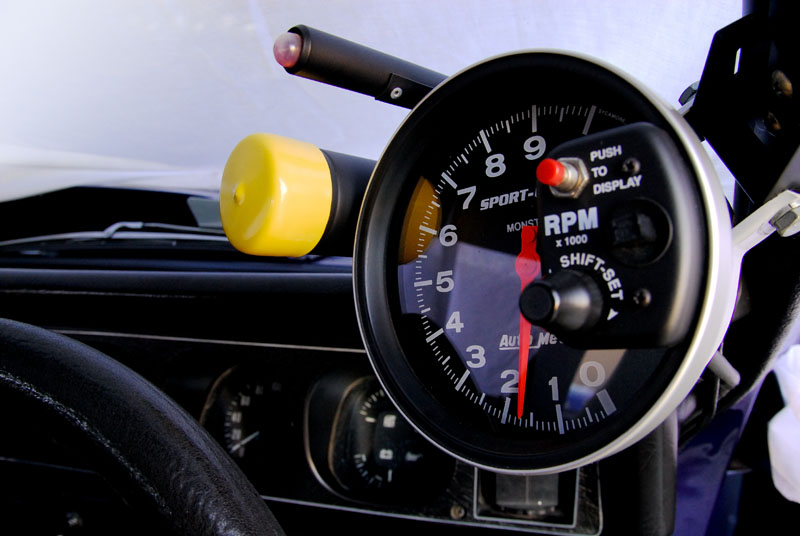
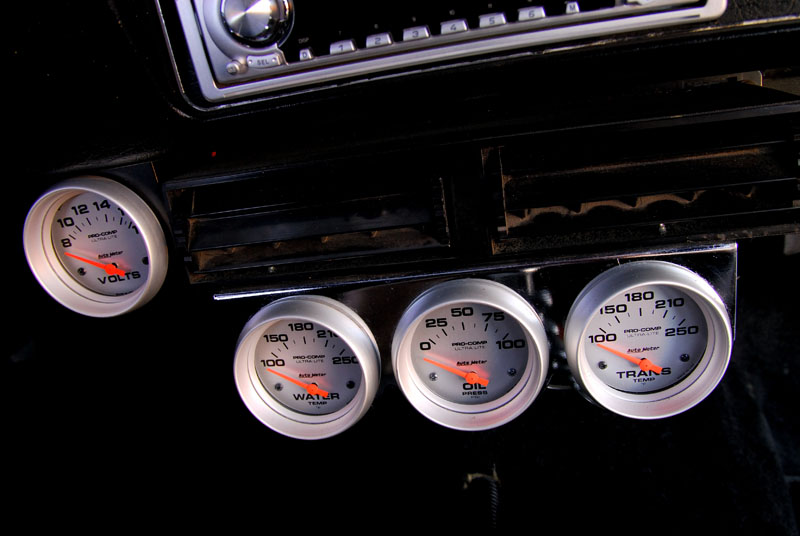
I also fitted full SLR dash instrumentation after having all the gauges reco'd. Later down the track though, I ended up adding Autometer gauges for most things. Brand new seatbelts came next (money well spent in my opinion as new seatbelts help give these old cars a �new car feel�).

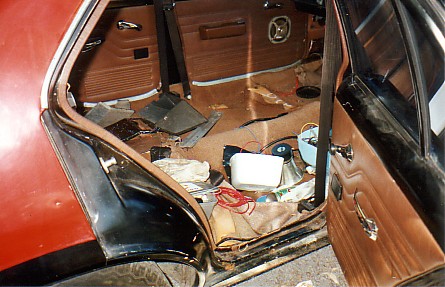
I then had all the scuff plates chromed before refitting, as well as the door strikers. And I added a pretty decent JVC headunit, Pioneer front splits, and Kenwood 7 x 10�s in a custom rear parcel shelf that I made and covered in black carpet. The transformation from the cacky old brown interior was now complete!

Posted Image

Posted Image

Posted Image

Posted Image

Posted Image

Posted Image

Posted Image

#25 LXCHEV

LXCHEV

    Lotsa Posts!

  • Members
  • PipPipPipPipPipPip
  • 3,536 posts
  • Name:Brett
  • Location:Melbourne
  • Car:'76 LX - 383 Chev
  • Joined: 08-November 05

Posted 12 July 2009 - 09:49 PM

Suspension, Brakes, Driveline Upgrades Begin:

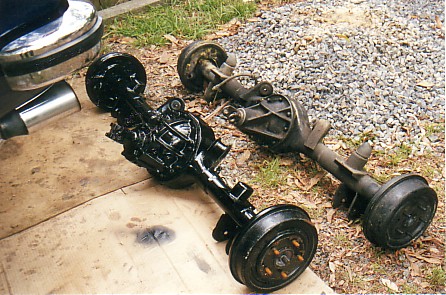
Next I started upgrading driveline components and other bits and pieces. My "P Plater foot" was breaking banjo's all the time, so I found a bargain Ford 9" setup in the Trading Post (my favourite weekly read back in those days).... 9" Torana conversion, 4.11 mini spool, 28 spline axles, new bearings and seals, and new HZ drums brakes, all for $750. I couldn't hand over my cash fast enough.... this worked flawlessly for years, but later on I upgraded to 31 spline Mosers for piece of mind, and swapped the 4.11's to 3.5's and then to current 3.7's...

Posted Image

Check out the sheer difference in size... to this day, the best thing I have ever done to my car:

Posted Image

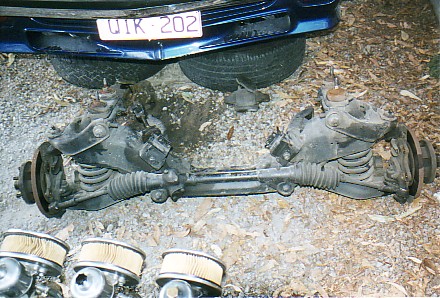
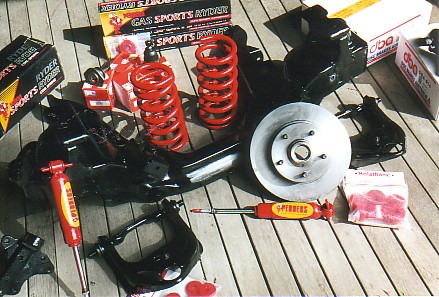
Suspension: I rebuilt the front end similar to A9X specs. Did the old school HQ brake conversion with HQ stubs, UC upper arms, Harrop A9X steering arms, alloy Girlock calipers, braided brake lines etc.... Pedders Sports Ryder shocks, and springs (later replaced with A9X King Springs), and a mix of nolathane and rubber bushes.

Posted Image

Posted Image

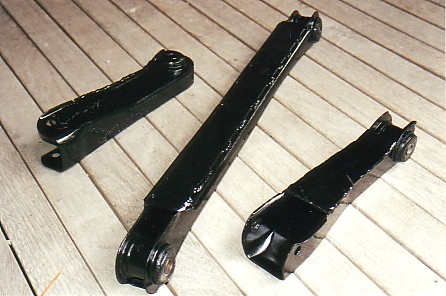
Onto the rear... the usual treatment. Pedders springs were later replaced for Commodore IRS springs to lower the ass more. Boxed trailing arms etc.

Posted Image

Posted Image


4 user(s) are reading this topic

0 members, 4 guests, 0 anonymous users