
 View Garage
It is good though

until it comes to cleaning... but cars are for driving not cleaning

 1 votes
Posted 27 January 2010 - 09:11 PM

Posted 27 January 2010 - 09:49 PM

Posted 28 January 2010 - 12:07 AM
The Render Garage


Posted 28 January 2010 - 07:49 AM
Posted 28 January 2010 - 06:20 PM


Posted 28 January 2010 - 06:33 PM

Posted 28 January 2010 - 06:48 PM


Posted 28 January 2010 - 07:25 PM
Posted 28 January 2010 - 09:08 PM
Posted 28 January 2010 - 09:29 PM
^ Some might say premature...
Posted 28 January 2010 - 09:29 PM
Posted 29 January 2010 - 03:20 PM
Oh crap, do I have to make another one?

Posted 29 January 2010 - 09:14 PM
Posted 30 January 2010 - 06:06 AM
Looking forward to seeing these... and start making extractors.
Posted 30 January 2010 - 11:44 PM
Looking forward to seeing these
Posted 01 February 2010 - 12:45 AM


.

Posted 01 February 2010 - 05:26 PM
Posted 01 February 2010 - 08:41 PM
Posted 01 February 2010 - 08:54 PM
Forum Fixture

Posted 01 February 2010 - 09:20 PM
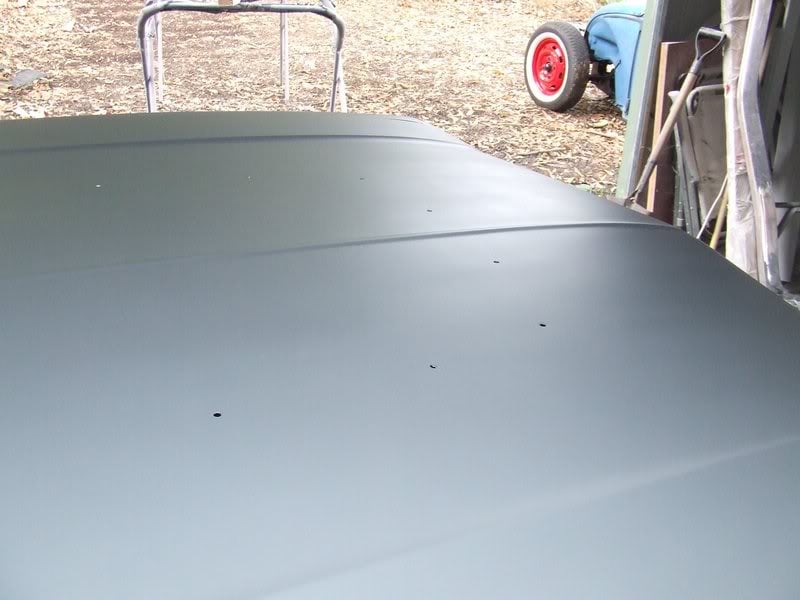
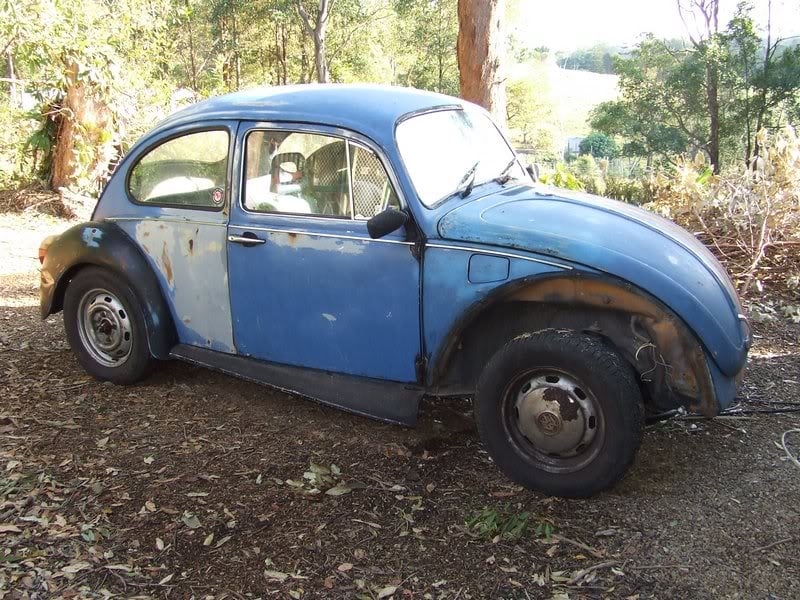
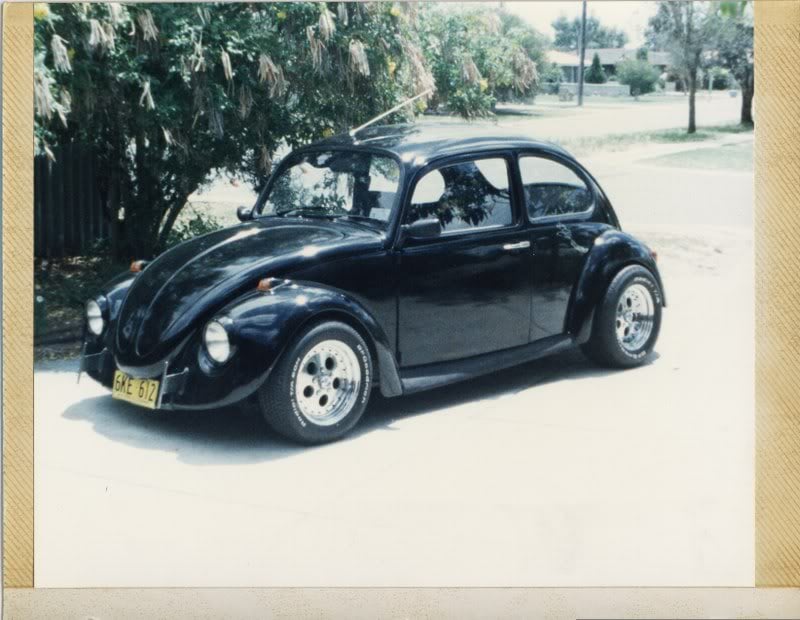
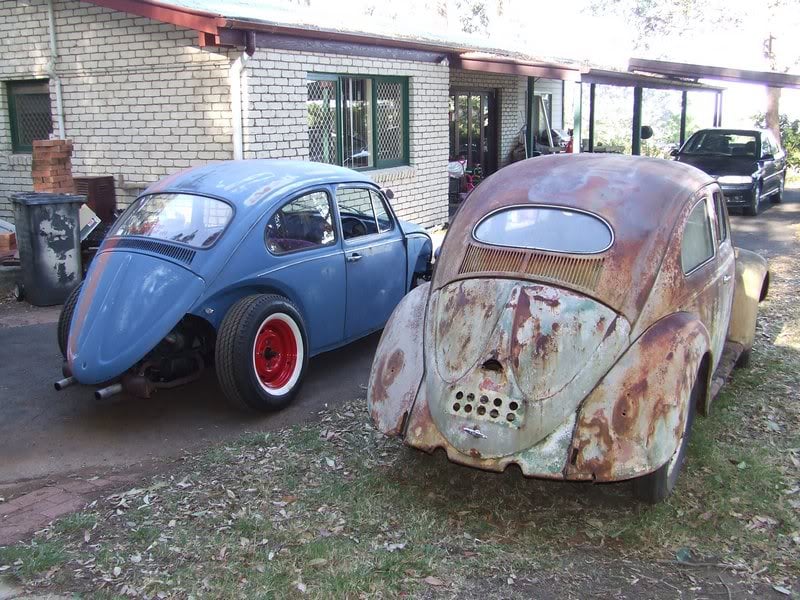
everythings looking top notch, bonnet and scoop came up a treat. this post was really just an excuse to mention the volksrod, i love it! i noticed it earlier in the thread and was going to mention it. whats the deal with it?

Forum Fixture

Posted 02 February 2010 - 12:08 PM
Posted 02 February 2010 - 12:22 PM
Posted 02 February 2010 - 02:08 PM
Edited by niterida, 02 February 2010 - 02:09 PM.
Posted 02 February 2010 - 08:38 PM
Posted 02 February 2010 - 08:48 PM


0 members, 1 guests, 0 anonymous users

