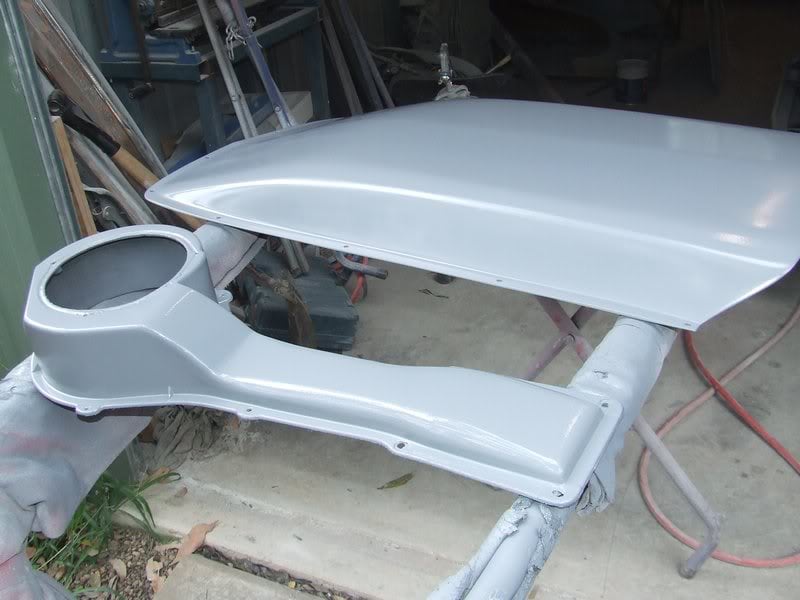
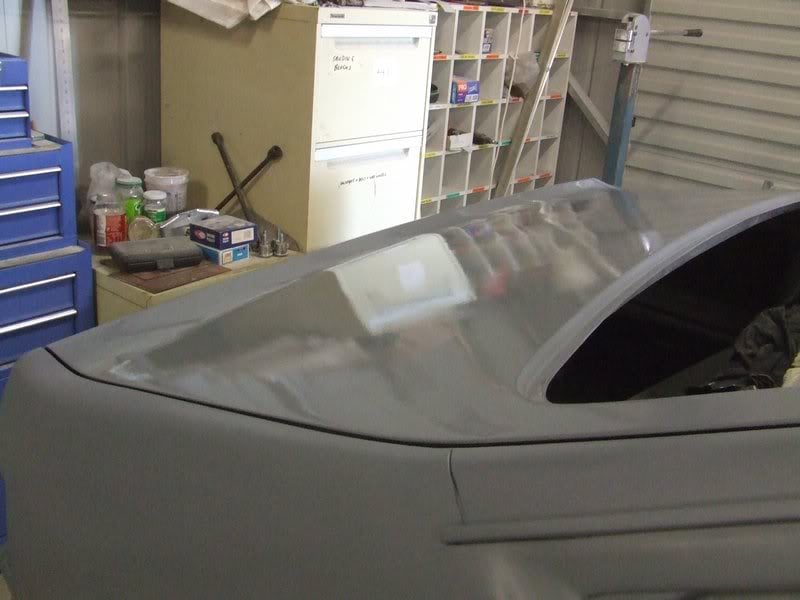
I also cut the shroud bottom corners off and glued on black plactic blanks as they fouled the splash pans.
Edited by The Baron, 03 February 2010 - 10:00 PM.

 1 votes

Posted 03 February 2010 - 09:56 PM
Edited by The Baron, 03 February 2010 - 10:00 PM.
Yes, yes I do post alot!


Posted 04 February 2010 - 07:23 AM
Posted 05 February 2010 - 07:45 PM


Posted 05 February 2010 - 08:07 PM
Posted 05 February 2010 - 08:25 PM

Posted 05 February 2010 - 08:43 PM
Posted 06 February 2010 - 08:01 AM
Edited by Yella SLuR, 06 February 2010 - 08:02 AM.
Posted 06 February 2010 - 08:17 AM

Posted 06 February 2010 - 08:21 AM

Edited by Yella SLuR, 06 February 2010 - 08:22 AM.
Posted 06 February 2010 - 06:45 PM
Forum Fixture

Posted 06 February 2010 - 08:20 PM
The guy with the Torailer

Posted 06 February 2010 - 08:43 PM
Posted 07 February 2010 - 03:22 AM


Posted 07 February 2010 - 08:45 AM
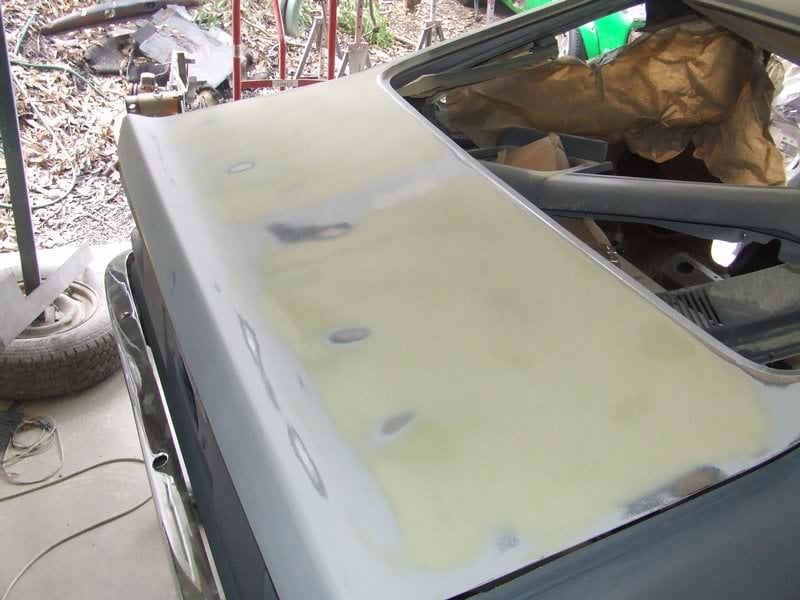
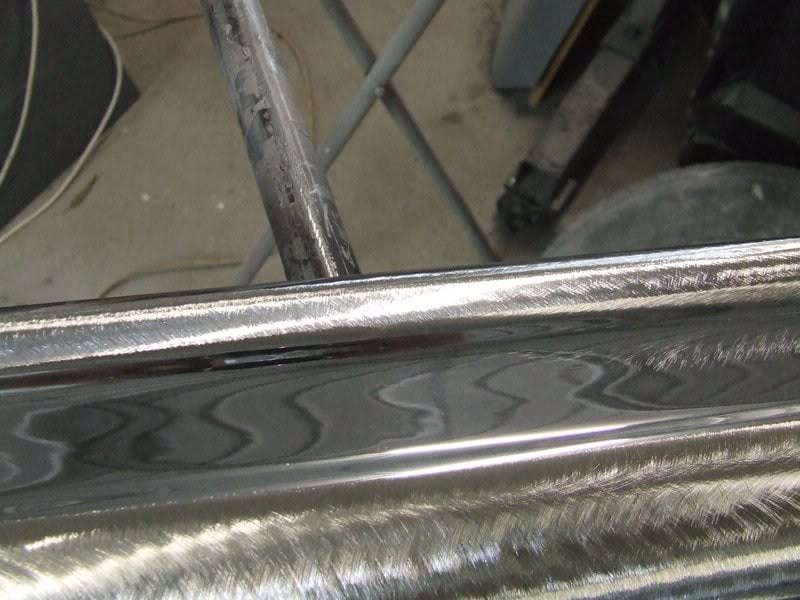
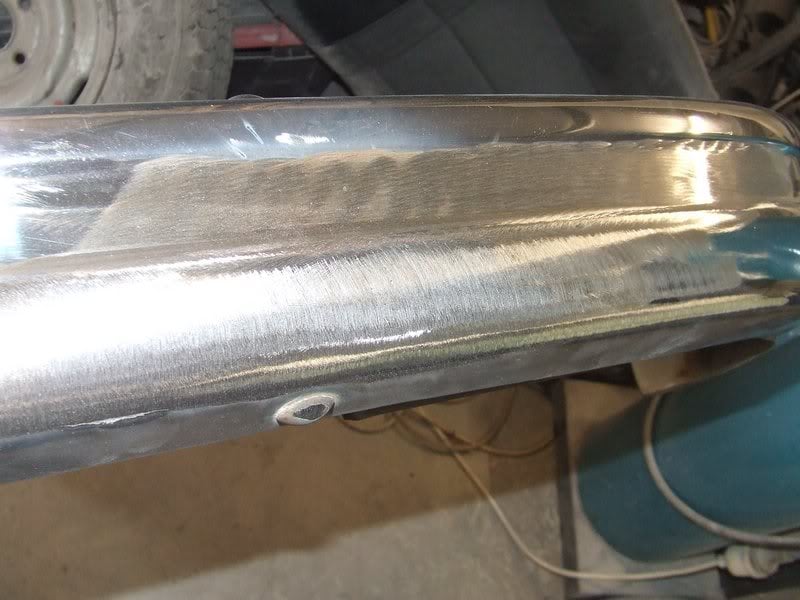
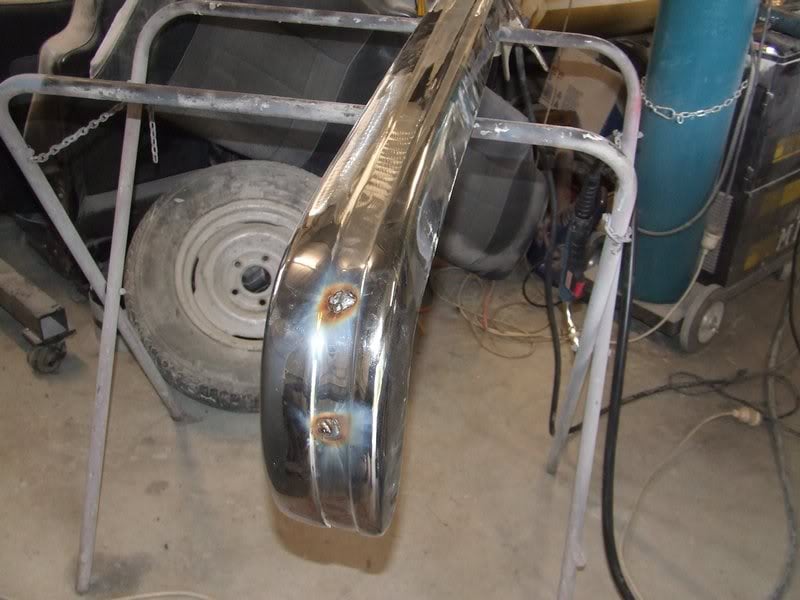
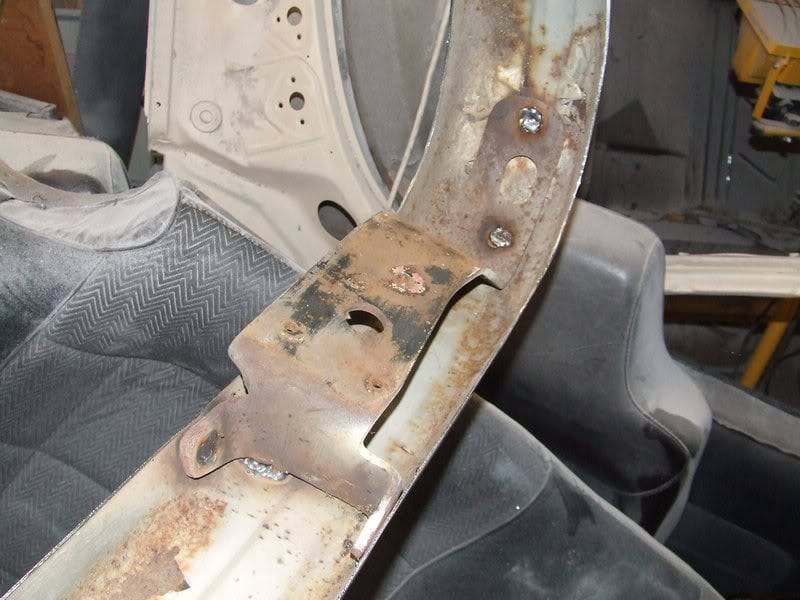
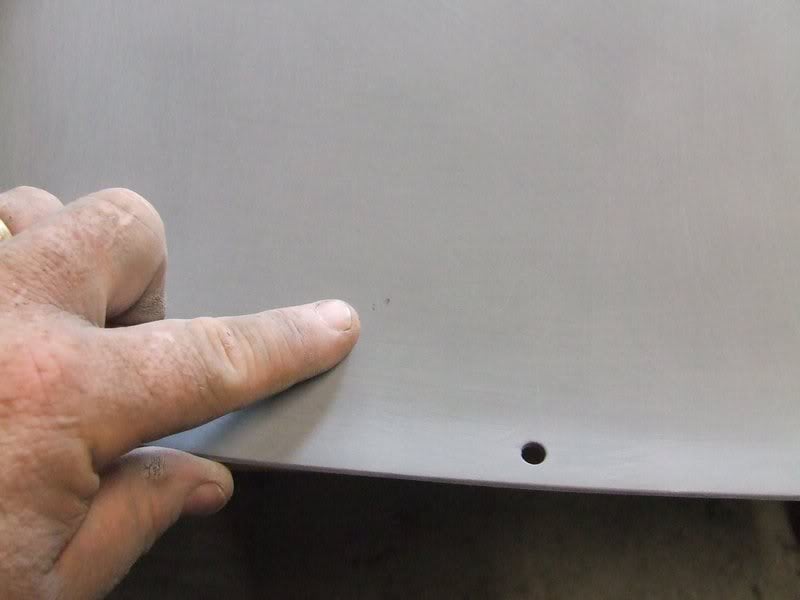
Mitch, all I use to clean up welds are your garden variety grinding discs on either a 4 inch or 5 inch grinder, (sometimes te 5 inch wont fit in tight areas, so the 4 inch is good) followed by a quick sand with a 36 grit sanding disc on the grinder just to smooth it out a little and clean it for rust converter and etch primer.
I hope that helps.
Posted 07 February 2010 - 08:56 AM
Posted 07 February 2010 - 01:15 PM
Posted 07 February 2010 - 03:52 PM
Posted 07 February 2010 - 04:04 PM
Posted 07 February 2010 - 04:15 PM
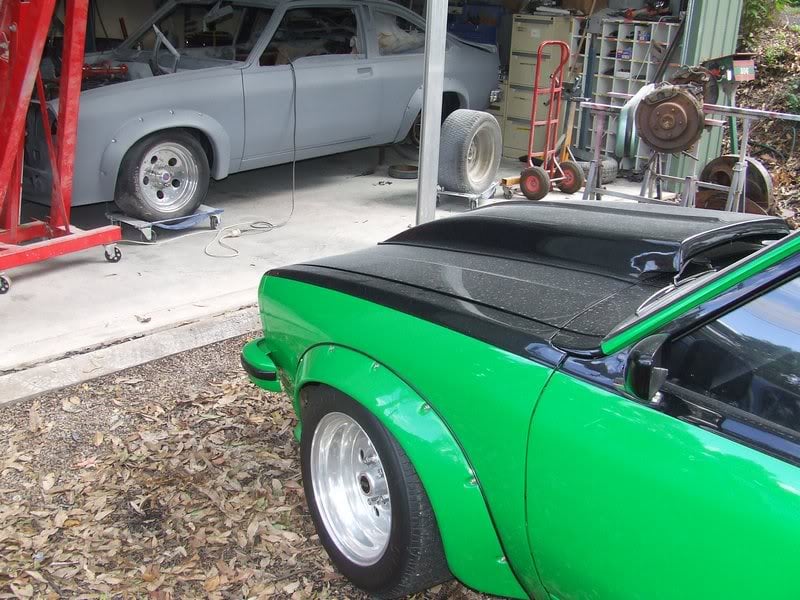
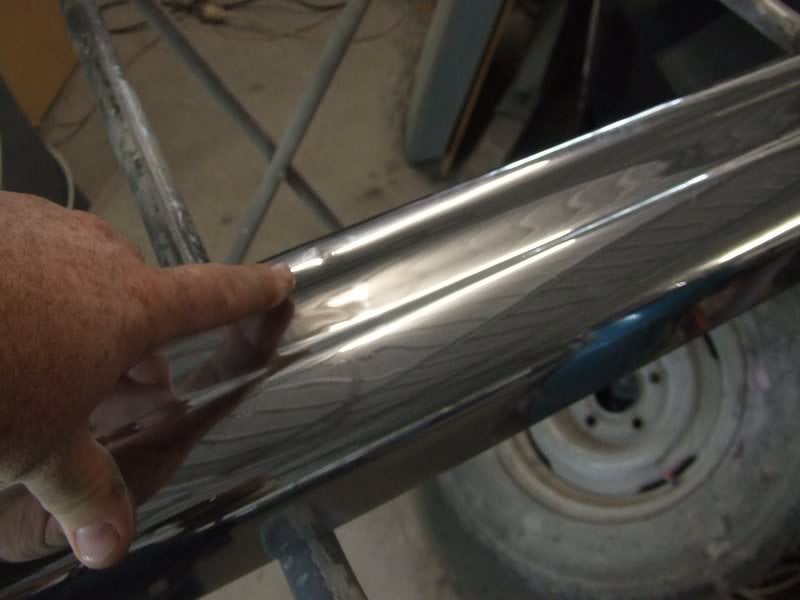
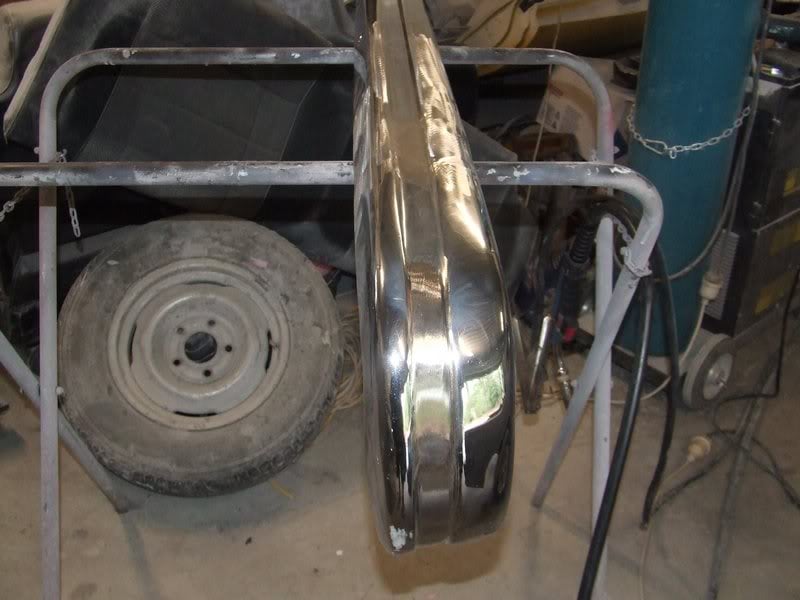
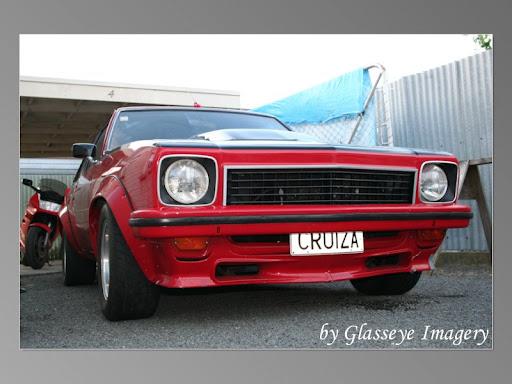
 but anyways regarding the chrome bars its the only way to go for a tuff streeter i rekon..painted bars look a bit too modernised it is a muscle car after all! and the chrome breaks up the body color nicely. I must say i've never heard of anyone welding up the holes on an LX bar to get the LH trimless bar look but i like it! i guess good LH bars arn't as easy to find as they used to be.
Posted 07 February 2010 - 04:36 PM
I like cars.

 View Garage
Posted 07 February 2010 - 04:47 PM
Posted 07 February 2010 - 08:21 PM
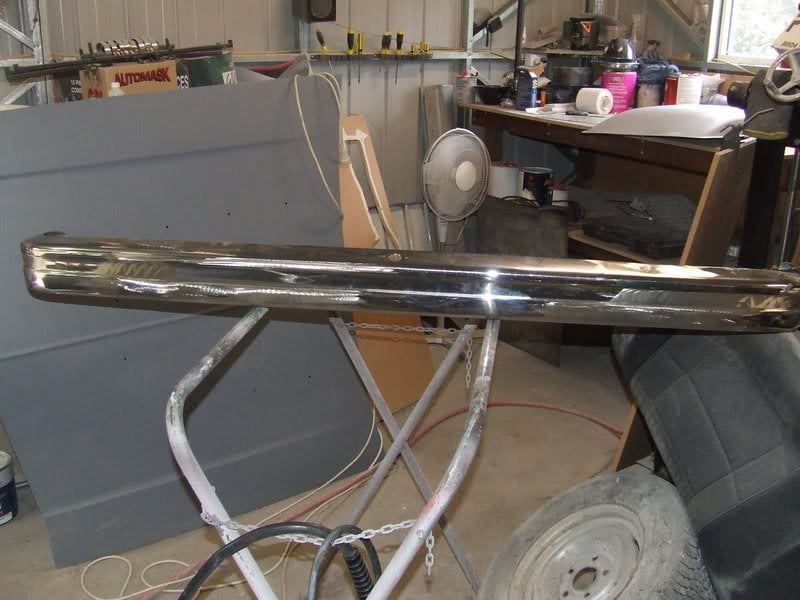
Don't let anyone talk you out of chrome bumpers!
Posted 07 February 2010 - 08:38 PM
Posted 07 February 2010 - 08:53 PM
Edited by dirtbag, 07 February 2010 - 08:54 PM.


0 members, 1 guests, 0 anonymous users


