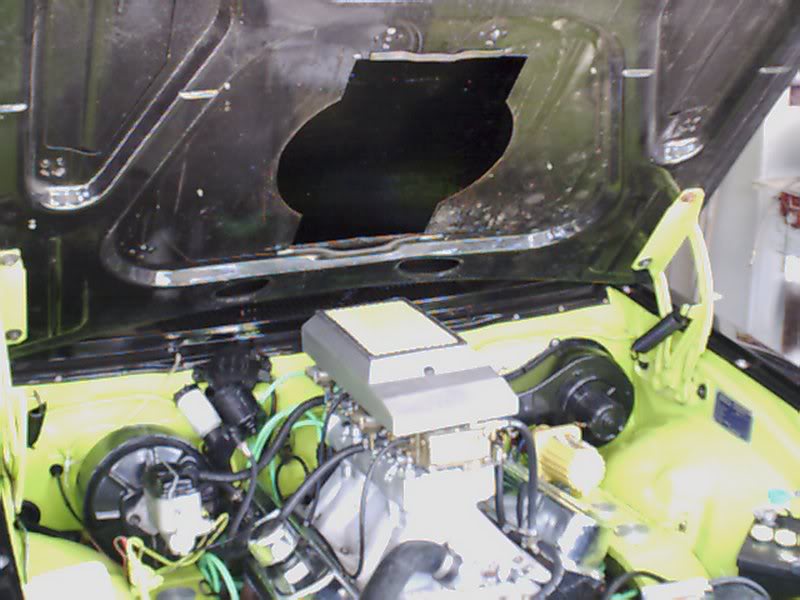
Thanks again Andy. I can't really see the need for a return line if it doesn't have one already. It's only a stock motor, so whatever is there now should be fine.
Does it need a fuel reg at the tank?
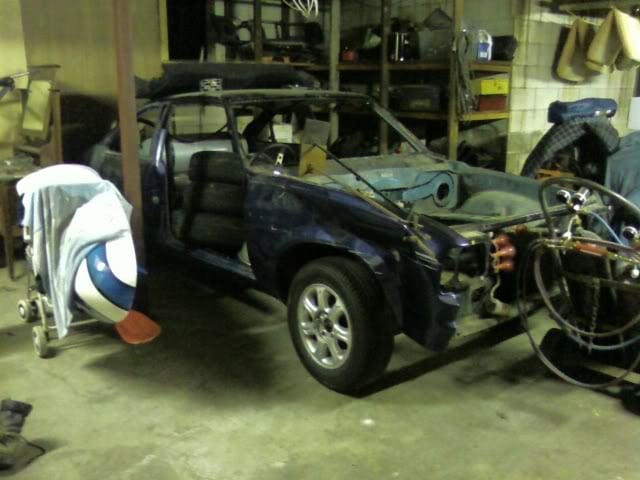
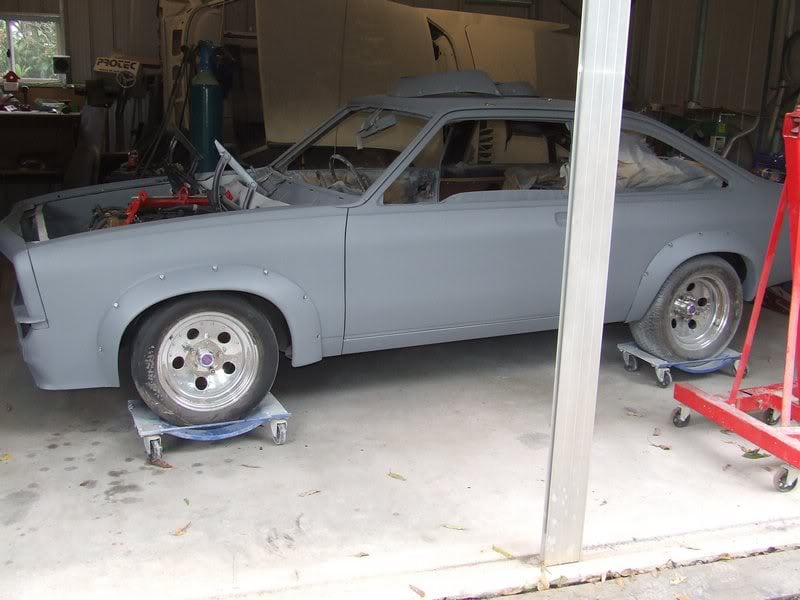
My friend (green hatch guy) came over again and got into the floor with a few chisels and a wire wheels to remove all the tar sheeting from the floor, as I was a bit worried what might be hiding under there.
It wasn't too bad though. Just a hole in the base of the passengers side A pillar and some holes drilled in front of the drivers seat. I'm thinking for a fire extinguisher maybe? None of this stuff was visible until the tar was removed.


You can see how nice the floor came up after some wire wheeling.

There was a little bit of rust inside the pillar too. This was treated and plated before the new outer piece was fitted.


The drivers floor had all the holes welded too.

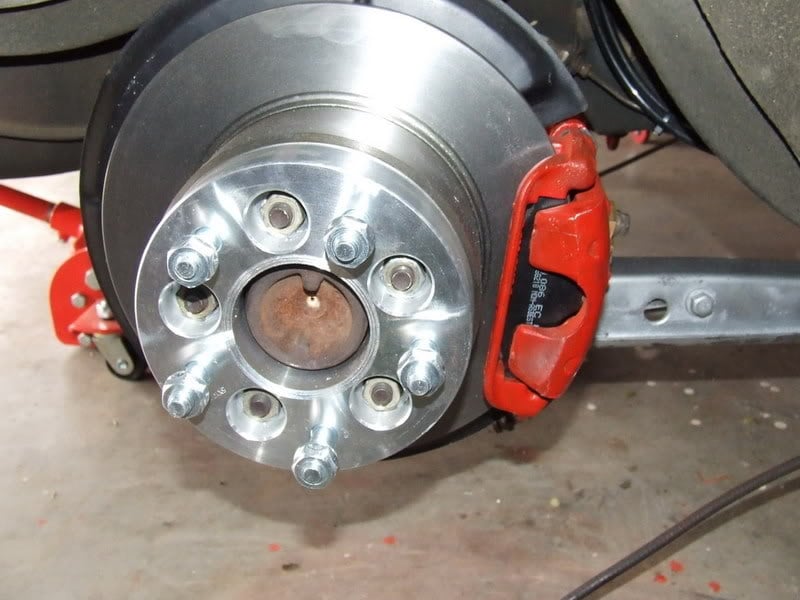
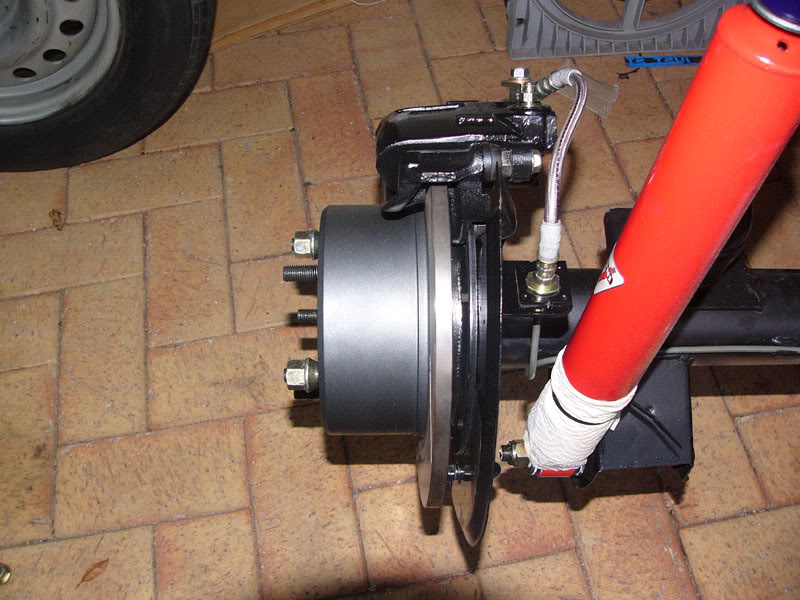
The VP commodore that donated its rear brakes also donated it's foot rest. I had to modify it a little, but it fitted easily.

Next it was time to put the diff back together with the VP disc brakes.
At this stage I thought I'd rip the tail pipes out as I was going to try new rear coils. Look how horrible and tight the welded bend is over the diff. Good flow there : )

All the old rear brakes are completely removed, including the brake lines and flexi line, as it will all be getting changed to metric.

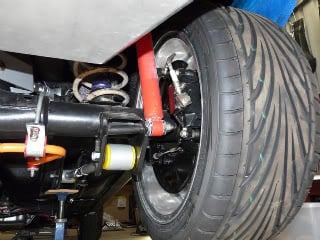
The spring on the right is the coil I pulled out of the torana, the spring on the left is from an IRS commodore. I heard on this site they were good for lowering toranas, so I thought I'd give it a go.
There's less coils too, so I assume they'll be a bit firmer too.

It looks to me like the diff has moved a bit higher in the guard. I'll know for sure when it's back together with a wheel on it. I did have to cut the tiny coil off each end of the commodore springs, so they'd fit over the torana spring seats.

I got the new rear bearings pressed on, as the collets said not to heat them to install. The guys at the diff shop also ran the axles in the lathe to check they were straight. All good news.

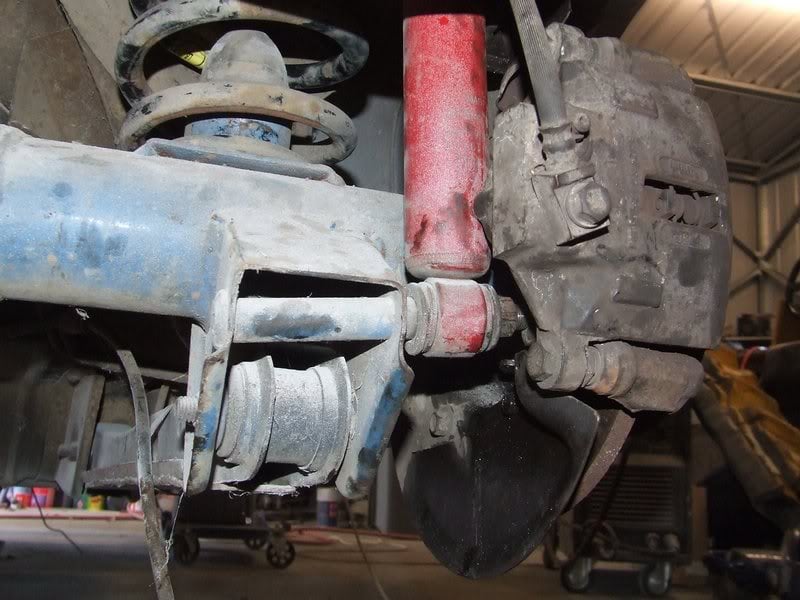
The commodore brakes fit straight on, except for one problem we came across that we didn't come across when doing this to the green hatch.

The calipers hit the shock. This didn't happen on the green car. When you view it from directly behind, the shocks taper outwards towards the bottom. I assumed they'd be straight up and down. All I can think of is whoever did the 9 inch conversion might have put the lower mounts in the wrong position. Meaning the lower arms might be out a bit too. I'm going to try and sort his out today.
This is just an earlier shot of the car to compare how the back sits now with the commodore springs fitted.
And this is how it is now.
It's come down a little bit. Looks much better in my opinion.
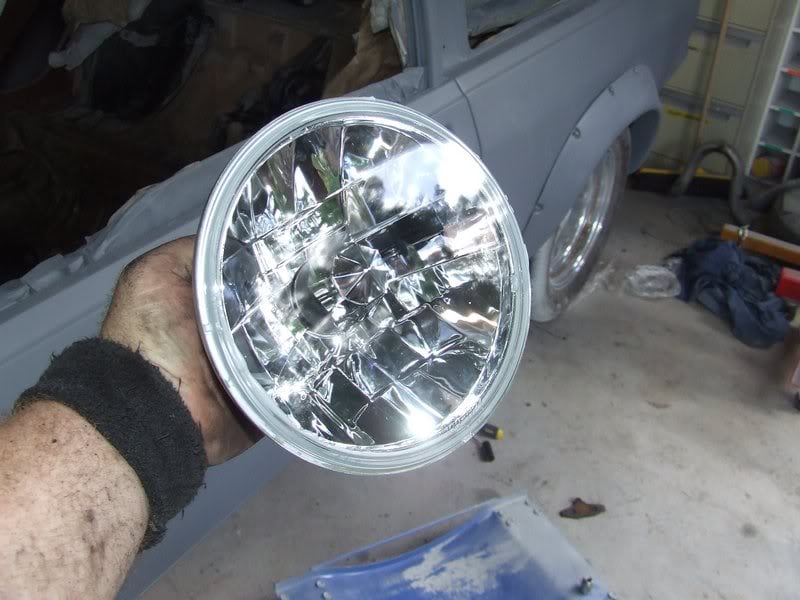
I finally got the headlights I ordered. Third time lucky.
Well that's it for now.


 .I'm very impressed with this car your work has alot of intricate detail the body looks spot on mate as dose the rest of the build love that tunnel and the hole LS1 / 6 speed conversion ,pan ect thats going to be ausome
  and i'm quite interested to know what those fats will be when there on there side, teese
 .and your brother is very lucky to have you do such a perfect job that will last not just slapt up who cares about what it looks like in 3 years time
 .buy the way your wifes 68 firebird that your building looks sick to could only imagin what your car must be like
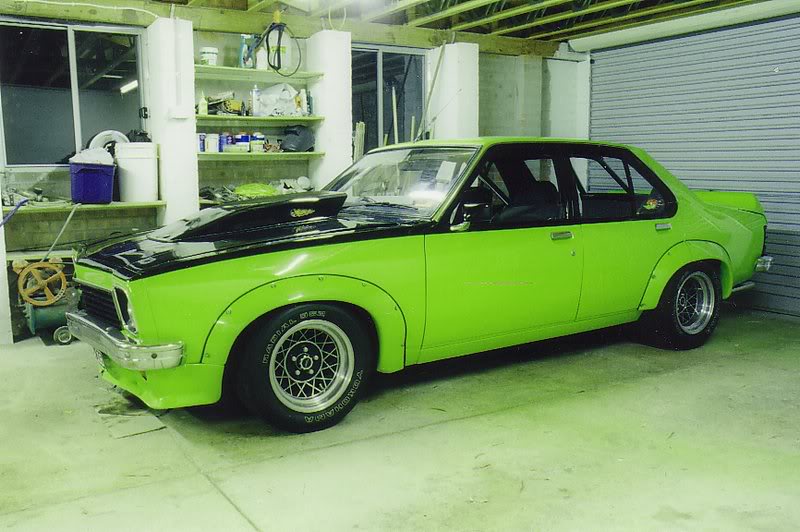
 .just wondering did you have anything to do with the green hatch's build to?and do you know if thows 295's were 50/15's or?eny way it's been a fun read with lots of pics dude


 View Garage