Fixing my brothers UC hatch
#526 _cruiza_
Posted 06 April 2010 - 09:01 PM
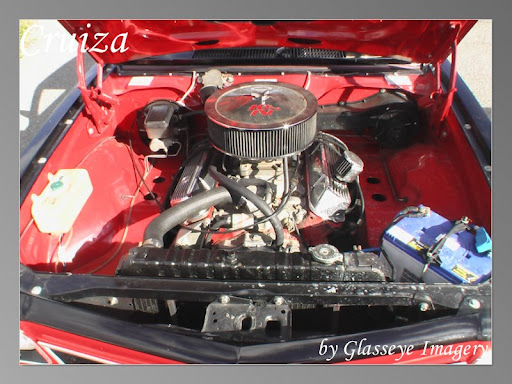
I used one cable to the left front of the car and one to the right front and one to the rear and then a smaller 5 core .5 mill to the engine, i had deul ail and water temp gauges so the only other wirering outside of the dash was battery and alturnator
see all hidden
anyways as I have said before top effort mr Dirt
#527
Posted 06 April 2010 - 09:06 PM
#528
Posted 06 April 2010 - 09:15 PM
if i guess right will you show them to us ?
looking good as always.
#529 _dirtbag_
Posted 06 April 2010 - 09:28 PM
Thanks Anthony. I agree. A/C is the only way to go, especially up here in Qld.
Kevin, there is one more thing/hint I can give you. The wheels are alloy, and a silvery colour : ) hahaha...... Sorry about that, but I'm under strict orders to not tell you they're 12 slotters. Damn!!! I gave it away......
#530 _cruiza_
Posted 06 April 2010 - 09:51 PM
Nice wire hide cruiza. Why did you hide the wiring then leave the battery and window washer in the bay? Seems weird. Maybe you should just give the car to me then it's my problem hahaha. Seriously, give it to me!
Thanks Anthony. I agree. A/C is the only way to go, especially up here in Qld.
Kevin, there is one more thing/hint I can give you. The wheels are alloy, and a silvery colour : ) hahaha...... Sorry about that, but I'm under strict orders to not tell you they're 12 slotters. Damn!!! I gave it away......
Sorry mate a man with money beat you to it and she gone but not forgotten from my life and I have a real bad case of wanting to do another. I have been two years without my Torana or even a Holden in mylife
I was after the stock but not look hence washer bottle etc you note the size of the battery, I needed all the juice I could get as was running 11.5 to 1 compression and had hassles with starter motors, I had plans to put it in the boot but decided againest it when I realised how much juice I needed to start it. I believe the new owner has put the battery in the boot and detuned the motor.
So seeing as I don't have a hatch and am suffering terribly and you do have one that you are intenting to give away, I should say thank you for my new hatch and give you a pat on the back for all the good wrk you are doing on MY new hatch.
#531
Posted 06 April 2010 - 10:44 PM
Large flange
Small flange
Installed photo from the web
#532 _dirtbag_
Posted 07 April 2010 - 06:03 PM
Andy, I did look at the smaller lipped ones, but wasn't convinced they'd have enough bite for the flares. I know they're strong, but I'd hate for one to fail after it's finished and in canberra.
Well today was a frustrating day, but still good at the same time.
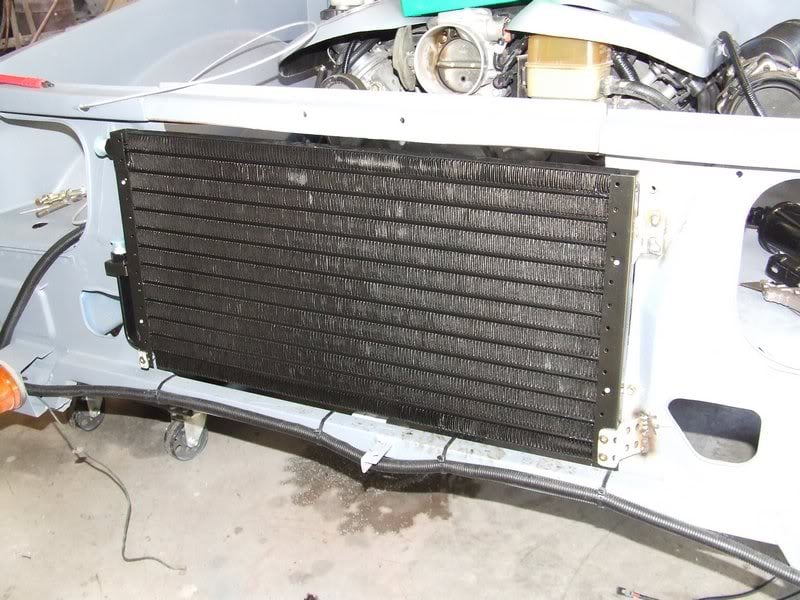
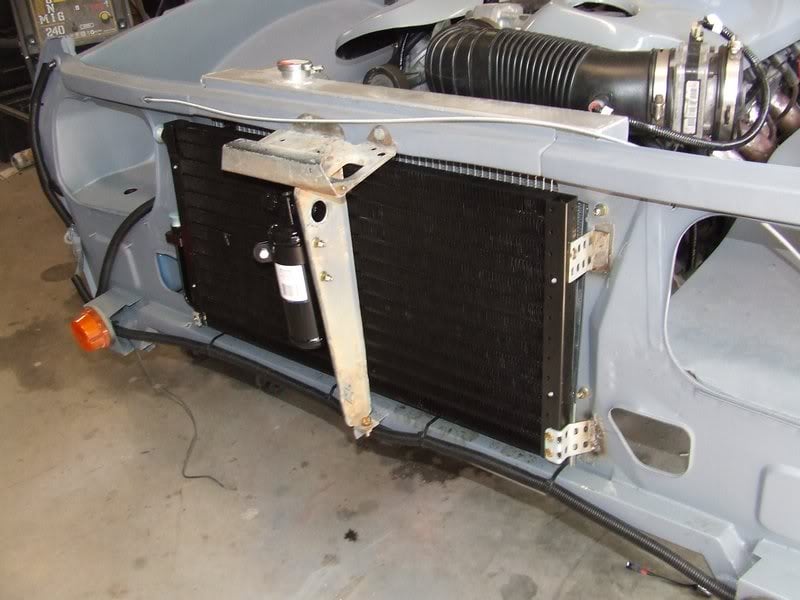
I mounted the air conditioning condenser and dryer in front of the radiator, so when the A/C guy comes back to make the hoses it's all ready to go.
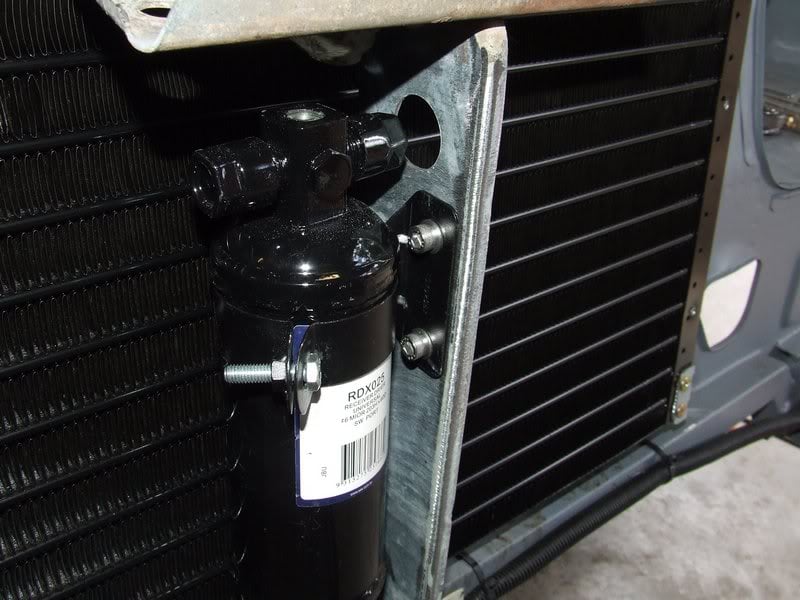
I mounted the dryer on the bonnet latch stay. Of course being a kid with a new toy I mounted it with nutserts : ) The big hole is for the A/C line to pass through.
I also changed the radiator mounting. It now mounts with nutserts too. I can't stop : )
I'll have to open up the holes a bit in the radiator support panel where the bumper mounts go through to make room for the A/C lines.
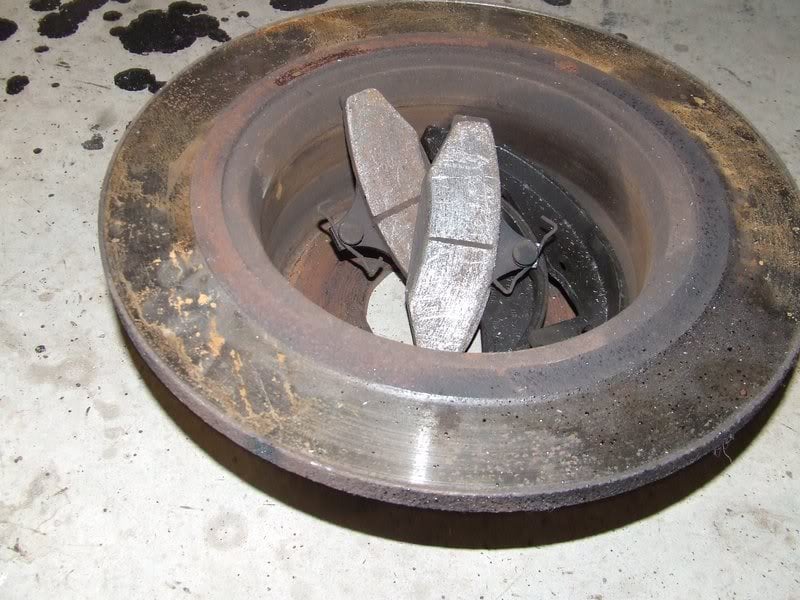
The next, very annoying, job was to fit new rear brake pads, rotors and handbrake shoes.
I used bendix handbrake shoes, as they're a pain in the a$$ to change compared to pads.
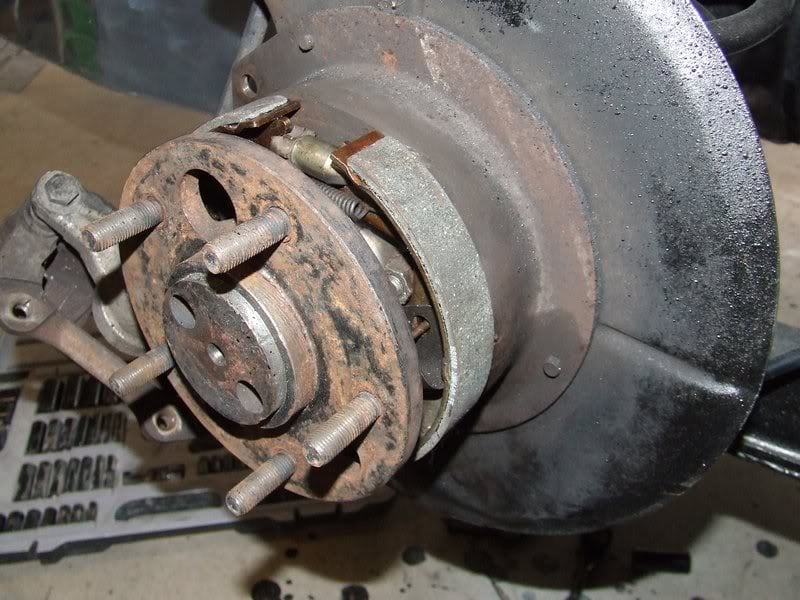
The only problem with swapping to commodore discs is the caliper and the axle hat are ever just slightly out of alignment, and the easiest fix is to shim the rotor off the axle hat a tad.
Sounds really easy, and I guess it is, but I went and bought a stack of shims and washers of all various widths to get this done. Anyone who's played with these brakes knows how much of a pain it is getting to the caliper bolts. Imagine then, fitting shims, fit rotor, do up 1 wheel nut to locate rotor, mount caliper and tighten both bolts. Rotor wont turn. Slowly undo rotor until you can tell which way it's adjusted wrong. Remove caliper, remove 1 tight wheel nut and remove rotor, change shims, then do it all again. Grrrrr. 5 times it took, but it's perfect now. Let's not talk about how annoying the springs are to refit in the handbrake shoes.
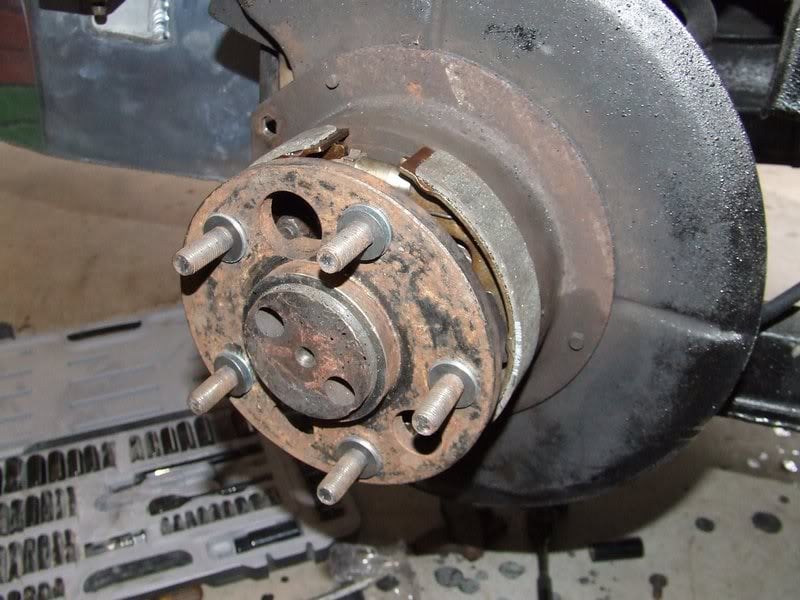
Well, it was worth the muck around I guess, as it's all good and proper now.
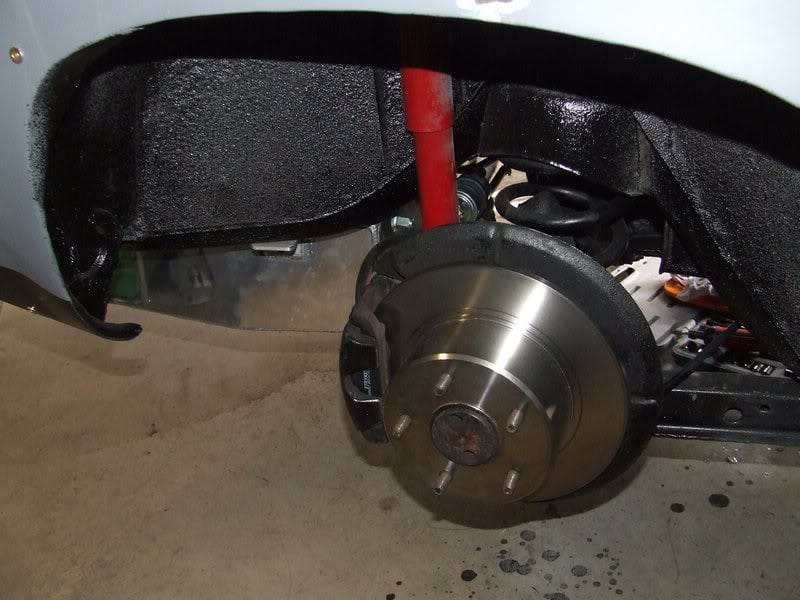
Here's the old pads, shoes and rotor from the right hand side. Note the approx 1.5mm lip on the inner and outer edge of the rotor. Nice : )
Well tomorrow should see some tyres get fitted to the mystery wheels. Tuesday is booked for the exhaust system. I need to measure up for a tail shaft then I think it can get ripped apart and coloured in. Here's hoping anyway : )
#533 _nial8r_
Posted 07 April 2010 - 07:40 PM
#534
Posted 07 April 2010 - 07:45 PM
Interesting, I never would have thought of that. Most people just change to the disc brake axle seals.The only problem with swapping to commodore discs is the caliper and the axle hat are ever just slightly out of alignment, and the easiest fix is to shim the rotor off the axle hat a tad.
I agree nial8r, I want a nutsert gun too now!
#535 _niterida_
Posted 07 April 2010 - 09:00 PM
#536 _dirtbag_
Posted 07 April 2010 - 09:32 PM
Either way, it's done now so I'm happy : )
I certainly don't claim to know everything, so thanks to everyone who has helped with priceless info during this build. I sure am glad I took the time to post on this site, as everyone I've chatted to here seems to be an asshole, so that makes me feel better about myself hahahahaha. Sorry, couldn't help myself.
Thanks again for the info and feedback.
#537 _Viper_
Posted 07 April 2010 - 09:37 PM
#538 _dirtbag_
Posted 07 April 2010 - 09:41 PM
#539
Posted 08 April 2010 - 06:03 AM
Ah I see, I should have thought about it a bit longer, you'd have bearing problems without changing the seals regardless. Duh, carry on...Hiya 76lxhatch. I did swap the bearings and seals to disc brake ones, but when using non commodore axles the shims are still necessary, as far as I know anyway.
#540 _dirtbag_
Posted 08 April 2010 - 07:10 PM
The rear tyres caused a few dramas with their crazy hard sidewall, but they're on now, and look awesome.
The front tyres are 225/50/15s and the rears are 285/40/15.
First thing I had to do once home from the tyre shop was finish off the left rear brake overhaul. It was a pain as they all seem to be. I then fitted the nutserts into the left rear guard for the flare.
Well, here you go guys. A pic of the car with the new wheels and tyres on it.
I told you my brother wants them to be a secret until it's finished. At least you can see how good the dish is on the wheels. : )
I think the cardboard hubcaps and the pattern on the rear tyres give it a nice sprintcar feel : )
Does this make my bum look big?
I borrowed an aftermarket intake from a friend of mine to see how it looked on the car. I don't mind it actually, but would prefer something that goes out both sides, instead of just to the passengers side.
I'm crossing my fingers that tomorrow will see the A/C lines get made finally. I still have to mount the charcoal canister, now that I've repaired it. Oh yeah, it was broken. Fixed now though.
#541 _nial8r_
Posted 08 April 2010 - 07:26 PM
#542 _doogs_
Posted 08 April 2010 - 08:46 PM
I think I will have to add a Nutsert gun to my future shopping list!
#543 _niterida_
Posted 08 April 2010 - 09:52 PM
Edited by niterida, 08 April 2010 - 09:56 PM.
#544
Posted 08 April 2010 - 10:01 PM
Hell yes, and it's hot!Does this make my bum look big?
Just as long as you don't have an ugly pod filter hanging out in the middle of nowhere...I borrowed an aftermarket intake from a friend of mine to see how it looked on the car. I don't mind it actually, but would prefer something that goes out both sides, instead of just to the passengers side.
#545 _mick74lh_
Posted 08 April 2010 - 10:45 PM
#546
Posted 09 April 2010 - 08:45 AM
The Black twin turbo LX Hatch had a really neat OTR set-up. With your skills i reckon you could fab one up!
#547
Posted 09 April 2010 - 10:13 AM
#548
Posted 09 April 2010 - 10:19 AM
#549
Posted 09 April 2010 - 12:01 PM
Nice big Y pipe out the front, split into two large polished pipes running down behind each headlight, only thing is, he is going to need to make a small hole/scoop to feed it fresh cool air and start priming the engine bay again! hahahahaha! (<<evil laugh)
#550
Posted 09 April 2010 - 12:17 PM
2 user(s) are reading this topic
0 members, 2 guests, 0 anonymous users