Jump to content


* * * * * 1 votes

Fixing my brothers UC hatch


  • Please log in to reply
1690 replies to this topic

#701 _dirtbag_

_dirtbag_
  • Guests

Posted 28 April 2010 - 08:35 AM

Hey cruiza, I can live with that. I never thought I was building the best hatch here. I only build cars that are practical and useable, so there will never be a shiny undercarriage coming out of my shed : )


Well here's a little update.

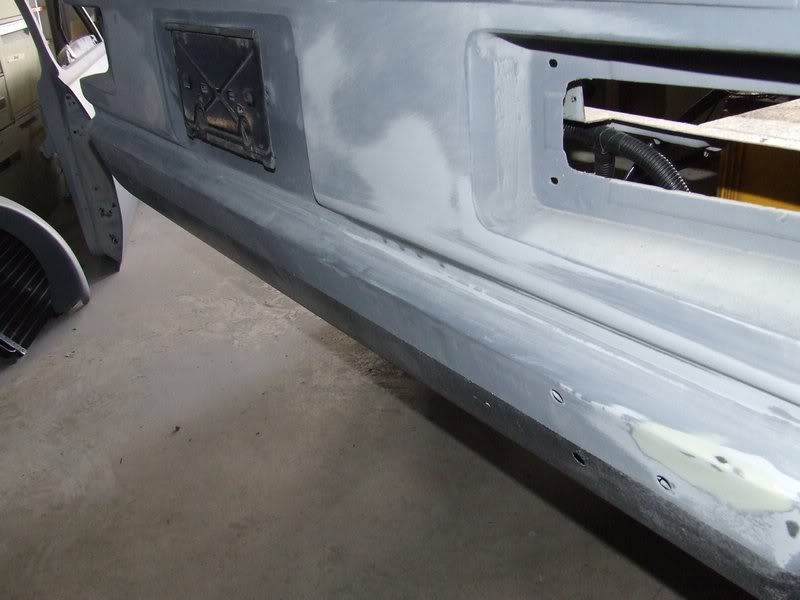
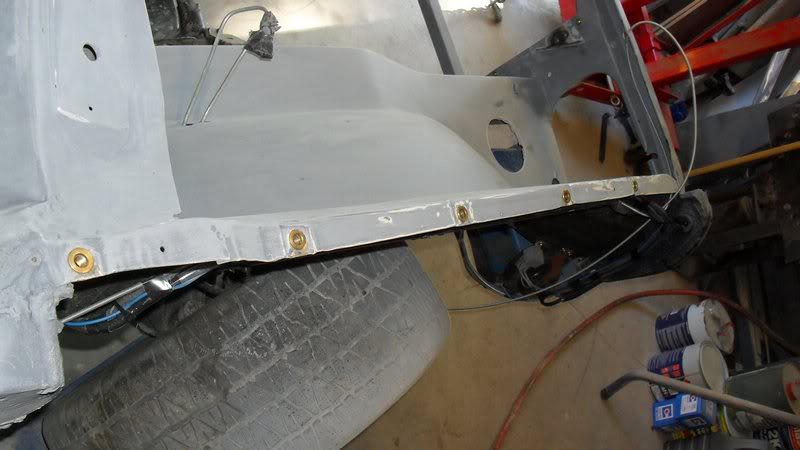
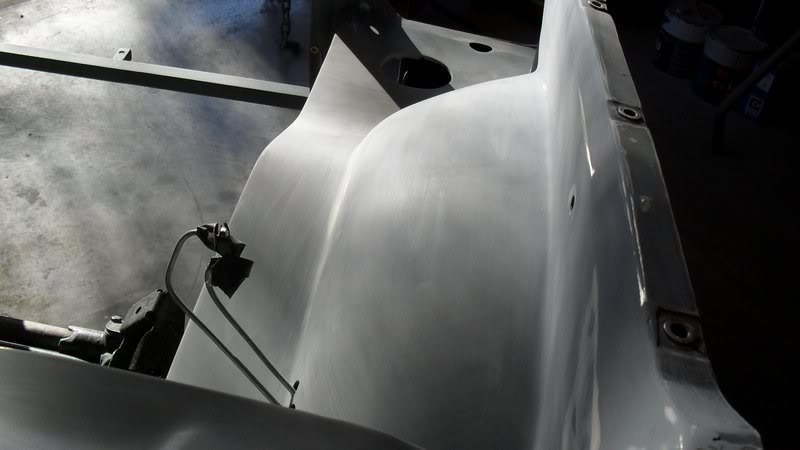
I got the tank straps mounted. They'll have rubber behind them once they're painted, as I like the look of it having a black border.


Posted Image


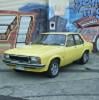
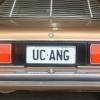
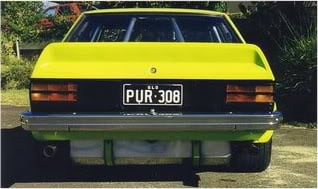
Here's a pic of my old 4 door showing the look I'm going for.


Posted Image


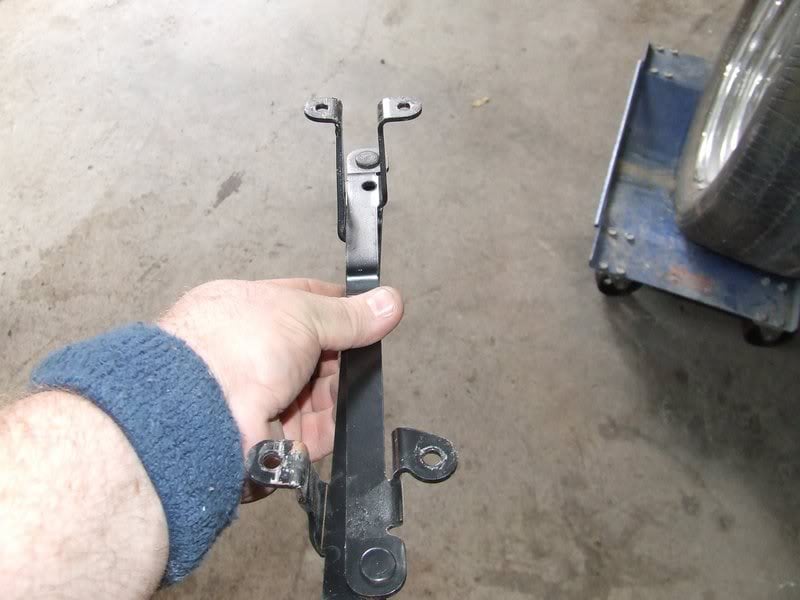
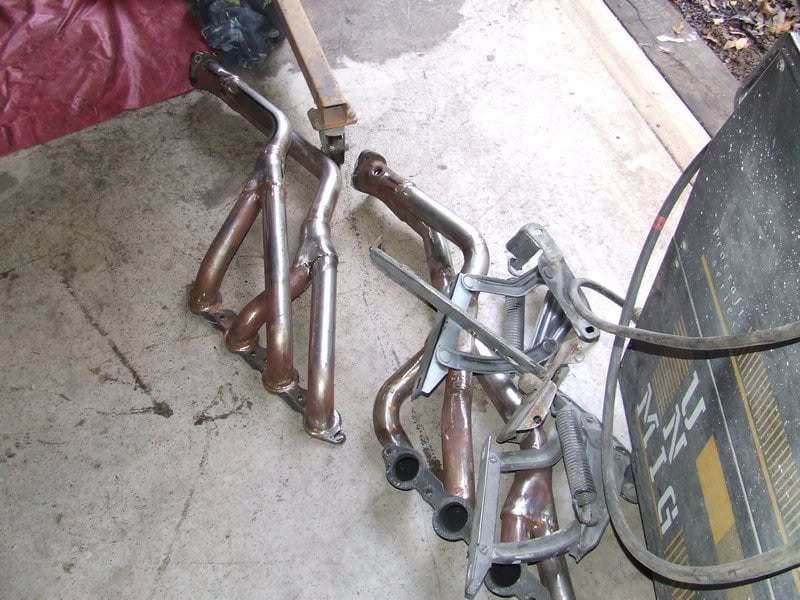
Next job was to rip the steering arms out to send them away to get the tie rod holes reamed to suit the new power steering rack.

It sure is a crap design when you have to remove the calipers and rotors just to get the steering arms off, but that's life : )

I even gave the arms a hit with the wire wheel, as they were a tad crusty.


Posted Image


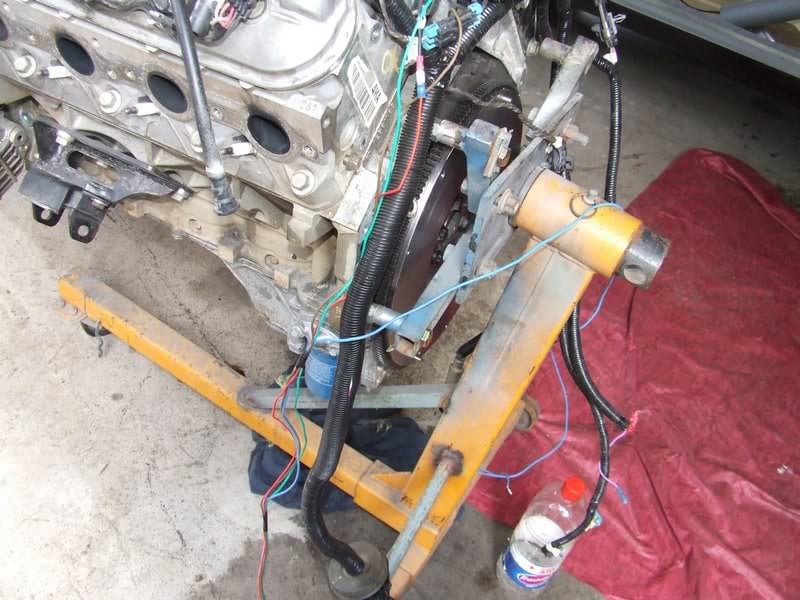
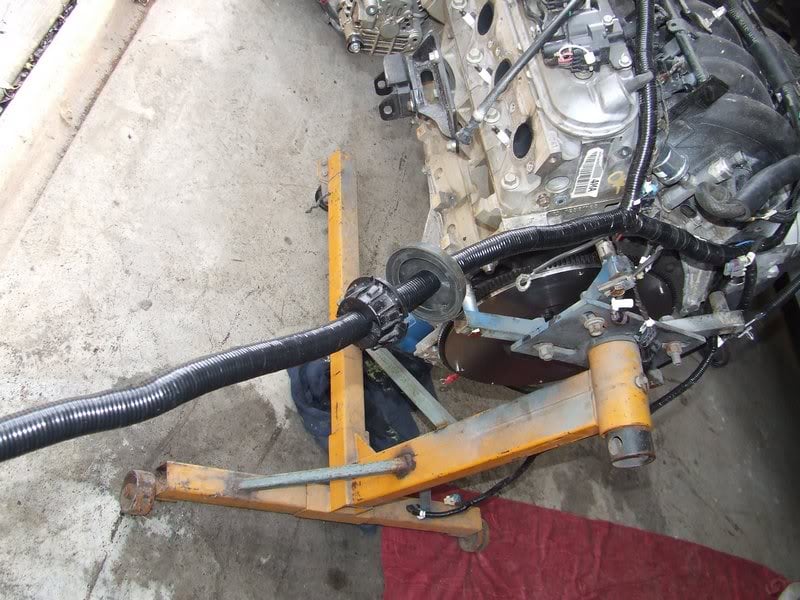
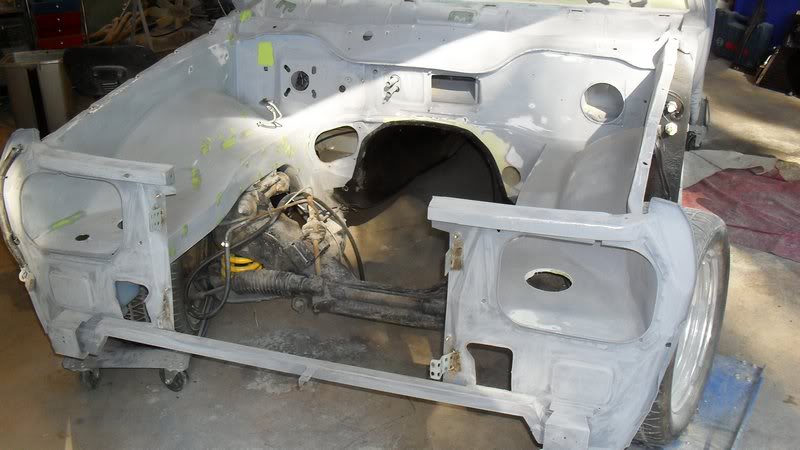
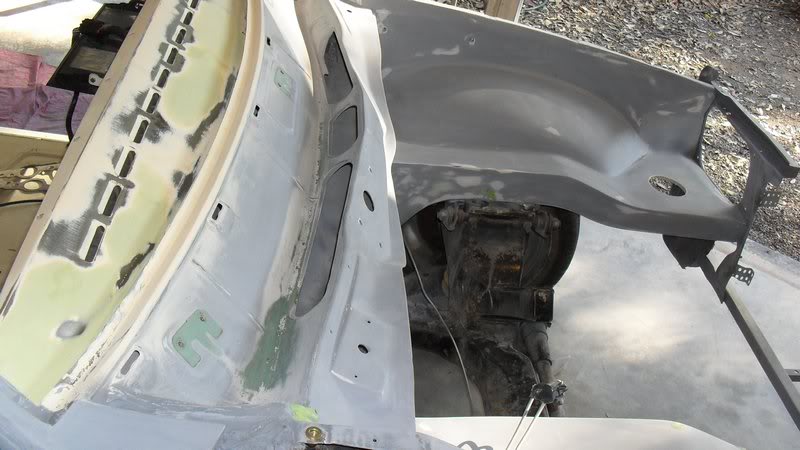
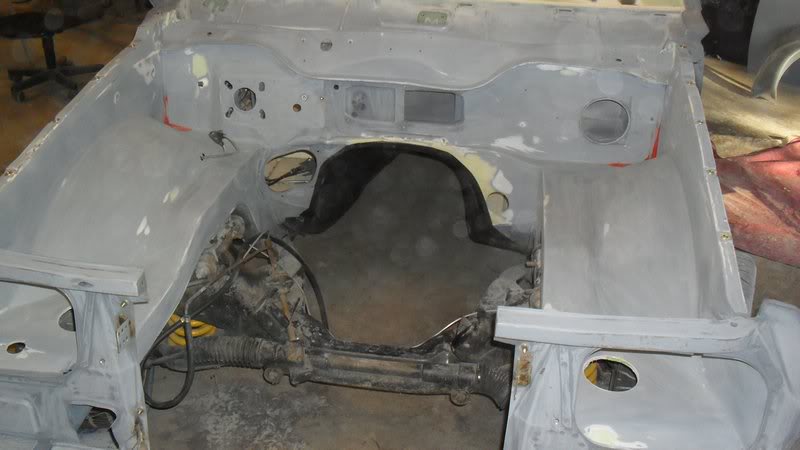
With the motor and box coming back out, I had to undo all the wiring and what not. Not too hard I guess, but it takes a while shoe horning all this stuff back in : )


Posted Image


I'll finish a few things in here to get it paint ready, but might still have to put the motor back in to check for sump clearance to clear the power steering.


Posted Image


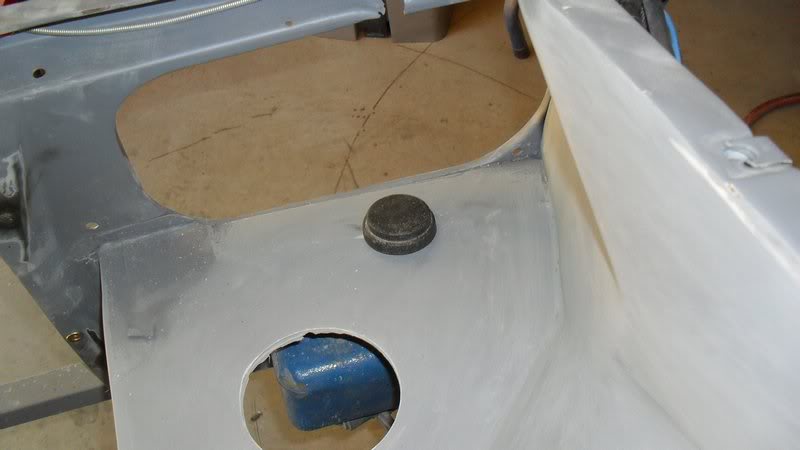
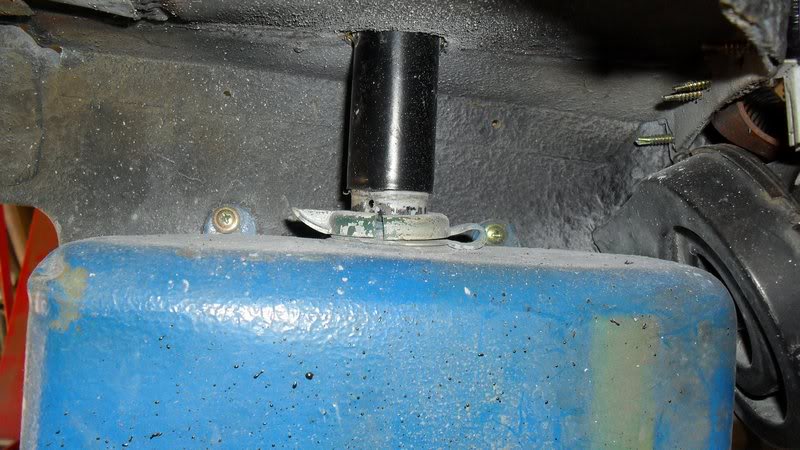
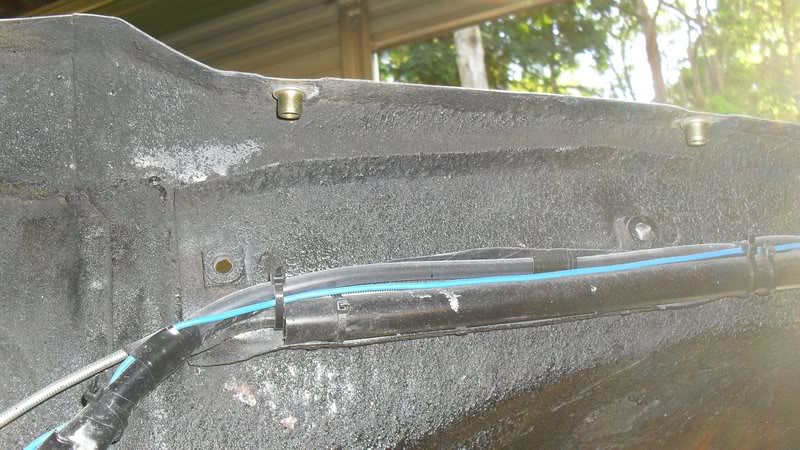
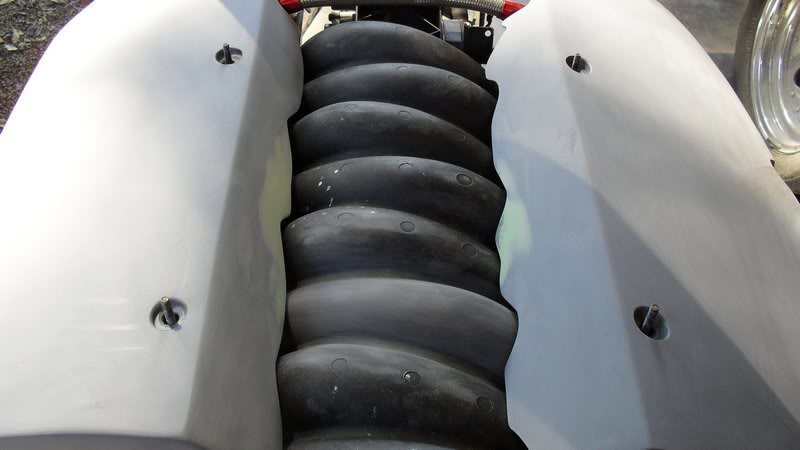
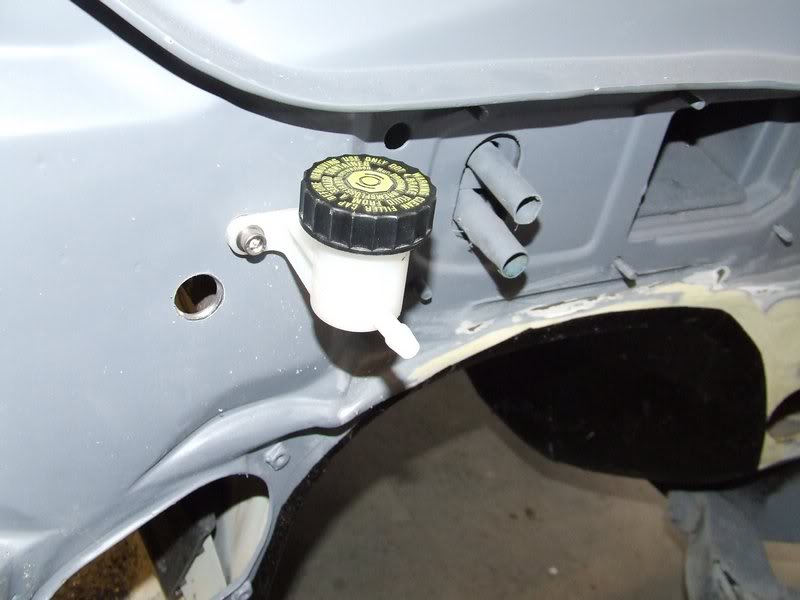
The last thing done before pulling the motor and box out was finalising the clutch stuff. We had to find a good place to let the hydraulic line go through the tunnel to the slave cylinder, and also find a good place for the reservoir. I was originally going to put it behind the drivers side air vent, but my brother wants all vents to work, so it's now on the firewall. Held on with nutserts of course : )

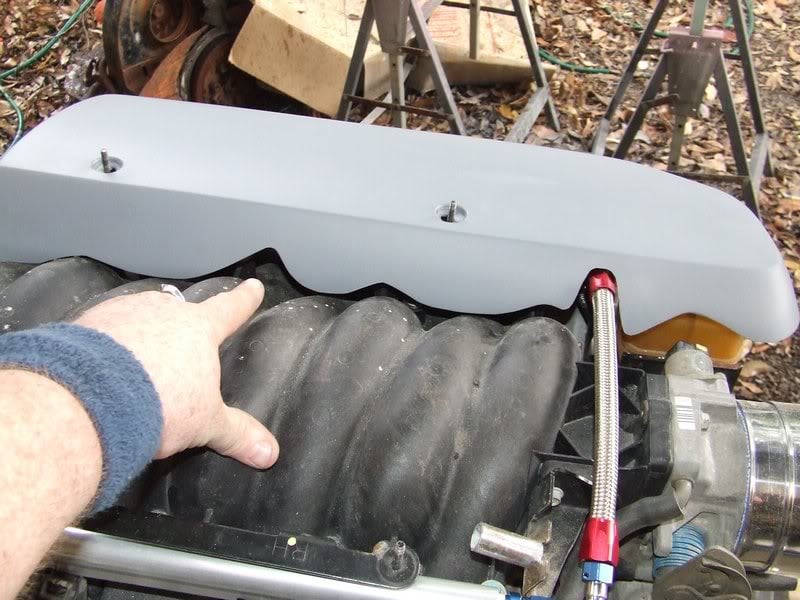
The fluid line will run through the hole under the reservoir into the pedal/master cylinder. It wont be too obvious here, as it's lower than the engine covers.


Posted Image


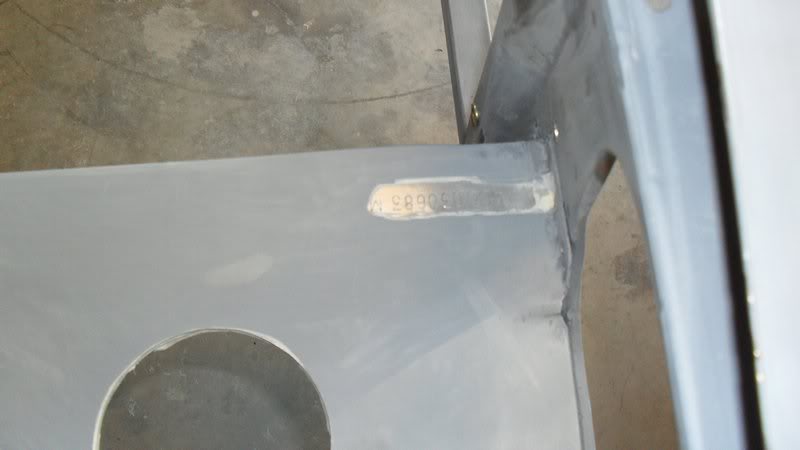
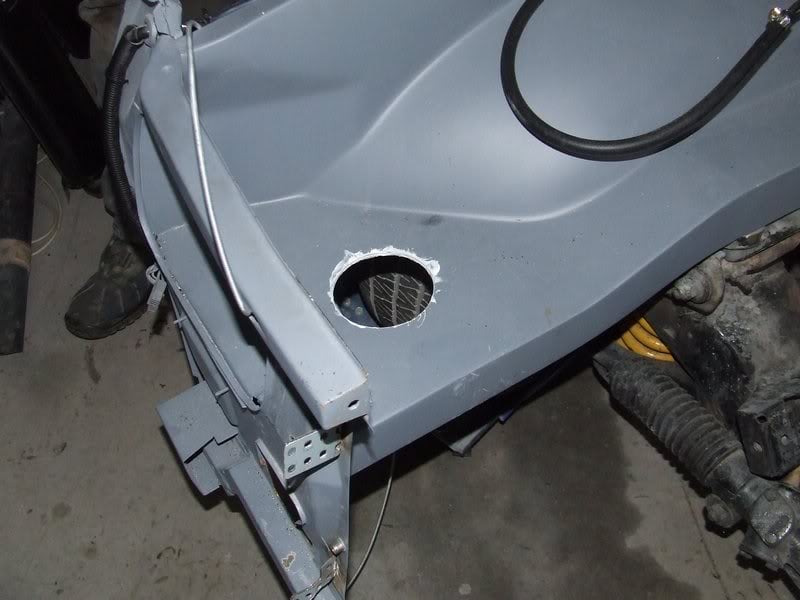
Because I reskinned the whole top of the chassis rails, where I bored the holes for the intake pipe left a gap showing between the two layers. To stop gunk going in there I sikaflexed the gap up.


Posted Image


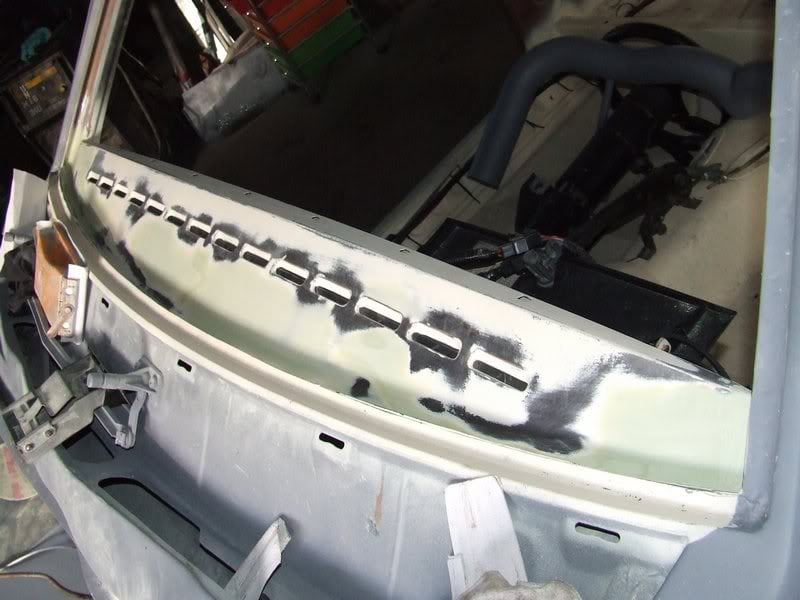
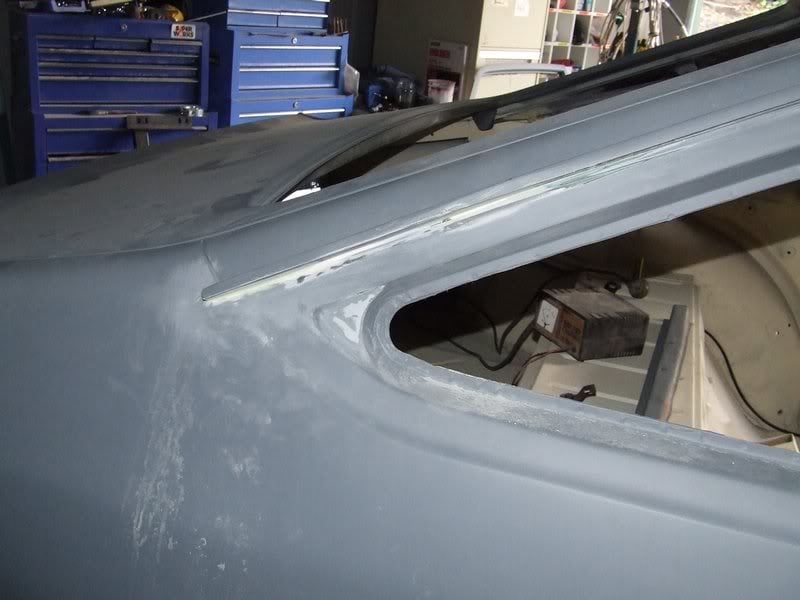
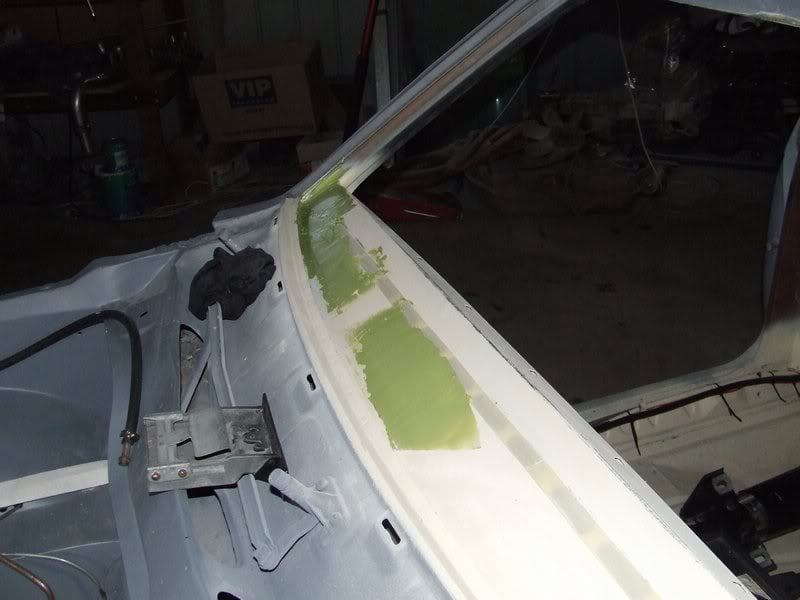
It's not often you have to do bodywork on a dash top, but because this dash was removed from another car and needed some rust repairs, it also needs a bit of filler to get it looking good.


Posted Image


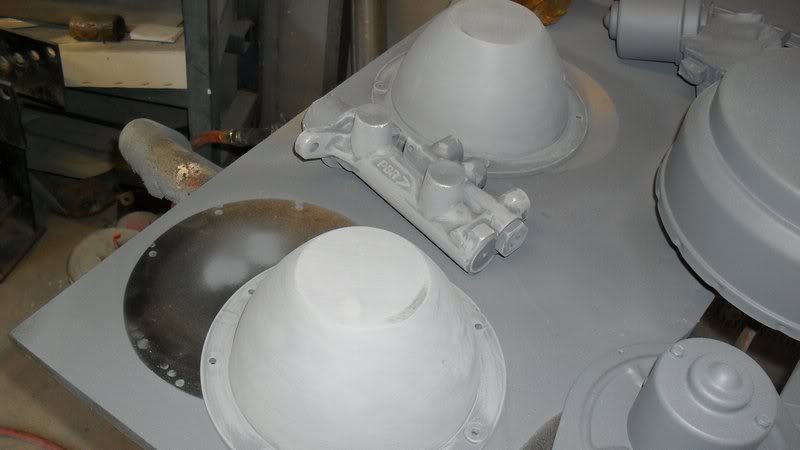
All the stuff is now ready to get sent away for HPC coating.


Posted Image


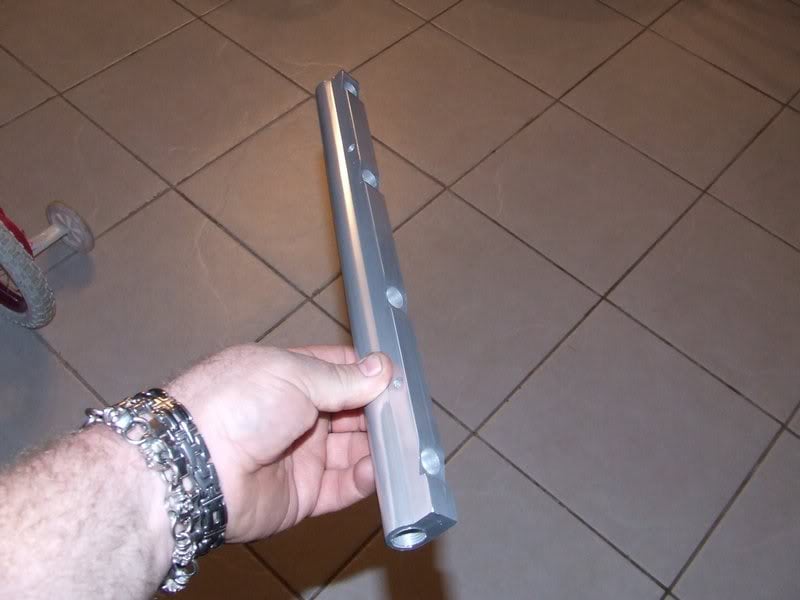
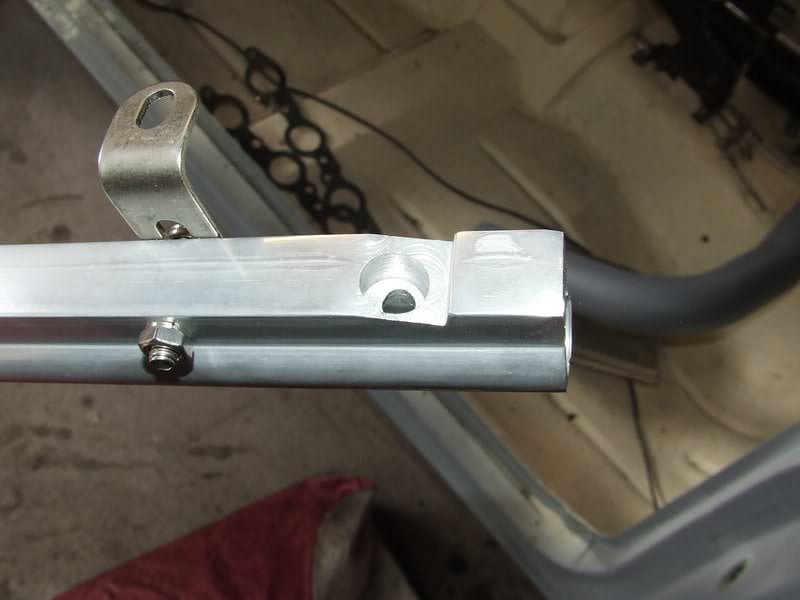
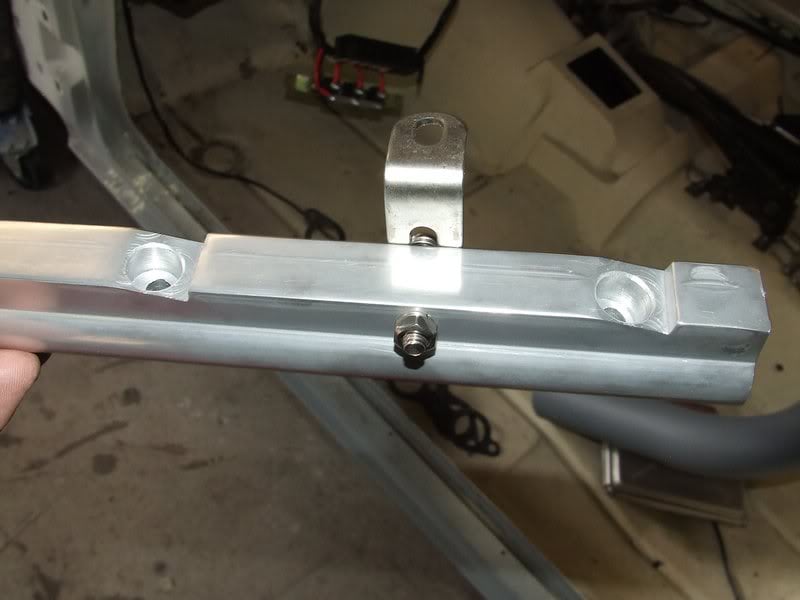
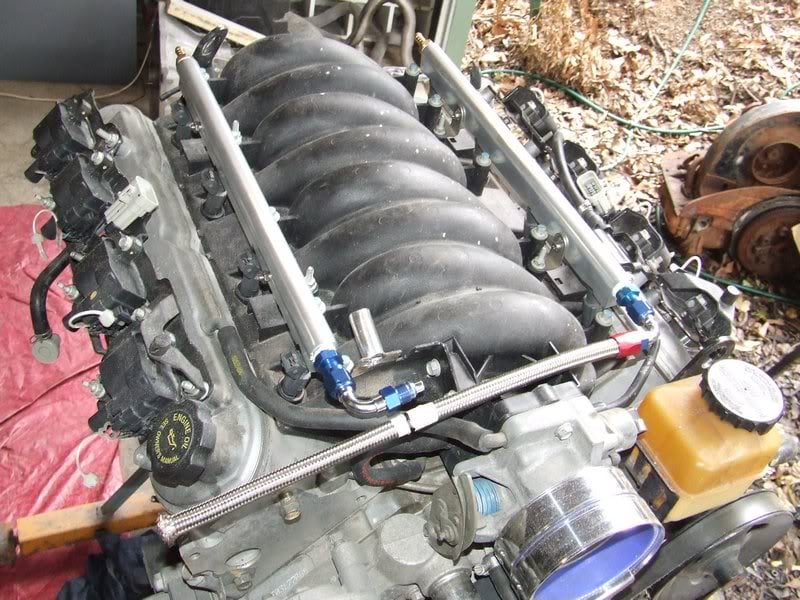
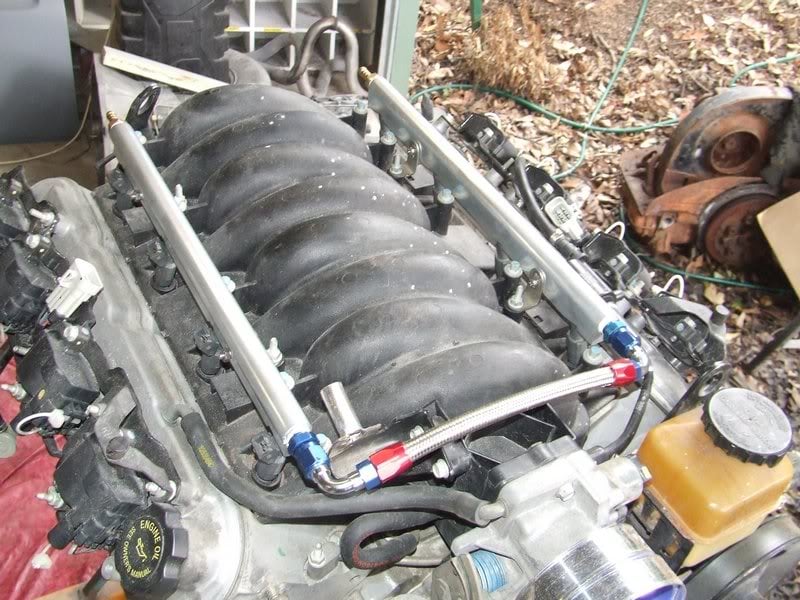
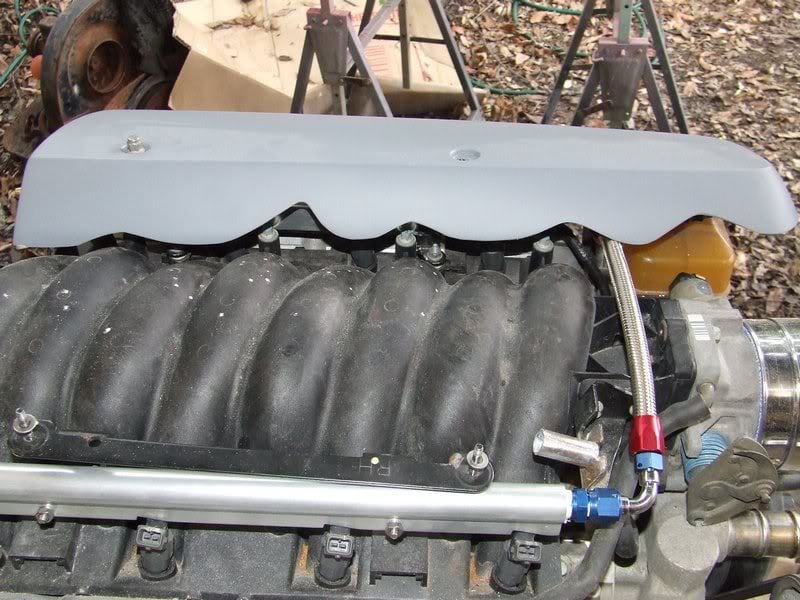
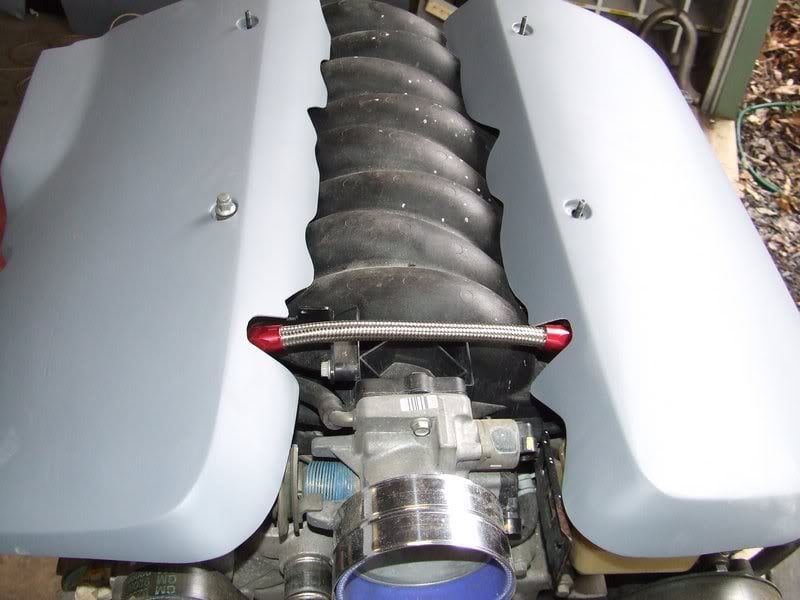
My brother bought new fuel rails and regulator, which showed up yesterday. Now it can have a return line.


Posted Image


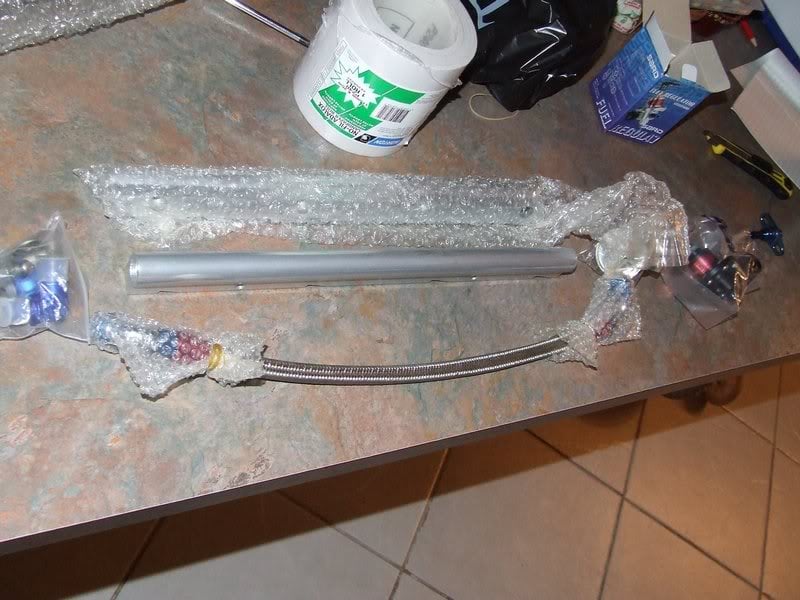
Rails look nice and shiny : )


Posted Image

#702 _Kush_

_Kush_
  • Guests

Posted 28 April 2010 - 11:29 AM

So dirtbag, you have some sort of power steering unit?? C'mon, spill the beans....

#703 _sjohnst7_

_sjohnst7_
  • Guests

Posted 28 April 2010 - 05:24 PM

All the power steering info is from this site.
Here: http://www.gmh-toran...topic=1369&st=0

Another huge bundle of pages to read!

#704 _dirtbag_

_dirtbag_
  • Guests

Posted 28 April 2010 - 05:44 PM

Here's another little update of the progress, however slow it feels.


With the motor and wiring back out and accessible I can finally put all the wires for the oil and temp senders inside the main harness, as they look scraggly hanging about.

Posted Image


After cutting the harness open, stuffing the 4 wires inside and taping it all back up again it looked like this.


Posted Image


Time to start on the new fuel rails. The holes where the injectors go were too sharp on the corners, so I had to take the edge off with a countersinking tool.


Posted Image

Posted Image


After lots of patience and rubber grease, I finally got the new rails on.

The braided line that came with the rails was way too long, unfortunately, so I marked where I had to cut it. I hate braided hose. It's the devils work : )

Plus I decided it would be easier to go and get all new fittings for the rails, as the 90 degree ones that came with them just didn't work.


Posted Image


After finally getting the fitting back on and all hooked up it looked pretty good.


Posted Image


I bought new barbs for the in and return line.


Posted Image


I knew the engine covers weren't going to fit now as the crossover pipe has moved, so I went to fit the engine cover mounts, only to find they didn't fit anymore as the new fuel rail mounting bolts were in the way. To fix it I straightened the 90 degree bend in the mounting plates and re folded them in a slightly different spot so they'd clear the fuel rail mounting bolts. Just another little unseen problem in a sea of unseen problems : )

The one on the left has had the tabs bent in a slightly different spot. It's about 2mm difference, but enough to make them actually fit on.


Posted Image


Here it's obvious why the cover doesn't fit anymore. It's also obvious where the old crossover pipe used to be, as now there's a big gap that needs fibreglassing up.


Posted Image


Here's the new crossover pipe area cut into the cover so it sits on properly, and my sexy hand is pointing to where I need to glass up.


Posted Image


Very pretty : )


Posted Image


The dash top is now ready for primer. Fun job that was : )


Posted Image


Time to get to all the tiny imperfections that need to be seen to before the paint prep. There's not too many thankfully, but it's important to fix them now.

The rear panel had a couple of little issues that are now fixed and ready for more primer.


Posted Image


And so it the drivers side rear roof gutter where it was replaced.


Posted Image


These little things seem to take so much time, but they're nearly all done and then some colour can go on. Can't wait.

Tomorrow will hopefully see the main body shell and engine covers ready for their last shot of primer before topcoat. Fingers crossed anyway.

#705 Potta

Potta

    Oh My, Don't you post alot

  • Members
  • PipPipPipPipPipPipPip
  • 6,026 posts
  • Name:Craig
  • Location:Gozzy, WA
  • Car:LC GTR, LC 4 door
  • Joined: 01-May 09

Posted 28 April 2010 - 06:33 PM

have we picked a colour yet?Posted Image

#706 lxsstorana

lxsstorana

    Forum Fixture

  • Members
  • PipPipPipPipPip
  • 2,499 posts
  • Name:Mick
  • Location:Eastwood, Sydney
  • Car:SS Hatchback
  • Joined: 23-March 06

Posted 28 April 2010 - 07:18 PM

All that hard work is paying off. The hatch is just getting better and better. :spoton:

Looking forward to seeing some colour on it.

Cheers Mick.

#707 _nial8r_

_nial8r_
  • Guests

Posted 28 April 2010 - 08:26 PM

your doing a really good job on the Torana Tim it amazes me just how close your are to end result now Posted Image

#708 _jabba_

_jabba_
  • Guests

Posted 28 April 2010 - 10:48 PM

It will look loverly in black ;), love your work! I wish i had your talent.

#709 _BlownUC202_

_BlownUC202_
  • Guests

Posted 29 April 2010 - 10:21 AM

Sorry dirtbag i only caught onto this thread about a month ago so i skim read all the old posts.

#710 _DomDom_

_DomDom_
  • Guests

Posted 29 April 2010 - 05:24 PM

Hi Dirtbag,

Can you please hurry this build up. I can't wait for you to finish. Ha ha.

What's next?Posted Image

Just kidding. To think that this only started in December is absolutely amazing.

Keep up the awesome work.

Dom

#711 _dirtbag_

_dirtbag_
  • Guests

Posted 30 April 2010 - 08:15 AM

Thanks again guys.

Well it's back at a slow stage now where it never looks like anything has been done, but it's a really good stage too. Final prep for paint : )

The rear panel needed a little bit more work so get right, so now it is totally ready for it's last shot of primer.


Posted Image


The drivers side of the car is now all sanded with 240 grit dry paper. That still sounds like rough paper, but it's buttery smooth. You just have to be patient when sanding with the 240 though, as it takes a fair while. There's one bit I want to fix in the door jam, but other than that this side is ready for final primer.


Posted Image


The engine bay is nearly all sanded with 240 as well. Still a bit of the firewall to go yet.


Posted Image


Here's the engine covers with the new fibreglass bits I added cut to shape. They just need a tiny smear of filler and they're finished.


Posted Image


Last this we did yesterday was rip the hatch back off so I could send the hinges away to get HPC coated with the rest of the stuff that got sent the day before.


Posted Image


They should look a bit better next time we see them.

#712 _dirtbag_

_dirtbag_
  • Guests

Posted 30 April 2010 - 06:23 PM

Today was another day of doing stuff that can't be seen.


I finally finished the filler neck for the windscreen squirters. It sits just behind the drivers side headlight. The lid will be painted, so I don't think it will stand out too much. At least the bottle itself is out of sight.


And I converted all the top front guard mounts to nutserts. Not only because nuterts are awesome and fun, but because the original speednuts are a pain, as they scratch the hell out of the paint when you put them on. And nutserts are awesome : )


Just so you know, this is how the underside of a nutsert ends up after it's squeezed into place.


I also did the filler work on the engine covers where I had to fill the space where the original fuel rail crossover pipe was. The covers are now ready for their final coats of primer before topcoat. I'm also going to smooth the intake manifold. It's got a rough finish with little dots embedded in it. You can see I've sanded one of the intake runners smooth. Only 7 more to go : )


It was the highlight of my day sanding the radiator support panel : )

Note all the little dabs of filler where I've been touching up the little pinholes and what not. The pinholes are so tiny after the filler is sanded you can hardly see it, but if I didn't do it now the finished result would look crap. Nearly done now!!!


The dash and plenum are all done now ready for primer.


I've had the chassis number taped up during all the priming, so it doesn't get full of paint and disappear. I untaped it today and sanded all around it to smooth the edges, but will tape it again until the very last coat of primer.


The headlight buckets and master cylinder are also ready for their final coats of primer before being top coated.


Well the engine bay is finally ready for it's last coats of primer before top coat. It's been a lot of work but once it's coloured in I think the work will have been worth it.


Go on, touch the screen, feel how smooth it is now. Go on : )


Hopefully the weather will be good for the next week so I can get a heap of priming done. I just need to sand the roof and left rear quarter with 240 and the whole shell is ready for it's final primer. Can't wait to see colour!!!!!!!


#713 _Viper_

_Viper_
  • Guests

Posted 30 April 2010 - 07:50 PM

Awesome work as usual!

With the nutserts in the guards... don't the usual speednuts allow for abit of adjustment? ie they can move around a little? is there enough movement in just the guard holes? I hope so cos I wanna do this with mine too :D

#714 _dirtbag_

_dirtbag_
  • Guests

Posted 30 April 2010 - 08:15 PM

Hi Clint. The old speed nuts clipped into the hole, so they wouldn't move about, other than a bit of pivoting in the hole. The main adjustment is the oversized holes in the guards. Plus, not all the speed nuts were in this car so I don't feel bad about getting rid of the ones that were left : )

#715 Peter UC

Peter UC

    Forum Fixture

  • Members
  • PipPipPipPipPip
  • 770 posts
  • Location:Emerald Vic
  • Joined: 08-November 05

Posted 30 April 2010 - 08:48 PM

Don't worry dirtbag, anyone that has painted a car can see how much you work you have done, awesome job as always. :spoton:

#716 _Azza_

_Azza_
  • Guests

Posted 01 May 2010 - 10:20 AM

My god and I thought my build was extreme. This is absolute insanity! Awesome work man. Such an inspiring build. I was meant to be down at my shed an hour ago, but I've been addicted to this thread!

Cheers

#717 _nial8r_

_nial8r_
  • Guests

Posted 01 May 2010 - 07:38 PM

Posted Image

#718 _red roar_

_red roar_
  • Guests

Posted 01 May 2010 - 08:44 PM

hey Tim, has your bro worked out what color he's going with?


plenty of work in the rubbing.....

#719 _wblje_

_wblje_
  • Guests

Posted 01 May 2010 - 09:58 PM

could you answer one of the following.

a, really love my brother and cant do enough for him
b, my brother is paying me heaps to do this
c, i won lotto a while back and have nothing else to do
d, its a guilt thing. me his missus one night to much grog. oh god i hate myself.

answer a,b,c or d

top work there. some awesome dedication

#720 _greenmachine215_

_greenmachine215_
  • Guests

Posted 01 May 2010 - 10:29 PM

Dude your brother must be a frOcking top brother if your doing all this work for him, Theres no way in hell id do this sorta stuff for anyone but myself.

I think once its done you should just say Thanks bro for letting me keep this hatch. maybey let him take it for a spin round the block.

Are you in the automotive trade at all or just a keen DIY Man, cos your work could be in elite summernats.

Cheers

#721 _dirtbag_

_dirtbag_
  • Guests

Posted 01 May 2010 - 10:40 PM

Hi Trevor. Has my brother chosen a colour? Yes he has : )


wblje, it's a combination of a and b. d is funny : )


greenmachine, it sure is tempting to finish it and accidentally move away somewhere with it : )

As for a trade, unfortunately no, I'm self taught. I have worked in a couple of hot rod shops building chassis' and doing big panel work - chop tops, 2 door conversions etc, but there is no trade for that stuff. Sure is fun though : )

#722 _AD_75_

_AD_75_
  • Guests

Posted 01 May 2010 - 11:27 PM

could you answer one of the following.

a, really love my brother and cant do enough for him
b, my brother is paying me heaps to do this
c, i won lotto a while back and have nothing else to do
d, its a guilt thing. me his missus one night to much grog. oh god i hate myself.

answer a,b,c or d

top work there. some awesome dedication


HAHAH that's gold. specially option d..:spit:

Btw tim, loving ya work that engine bay was so smooth i wanted to caress it gently..in a non ghey way of course..:lol:

#723 _Viper_

_Viper_
  • Guests

Posted 02 May 2010 - 09:26 AM

Hey Tim, you should start your own business, and then ill move over be your apprentice... Deal? Actually you could move to Perth :)

#724 UCANG

UCANG

    Forum Fan

  • Members
  • PipPipPipPip
  • 448 posts
  • Name:Ang
  • Location:Adelaide, South Australia
  • Car:UC Hatch, UC Sedan, VL Turbo, ForFour Brabus, 2010 Fatboy
  • Joined: 28-January 06

Posted 02 May 2010 - 03:23 PM

Is it just me, or when did you release the photos of the wheels? Because I swear on page 29 I saw some rim!

#725 _dirtbag_

_dirtbag_
  • Guests

Posted 02 May 2010 - 03:43 PM

Clint, sounds like an excellent idea. Let me know when you get here : )

Hi Ang. The proper wheels have been taken back off the car, so you'd only have seen one of the old dunger wheels : )

Had me worried though : )


3 user(s) are reading this topic

0 members, 3 guests, 0 anonymous users