Fixing my brothers UC hatch
#76
 _kaz from adelaide_
Posted 03 January 2010 - 10:03 AM
Great job.
XXKAZXX
#77
 _TUFF75LH355_
Posted 03 January 2010 - 10:57 PM
#78
 _dirtbag_
Posted 04 January 2010 - 07:01 AM
#79
 _torriechick_
Posted 04 January 2010 - 08:44 AM
#80
 _dirtbag_
Posted 04 January 2010 - 11:22 AM
I don't want any bolts or holes showing either so I'm welding the mounts to the bumper for a smoother look.
#81

Posted 04 January 2010 - 12:58 PM
I don't want any bolts or holes showing either so I'm welding the mounts to the bumper for a smoother look.
Don't tell everyone my secret.
#82
 _dirtbag_
Posted 04 January 2010 - 03:04 PM
It's a nice easy mod hey, and looks good and subtle. Any pics of your car on here Terra?
#83

Posted 04 January 2010 - 06:32 PM
#84

Posted 04 January 2010 - 06:49 PM
Great stuff mate! All fantastic mods your doing!! Keep it up!
#85
 _dirtbag_
Posted 04 January 2010 - 07:10 PM
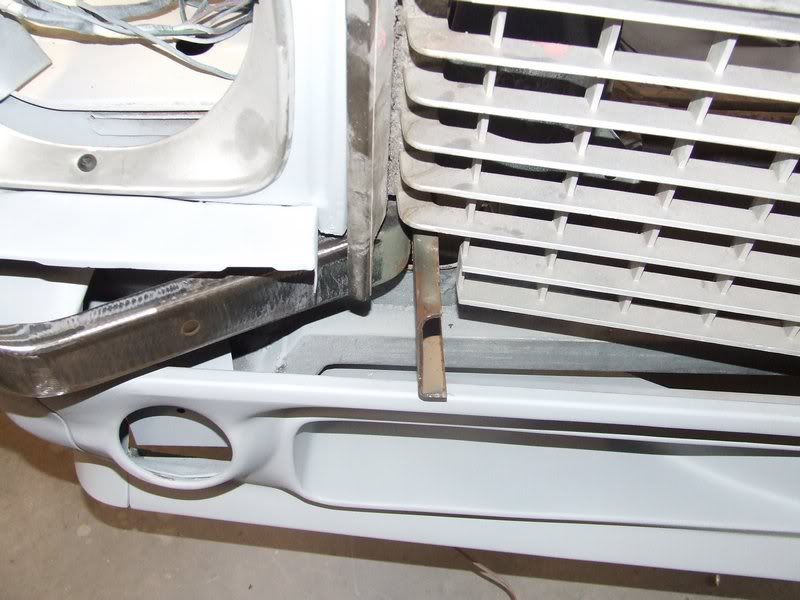
To fit the UC monts I had to cut a little bit out of the LX grill. The piece of bumper mount that sticks straight out used to have a mount on it for the UC bumper but it stuck out too far and wouldn't let the LX bumper sit right. That's where I "did" have the piece of LX bumper mount. Not any more.
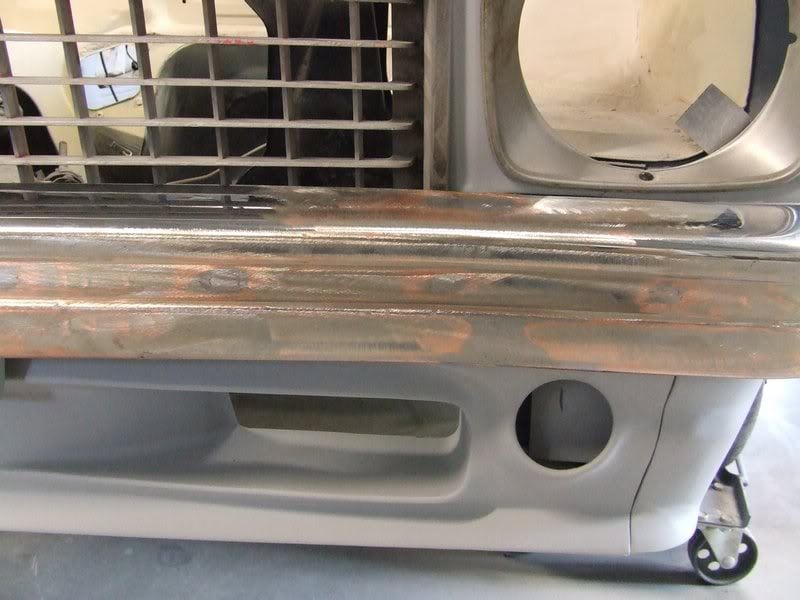
My brother decided he didn't want the rubber strips on the bumpers. Luckily for me he gave me a bumper that had the rubber strip, so now I have to weld up all the holes : ) That's OK though because I'm also getting rid of the mounting bolts and factory jacking points too.
The first step was to knock the dings out of the bar and give it a good clean up around where I need to weld.
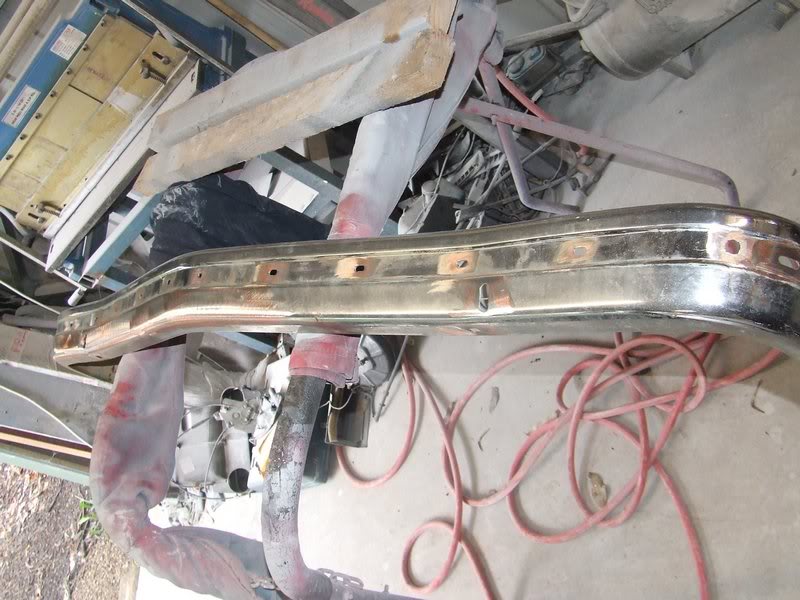
After a lot of mucking around and measuring I tacked welded the bumper to the UC mounts. It's nice to have it sitting there all by itself for a change.
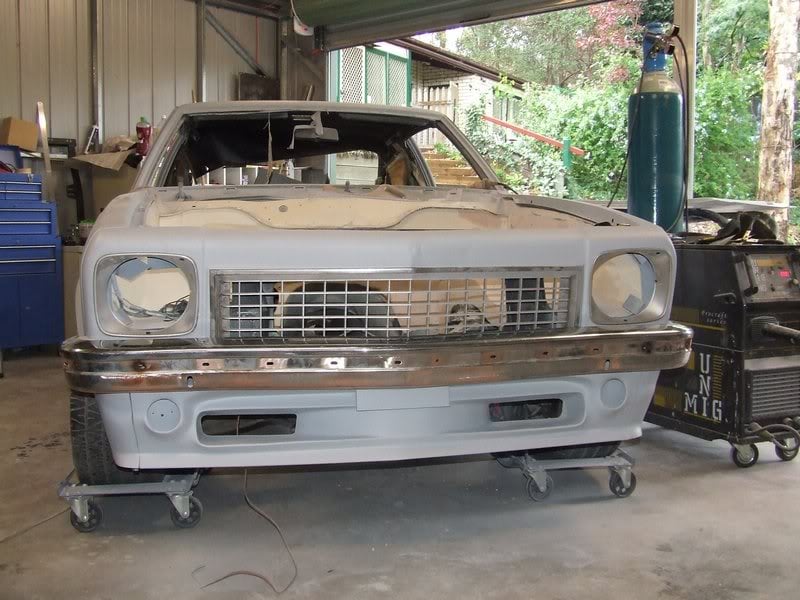
I'm pretty happy now with where it's sitting.
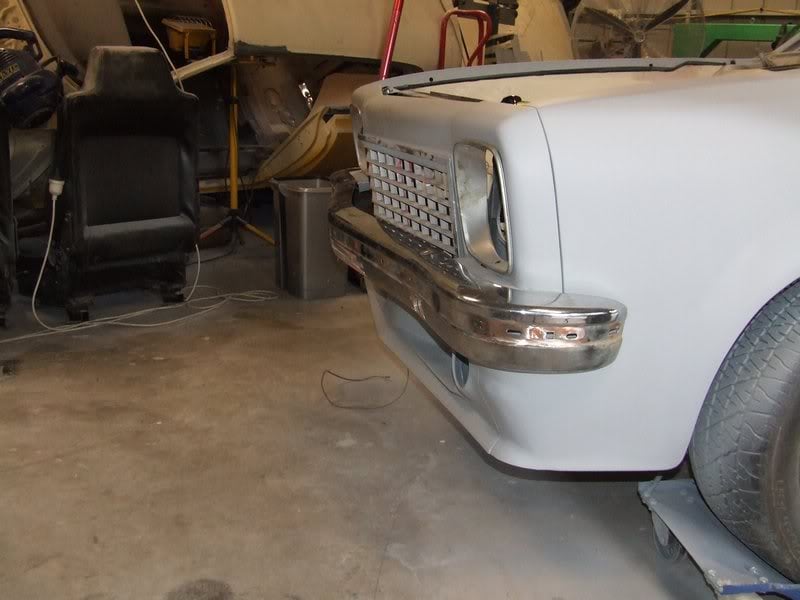
With the bumper tacked to the mounts I was able to unbolt it from the car and start making it stronger. To add some more support to the monts I added some pieces I folded into U channels and welded them in so they spread out away from the original mount. It's super solid now.
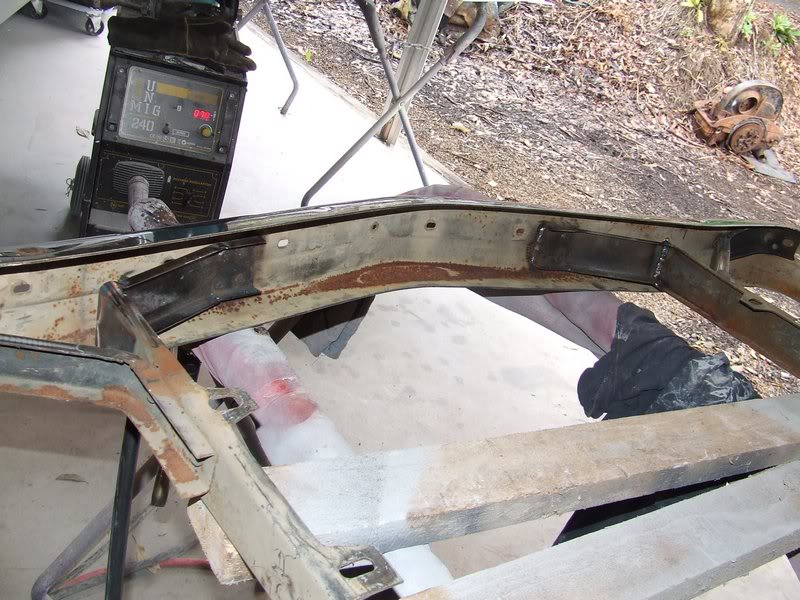
I didn't count how many holes were in this bumper, but there was enough : )
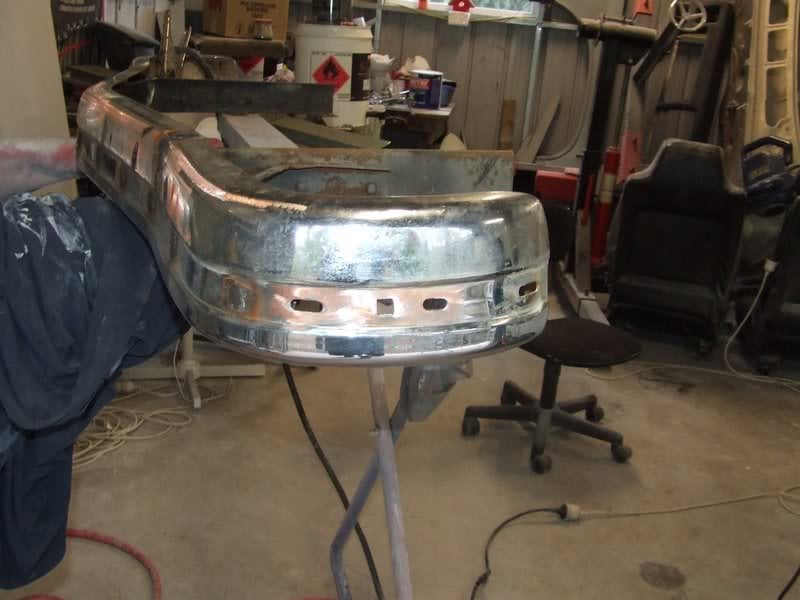
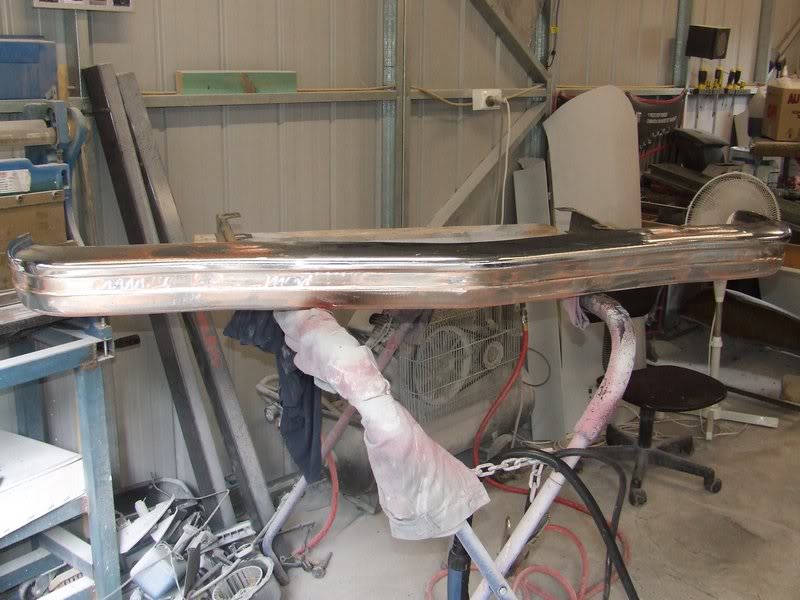
Here's one side done. You just have to take your time when it comes to smoothing out the welds. Especially since this is going to get chromed again.
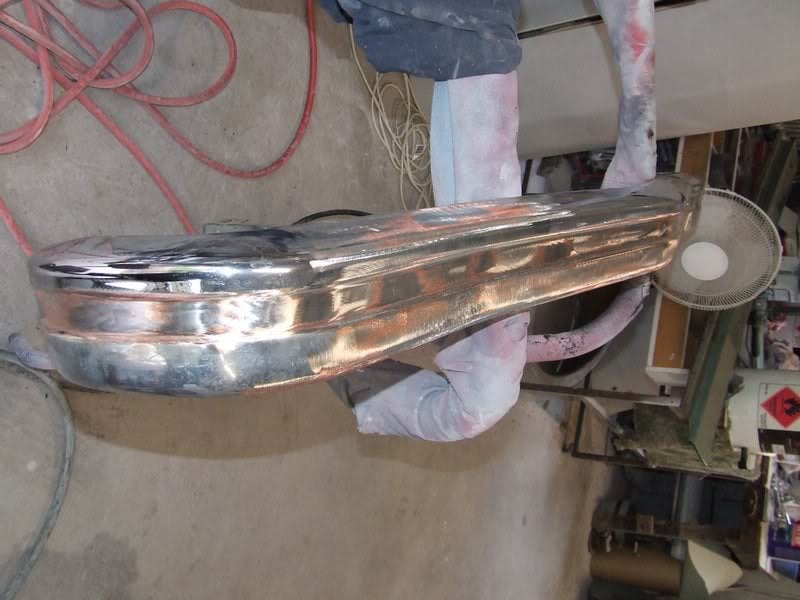
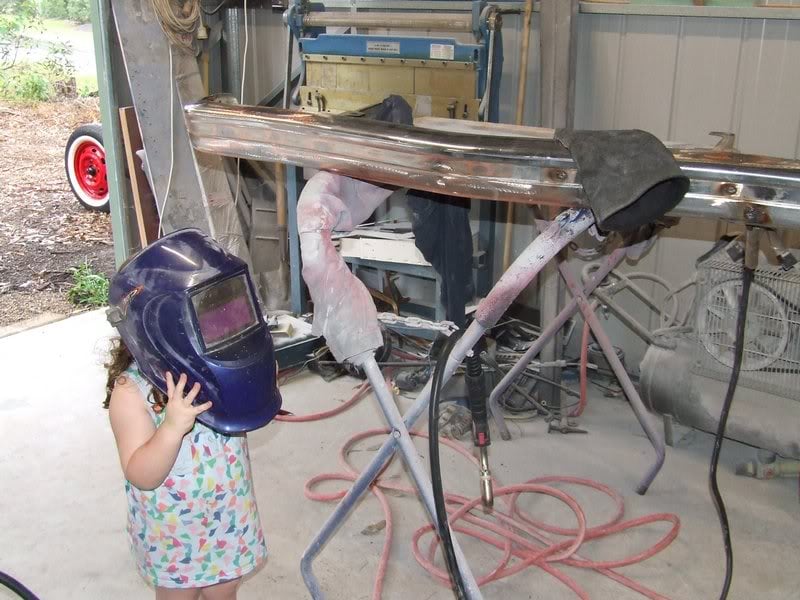
Here's my lovely daughter giving me a hand today. She's awesome. Love the safety specs and heavy metal hand : ) Yes, I taught her that.
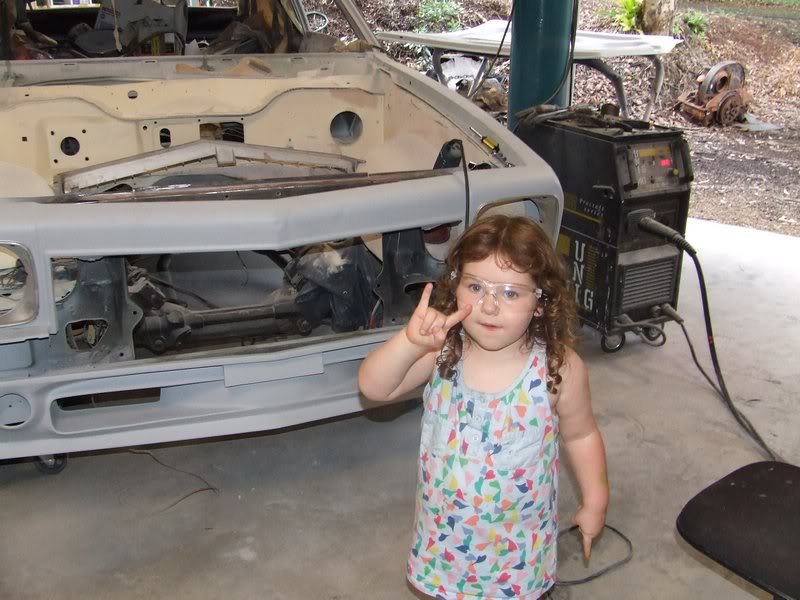
Then she did some welding on the bumper for me.....
Finally all the welding and sanding is finished.
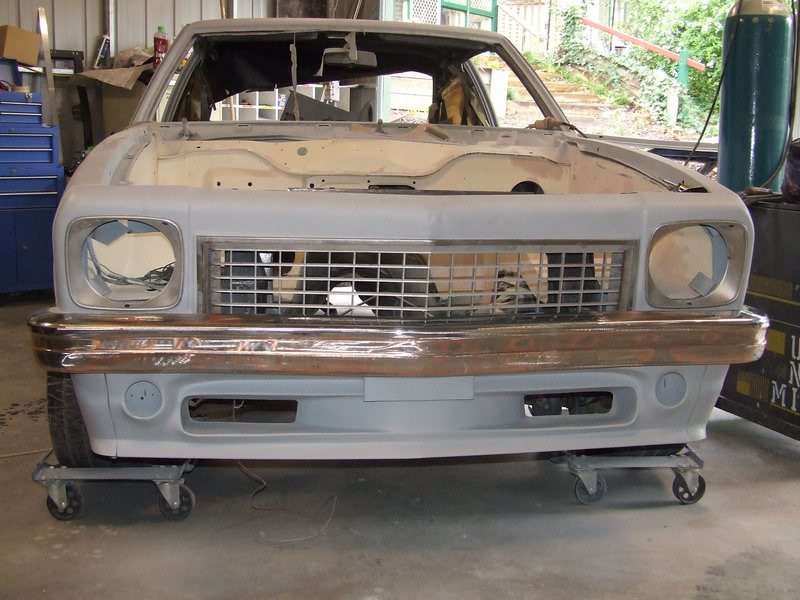
It was good to see it on the car. I like the subtle smoothness it adds to the front of the car.
In this small area, there used to be top and bottom mounting holes, rubber strip mounting holes and the big factory jacking point slot. Not any more : )
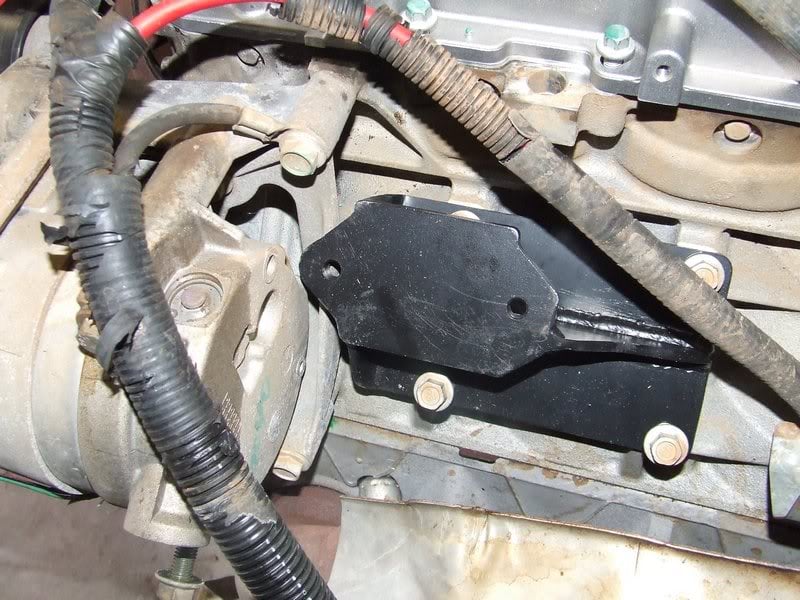
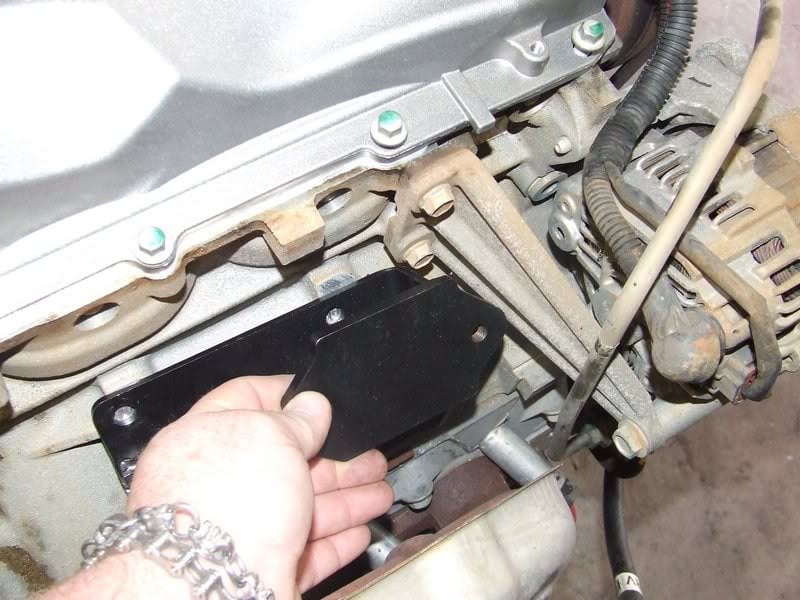
I also had a bit of a squizz at the engine mount adaptors for the LS1. The drivers side just clears the A/C compressor, but the passengers side hits the alternator support. No big deal though. I have a grinder : )
#86
 _ehdave_
Posted 05 January 2010 - 07:52 AM
Cheers
Dave
#87
 _torriechick_
Posted 05 January 2010 - 08:46 AM
#88
 _dirtbag_
Posted 05 January 2010 - 02:22 PM
#89
 _dirtbag_
Posted 05 January 2010 - 07:16 PM
I like the round indicators. I know others wont as they are a bit weird, but that's cool : )

I'll tint the lenses a bit later on so they're not so orange. Other than that I think they're cool.

Once that was done it was time to get the engine bay sorted out. Once I was finally happy with how the filler looked on the passengers side I couldn't wait to do the other side so I put some primer on to see how it looked.


It's starting to take shape now.
I also filled the seam that runs along the top of the firewall. It looked too messy as it was.

I also got a bit of work done on the drivers side today, but it's not finished yet.

It's nice seeing it in all one colour for once.

I really like the smooth look in torana engine bays. This makes it worth all the work.

#90
 _Yella SLuR_
Posted 05 January 2010 - 07:37 PM
The internet gives no sense of time. How long did the bar take you all up in both hours and elapsed days? Just to give peeps an idea of how long it takes.
That last picture, bottom right is an alignment hole. It might have saved you a little bit of shaping. Guard could of been pushed to the left a bit on top. Interesting that the UC guards have them and they still line up with the LX nose cone.
Edited by Yella SLuR, 05 January 2010 - 07:39 PM.
#91
 _dirtbag_
Posted 05 January 2010 - 08:39 PM
As for the bumper bar, it took a day pretty much from start to finish, including making the UC mounts fit etc.
#92

Posted 05 January 2010 - 08:44 PM
The angle of the brake duct holes looks like it goes downhill a bit toward the back but I think that's just my eyes playing tricks on me or the camera angle, the bumper made it look a whole lot better.
Looking great overall and I like your posting style, lots of pics!
#93
 _dirtbag_
Posted 05 January 2010 - 08:54 PM
As for the spoiler, yeah some of the pics it looks a bit weird. I totally copied a fibreglass spoiler for the brake ducts, so the bottom of the ducts is level with the ground and the top part slopes down from front to back.
I'll just say that if it's different or weird then I meant to do that : ) hahaha
#94
 _Yella SLuR_
Posted 05 January 2010 - 10:04 PM
I imagine that is a fairly full on day, especially the grinding.As for the bumper bar, it took a day pretty much from start to finish, including making the UC mounts fit etc.
Oh, nice daughter. Enjoy her before she becomes a "teenager"!!!
Edited by Yella SLuR, 05 January 2010 - 10:04 PM.
#95
 _dirtbag_
Posted 05 January 2010 - 10:42 PM
#96
 _AD_75_
Posted 05 January 2010 - 11:17 PM
P.s i like what you've done with the front end and i know nobody's mentioned it yet but were those dents already in the nose cone or did you have a little accident? my powers of ocd..er i mean observation keep zooming in on them.
#97
 _dirtbag_
Posted 06 January 2010 - 12:03 AM
#98

Posted 06 January 2010 - 07:51 AM
I notice from the earlier photos it was a SA plated vehicle where did it come from???
Have you decided on a colour/paint scheme??
Keep them photos coming its a great read so far.
#99
 _dirtbag_
Posted 06 January 2010 - 09:10 AM
As for colours, the top choices are either barbados green, orange or red - with black around the windows and on the top of guards and bonnet. No black around the back or on the sills. Black sills make the car look too high.
What's your opinion people? What colour?
#100

Posted 06 January 2010 - 09:59 AM
http://lib.store.yah...-vette-3-08.jpg
0 user(s) are reading this topic
0 members, 0 guests, 0 anonymous users


 View Garage