
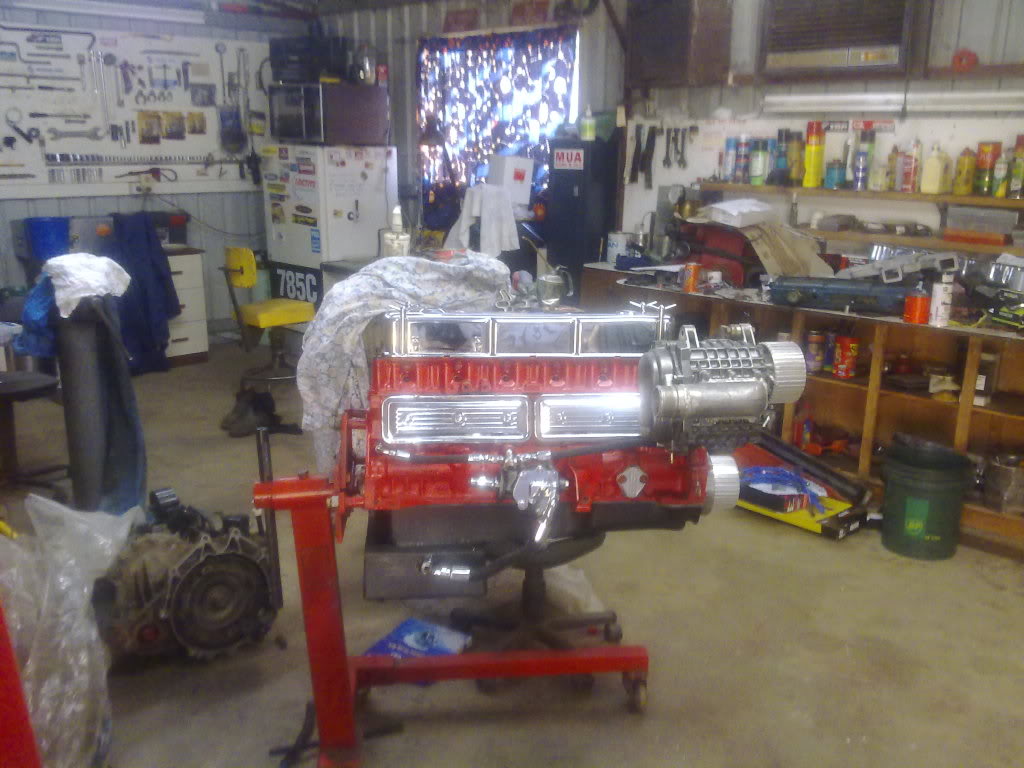
Well thought i would share my project with everyone. I have a 1979 Uc sunbird the plan is to turn it into a drag car but keep the rego up. So far ive only done the interior and half the engine. So ill start with the engine its a 202 red motor bored out 60 thou ballanced red motor crank with 1/2 thread tapped into crank to retain the romac ballancer. Weight matched starfire rods with acl race series pistons. The block has had a fair bit of work i had it decked and o ring grooved and ive fitted an external oiling system. (i will post photos and explain in detail when i get my laptop fixed) It has a 1.6mm copper head gasket and a ported red 9 port head. Its got a custom made (by me) high volume sump. Best of all the sc14 supercharger. For ignition i have a msd digital 6. Soon to come is the methonal mechanical injection and msd dizzy. Will post more later.

The blown uc 202
Started by
_BlownUC202_
, Apr 08 2010 12:19 AM
64 replies to this topic
#2

warrenm
 View Garage
-

- Members
-

- 2,117 posts
Forum Fixture
- Location:Central West NSW
- Car:1972 LJ Torana
- Joined: 08-November 05
View Garage
Posted 08 April 2010 - 08:13 AM
Sounds interesting, can't wait for the pics.
#3
_TJ253_
_TJ253_
-

- Guests
Posted 08 April 2010 - 11:56 AM
Sounds great looking forward to pics and updates..... Gotta love boost!
#4
_BlownUC202_
_BlownUC202_
-
- Guests
Posted 01 June 2010 - 01:13 AM
Ok thought it was about time i put up some pics of the project so far.
this is what i started with.
 30032010215.jpg 737.68K
40 downloads
30032010215.jpg 737.68K
40 downloads
30032010216.jpg 1.2MB
45 downloads
30032010217.jpg 733.19K
24 downloads
30032010218.jpg 947.85K
46 downloads
30032010219.jpg 972.31K
70 downloads
this my new interior
31032010220.jpg 747.63K
76 downloads
31032010221.jpg 639.38K
41 downloads
31032010222.jpg 939.86K
18 downloads
this is what i started with.
30032010215.jpg 737.68K
40 downloads
30032010216.jpg 1.2MB
45 downloads
30032010217.jpg 733.19K
24 downloads
30032010218.jpg 947.85K
46 downloads
30032010219.jpg 972.31K
70 downloadsthis my new interior
31032010220.jpg 747.63K
76 downloads
31032010221.jpg 639.38K
41 downloads
31032010222.jpg 939.86K
18 downloads
#5
_BlownUC202_
_BlownUC202_
-
- Guests
Posted 25 June 2010 - 10:02 PM
Well i sorted out photo bucket so ill post some pics now.
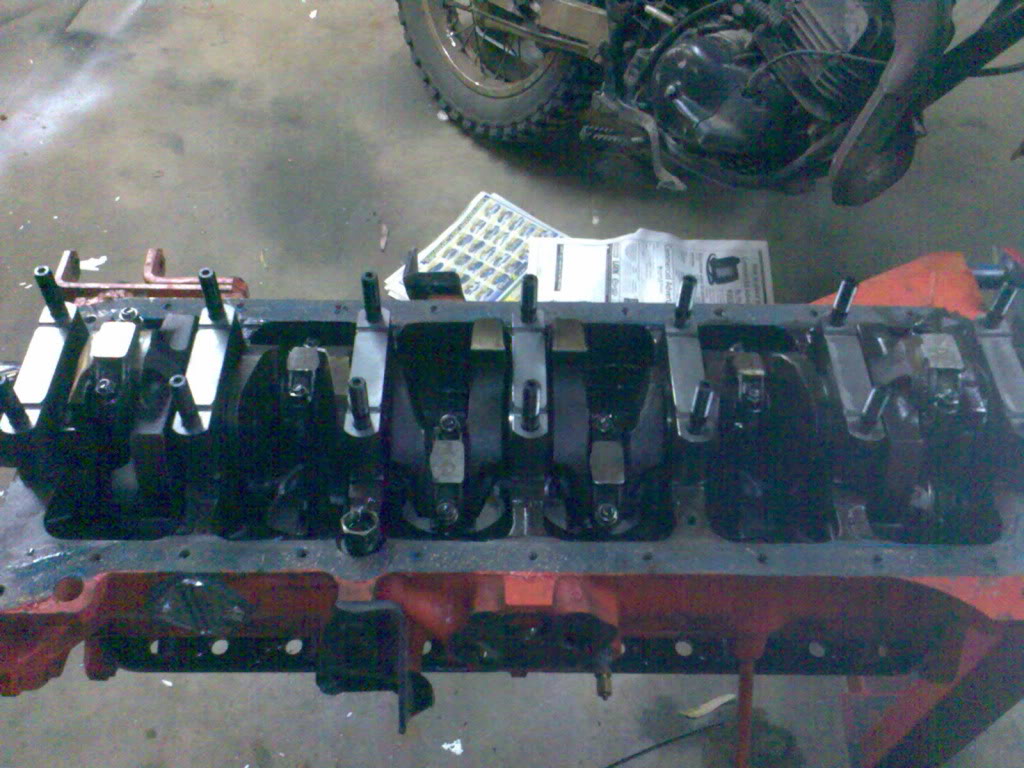
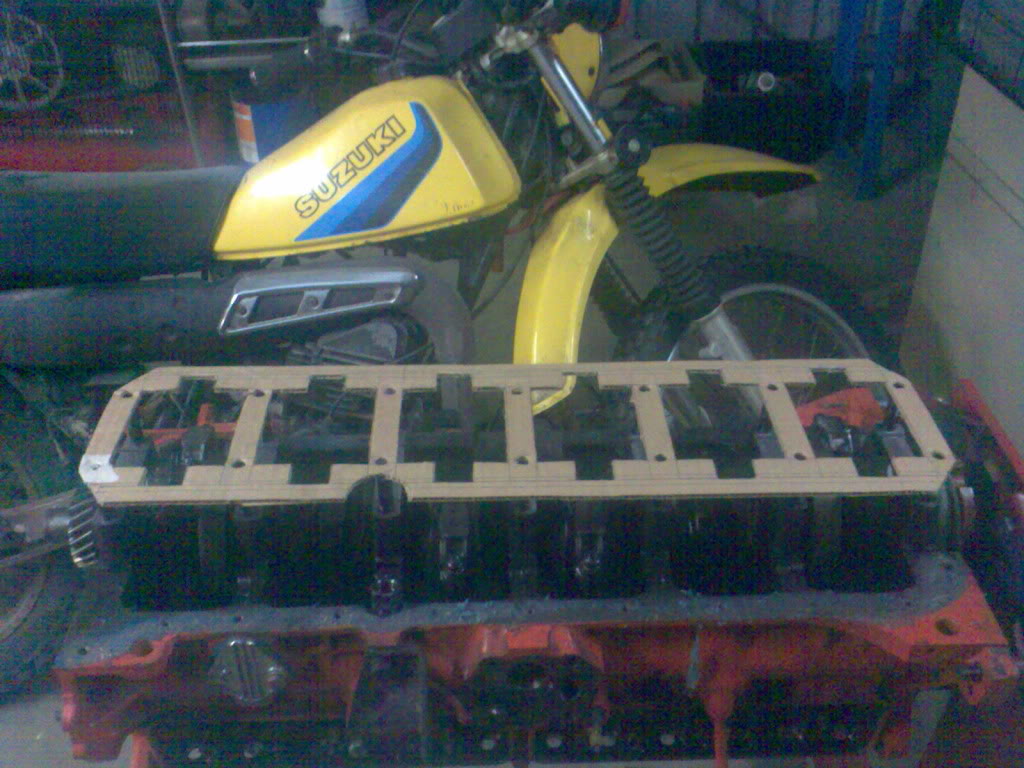
well heres my engine with the end caps milled flat
IMG]https://cache.gmh-to...02/Image202.jpg[/IMG]
this is the template i made for the crank girdle
IMG]https://cache.gmh-to...c202/Image5.jpg[/IMG]
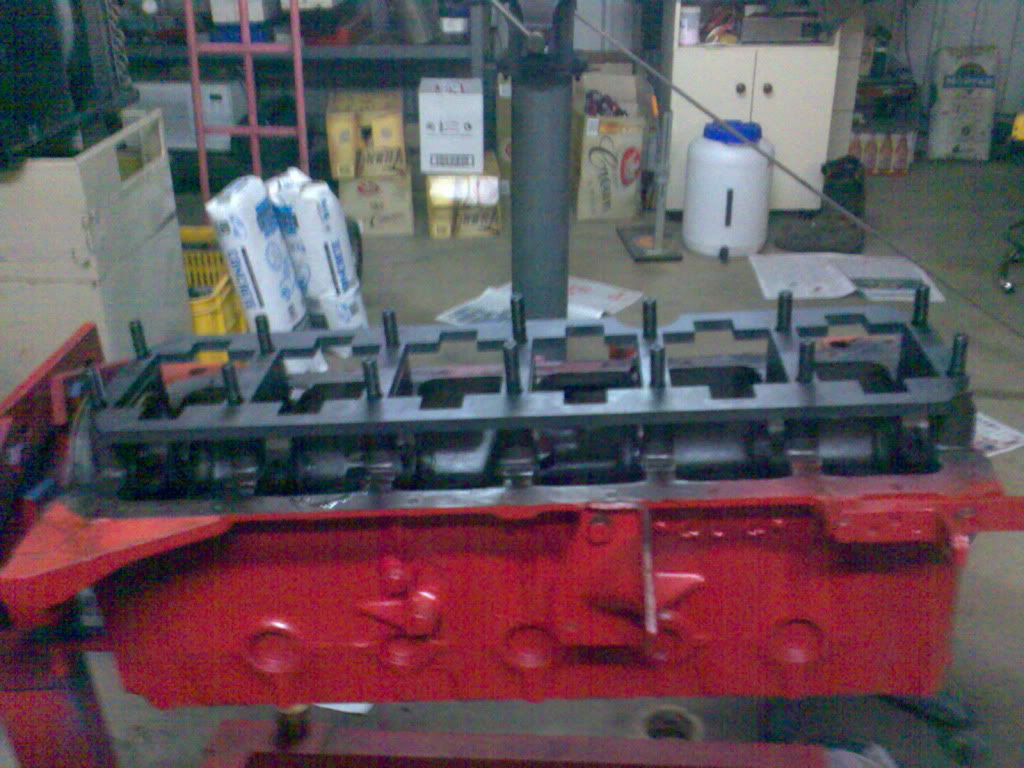
this is the girdle i got arp head studs and had a machine shop shorten them by half an inch.
IMG]https://cache.gmh-to...c202/Imageo.jpg[/IMG]
I will post pics of the oil system tomorrow and the rest of the engine then the body work
well heres my engine with the end caps milled flat
IMG]https://cache.gmh-to...02/Image202.jpg[/IMG]
this is the template i made for the crank girdle
IMG]https://cache.gmh-to...c202/Image5.jpg[/IMG]
this is the girdle i got arp head studs and had a machine shop shorten them by half an inch.
IMG]https://cache.gmh-to...c202/Imageo.jpg[/IMG]
I will post pics of the oil system tomorrow and the rest of the engine then the body work
#6
_BlownUC202_
_BlownUC202_
-
- Guests
Posted 26 June 2010 - 09:25 PM
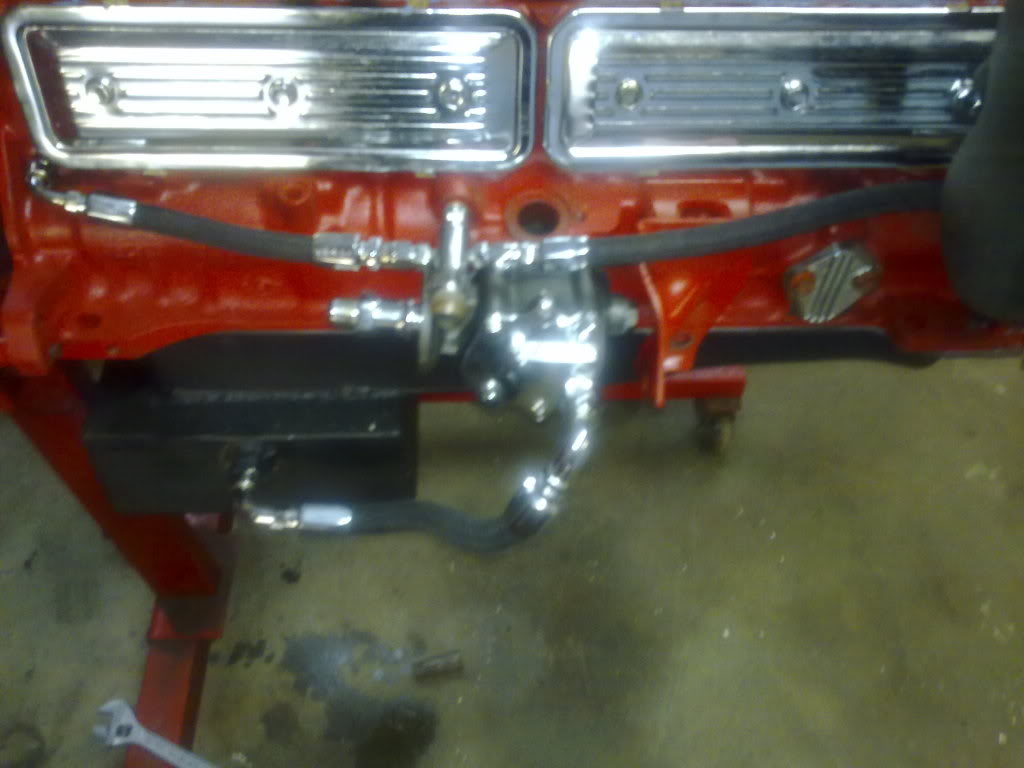
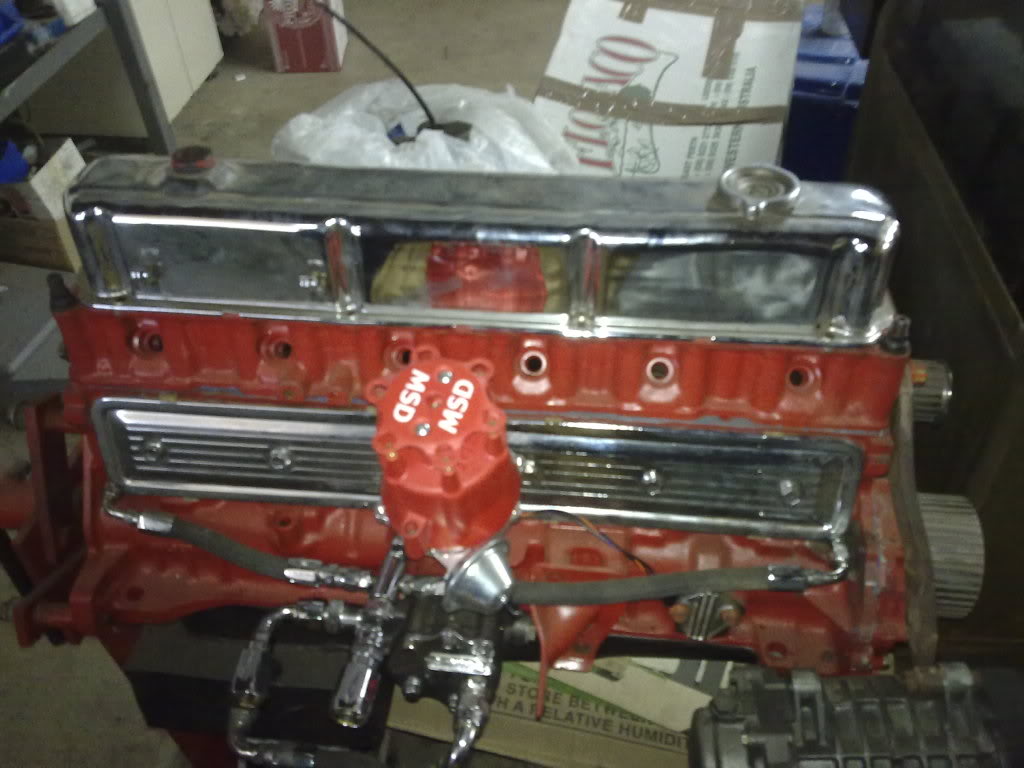
well this is my oil system i built my own high volume sump and pick up which runs out the side to a hose that goes staight to the pick up side of the oil pump. I made a blanking plate to fit between the oil pump and block to blank off the origanl oil path.
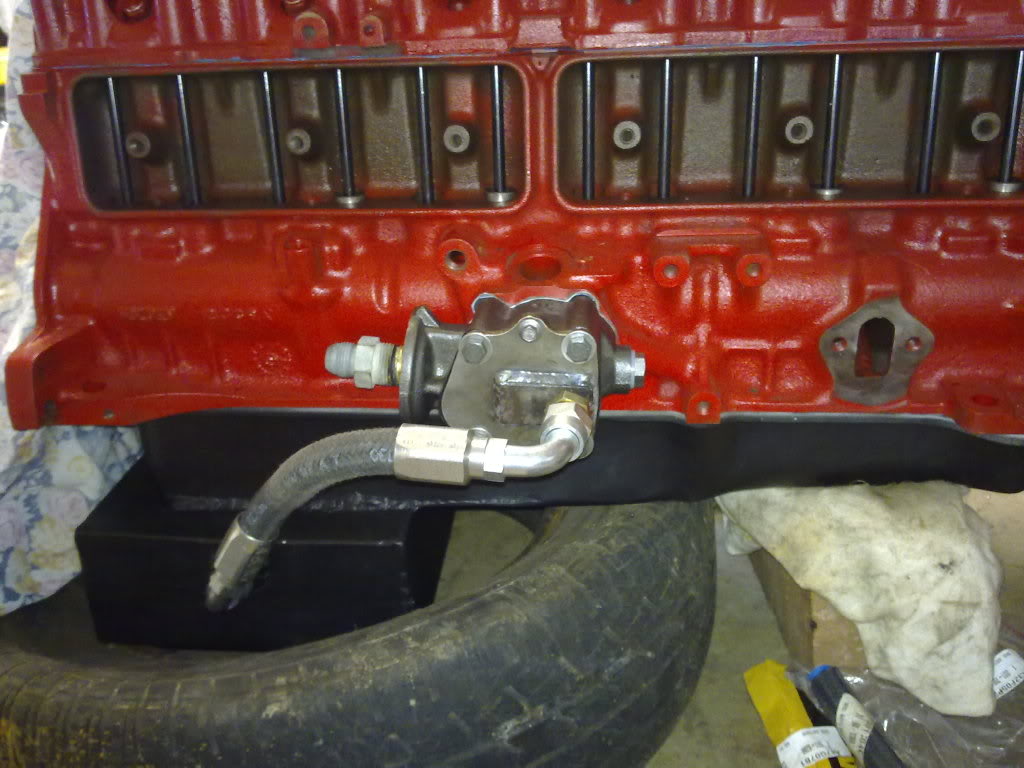
Then i drilled and tapped npt threads into the two far ends of the main oil gallery.
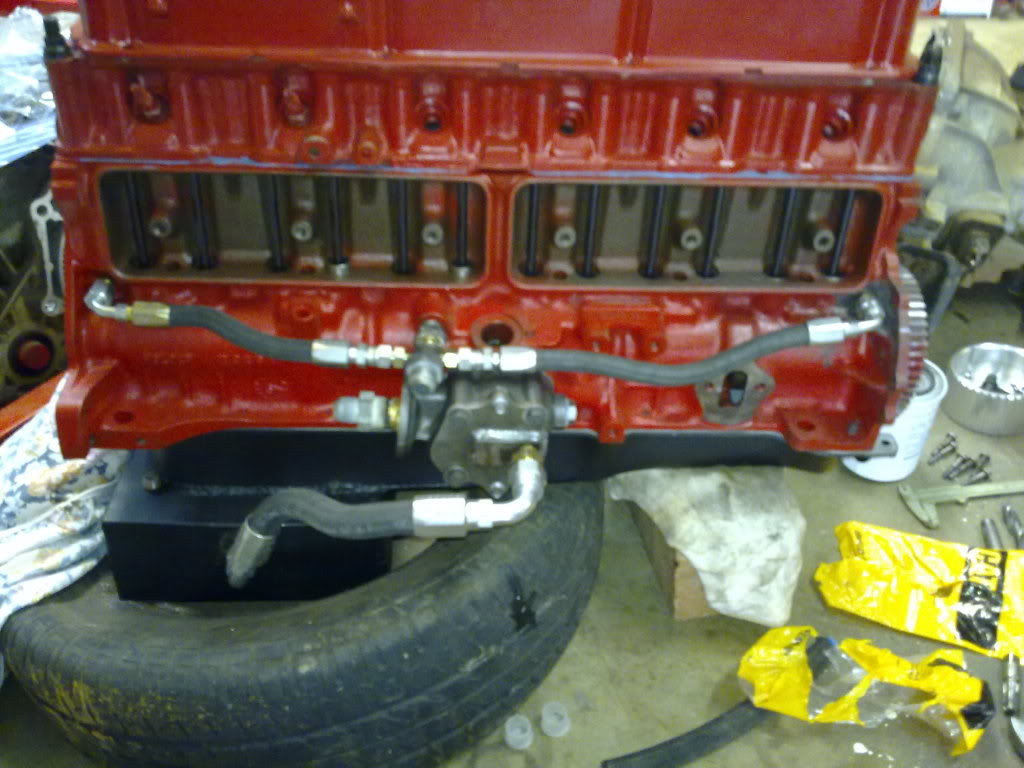
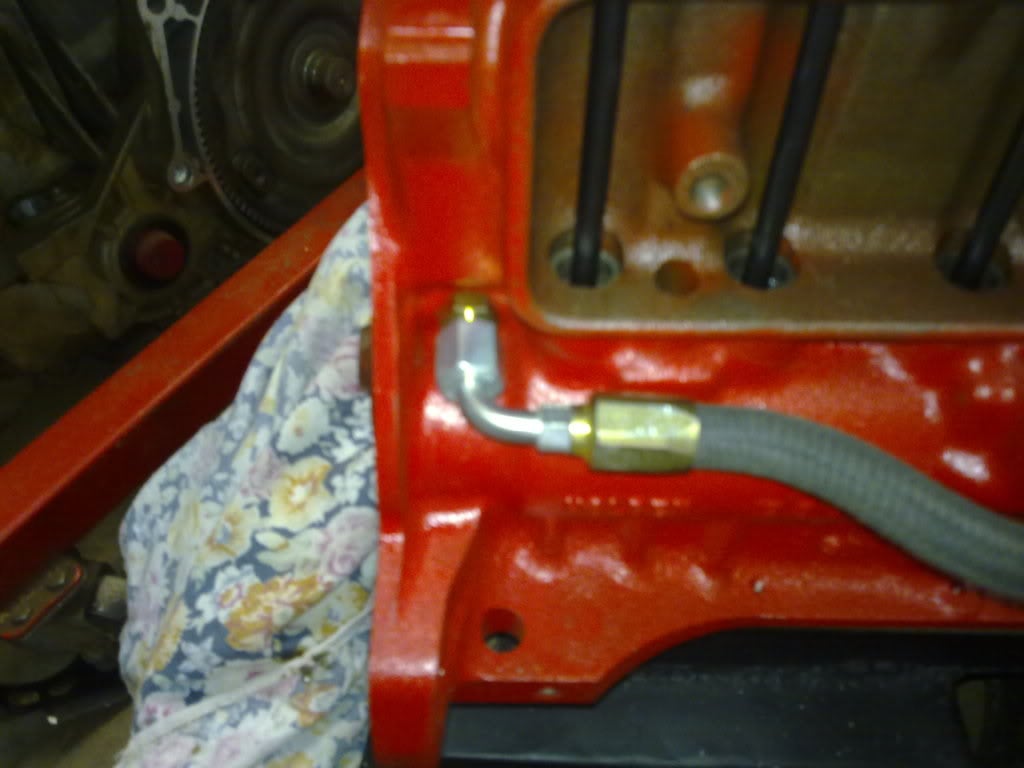

I made a t peice for where the oil pressure sender goes and joined it to the two outer fittings with hose.
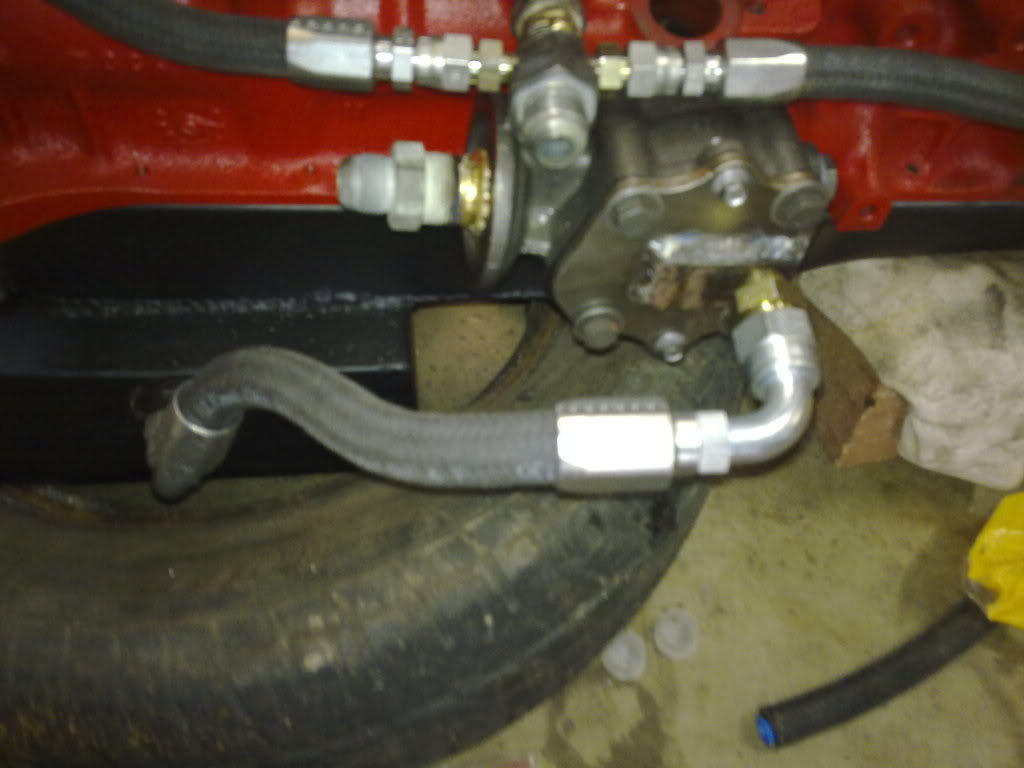
I made a fitting that comes out of of where the standard oil filter goes and tapped a thread and plugged the small hole in the pump. So what happens is the oil is picked up in the sump sucked into the side of the oil pump, pumped out of the end of the oil pump to a remote mount filter then back to the t peice then gives even oil presser to the center and ends of the engine.
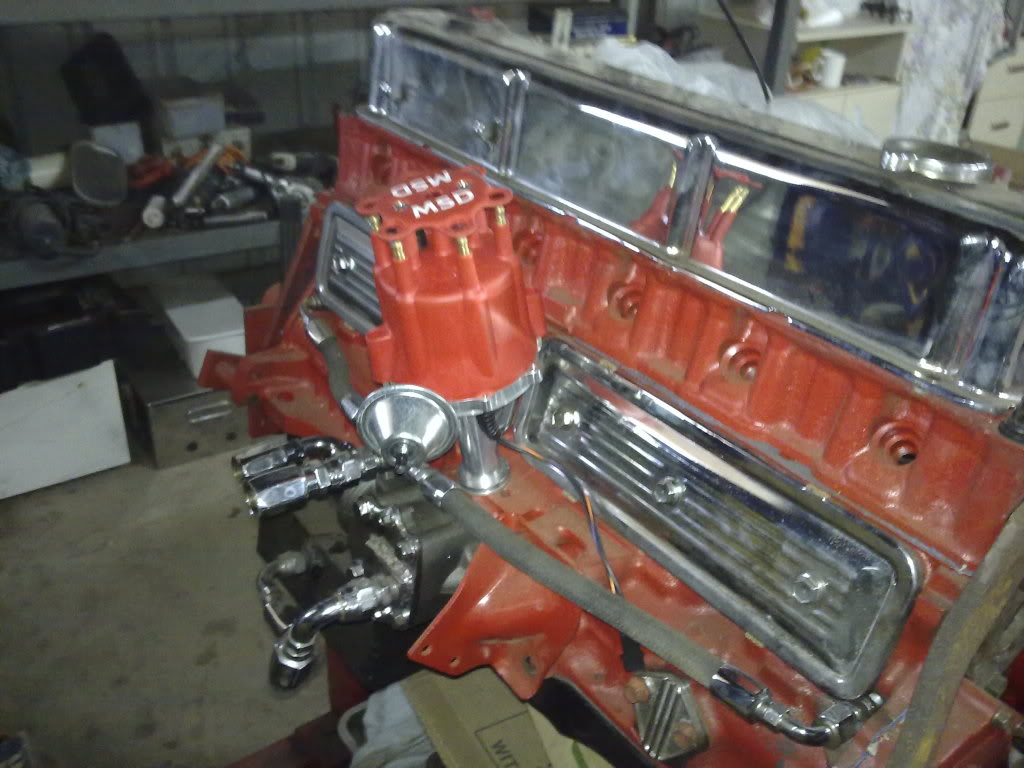
After i was happy with it all i had all the parts chromed
 // bind all thumbnails jq(document).ready(function() { jq('.frame').hover(function(){linksMo.showShareLinks(jq(this).attr('id'));},function(){linksMo.hideShareLinks(jq(this).attr('id'));}); jq('.checkMedia').hover(function(){linksMo.showShareLinks(jq(this).attr('id'));},function(){linksMo.hideShareLinks(jq(this).attr('id'));}); jq('.panelCode').hover(function(){linksMo.showShareLinks(jq(this).attr('id'));},function(){linksMo.hideShareLinks(jq(this).attr('id'));}); });
Then i drilled and tapped npt threads into the two far ends of the main oil gallery.
I made a t peice for where the oil pressure sender goes and joined it to the two outer fittings with hose.
I made a fitting that comes out of of where the standard oil filter goes and tapped a thread and plugged the small hole in the pump. So what happens is the oil is picked up in the sump sucked into the side of the oil pump, pumped out of the end of the oil pump to a remote mount filter then back to the t peice then gives even oil presser to the center and ends of the engine.
After i was happy with it all i had all the parts chromed
// bind all thumbnails jq(document).ready(function() { jq('.frame').hover(function(){linksMo.showShareLinks(jq(this).attr('id'));},function(){linksMo.hideShareLinks(jq(this).attr('id'));}); jq('.checkMedia').hover(function(){linksMo.showShareLinks(jq(this).attr('id'));},function(){linksMo.hideShareLinks(jq(this).attr('id'));}); jq('.panelCode').hover(function(){linksMo.showShareLinks(jq(this).attr('id'));},function(){linksMo.hideShareLinks(jq(this).attr('id'));}); });
#7
_BlownUC202_
_BlownUC202_
-
- Guests
Posted 26 June 2010 - 09:47 PM
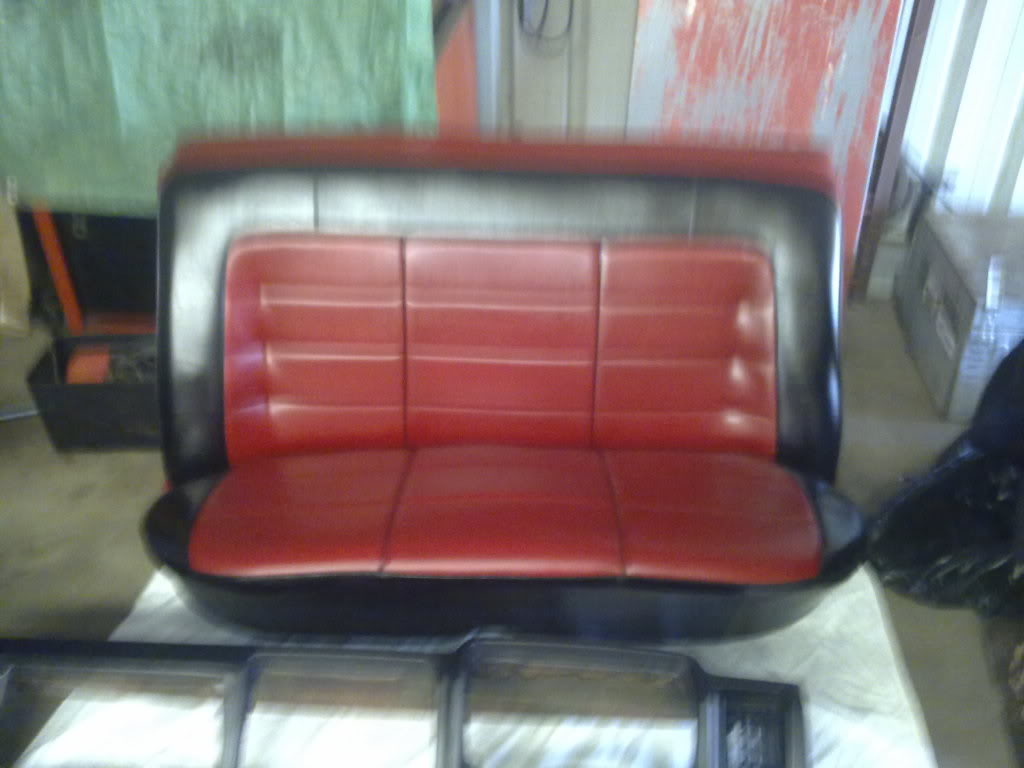
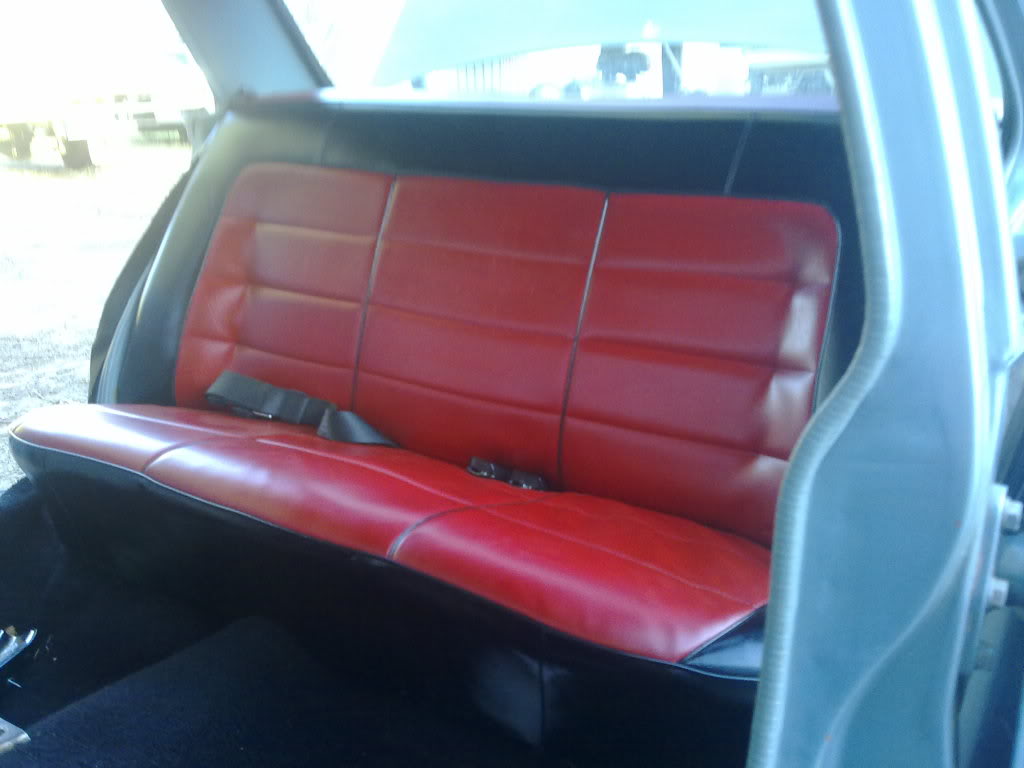
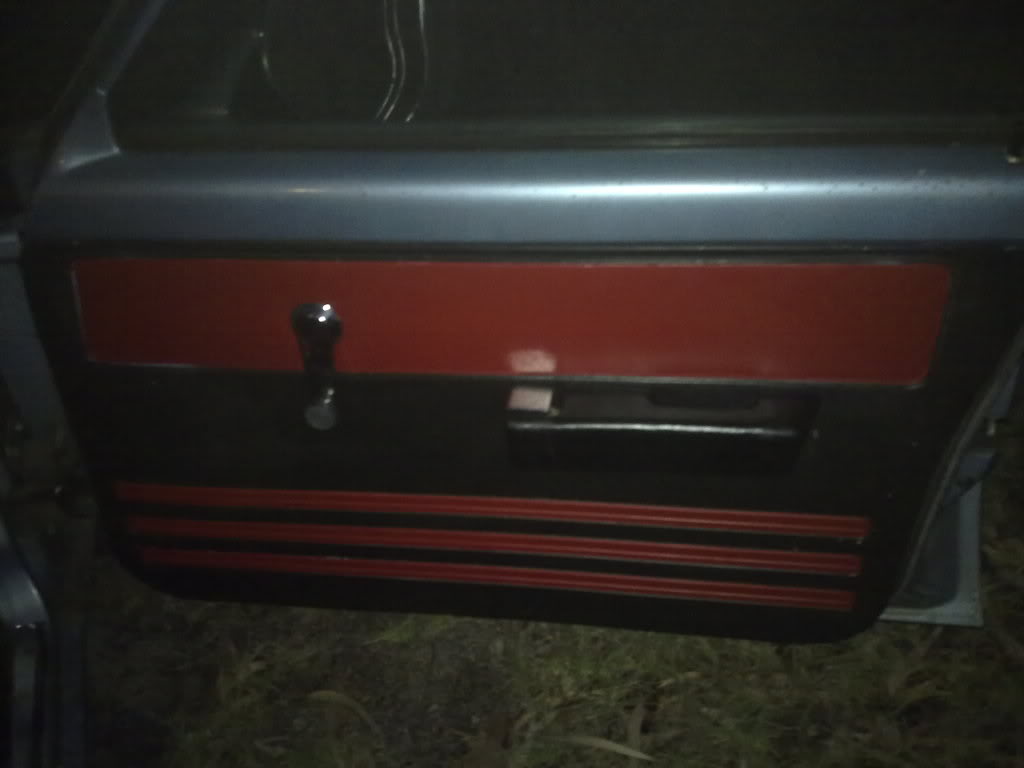
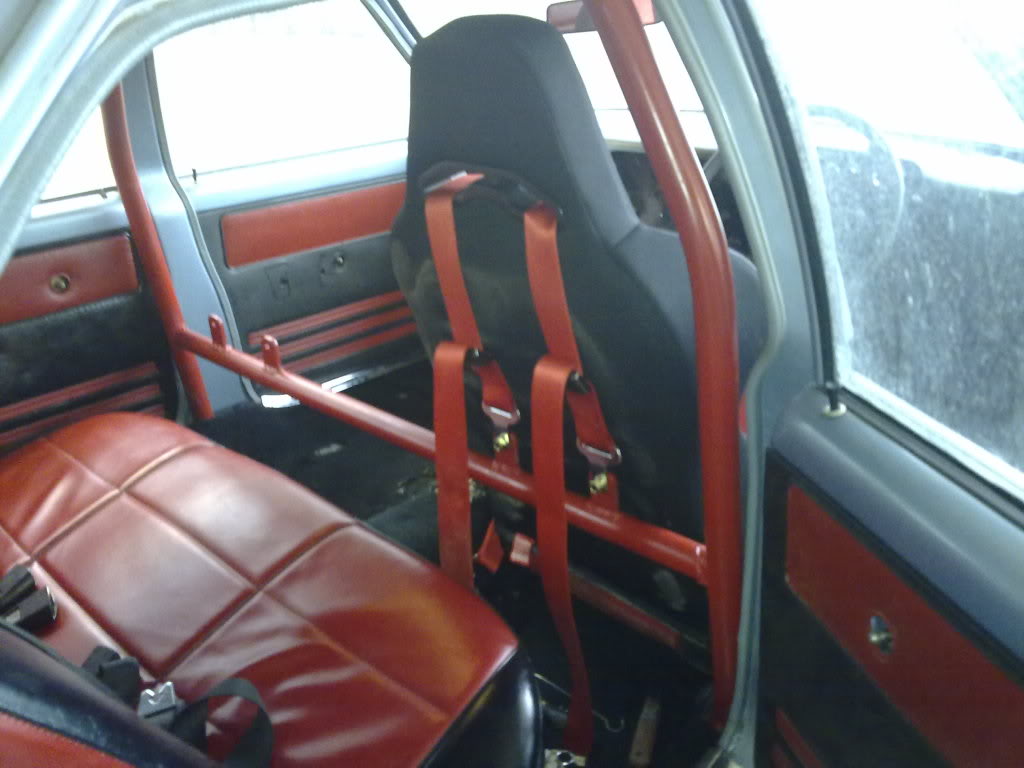
Im going to be painting the car red with hq gts stripes so i wanted the interior to match. I didnt wanna pay a heap to have the interior redone so i used the vinyl interior out of another uc cleaned it up and painted it with vinyl paint.
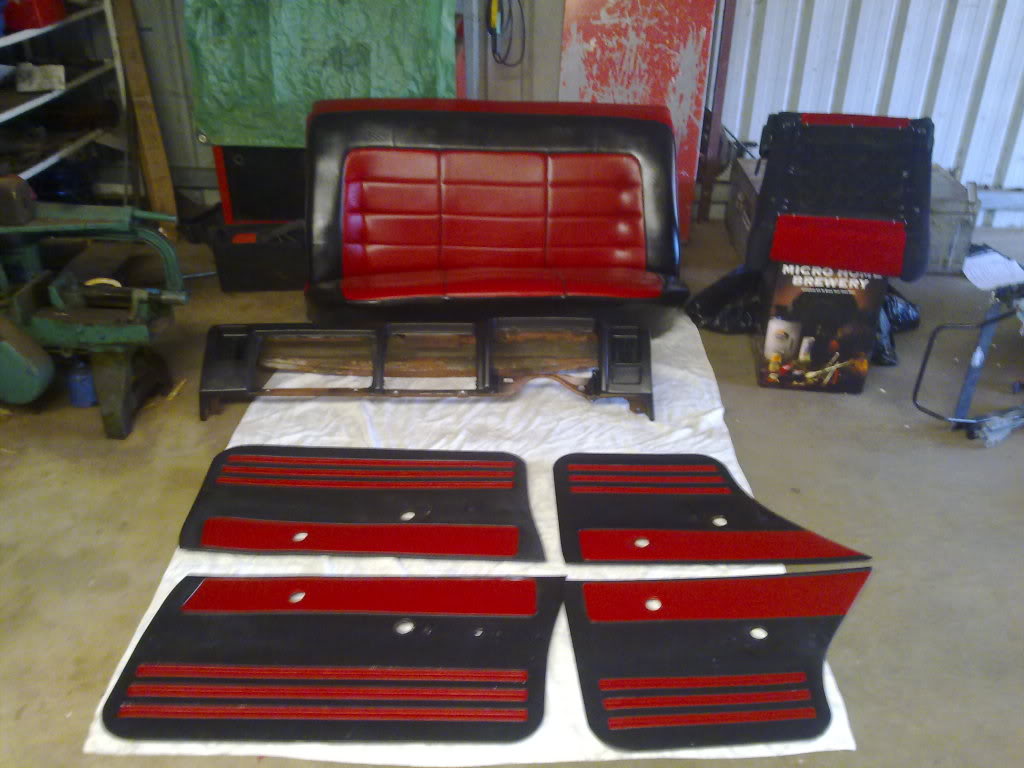
New black carpet
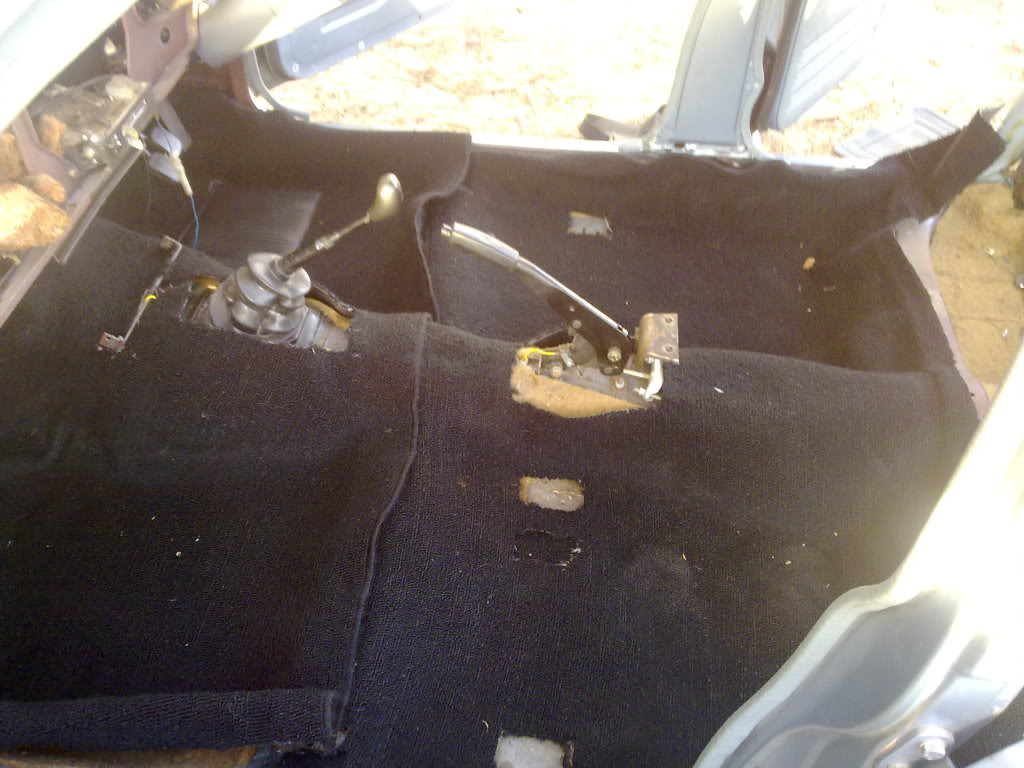
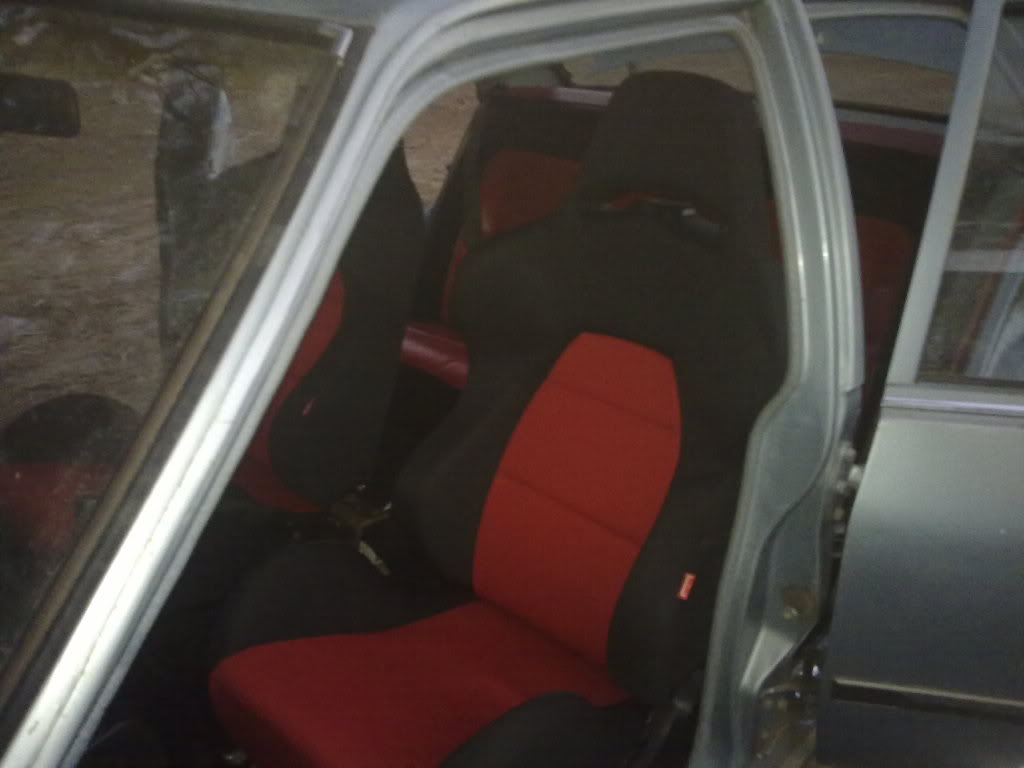
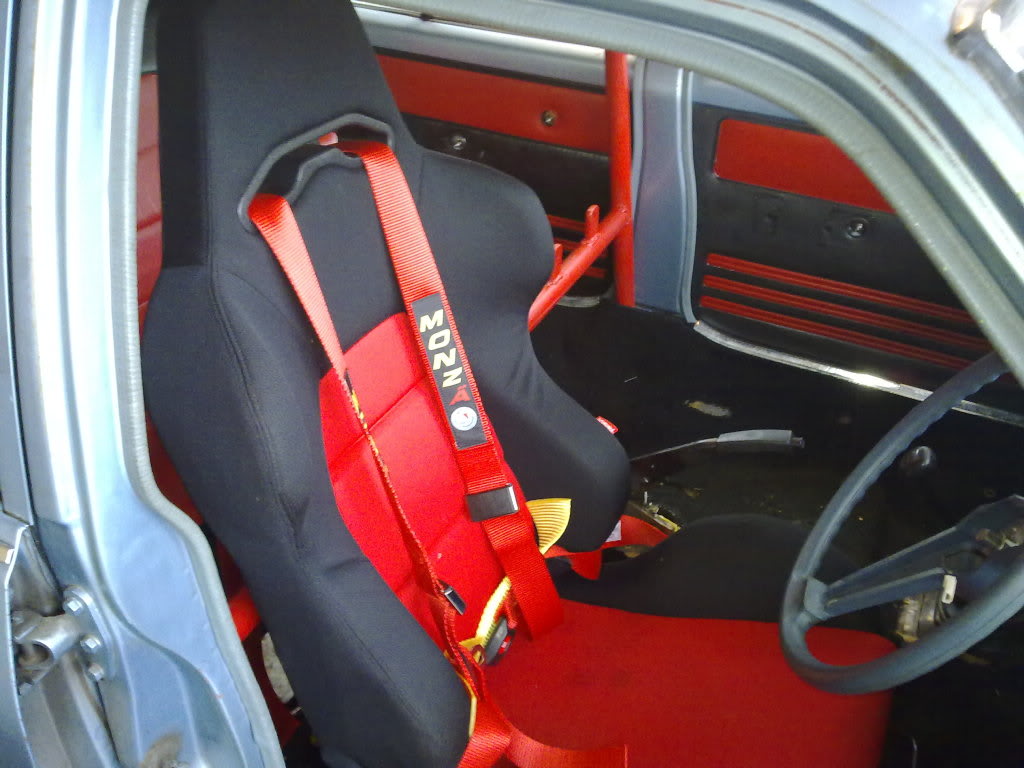
I bought a pait of autotechnica race seats for the front.
New black carpet
I bought a pait of autotechnica race seats for the front.
#9
Stinga
-

- Members
-
- 2,114 posts
.
- Name:Stinga
- Location:Wollongong, NSW
- Car:HD Holden ute, and sedan, UC torana
- Joined: 05-December 05
Posted 27 June 2010 - 02:53 AM
looking good, how did you go about drilling the holes for the external oiling(getting the correct position)?
#10
_BlownUC202_
_BlownUC202_
-
- Guests
Posted 27 June 2010 - 08:07 PM
Lots of measuring and remeasuring its not that hard just pull the plug out of the rear of the oil gallery and mark a straight line from the center of the hole to side of the block. In the front behind the timing cover theres a core plug pop that out and tap a thread and get another plug from the rear if another engine otherwise the core plug can blow out under high oil pressure then you will loose all oil pressure.
#11
_BlownUC202_
_BlownUC202_
-
- Guests
Posted 27 June 2010 - 10:16 PM
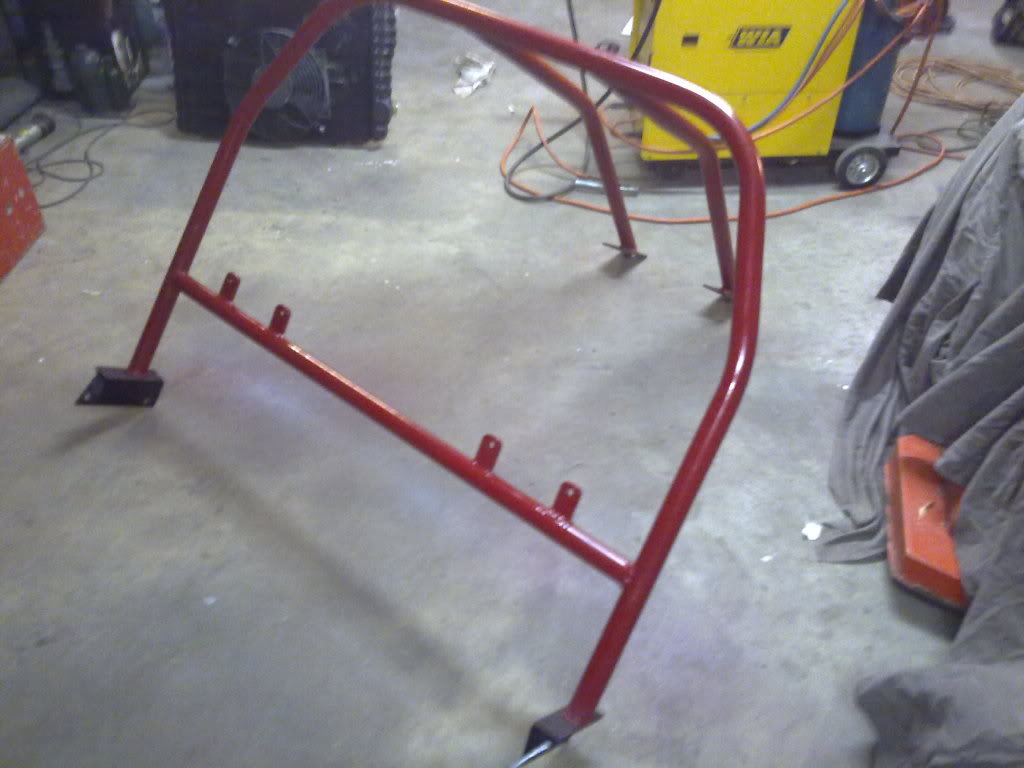
I thought i would make a roll cage so i borrowed my mates pipe bender for an arvo and started making my cage.
The main hoop
I made the two rear bars bolt onto the main hoop.
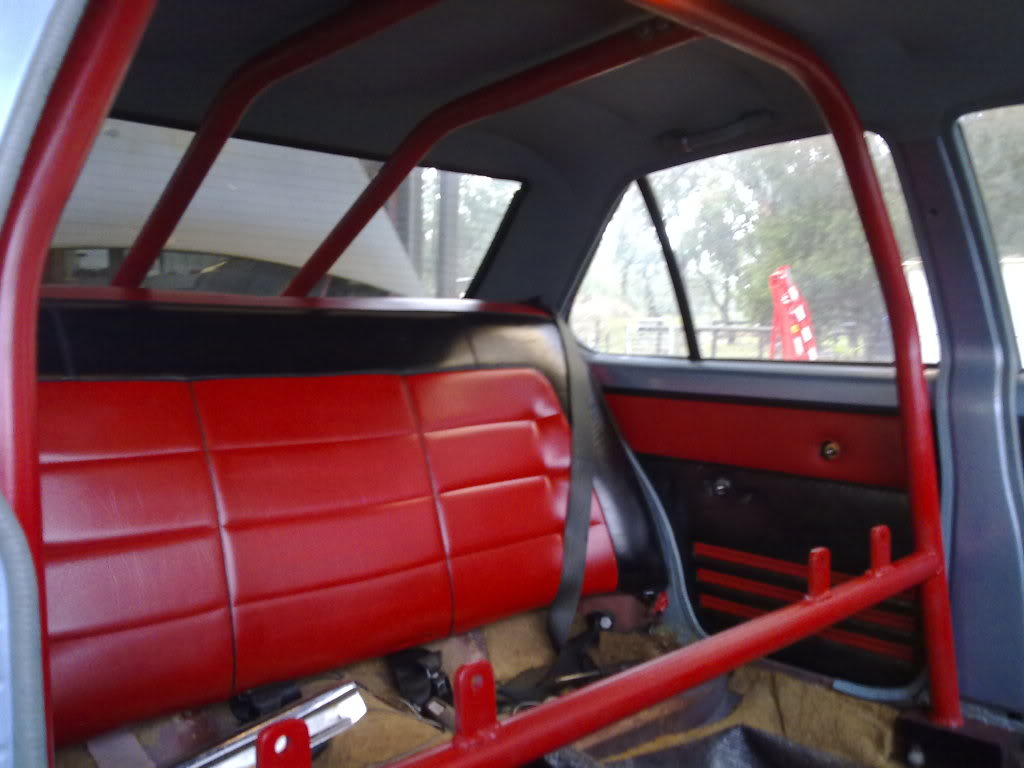
Made some brackets to use the 2 origanal seat belt bolt threads to mount the cage and fitted a bar with tags to mount the new seat belts.

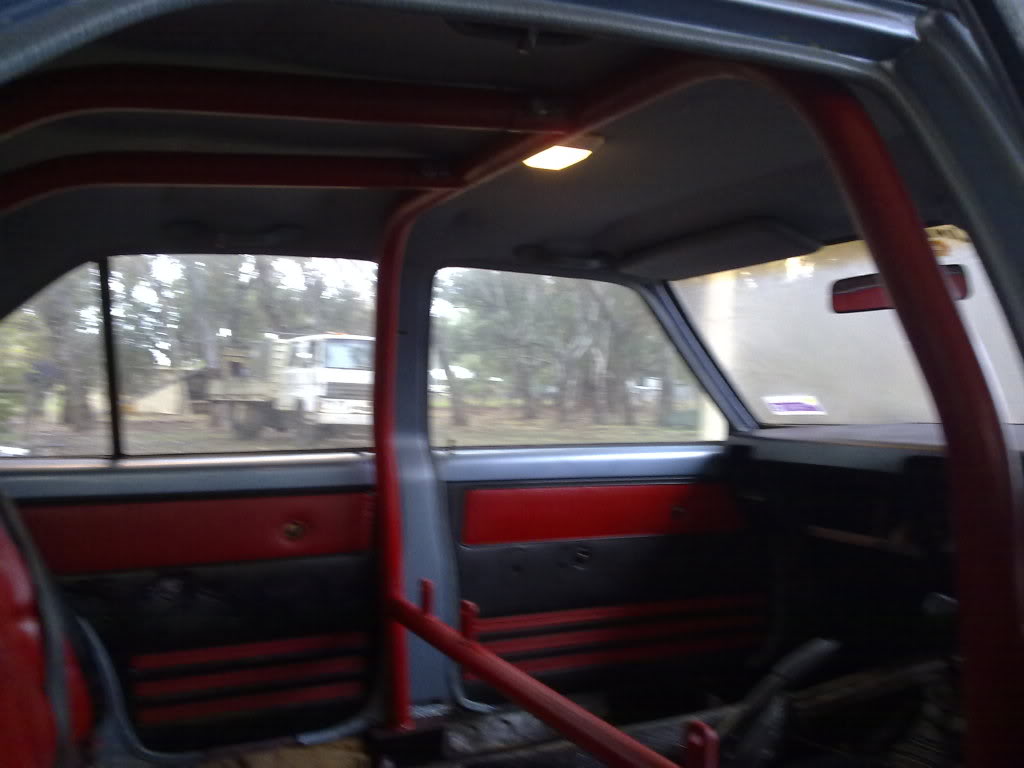
In the car
With one of my new front seats and harness
The main hoop
I made the two rear bars bolt onto the main hoop.
Made some brackets to use the 2 origanal seat belt bolt threads to mount the cage and fitted a bar with tags to mount the new seat belts.
In the car
With one of my new front seats and harness
#12
warrenm
View Garage
-
- Members
-
- 2,117 posts
Forum Fixture
- Location:Central West NSW
- Car:1972 LJ Torana
- Joined: 08-November 05
View Garage
Posted 28 June 2010 - 08:10 AM
Just an observation about the "taxi bar" that you have fitted to your roll cage. I think you'll find that it is mounted to low to be legal with ANDRA or CAMS sanctioned events as the belts are to vertical. The bar would be better at the same height as the holes through the seats.
#13
_why-psi_
_why-psi_
-
- Guests
Posted 28 June 2010 - 08:55 AM
Just an observation about the "taxi bar" that you have fitted to your roll cage. I think you'll find that it is mounted to low to be legal with ANDRA or CAMS sanctioned events as the belts are to vertical. The bar would be better at the same height as the holes through the seats.
was about to say the same thing. with the belts vertical like that, in an accident they will compress your spine. ANDRA regs are shoulder straps mounted behind the driver must be above a line drawn downward from the shoulder at an angle of 40 degrees to the horizontal. Id move the bar up to about the top of the doors
#14
_BlownUC202_
_BlownUC202_
-
- Guests
Posted 28 June 2010 - 08:40 PM
Cheers for that i wasnt too sure where to put it but ill put it up higher when i pull it all out to paint the car. Im also gonna make 2 new rear bars that pass through the parsel shelf to a structural point in the boot. I have never built a cage for a street car before only my demo derby one.
#15
_BlownUC202_
_BlownUC202_
-
- Guests
Posted 28 June 2010 - 08:57 PM
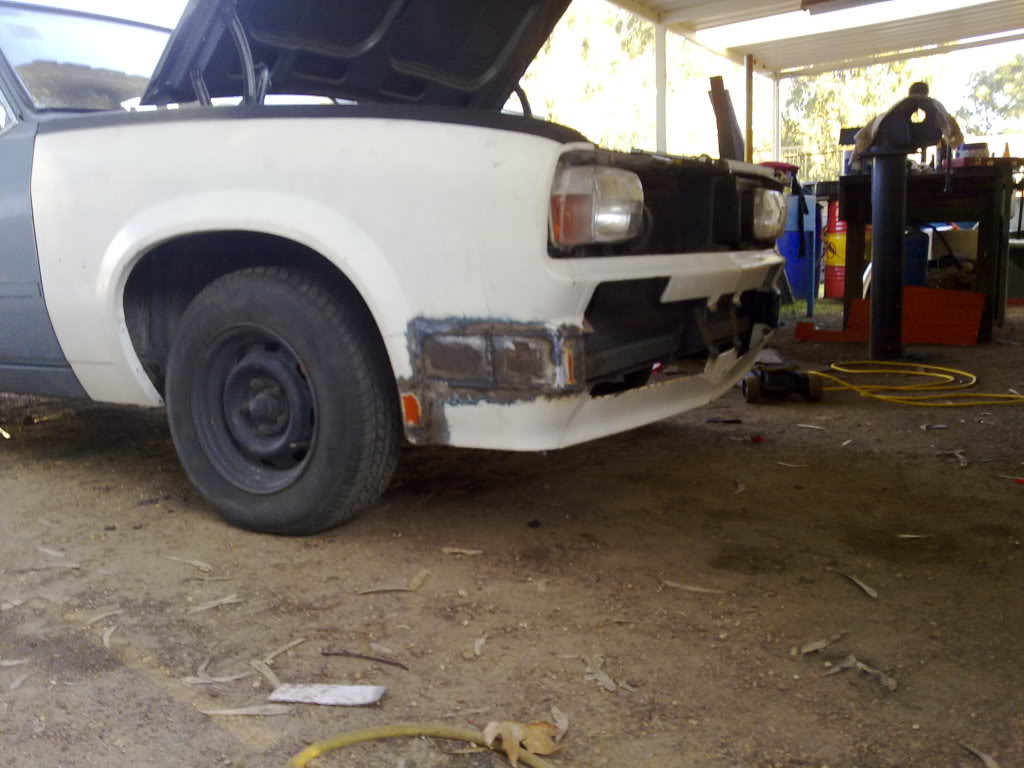
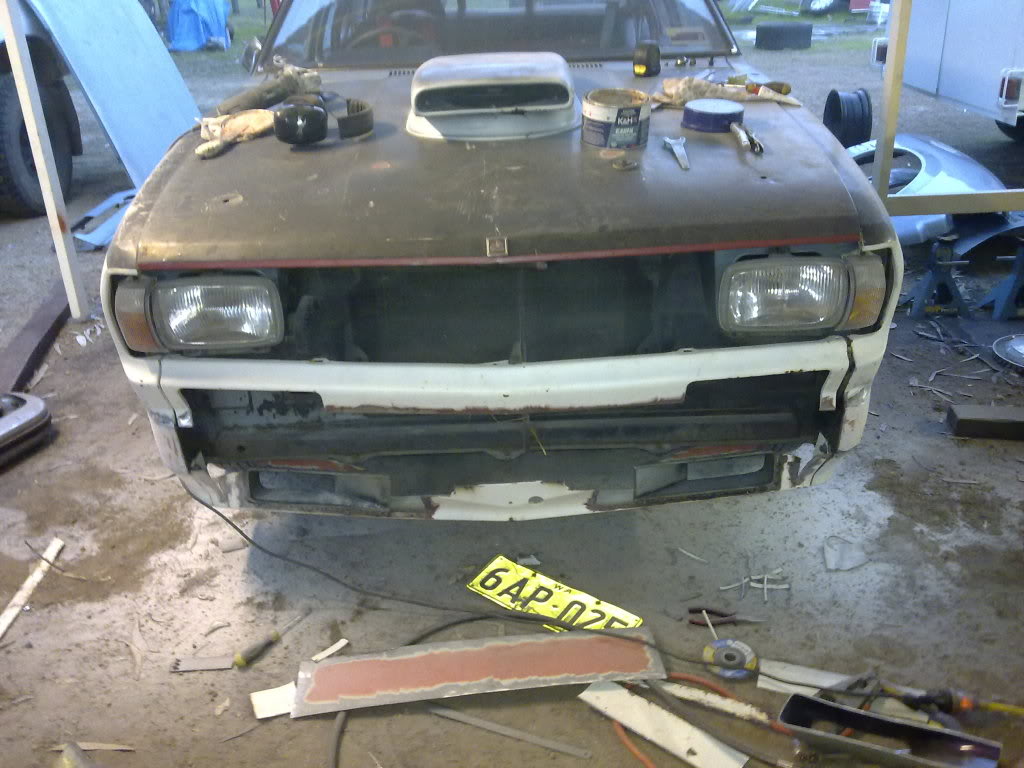
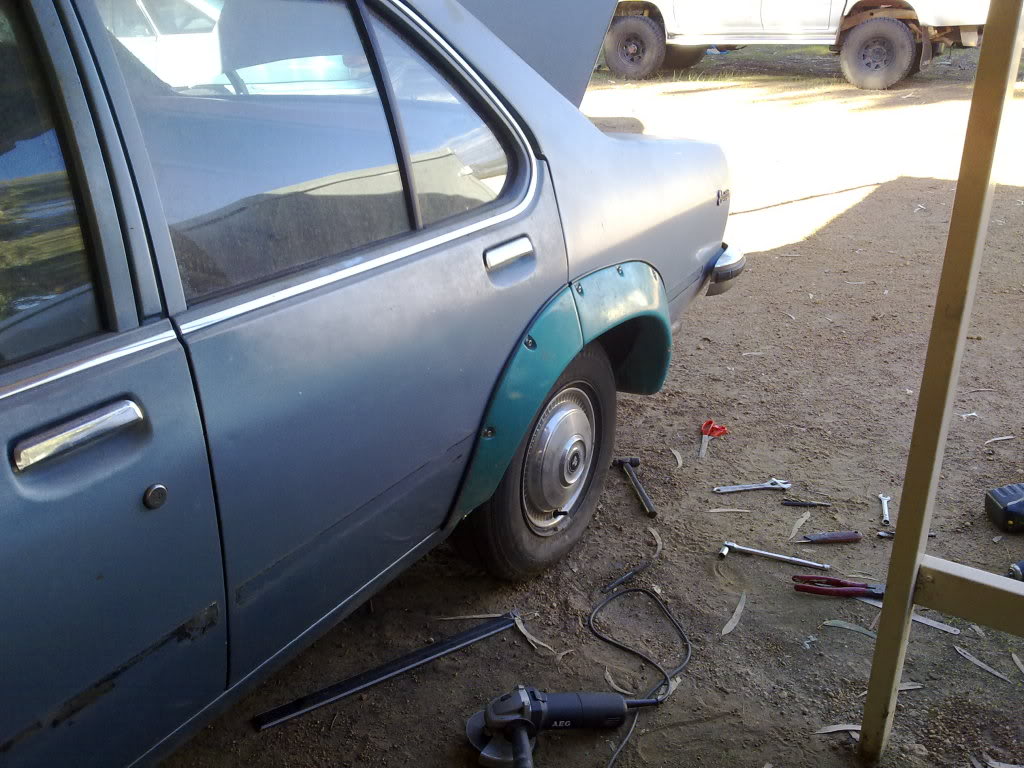
I wanted something a bot different with the front end so i took some ideas from dirtbags (fixing my brothers uc) thread and started this.
I pulled the 2 fenders and stone gaurd off my spare uc and marked where to cut.
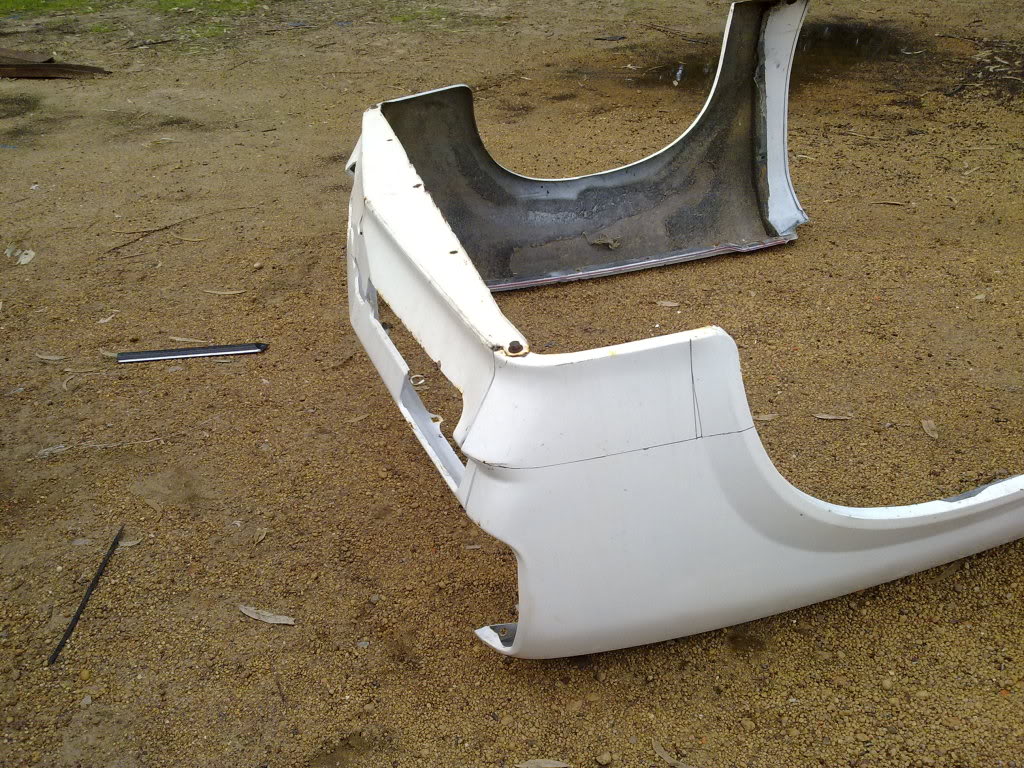
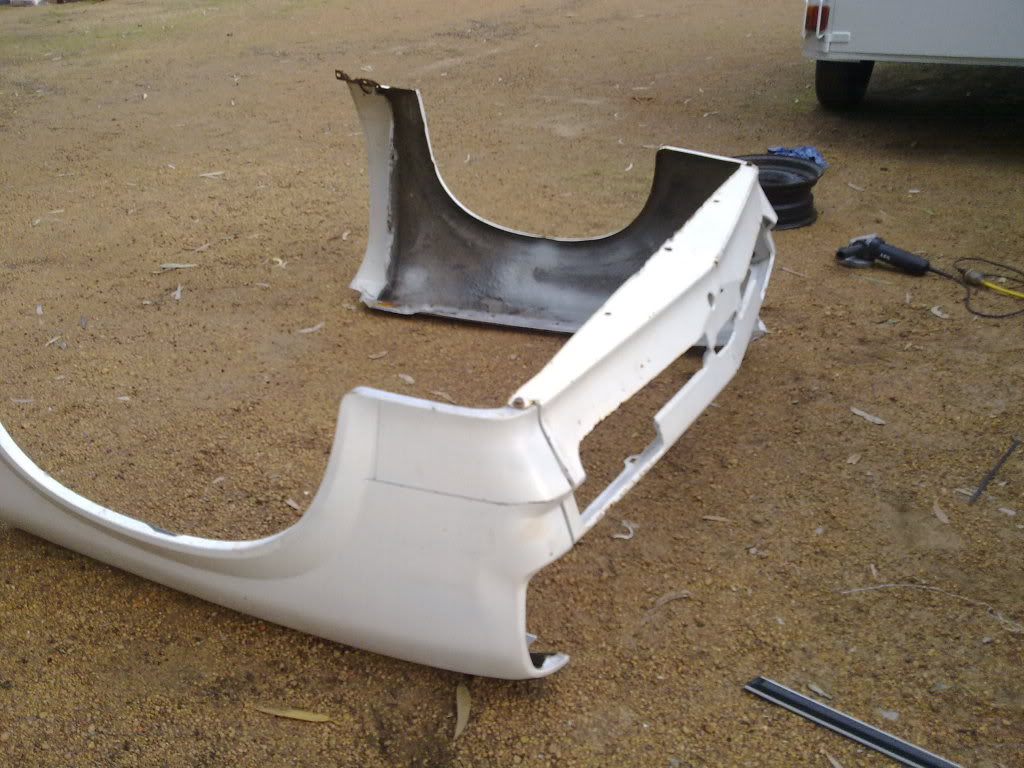
chopped it off
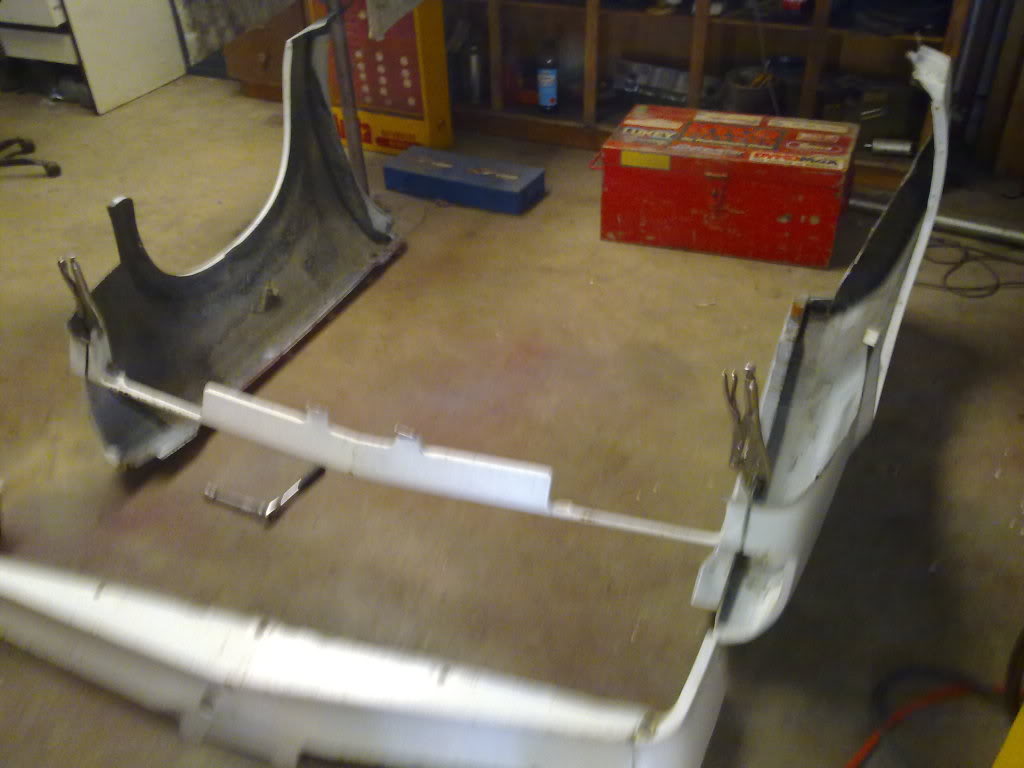
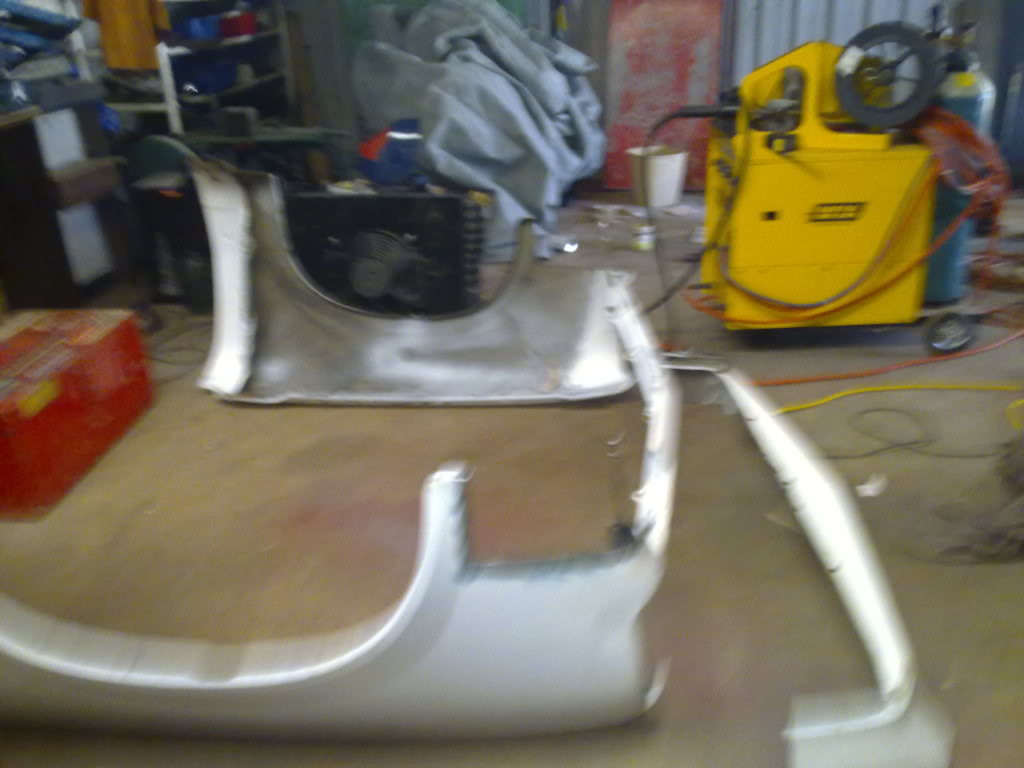
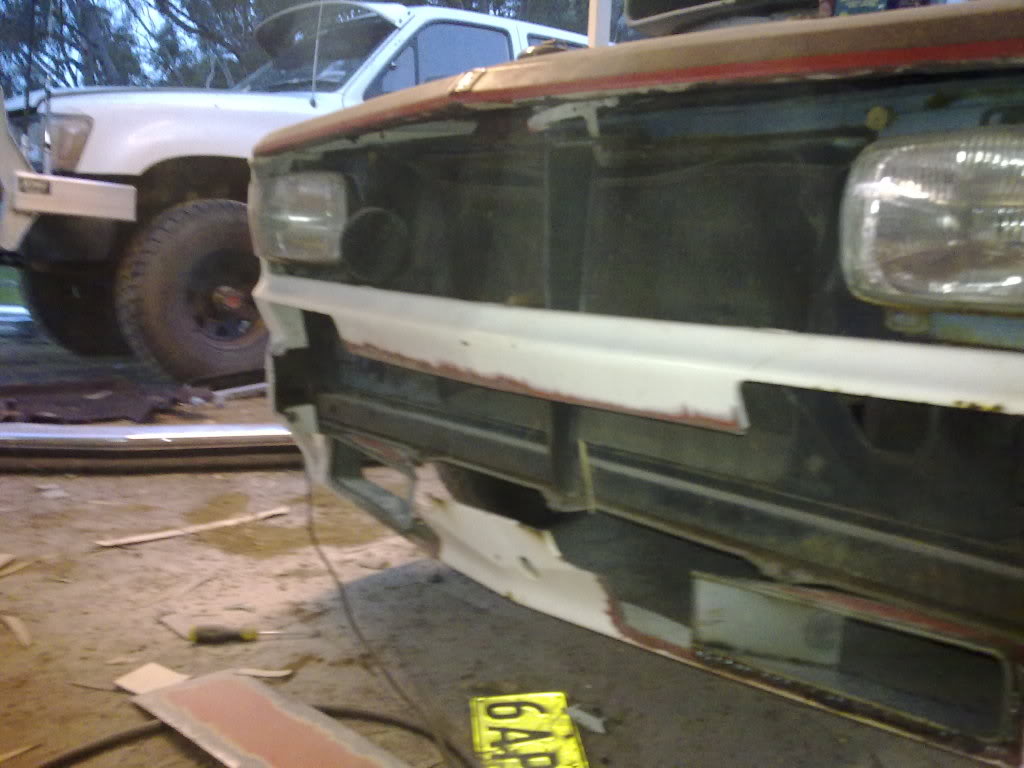
Then added 100mm to it

it looks rough but it sanded up ok.
I pulled the 2 fenders and stone gaurd off my spare uc and marked where to cut.
chopped it off
Then added 100mm to it
it looks rough but it sanded up ok.
#16
_BlownUC202_
_BlownUC202_
-
- Guests
Posted 28 June 2010 - 09:04 PM
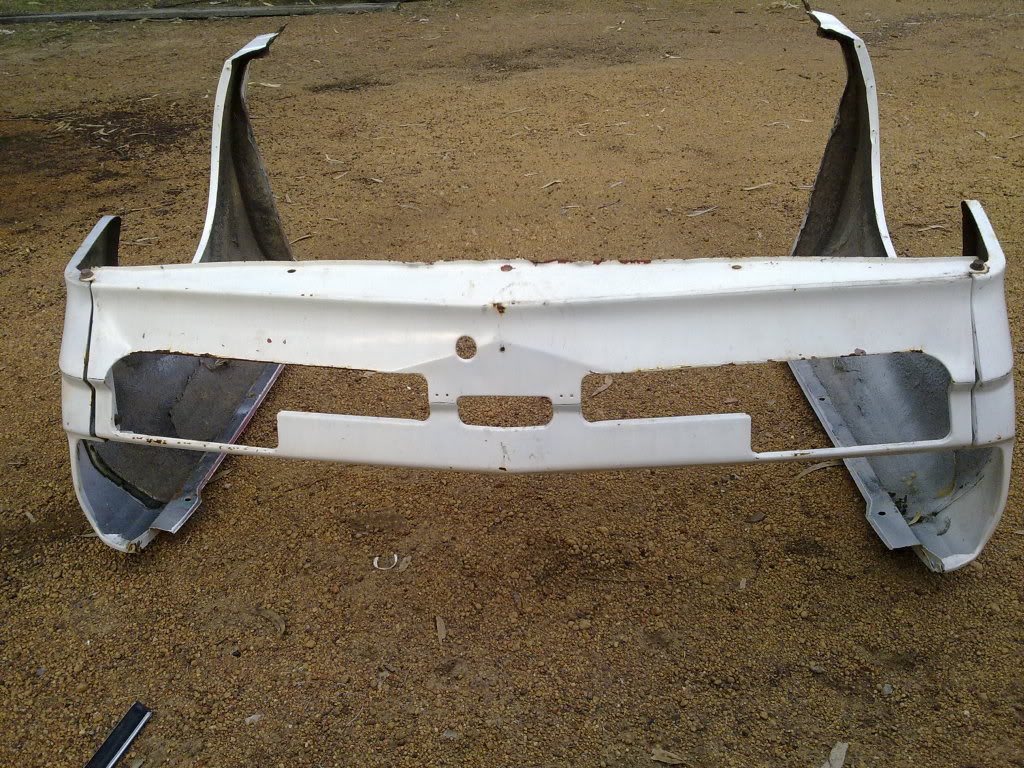
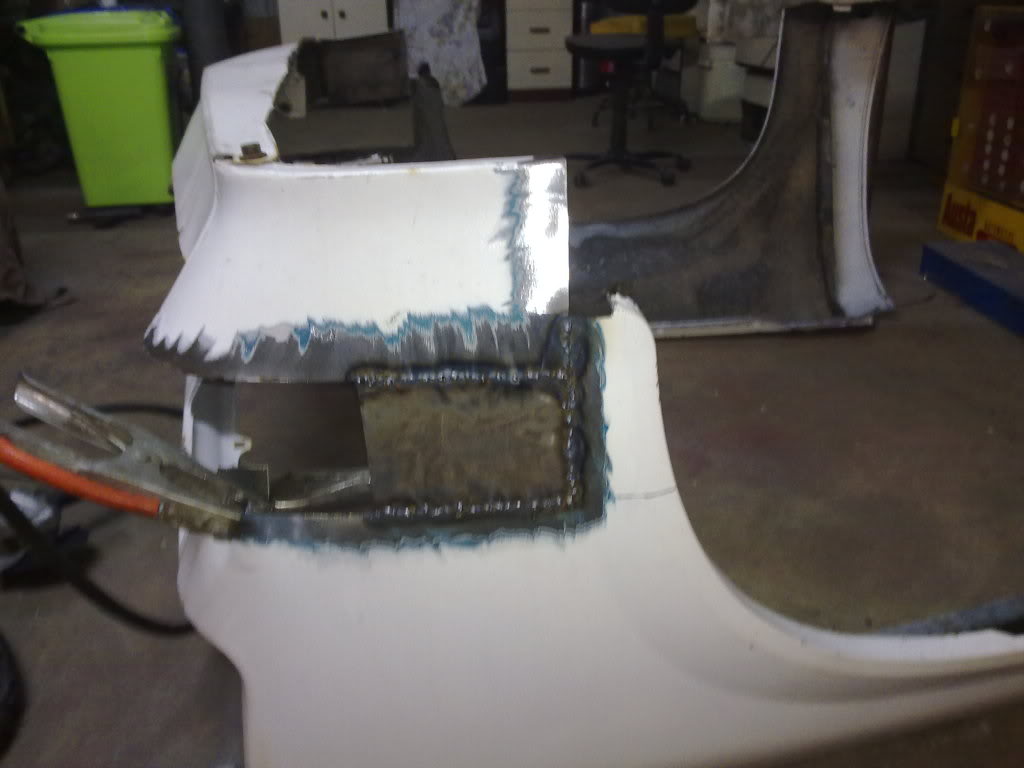
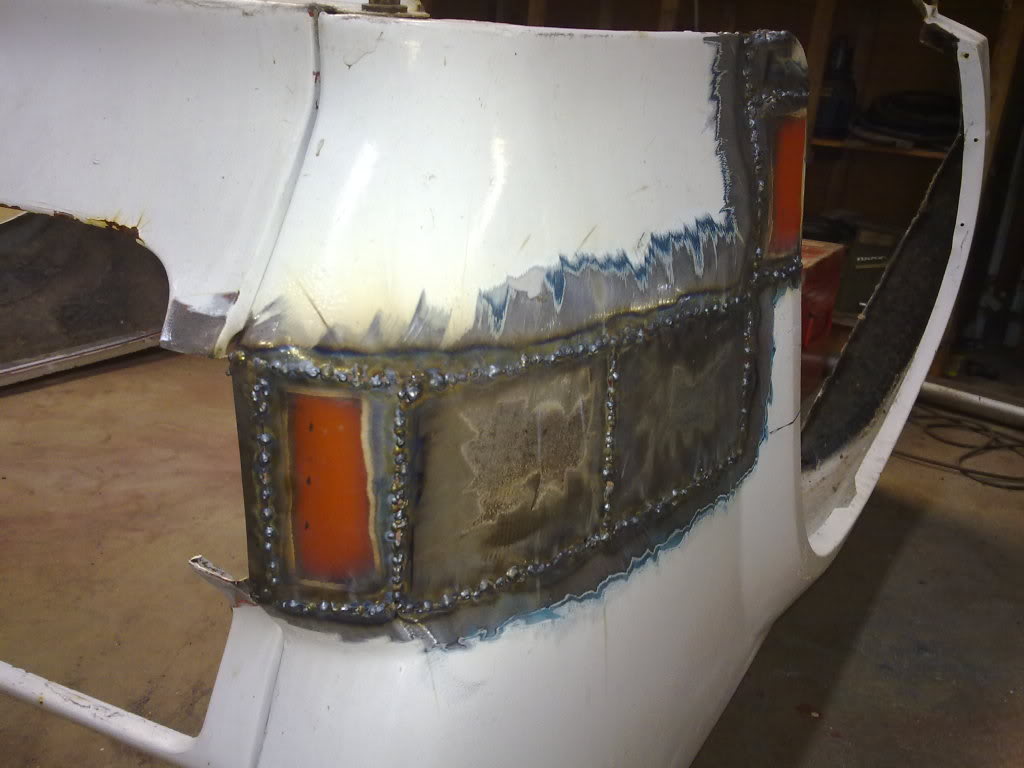
I bolted if back on the car to get the next bit right.
I did the same as dirtbag here used an lx front spoiler as a template to make steel brake cooling ducts.
Once made i tacked them in place.
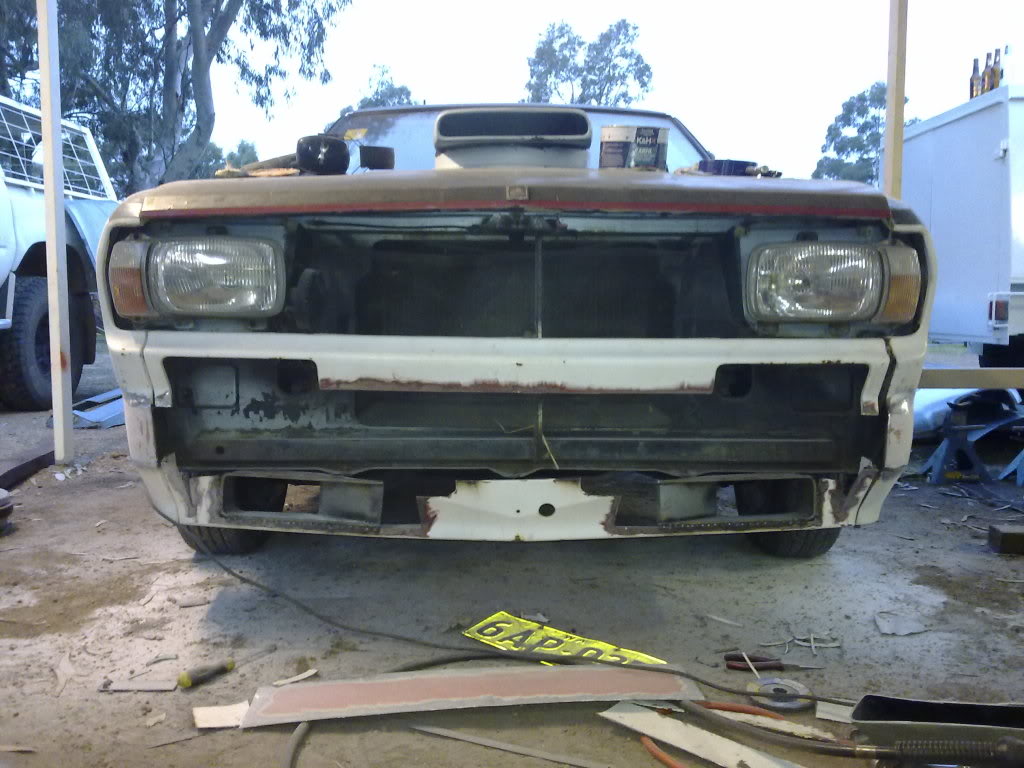
All the metal i used was recycled from the roof of one of my xf demo derby cars (the only straight bit of metal left on the car).
I stared to fill the gaps this took alot of tacking then bending to shape.
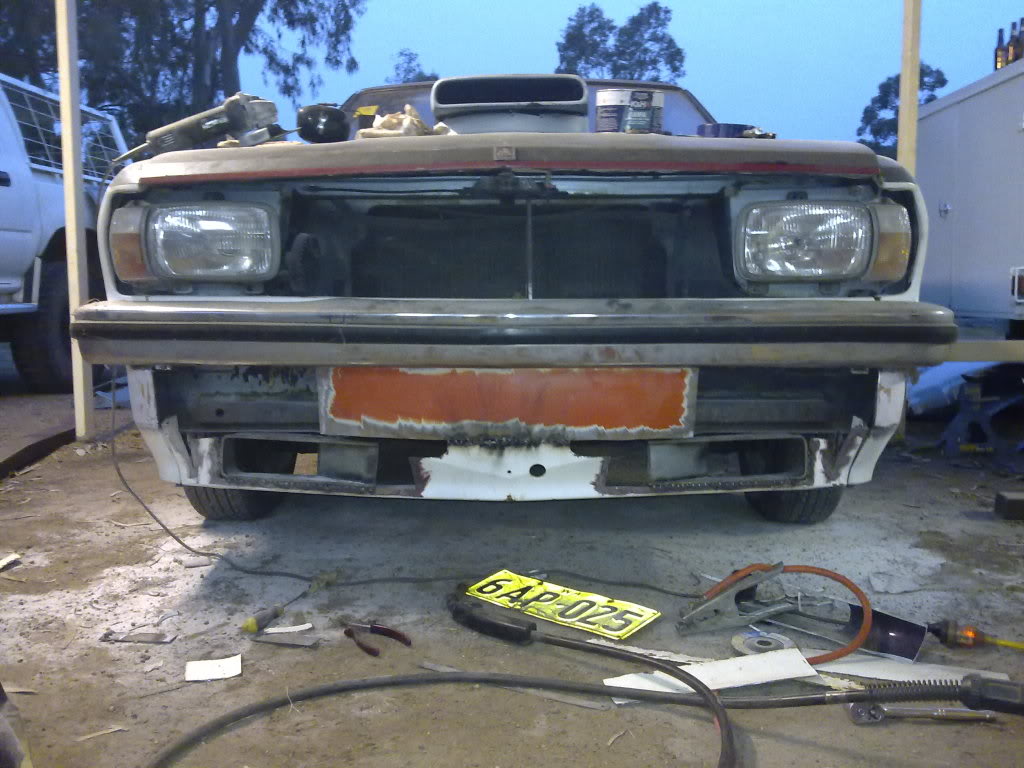
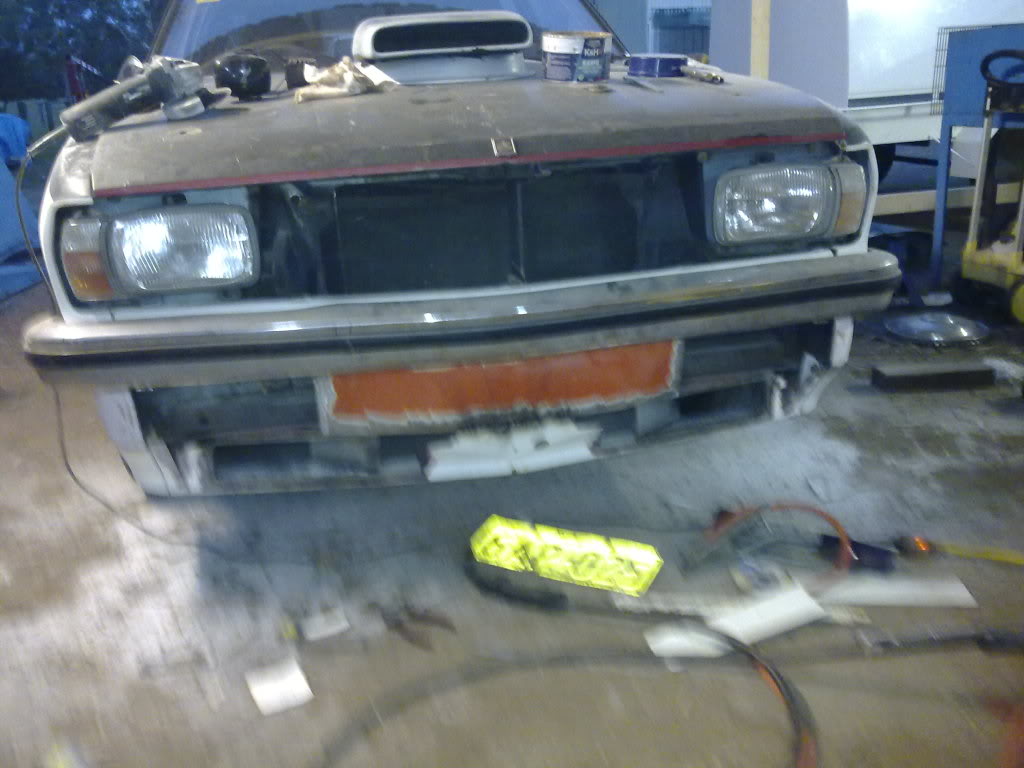
All welding finished just smoothing it out with filler i will post pics when its finished.
I did the same as dirtbag here used an lx front spoiler as a template to make steel brake cooling ducts.
Once made i tacked them in place.
All the metal i used was recycled from the roof of one of my xf demo derby cars (the only straight bit of metal left on the car).
I stared to fill the gaps this took alot of tacking then bending to shape.
All welding finished just smoothing it out with filler i will post pics when its finished.
#17
Heath
View Garage
-

- Administrators
-
- 18,380 posts
I like cars.
- Name:Heath
- Location:Eastern Suburbs, Melbourne
- Car:Heavily Modified UC Sunbird Hatchback
- Joined: 07-November 05
View Garage
Posted 28 June 2010 - 10:45 PM
Keen as!
I was gonna say exactly the same thing about the cage but yeah looks like you didn't too a bad job other than the location of the taxi bar. I want to do that even more now! haha
I was gonna say exactly the same thing about the cage but yeah looks like you didn't too a bad job other than the location of the taxi bar. I want to do that even more now! haha
#18
_BlownUC202_
_BlownUC202_
-
- Guests
Posted 29 June 2010 - 08:51 PM
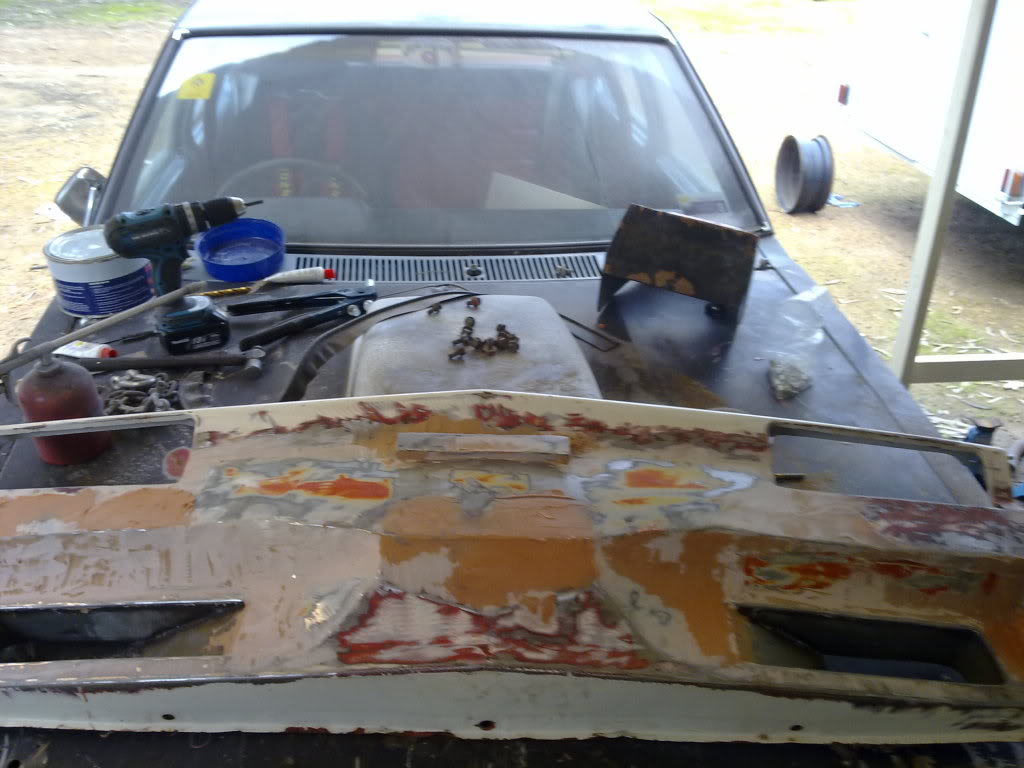
I got given a set of second hand flares and decided to use them because i know most new sets dont even fit right so i thought may as well use these. After alot of cutting and fibreglassing i fitted the rear flares using 8mm nutserts.
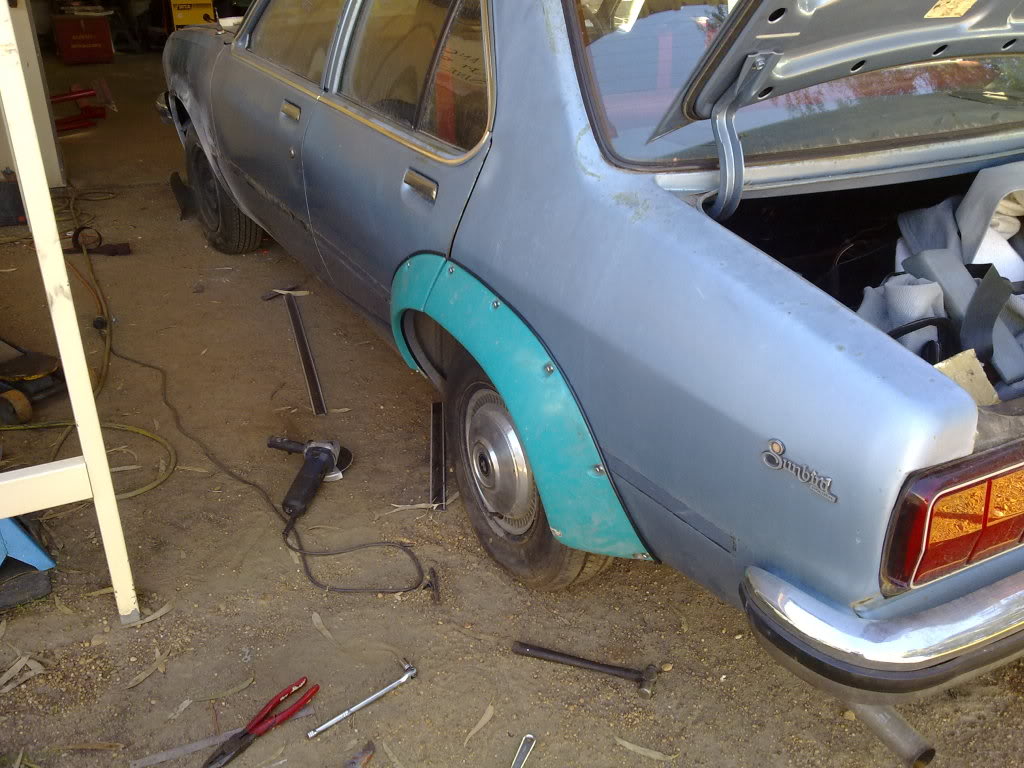
Thought i would jack it up and see what it looked like with some 29x12.5 drag slicks.

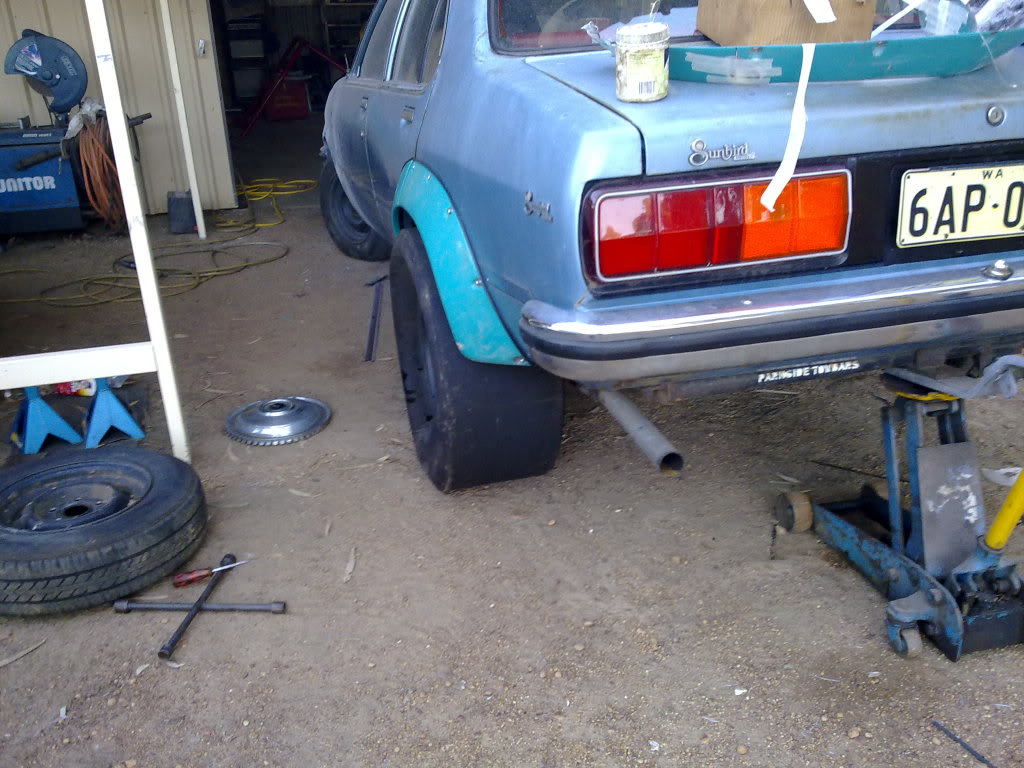
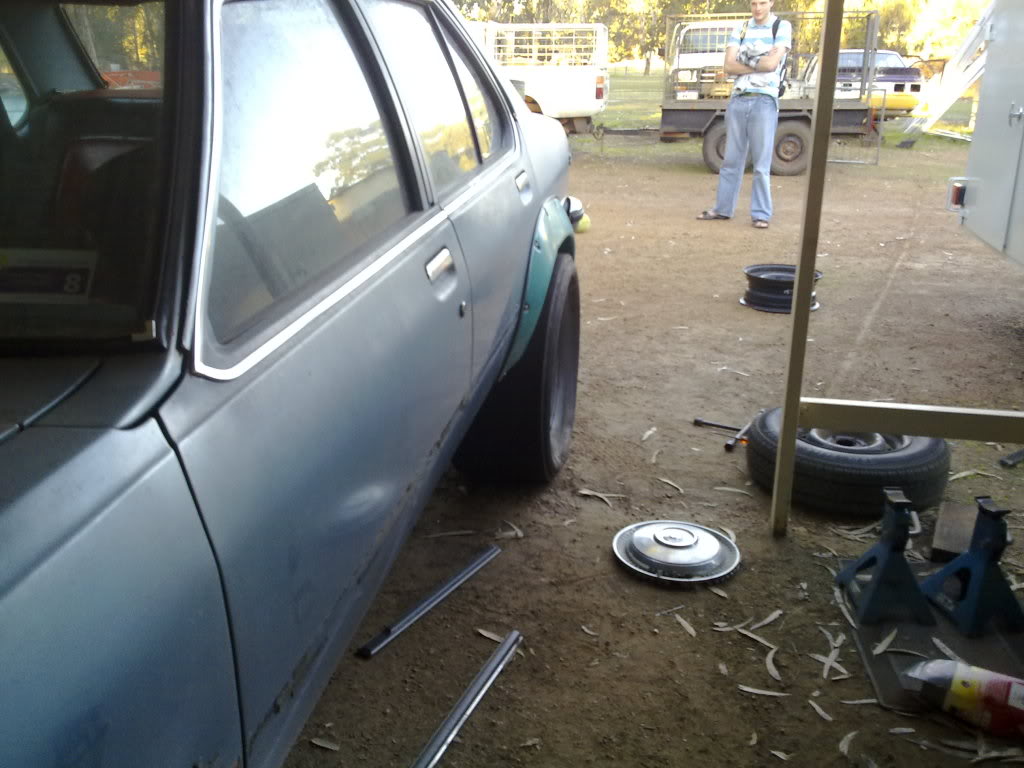
I havent finished the front flares yet they needed a lot of work.
Thought i would jack it up and see what it looked like with some 29x12.5 drag slicks.
I havent finished the front flares yet they needed a lot of work.
#19
_BlownUC202_
_BlownUC202_
-
- Guests
Posted 29 June 2010 - 08:59 PM
Thought i would repost the first lot of engine pics as they didnt show up first time.
#20
_dirtbag_
_dirtbag_
-
- Guests
Posted 29 June 2010 - 09:07 PM
Awesome work Jason.
I hear that Dirtbag guy is a real loser, best not say you did anything that he did : ) hahaha.
Look forward to following this thread.
I hear that Dirtbag guy is a real loser, best not say you did anything that he did : ) hahaha.
Look forward to following this thread.
#21
_BlownUC202_
_BlownUC202_
-
- Guests
Posted 29 June 2010 - 09:38 PM
Ha ha i must be a loser 2.
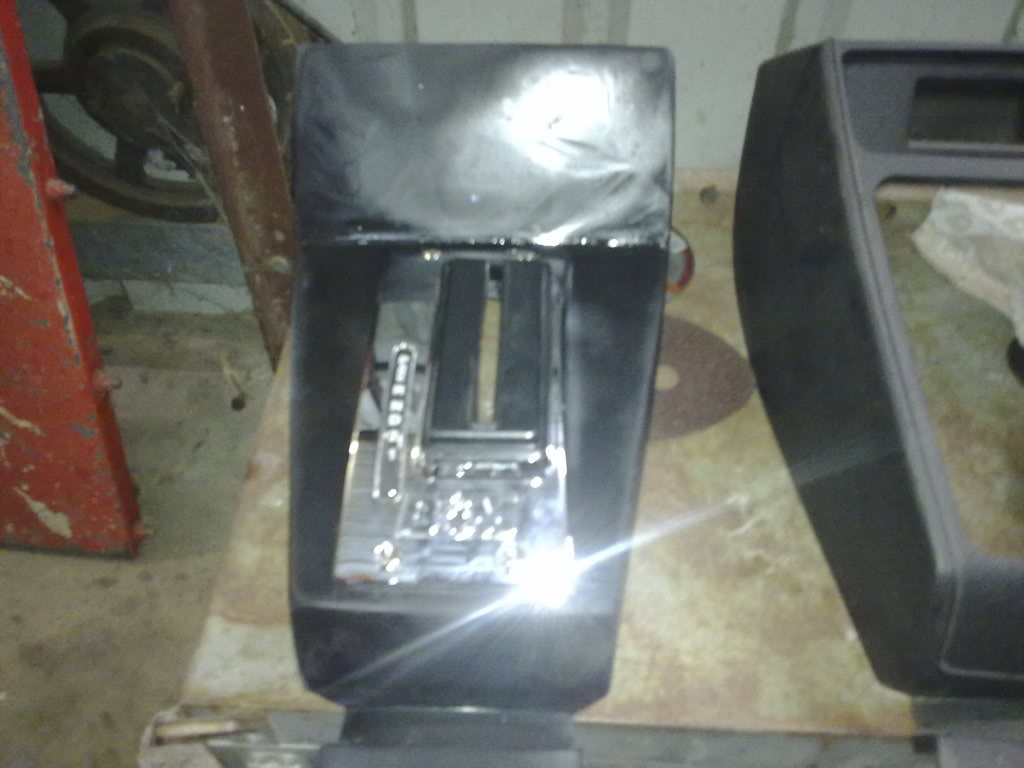
Im going to be running a manualised trimatic (thats a big horsepower stealing oil pump dirtbag) =) so i bought a B and M quick shifter. I didnt wanna just use the B and M shifter surround and it wouldnt fit into the standard shifter sorround so solution was make a custom one.
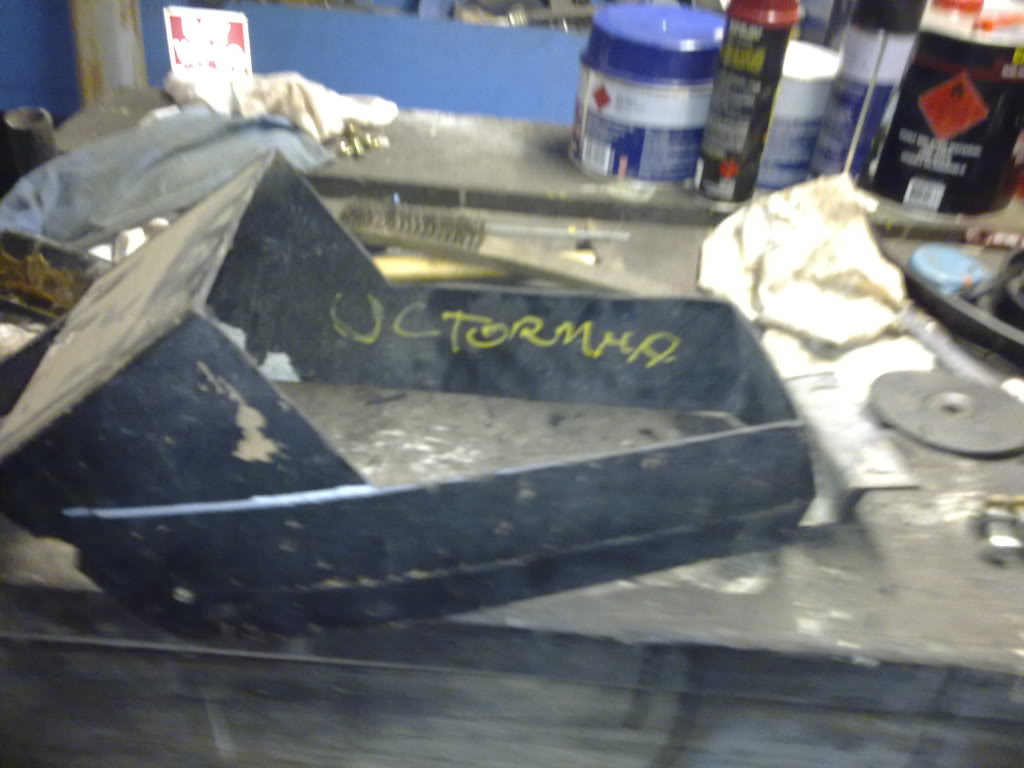
I got a standard shifter console.
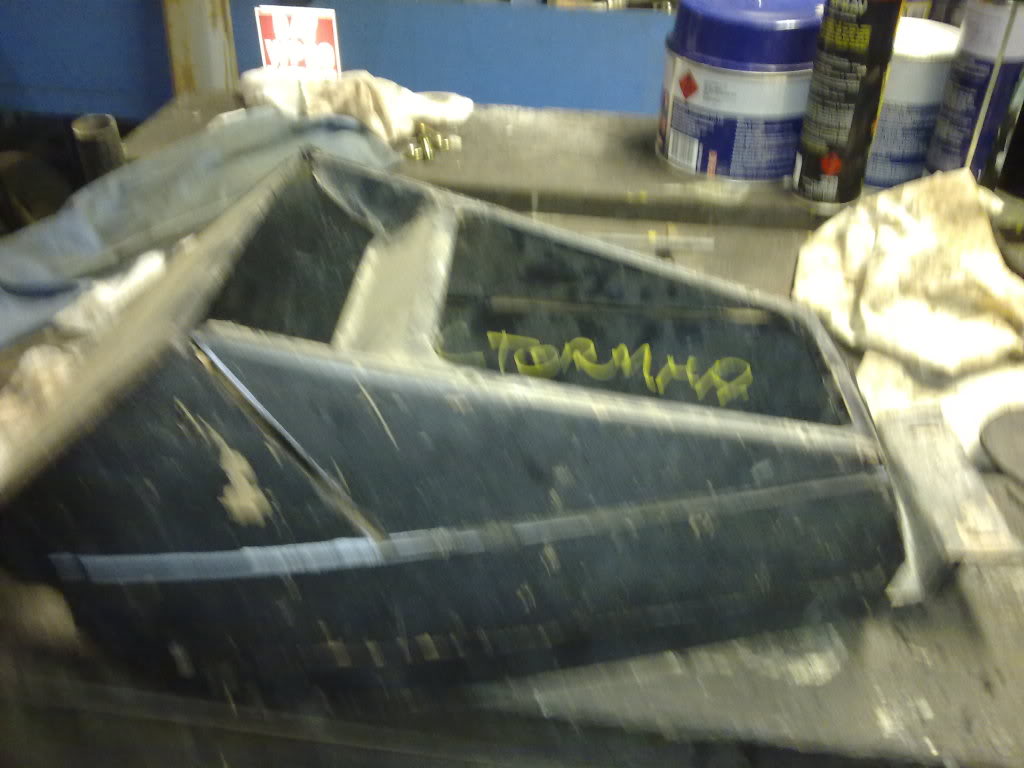
measured shifter height and cut a chunck out.
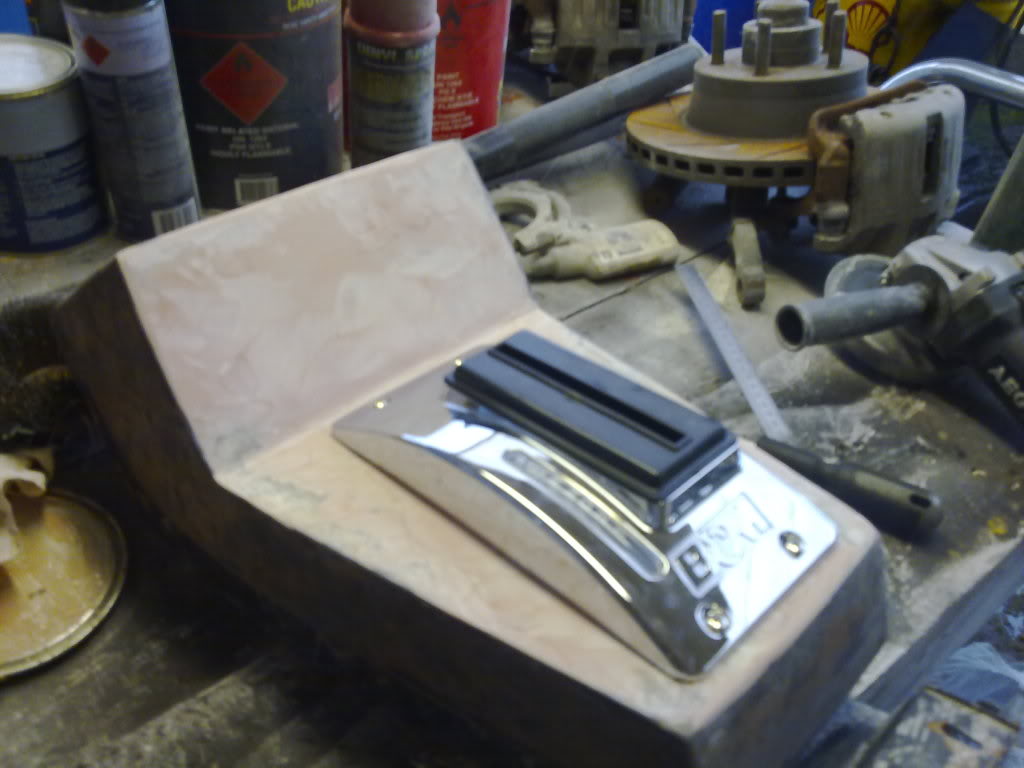
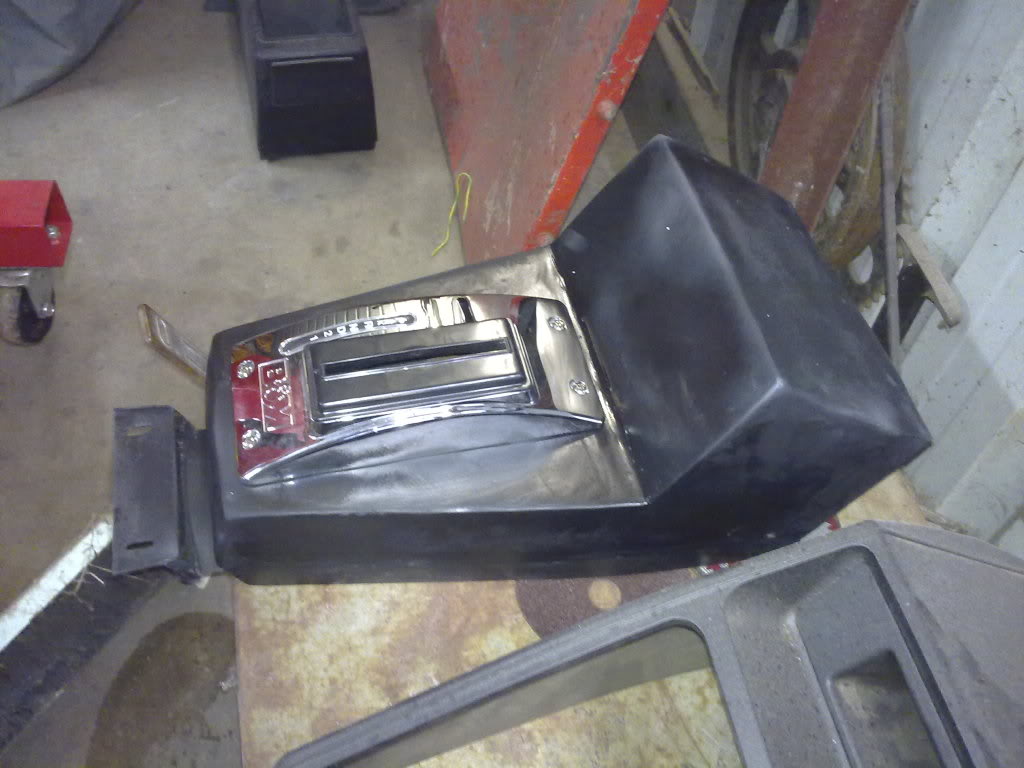
Fibreglassed it flat with a space for the shifter smothed it with filler and bolted down the chrome shifter display.
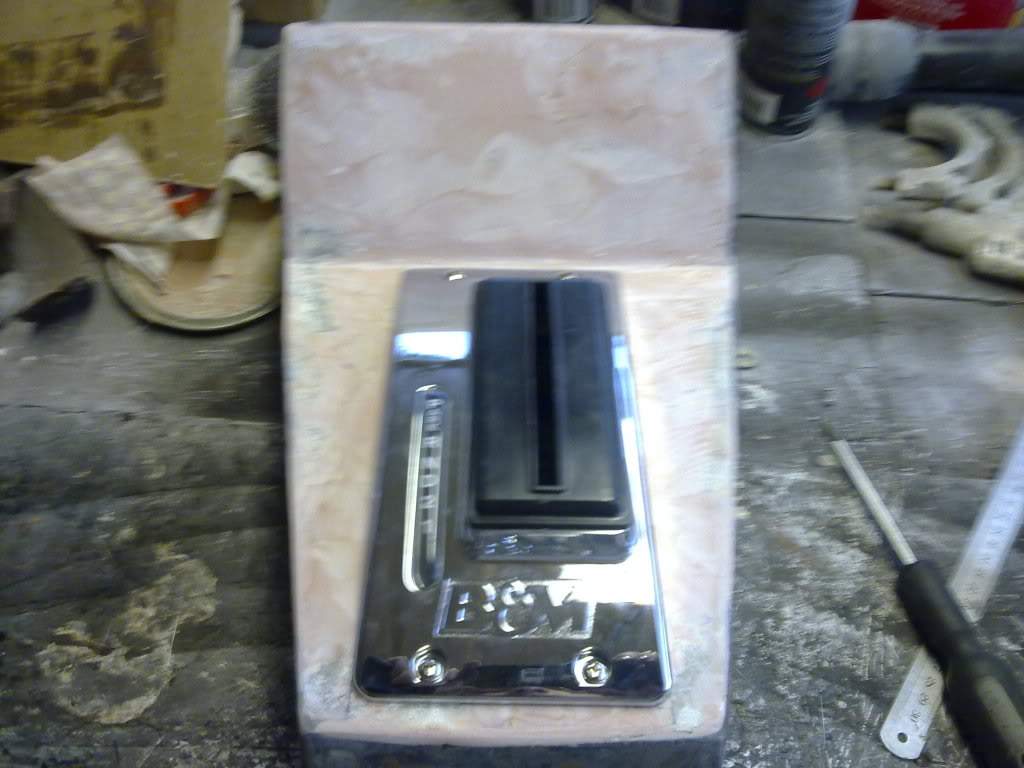
All painted im gonna use the flat bit thats upright for all my switches
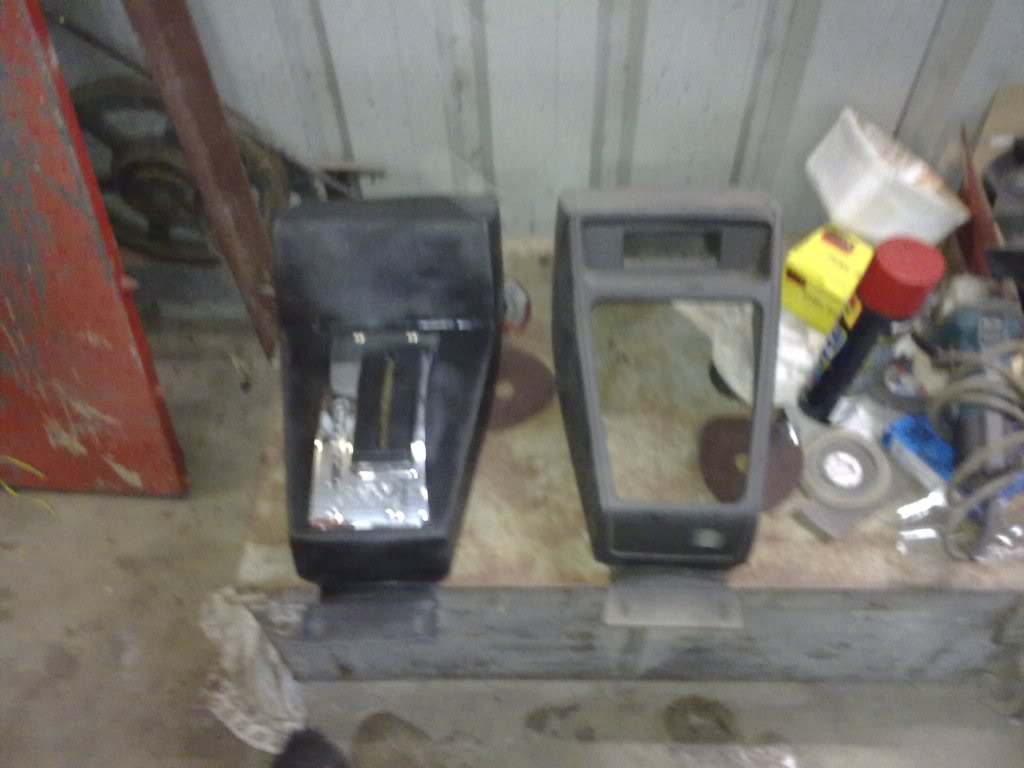
Next to a standard one.
Im going to be running a manualised trimatic (thats a big horsepower stealing oil pump dirtbag) =) so i bought a B and M quick shifter. I didnt wanna just use the B and M shifter surround and it wouldnt fit into the standard shifter sorround so solution was make a custom one.
I got a standard shifter console.
measured shifter height and cut a chunck out.
Fibreglassed it flat with a space for the shifter smothed it with filler and bolted down the chrome shifter display.
All painted im gonna use the flat bit thats upright for all my switches
Next to a standard one.
#22
_dirtbag_
_dirtbag_
-
- Guests
Posted 29 June 2010 - 09:48 PM
Nice work on the console. Pity you have to toss it out to fit the manual shifter through : ) Push bikes have two pedals, cars have three. hahaha
Seriously though, console looks great!!!
Seriously though, console looks great!!!
#23
_BlownUC202_
_BlownUC202_
-
- Guests
Posted 29 June 2010 - 09:52 PM
If i was gonna be using it mainly as a street car i would of fitted a 5 speed but as im gonna use it at the drags most the trimatic will be better. Ive got a msd digital 6 plus ignition which has a launch control fuction so needed an auto.
#24
_Barman_
_Barman_
-
- Guests
Posted 02 July 2010 - 07:02 AM
When you take your pics try not to shake......
great work i like the gurdle and oil lines very professional
cheers Baz
great work i like the gurdle and oil lines very professional
cheers Baz
#25
_BlownUC202_
_BlownUC202_
-
- Guests
Posted 03 July 2010 - 08:17 PM
Well i decided the other day that it was time for the starfire and 4 speed to come out so i can start work on the engine bay.
Nice and easy with an engine crane and leveling block.

The bare deengined bay.
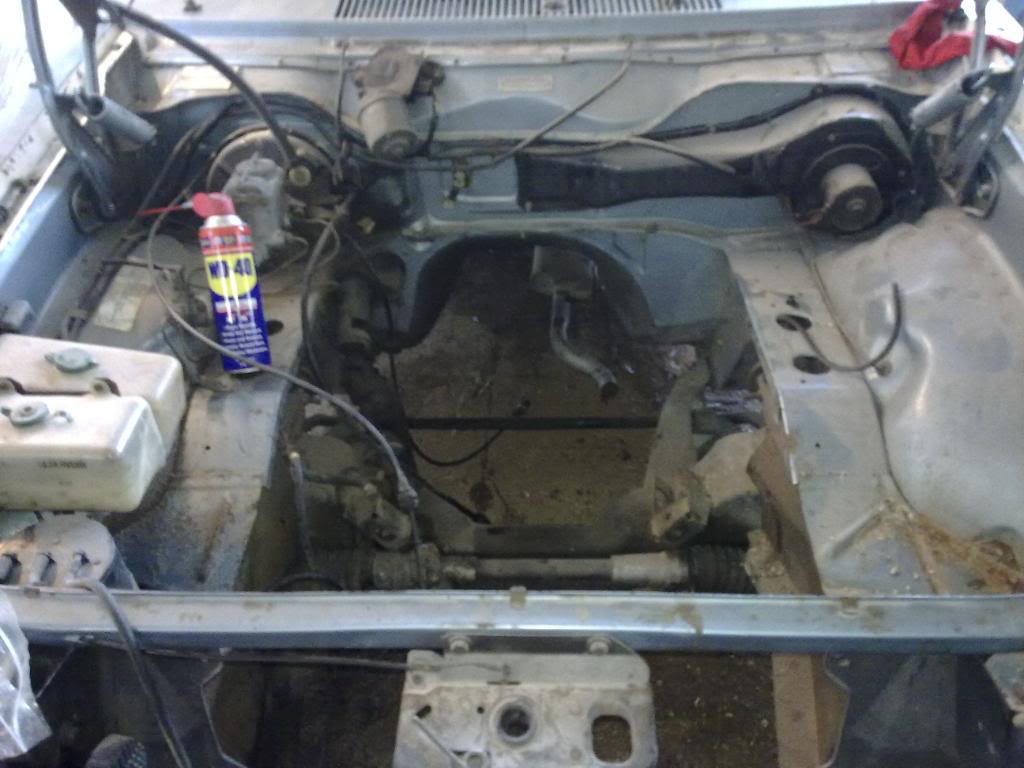
Thats as far as i got for now because i got destracted with something else.
Nice and easy with an engine crane and leveling block.
The bare deengined bay.
Thats as far as i got for now because i got destracted with something else.


1 user(s) are reading this topic
0 members, 1 guests, 0 anonymous users

