Micks LH build to this date
#26
 _doogs_
Posted 18 July 2010 - 05:38 PM
#27
 _mick74lh_
Posted 18 July 2010 - 10:50 PM
ah well ruts im down one hatch so ive got a little bit more room.if you hear your dogs barking one night its not me.when you finish it youll have to change your name to rutss.
mick looks like you have some mates with good cars as well. the ss holden awesome. make sure you stick some more pics next time you are all out for cruize.
[/quote]
Ha your shit stirring is amusing. Good stuff.
The HQ SS is my mate Tyson's dad's. Tyse actually owns an LX torana himself that hes had since he was 17 but it has been sitting at his house waiting for a rebuild since it was stolen/damaged and recovered a few years ago. I'll get some more photos of those cars up eventually. Hes been overseas the past six months but when he comes back I'll try to convince him to get on the forum. And get his finger out and start rebuilding the car.
#28

Posted 19 July 2010 - 09:18 PM
That Mt Hotham run would have been fun in the Torry, I do it every year with a bunch of mates on bikes and its great fun. The section from Harrietville up to Hotham is awesome on a bike.
#29
 _mick74lh_
Posted 19 July 2010 - 11:02 PM
When I was checking your car out on Saturday I had no idea you had done so much of it yourself. It's a real credit to you.
That Mt Hotham run would have been fun in the Torry, I do it every year with a bunch of mates on bikes and its great fun. The section from Harrietville up to Hotham is awesome on a bike.
Yeah mate we did it in October when there was still snow up on Hotham but i want to do it in summer when the roads less slippery and theres a clearer view over the alps. Those twists and turns between Harrietville and Hotham are awesome, and they seem to go on for ages.
#30
 _SS Hatchback_
Posted 20 July 2010 - 10:12 PM
Perfect example of what a awesome looking car can be built at home, well done
#31
 _mick74lh_
Posted 23 July 2010 - 08:56 PM
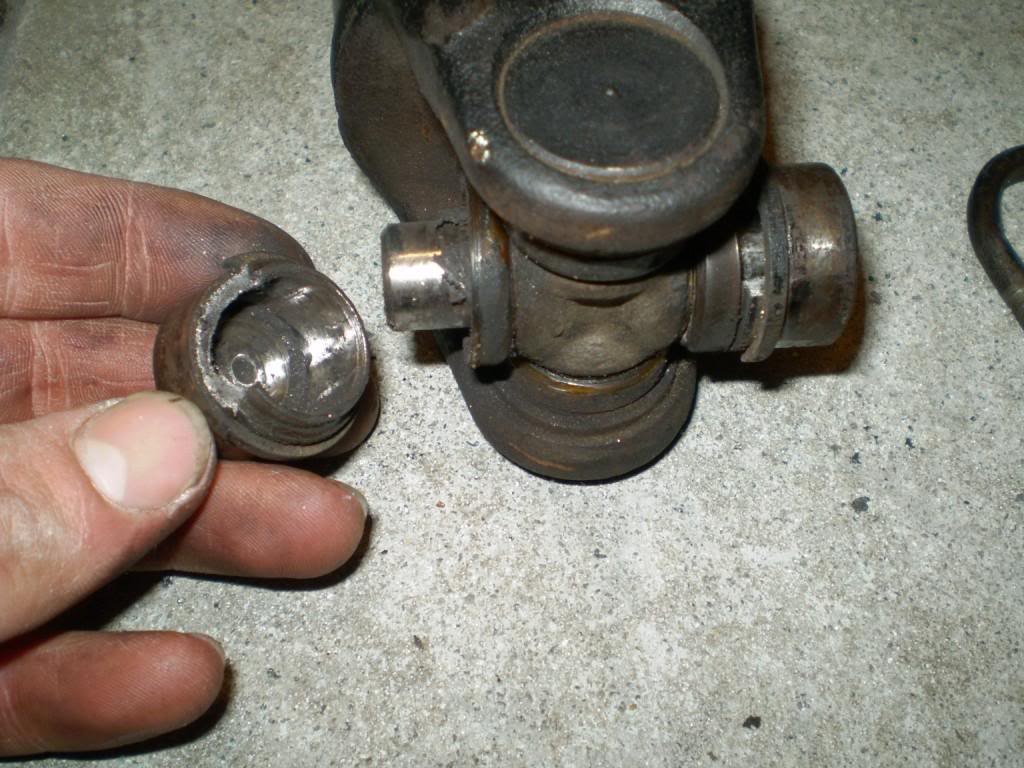
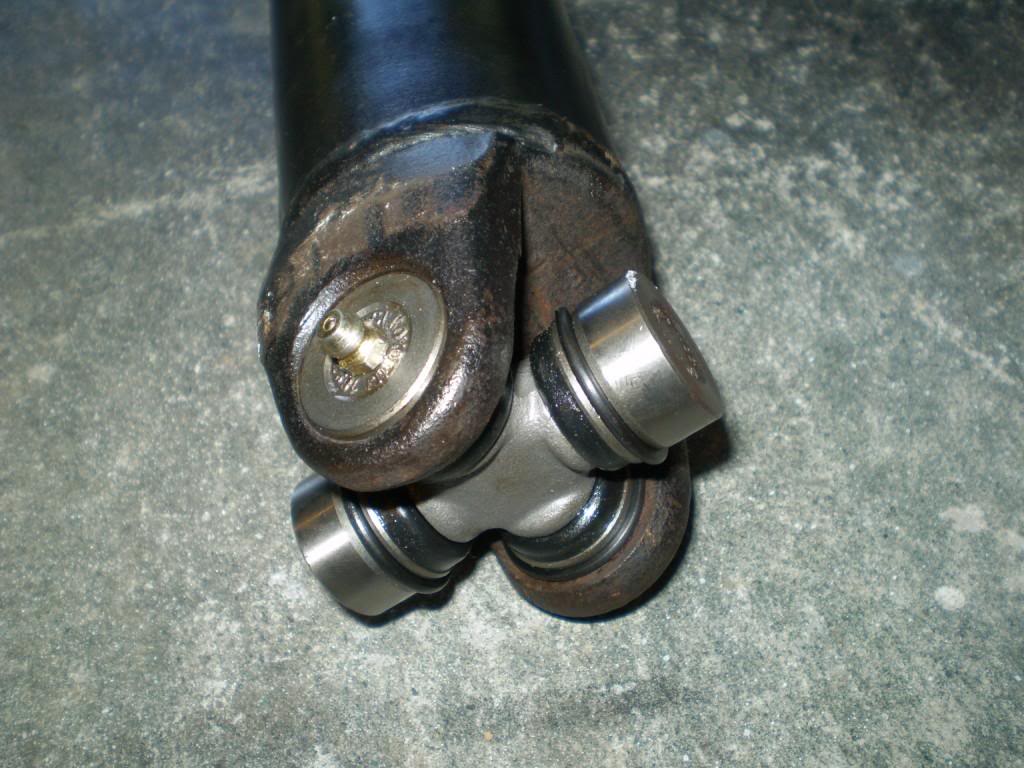
There was a bad vibration through the car whenever taking off under a bit of load. It would come and go. I was worried that some part of the clutch/flywheel assembly was coming loose but checked all that and it was fine. The engine mounts and rear transmission mount were fine. Heath and his mates suggested I check the tailshaft unis so I did that and found the rear one was buggered. Two of the bearing cups were broken and all the needle roller bearings had fallen out. So that was an easy fix and now the feeling/sound that I thought was lash in the diff has gone away.
The new uni installed:
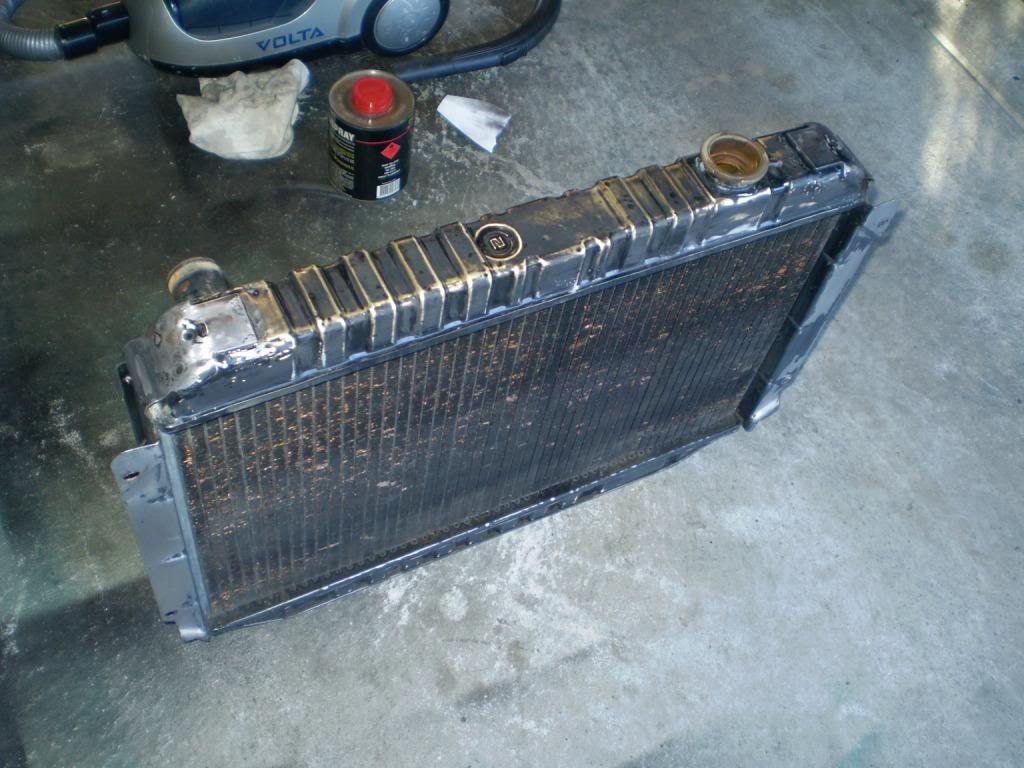
The radiator was full of bugs and crap so i cleaned that out and gave it a nicer lick of jam. I'm gonna hide a panel of mesh behind the grille now to protect it like I should have done in the first place.
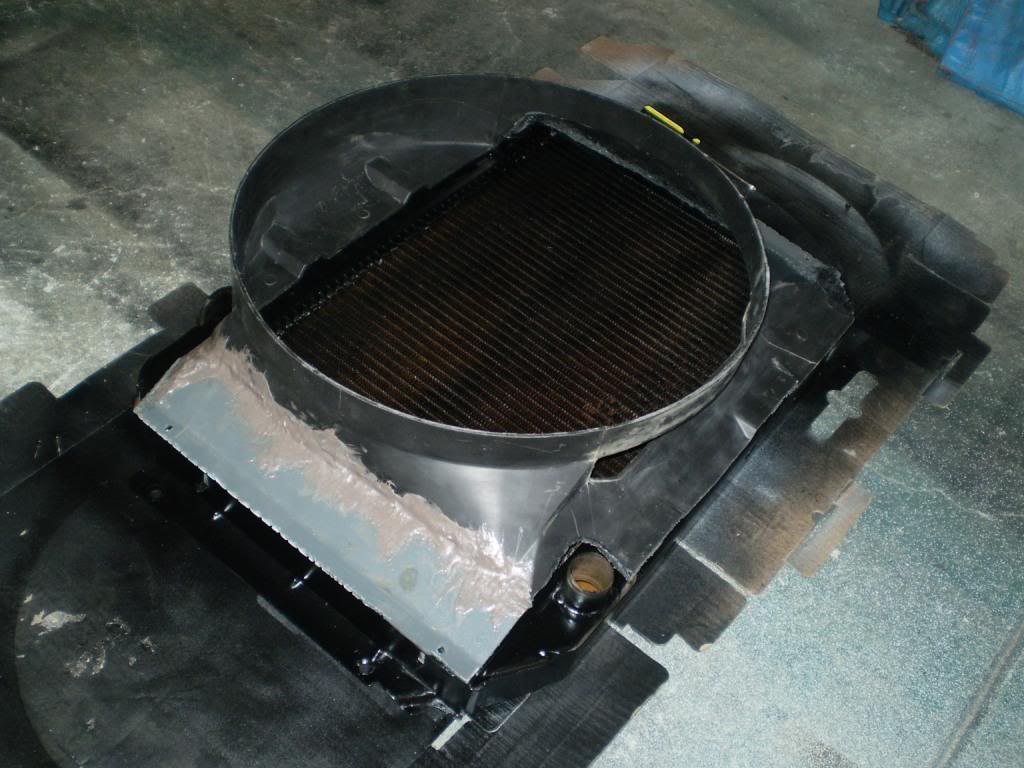
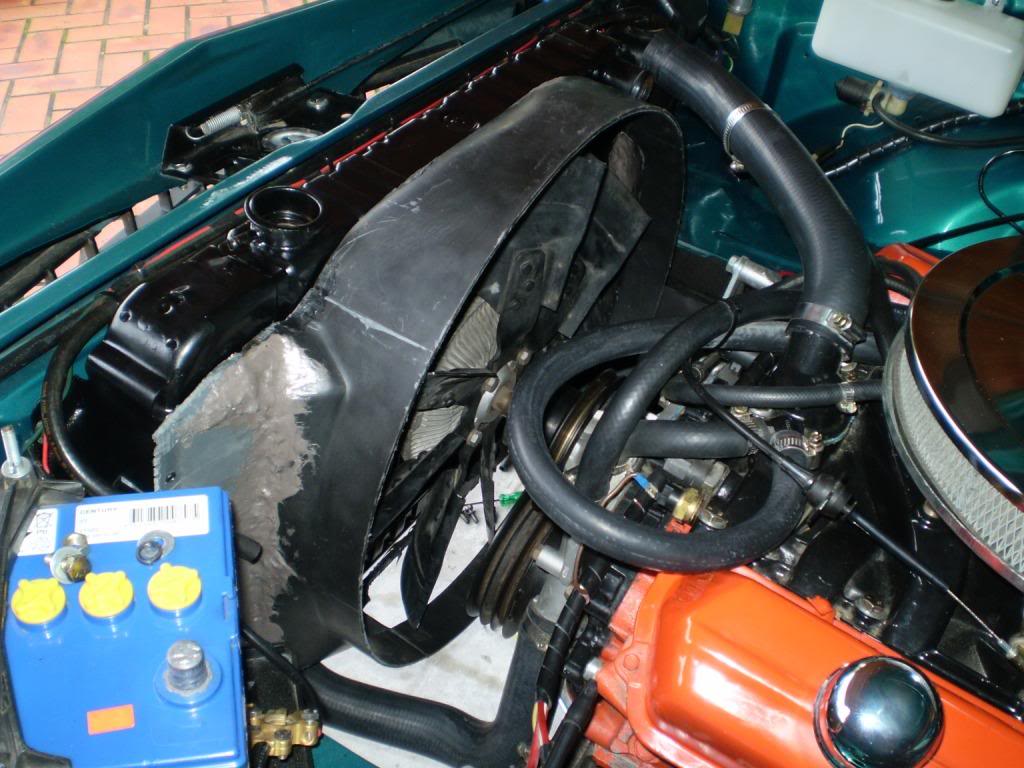
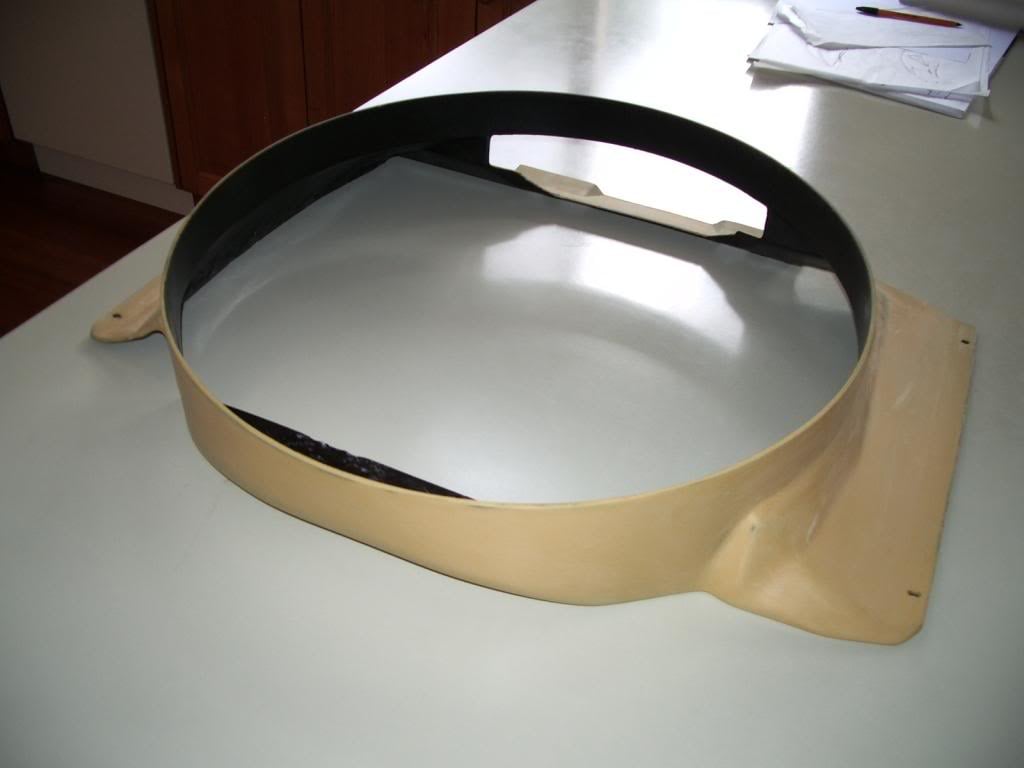
While I had the radiator out I mocked up and modified a V8 Commodore fan shroud to fit the Kingswood/torana radiator. The Commodore one is narrower so I 'plastiwelded' - ha ha- with a soldering iron, some sections of a VN Commodore fuse panel cover onto both sides to extend it to the edges of the radiator. They taper inward so it will still allow air flow across the entire core.
This is to replace the crappy guard I had with the cracks in it.
Here it is mocked up:
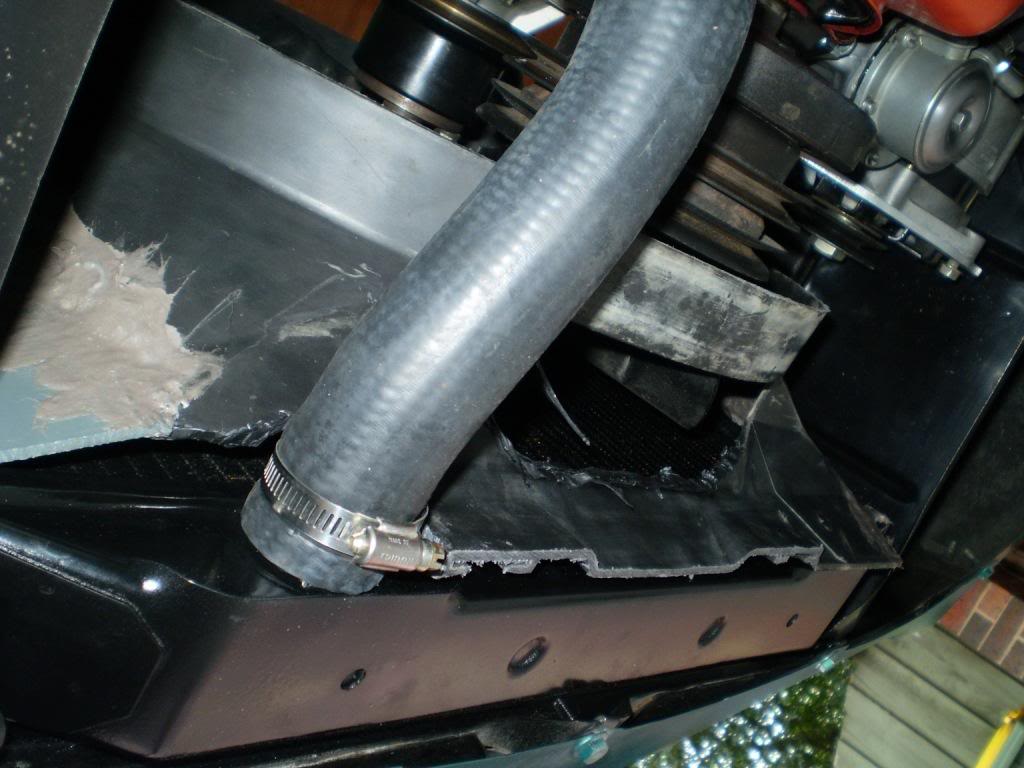
After a bit of bog and sanding and some primer its nice and smooth:
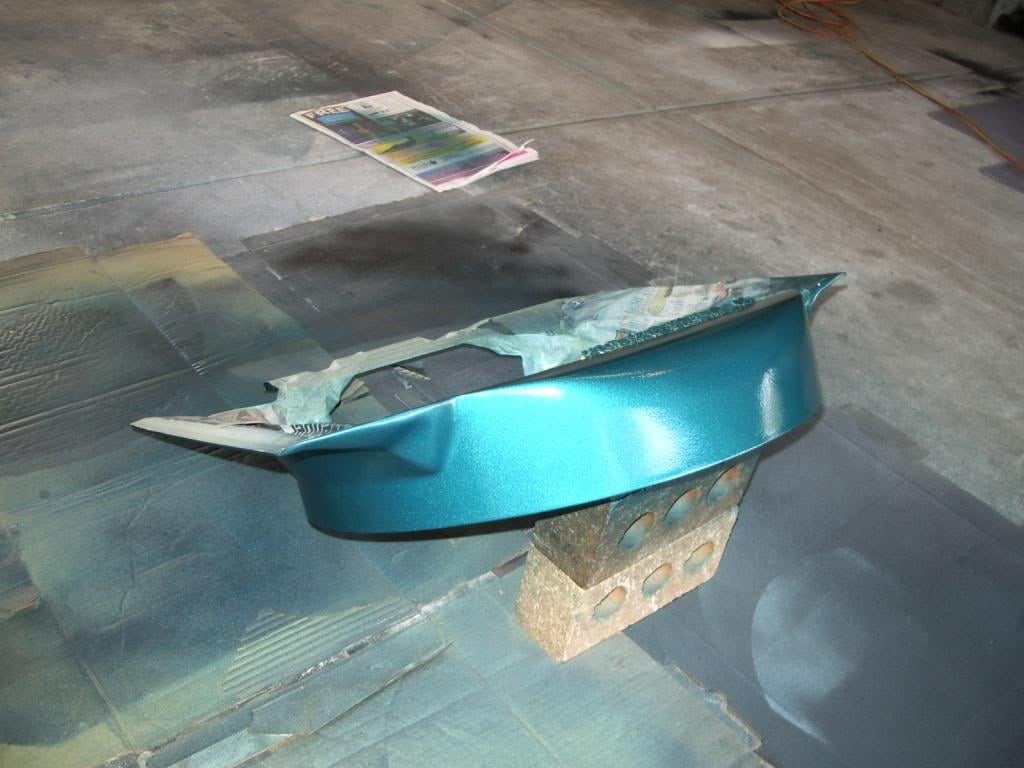
Freshly painted with plenty of orange peel:
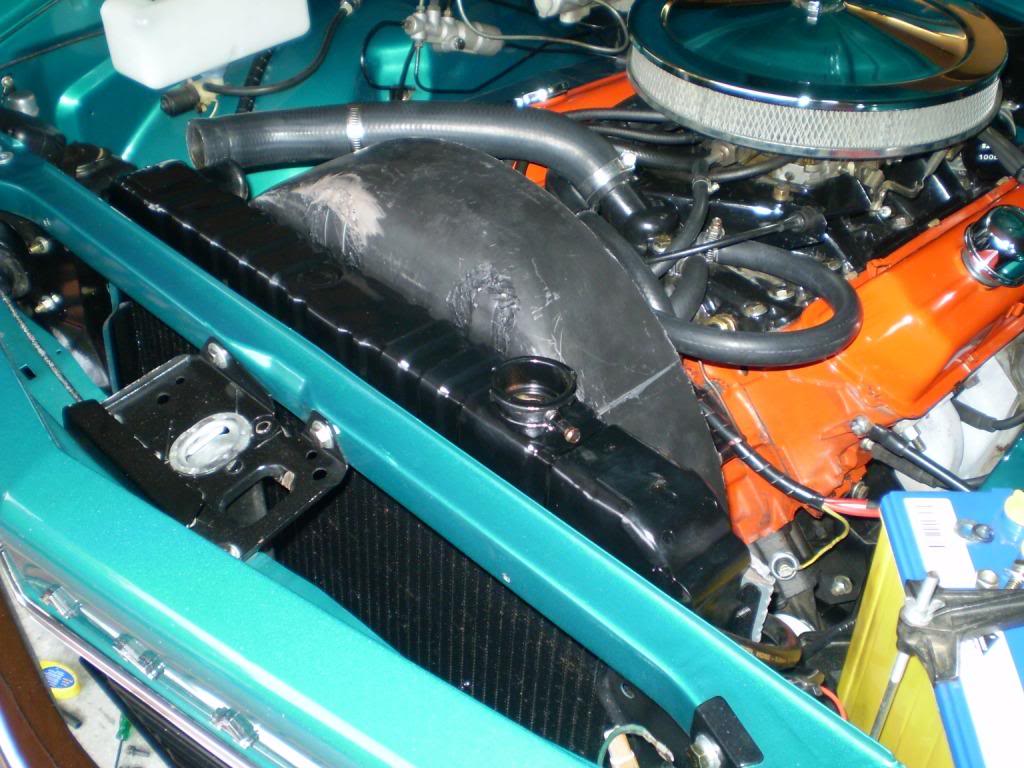
And then rubbed back and installed:
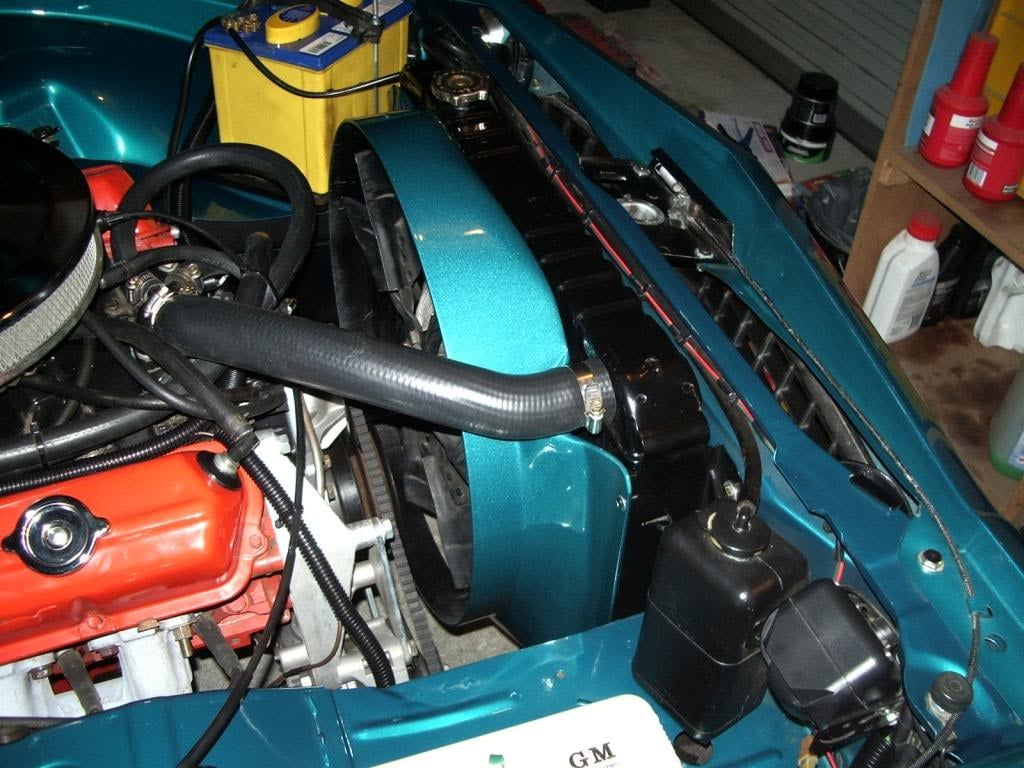
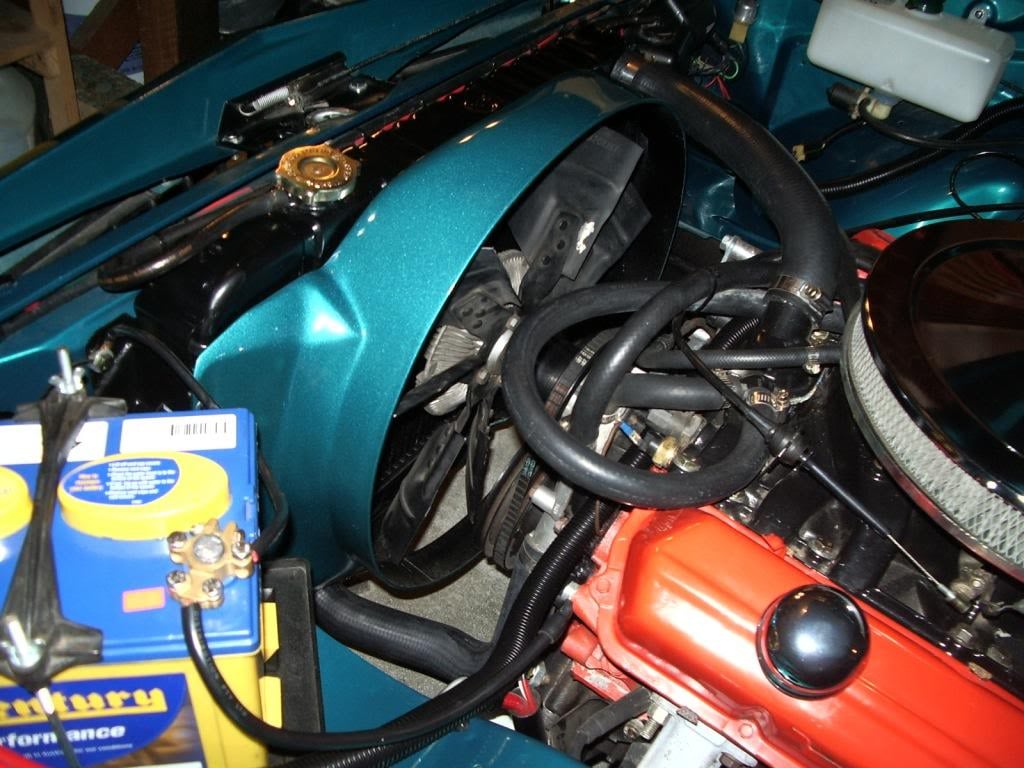
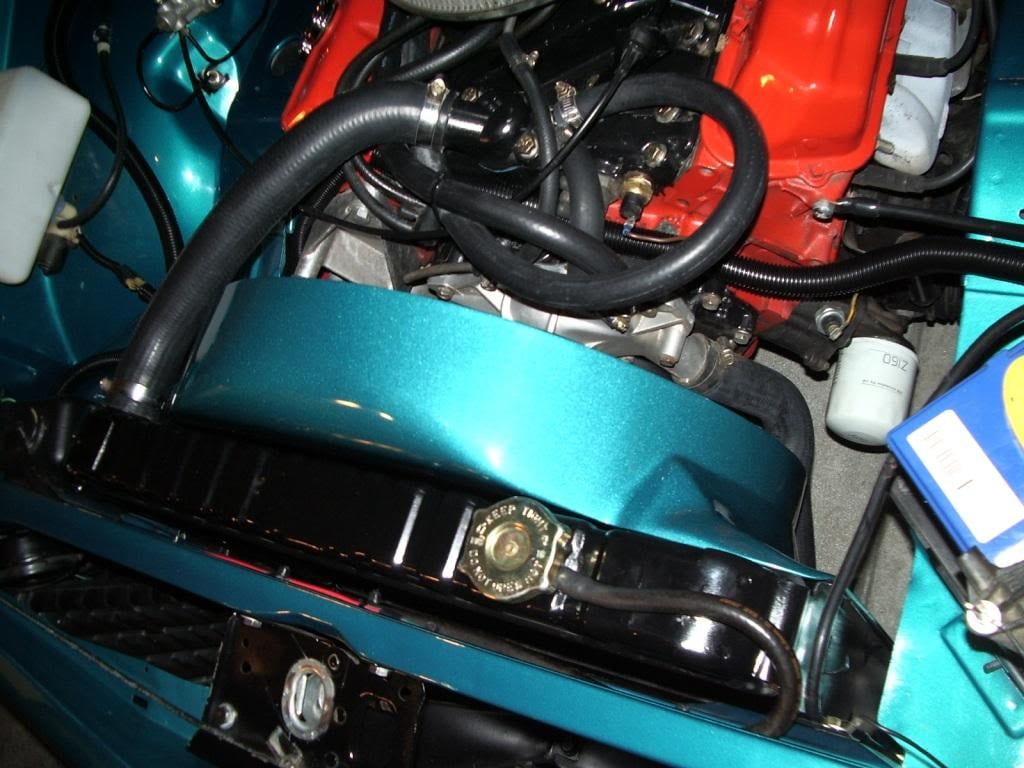
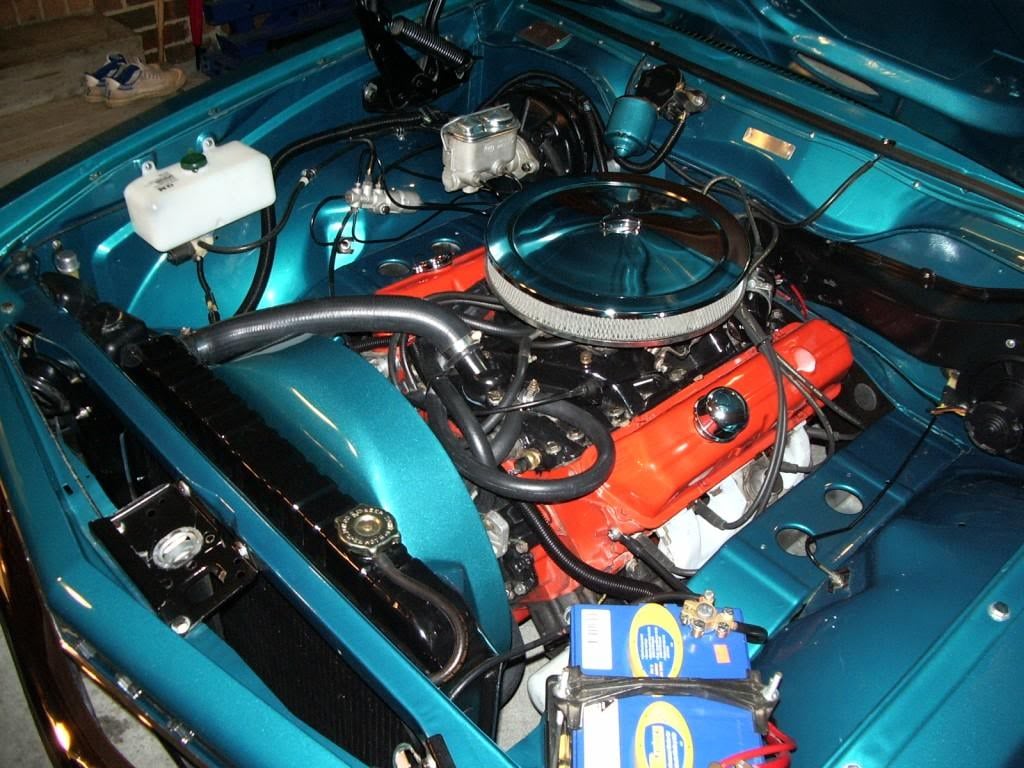
I replaced the crappy looking loom tubing with some more attractive stuff and tidied up a couple of things in the engine bay. I know the wirings not hidden or anything but it looks alright for the street now.
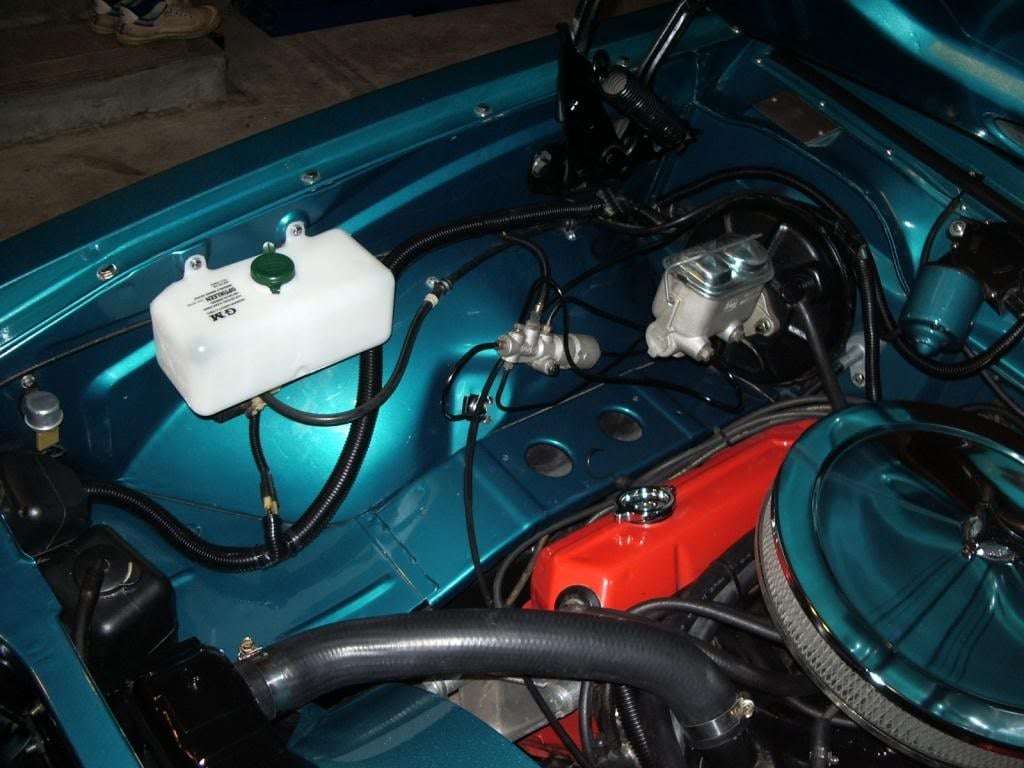
The engine bay just needs a polish now. Actually I think the whole car needs a polish if I get time. Hopefully it should be right now for the next few months.
#32
 _dirtbag_
Posted 23 July 2010 - 09:18 PM
#33

Posted 24 July 2010 - 11:24 AM
#34
 _mick74lh_
Posted 24 July 2010 - 01:16 PM
#35
 _brettsmad_
Posted 24 July 2010 - 06:49 PM
#36
 _ckleib_
Posted 24 July 2010 - 09:00 PM
#37

Posted 24 July 2010 - 11:21 PM
Great work with the car. I've seen this around before, but like the others have said, I never realised how much work had been put into it.
Love the custom fan shroud, that is full of awesomeness, what a fantastic finished product!
Just a quick question - how long did the actual main rebuild take from start to finish?
Keep up the good work,
Cheers.
#38
 _mick74lh_
Posted 24 July 2010 - 11:42 PM
Hey Chris I'm sure i could put some more in progress photos up. I'll aim to get some more panel work stuff up in the next week or so. Theres alot of good info on this forum where you can compare different peoples methods and establish whats going to work for you. Do you have a thread on your Torry?
#39
 _doogs_
Posted 26 July 2010 - 04:22 PM
#40
 _mick74lh_
Posted 27 November 2011 - 10:14 PM
After a few k's on the road all of the stuff that I didn't fix properly in the initial rebuild was starting to shit me up the wall. The clutch was really heavy and wouldn't disengage properly. The steering column shaft had a shitload of play and I wanted to lower the back of the car to get it sitting more evenly.
I pulled the gearbox and swapped in an early Commodore full cable type bellhousing, running a V8 VN cable with a spacer at the firewall. And modified the pedal to mimic a UC pedal. I didn't take any photos of this because I'm a bit embarrassed about the dodginess of my work and I was so pumped I just wanted to work flat out and get it done. So here's the spacer at the firewall:
Anyway the clutch is really light now and seems to work well. I think it needs just a bit more adjustment but will get to that soon.
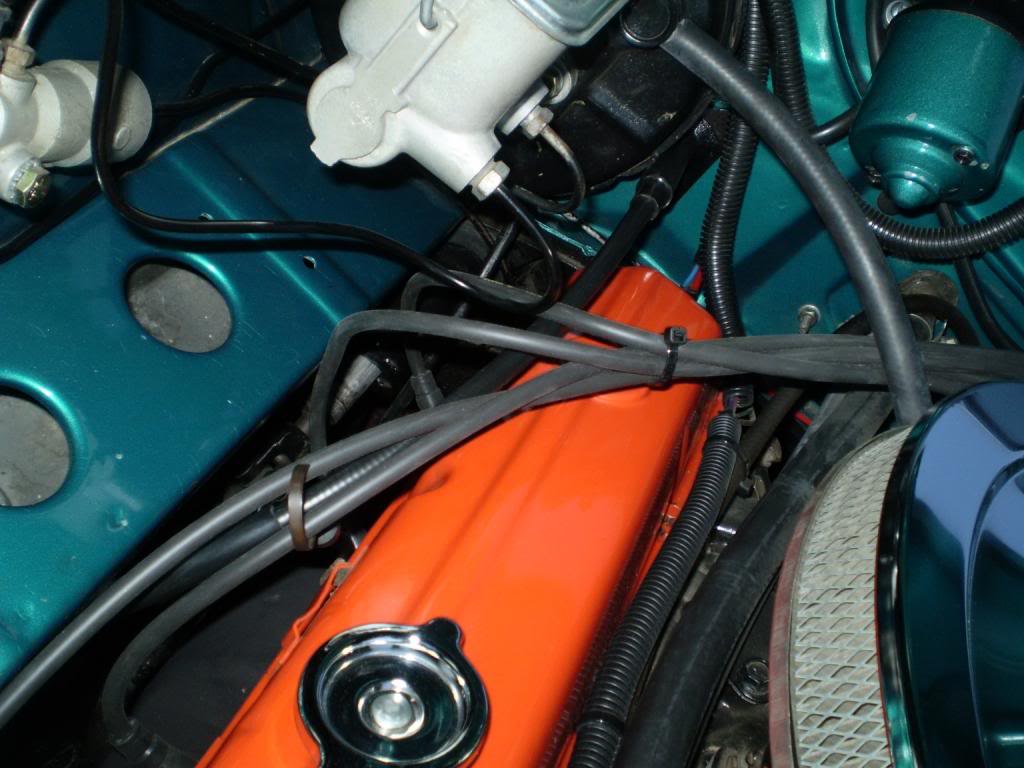
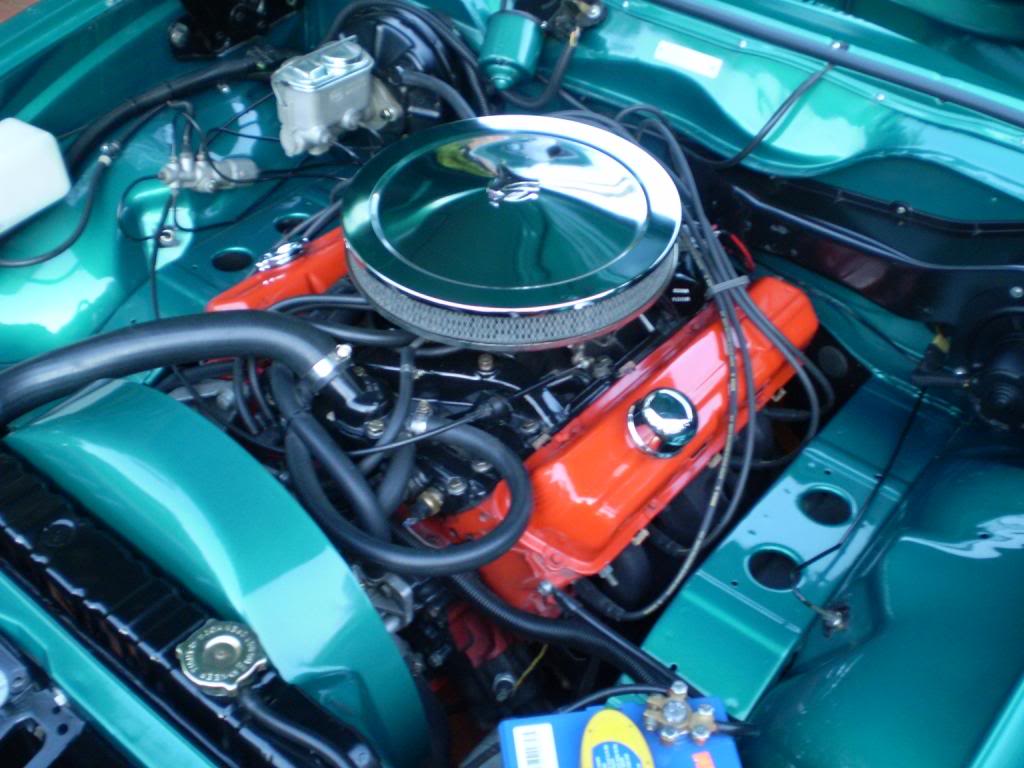
And I painted the exhaust manifolds flat black while they were out and fixed the leaky passeneger side rocker cover.
I trimmed back the lower end of the steering column and replaced the flogged out bushing with a proper bearing. The upper bearing was okay but had just come loose within the coffee pot from me roughly pulling apart stuff in the past, so I glued the thing in. The steering column now has no play and runs nice and smoothly.
I wanted some wheels that were reasonably lightweight, cheap and would fit under my guards at the back so I bought some wheels partially off Heath and the rear rims from Torana spares guy in Bayswater. The fronts are 6inch with a 205 eager and the rears are a 7inch band with a 225 eagers. I love the Dragways that I had on it and plan to keep them, but they were bloody heavy and the 245s on the rear ones wouldnt clear the guards. So with these on the car I was able to lower the rear on King lows and I painted the swaybars yellow to give the car extra horsepower!
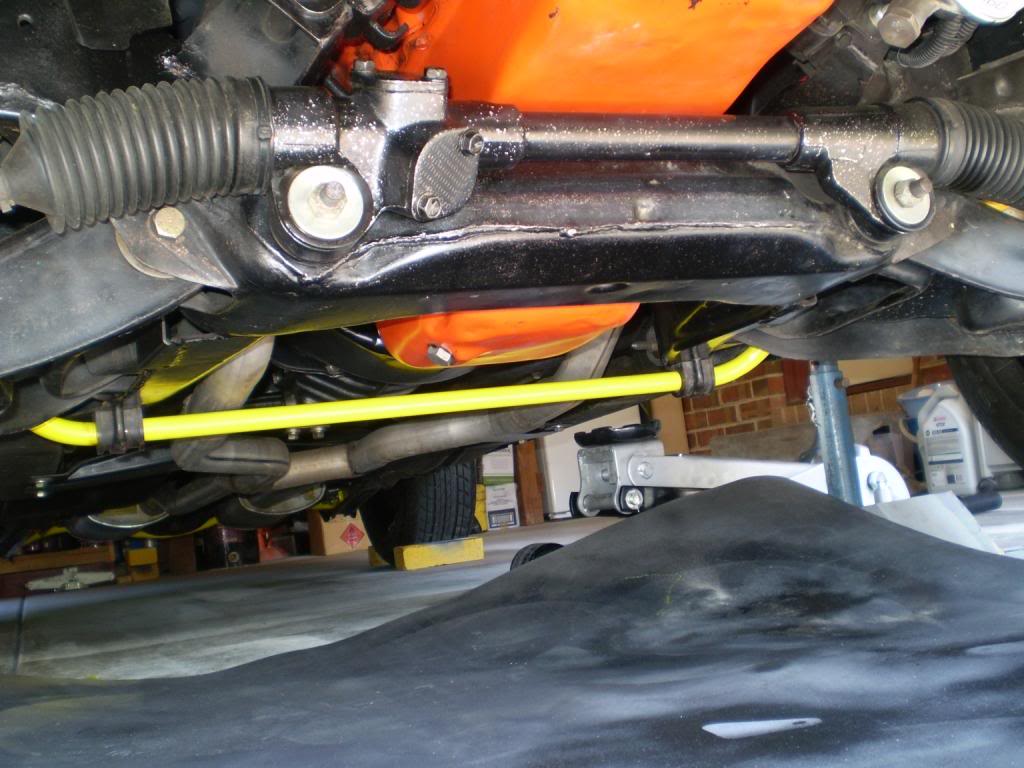
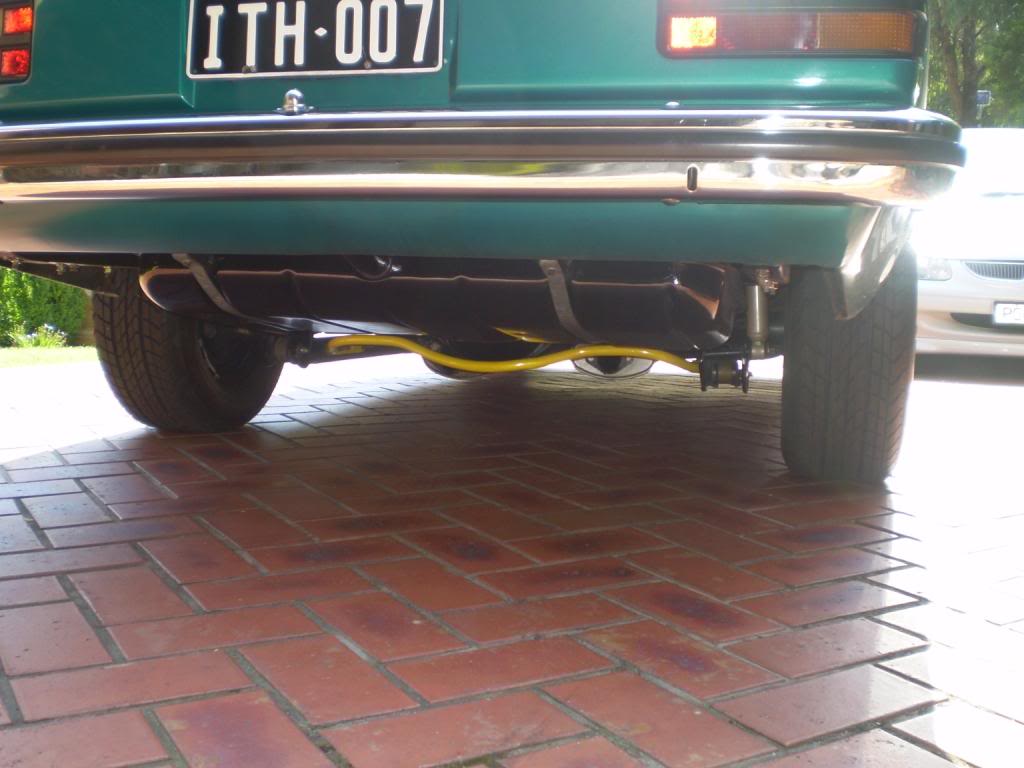
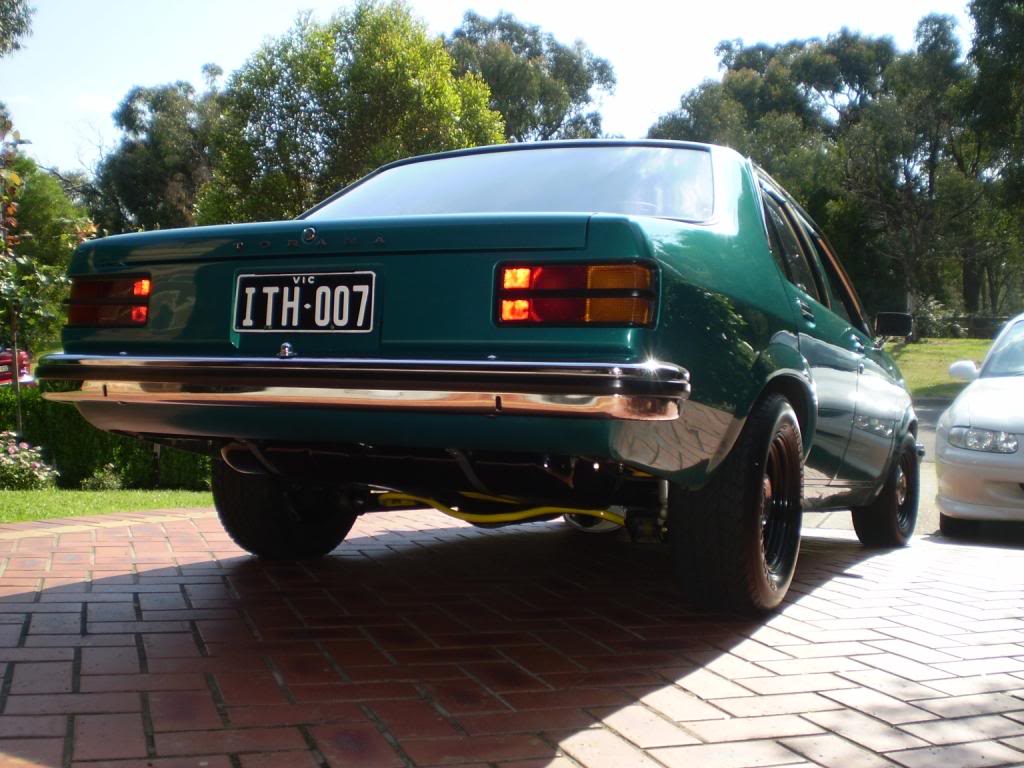
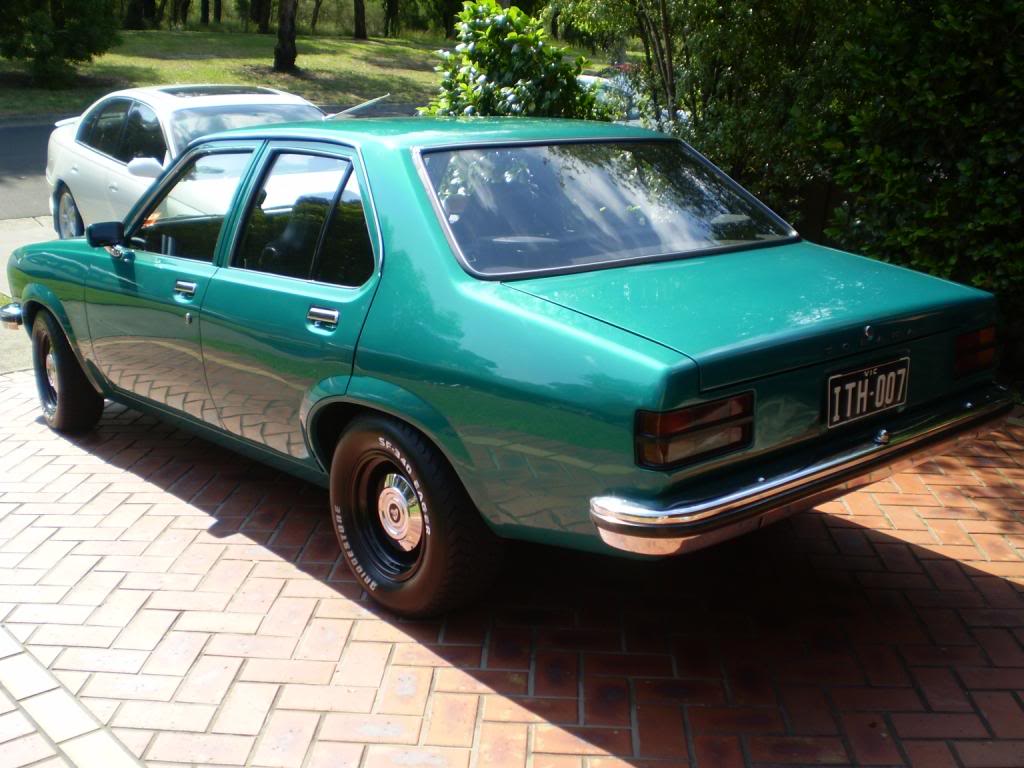
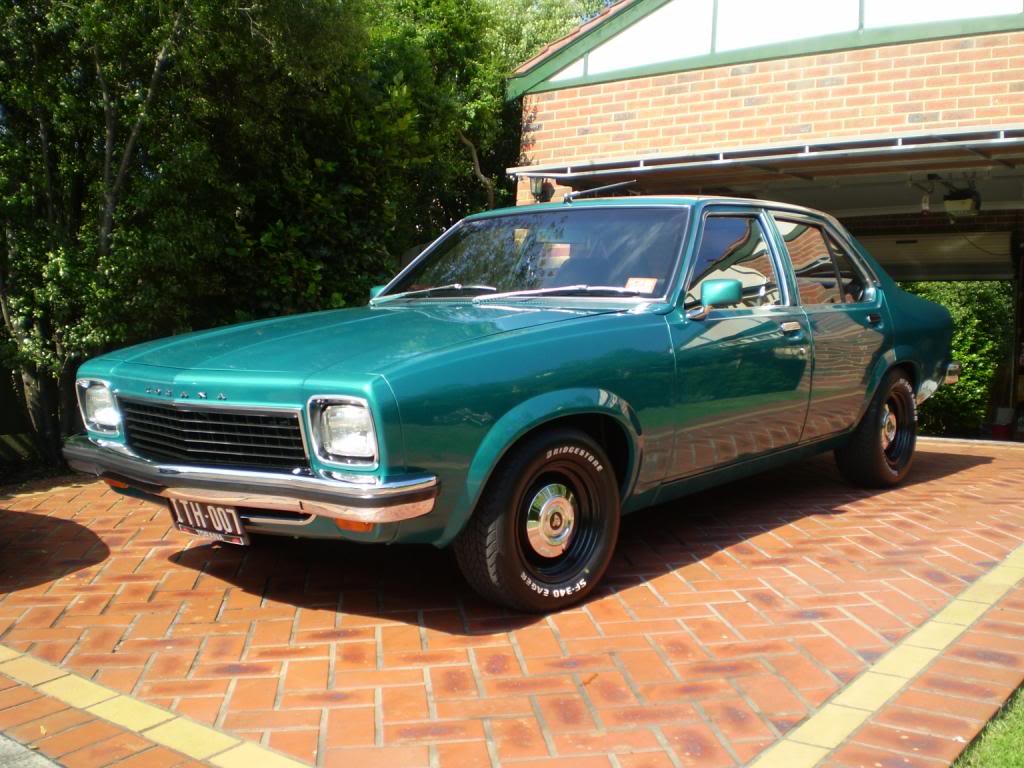
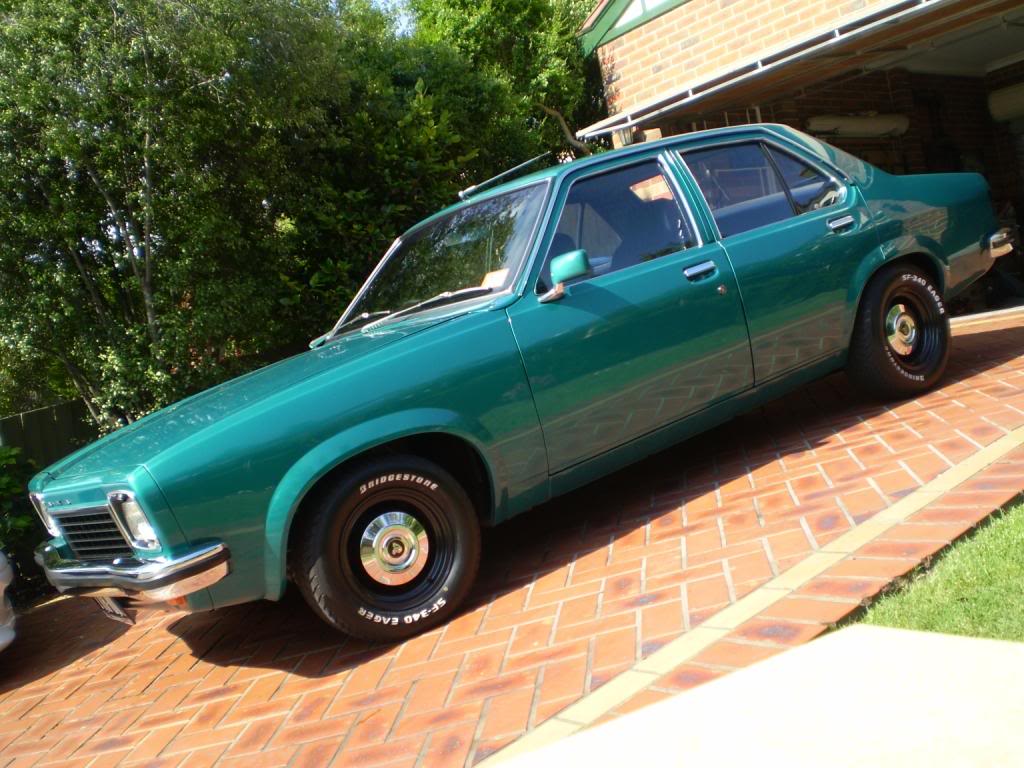
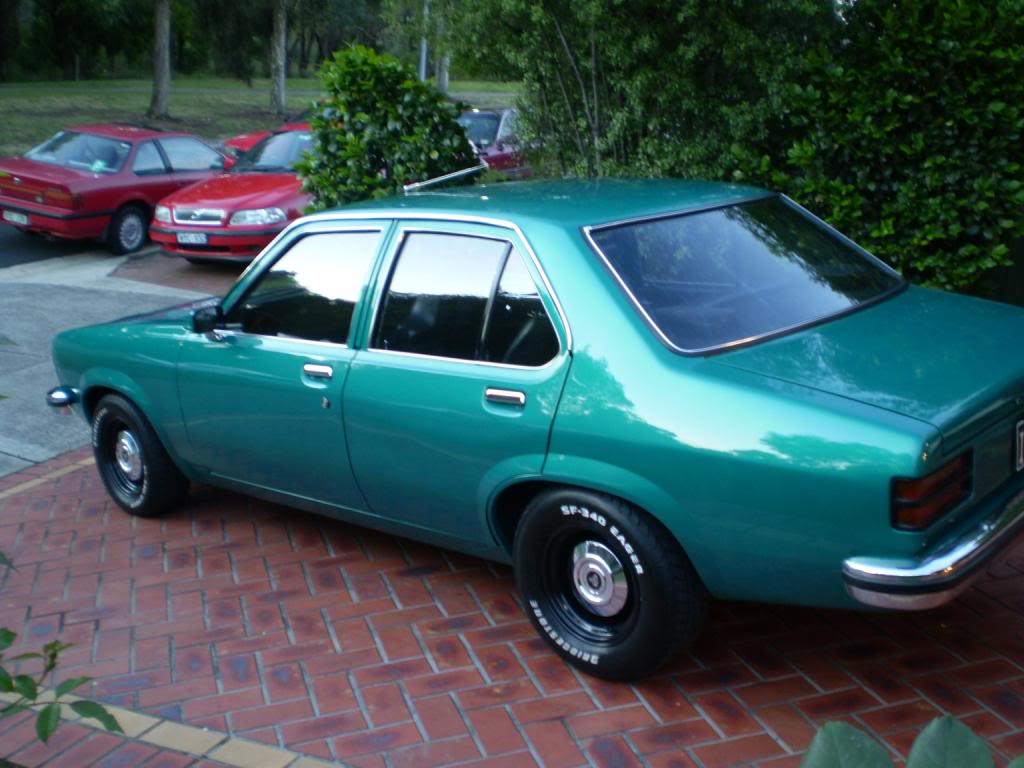
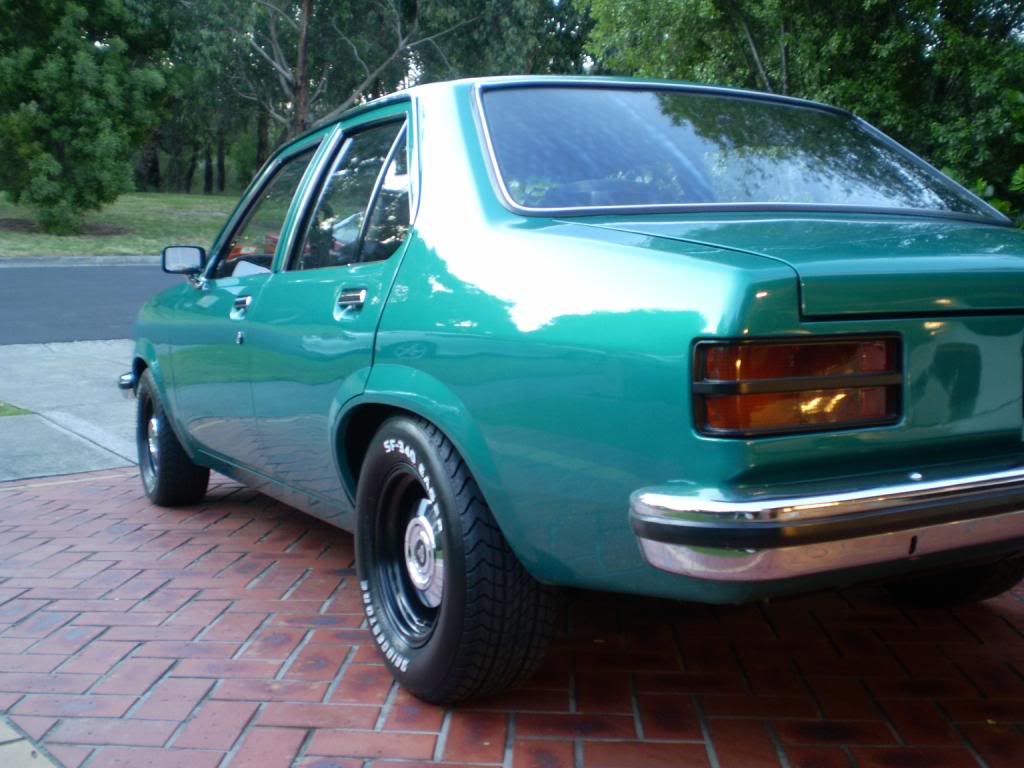
So basically I'm pretty happy with the stance now. The front could come down a fraction lower but I can't really be bothered doing that right at the moment. It feels pretty good on the road.
There is still a bit more frigging around to do on this machine but its getting pretty good now. The rear wheels keep locking still so I will start by checking out the rear wheel cylinders. I've got a feeling that I may have fitted ones with a too large bore size, so may need to play around with that. Hopefully there will be lots of cruising in this machine this summer.
#41

Posted 28 November 2011 - 06:38 AM
#42
 _toranarama_
Posted 28 November 2011 - 07:04 AM
Wish my Son was as enthusiastic as you !
#43

Posted 28 November 2011 - 07:50 AM
#44

Posted 28 November 2011 - 11:36 AM
#45
 _beige_lj_
Posted 28 November 2011 - 12:33 PM
Bit it would pull a little harder now
Cruise time is a must now i think
#46
 _mick74lh_
Posted 28 November 2011 - 09:48 PM
Rodomo the clutch setup I had before was I think what you call 'cable over rat-trap', where a cable from the pedal top acted on a reverse lever and rod, which would then push on the end of the clutch fork rather than pull it. I probably could have got it to work better just with modification to the pedal top but I'm a bit of a copy-cat and thought I'd set it up similar to Ryan's and Brad's Toranas.
I checked out the rear wheel cylinders and found that they were of 7/8 inch bore size. According to the Hoppers stoppers website LH-UC Toranas ran 3/4 inch bore rear wheel cylinders from the factory, so I swapped in a pair of them. It doesn't lock the rear brakes as easily now but if you jab the pedal hard enough it will still lock the driver's side rear wheel. I played around with the adjustment of the shoes on this wheel several times, retesting it each time, still achieving the same result.
Because it tends to only lock that one wheel now, could the cause possibly be that the inside of the drum is slightly oval? I think that machining them wouldn't hurt unless anyone has any other suggestions.
After machining brake drums round again, is it necessary or recommended practice to replace the shoes? They appear to still have a bit of meat on them so I would rather not replace them unless totally necessary.
#47

Posted 28 November 2011 - 10:32 PM
Sounds like an oval drum to me but you should be able to pick that up while adjusting? Free-tight-free-tight as you rotate.
You used to be able to get the shoes radius ground to suit the drum o/size, I'm not sure these days but?.....................bed in quicker......................but it would depend on the o/size of the drums.
#48

Posted 28 November 2011 - 11:08 PM
#49

Posted 29 November 2011 - 07:01 AM
#50
 _mick74lh_
Posted 30 November 2011 - 08:00 PM
Brad, the front wheel/tyres are 13x6 with a 205/60 tyre and the rears are 13x7 with a 225/60 tyre. The rear wheels are zero offset and the fronts are positively offset, though I'm not sure how much. Guessing maybe 1 inch? I think the white lettering on the tyres helps the wheels to not look too small on the car.
1 user(s) are reading this topic
0 members, 1 guests, 0 anonymous users




 View Garage
