


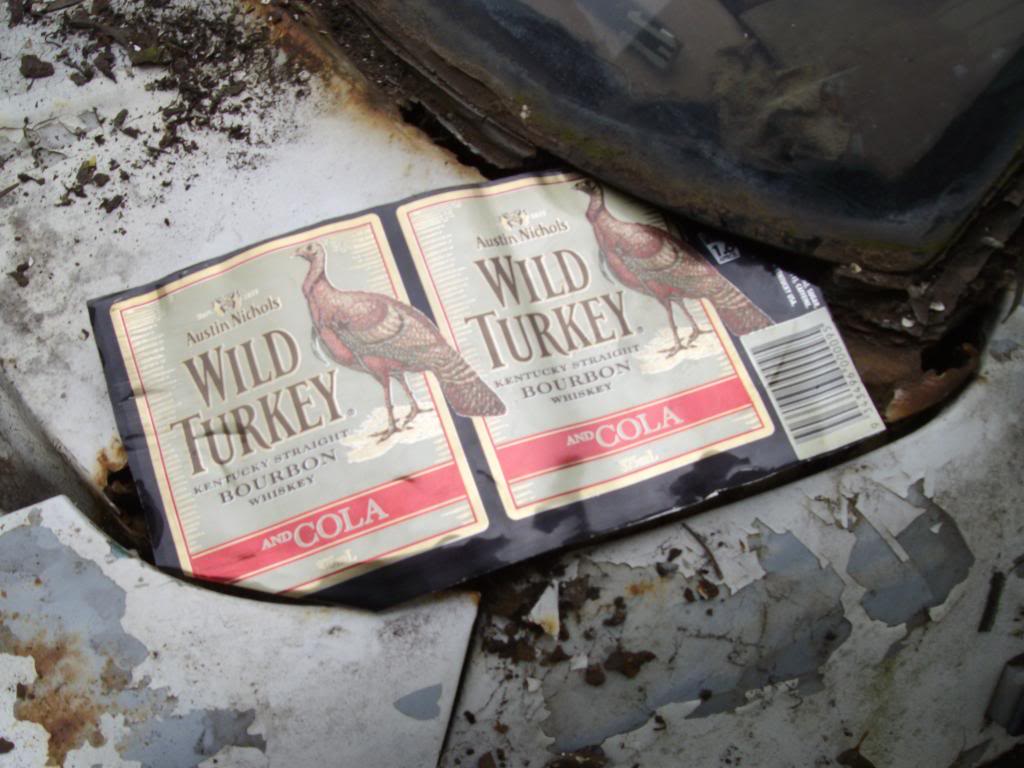
The old girl has a bit of tinworm
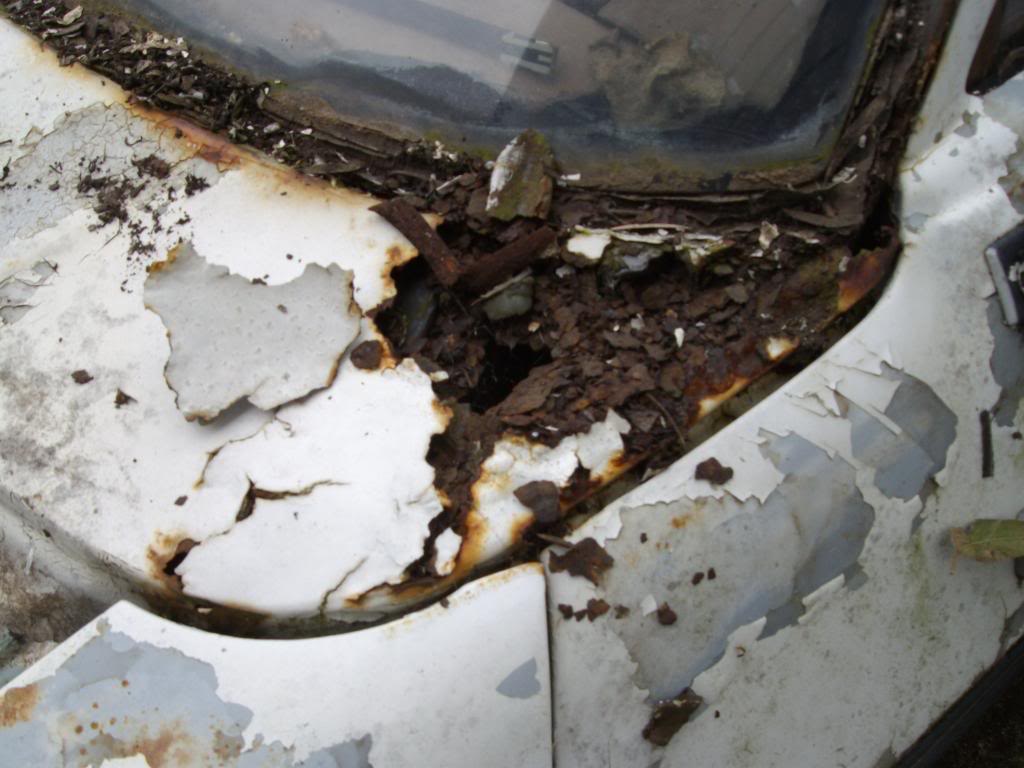
So I thought I would do a bit of a technical article on the correct way to fix what is a common issue for many early Holden enthusiasts.
After much careful thought,a gameplan was hatched.
First,clean the area to be repaired.
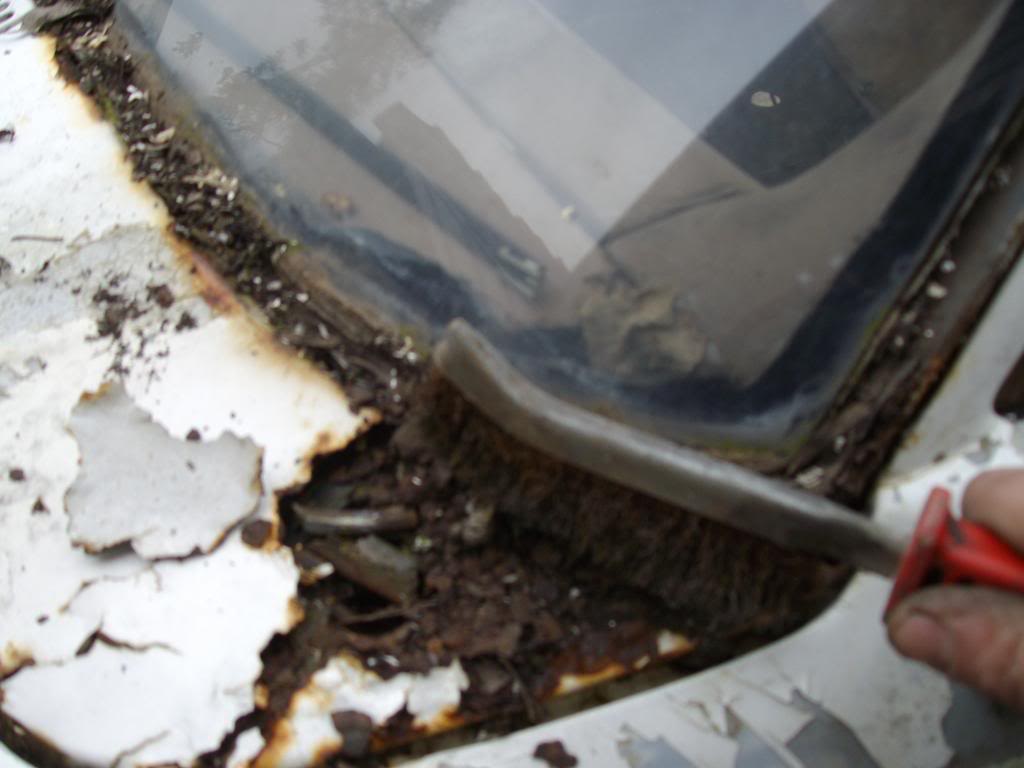
I stress here that you cannot spend to much time on preparation.
The effort you use here will show through in the final,finished product.
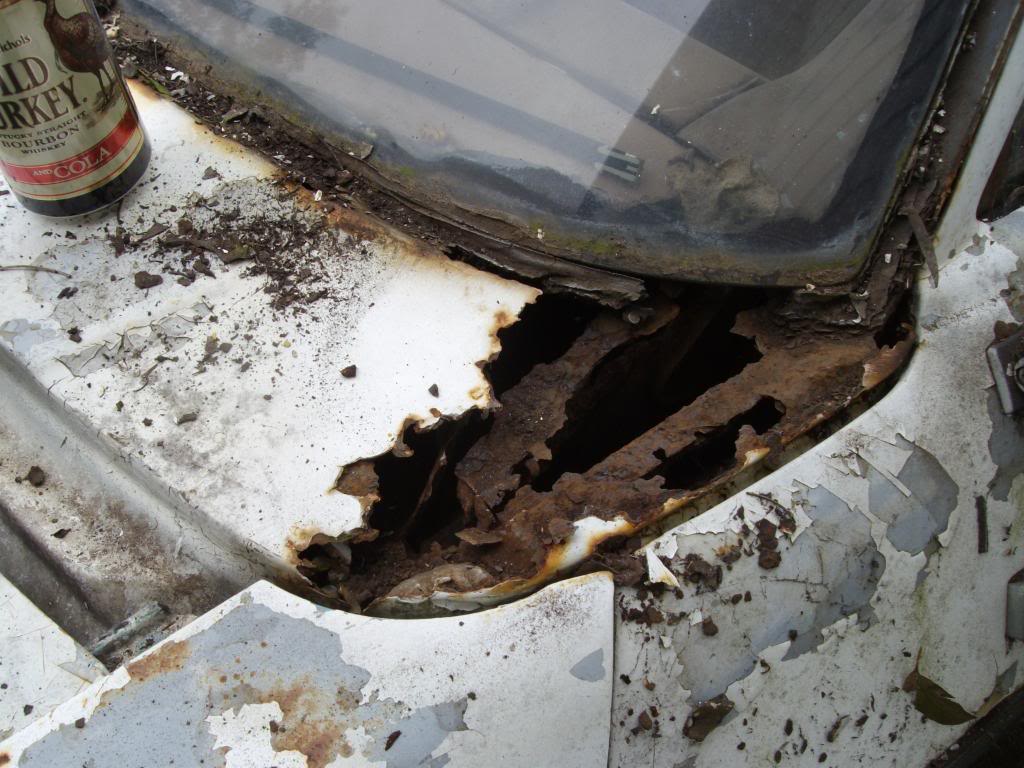
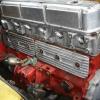
This is how it cleaned up.
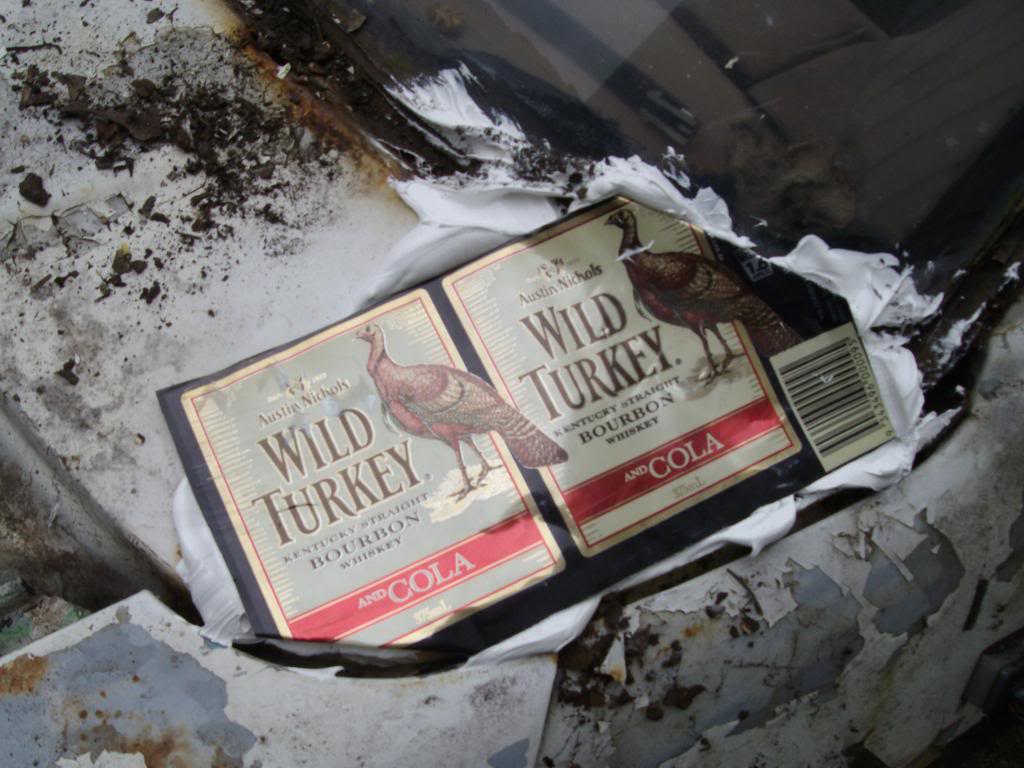
Next,a patch panel was carefully formed.
Pay close attention here.
This is not for the faint hearted.
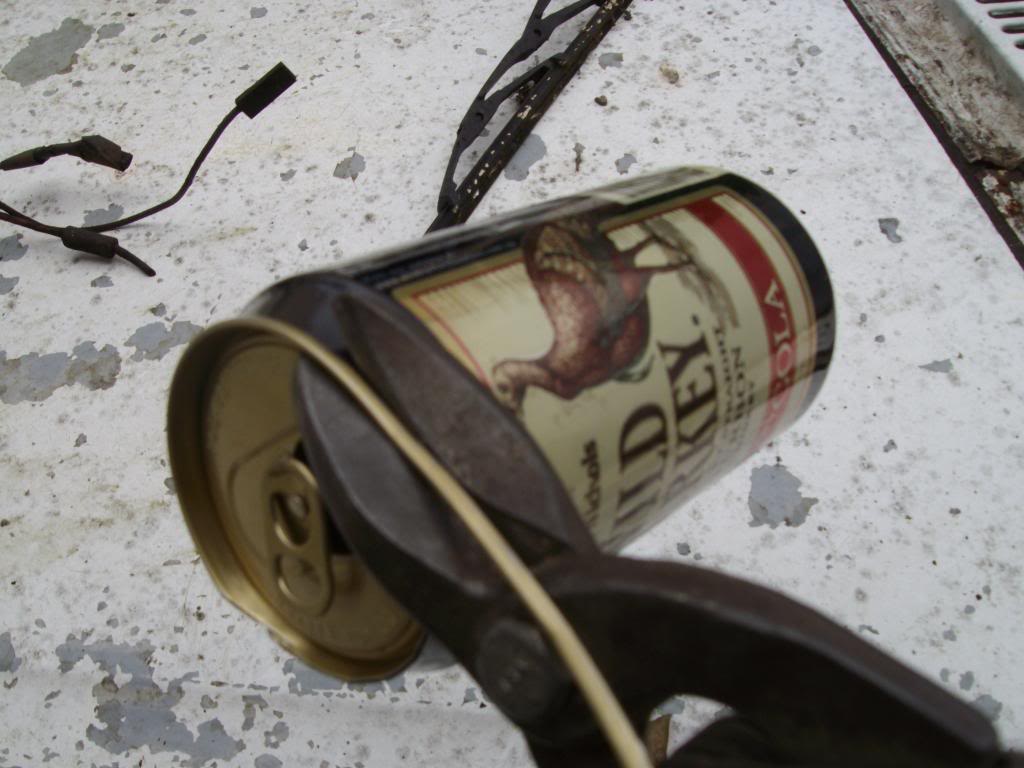

Some people would make a template first,but as an expert,I had confidence in my skills.
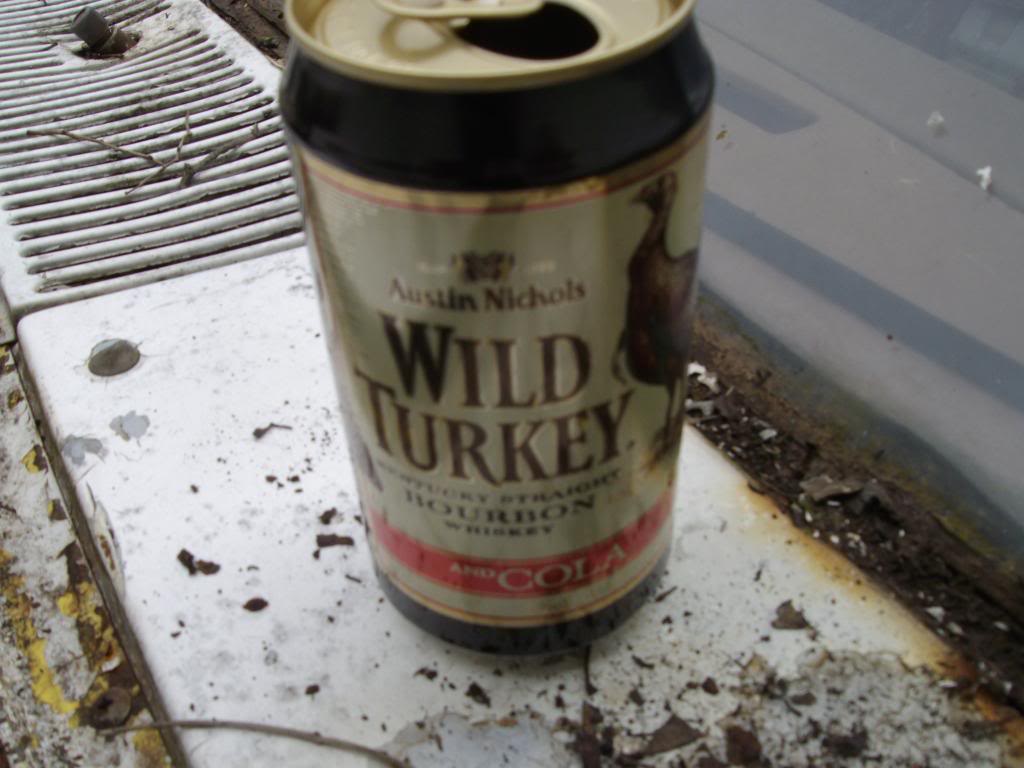
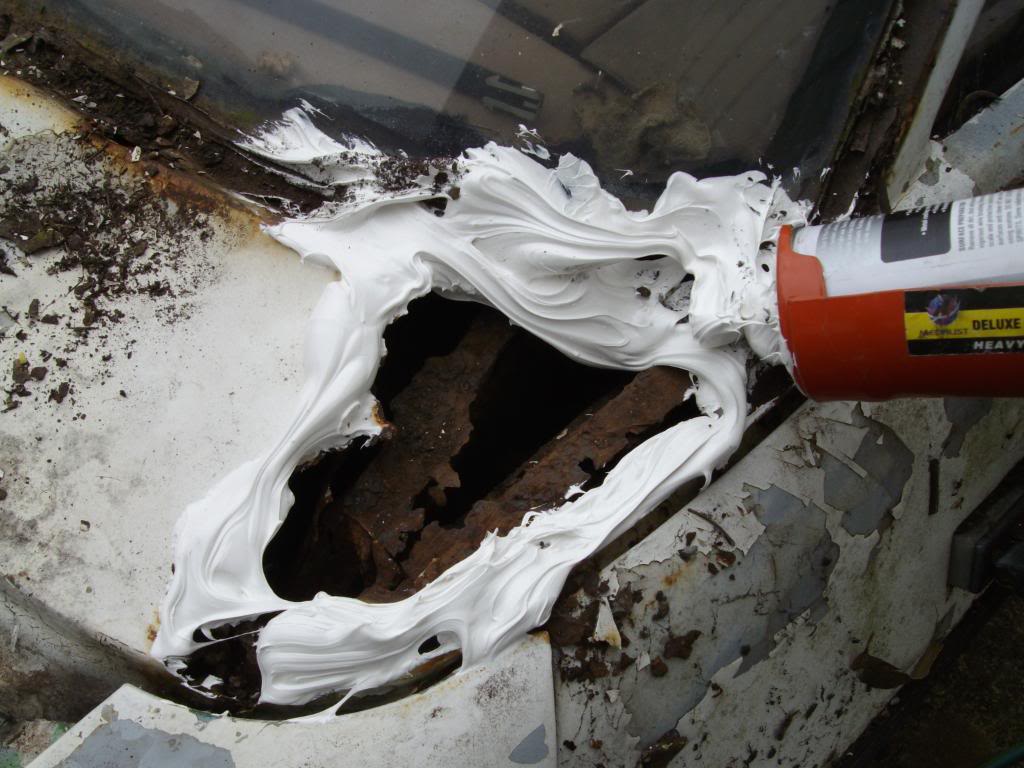
Note the use of construction grade polyurethane here.
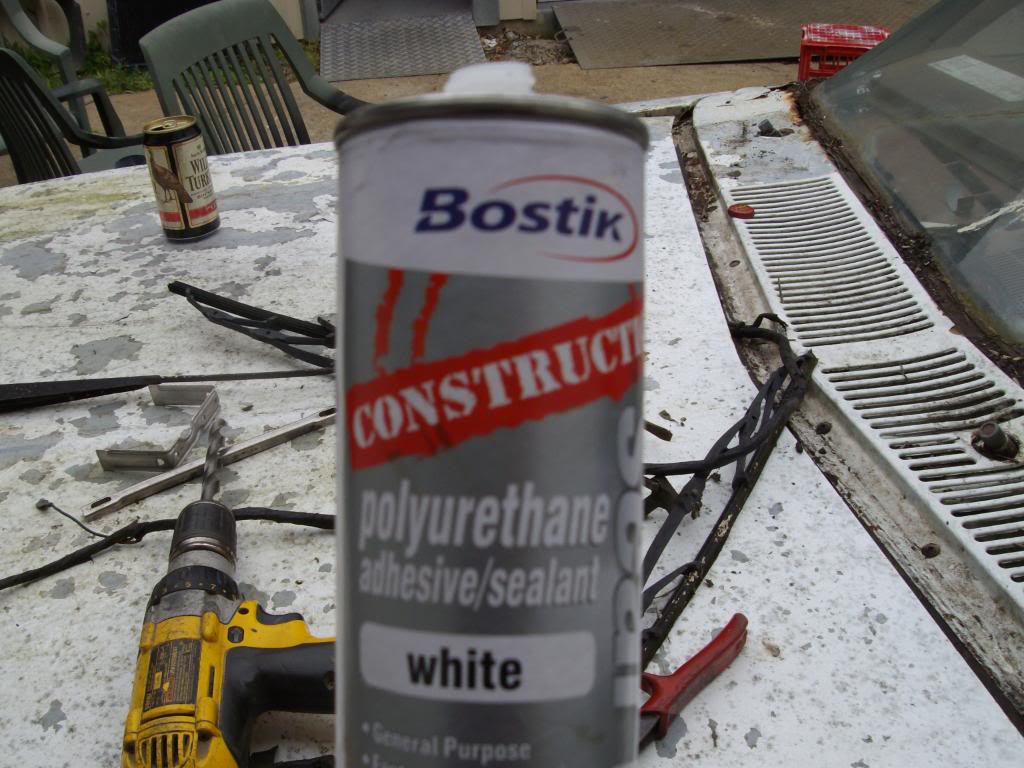
Dont piss about,make sure you use plenty to hold the repair in place and seal any little airgaps.
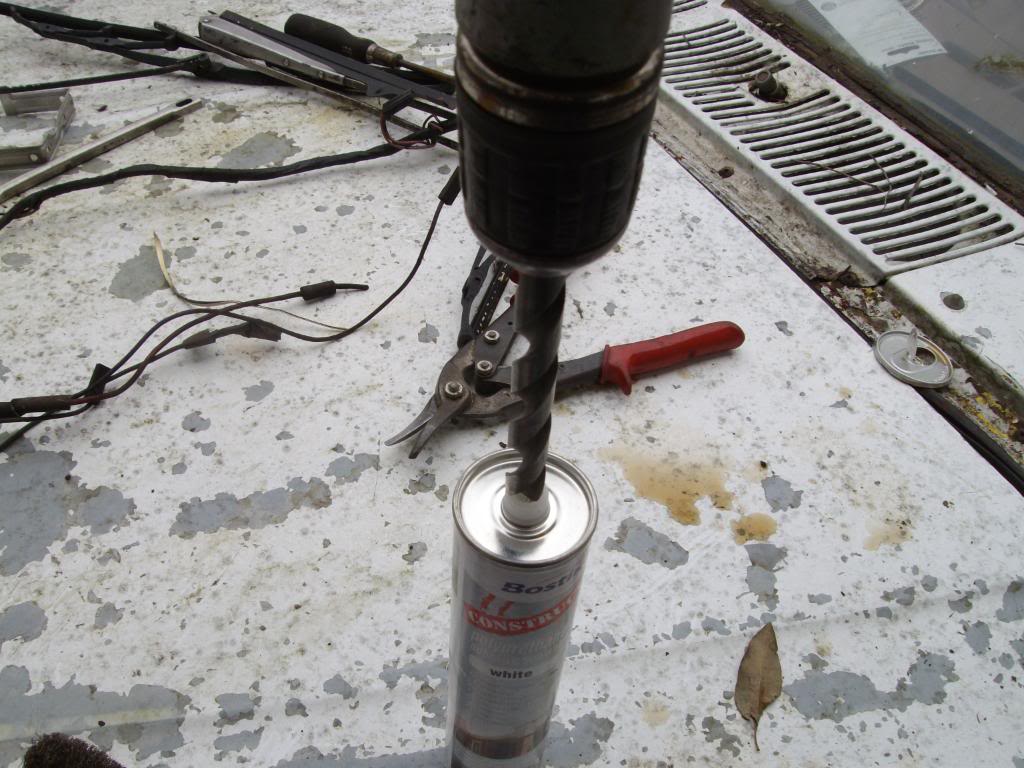
I normally modify the tube to save time.
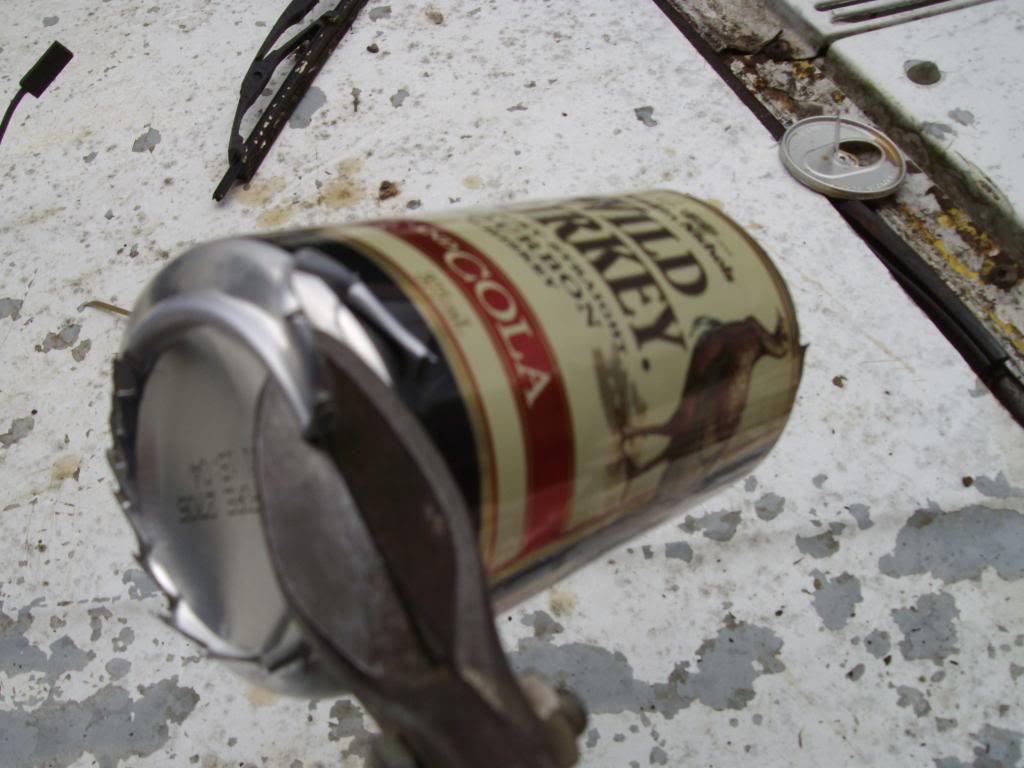
Check the repair panel for correct fit,and trim if necessary.
Got it right the first time.
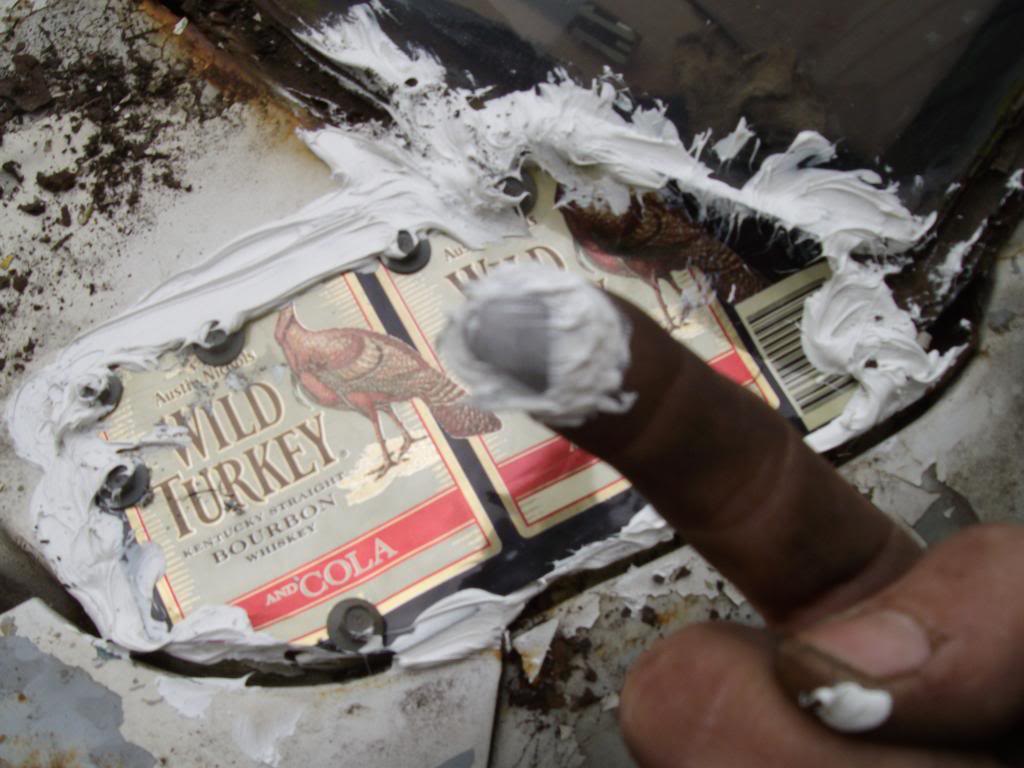
Carefully apply the poly.
Dont get it on your digital camera.
Position the repair panel,and secure.
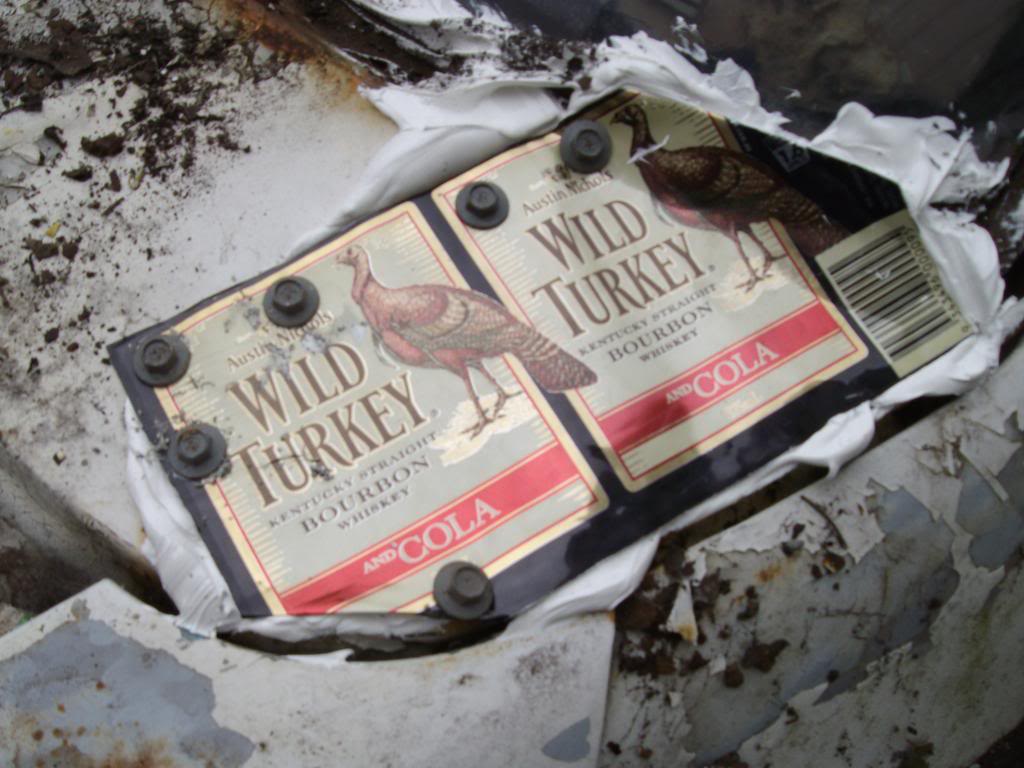
Use a putty knife or similar (in this case,my index finger) to blend the poly so there are no bodgy bits sticking up to accumulate dirt.
And a job well done.
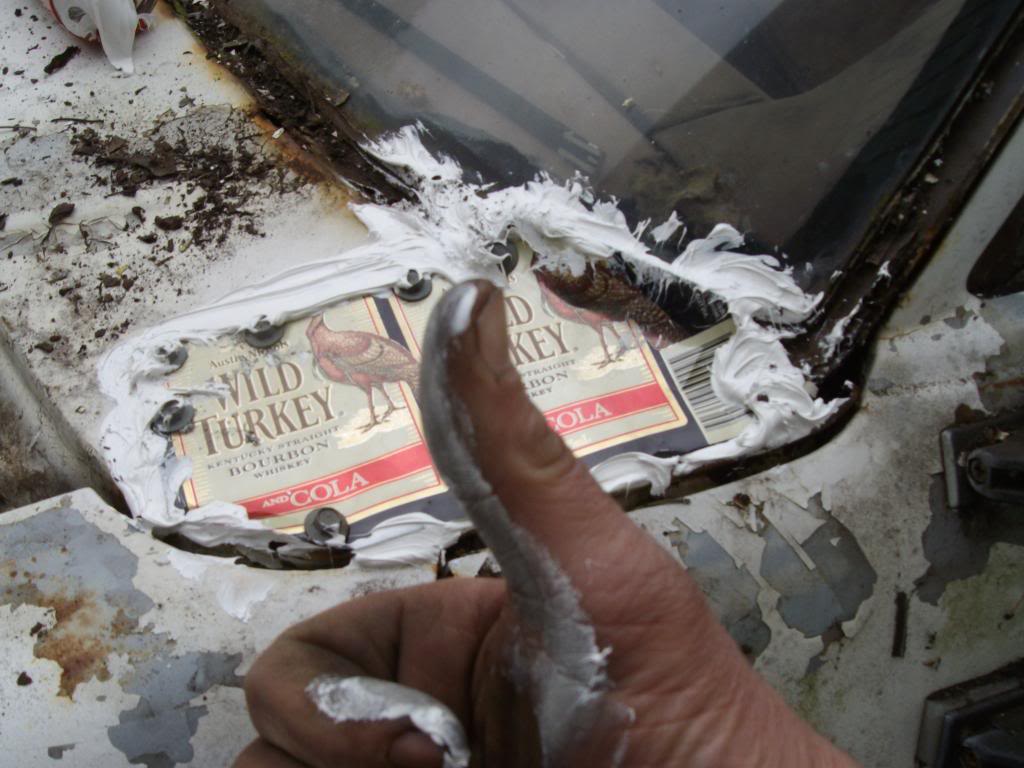
This shows what even a novice can achieve if they are properly motivated and prepared to have a go.
Hopefully this technical article can help some of you with your current or future projects.


 View Garage


