Jump to content


- - - - -

Lj 4 door


  • Please log in to reply
651 replies to this topic

#426 _Hamster_

_Hamster_
  • Guests

Posted 22 August 2013 - 03:46 PM

DSC_1691_zps38734383.jpg

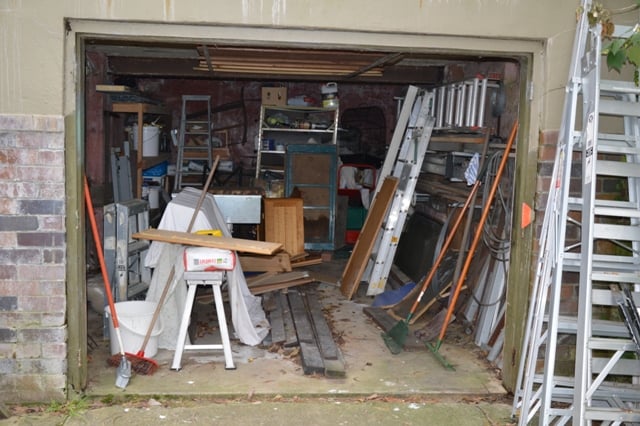
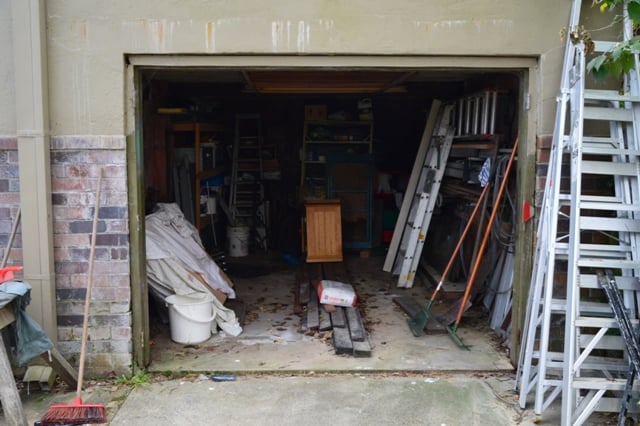
Bomb went off.


DSC_1703_zpsd18c2ab0.jpg


DSC_1694_zps5c1d4cbd.jpg

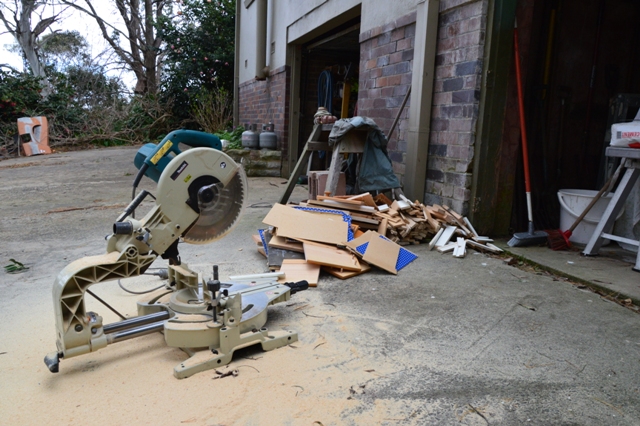
Some of the clean up, good fire wood lol
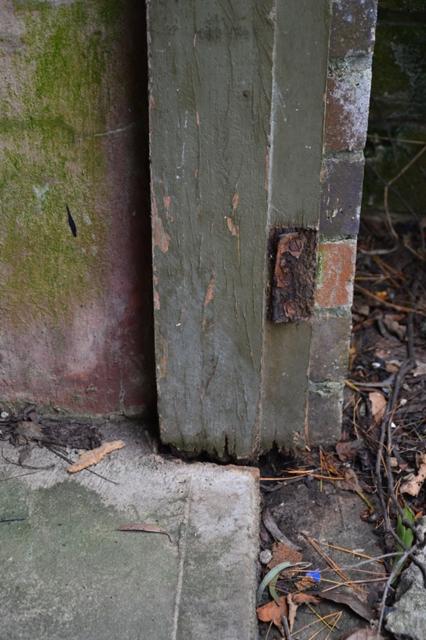
 

DSC_1693_zpse27c0ccf.jpg

Rotten post, if car goes in here ill have to make new doors to get it water tight.


so because the other garage is about 10 times worse i couldn't even find a tape measur. It's roughing 3.5m deep to were all the shit that im prob not gonna be able to ditch is sitting. I forget how long the torana is, if anyone knows that would be great.


anyways back to the door. Dad doesn't think im good enough to do the car myself being an ass dad at times. So i figured i would do the door and try and more or less prove to him i can do a half decent job. 

(SO IF IM DOING ANYTHING WRONG TELL ME)


m
DSC_1696_zps8c5e30ac.jpg

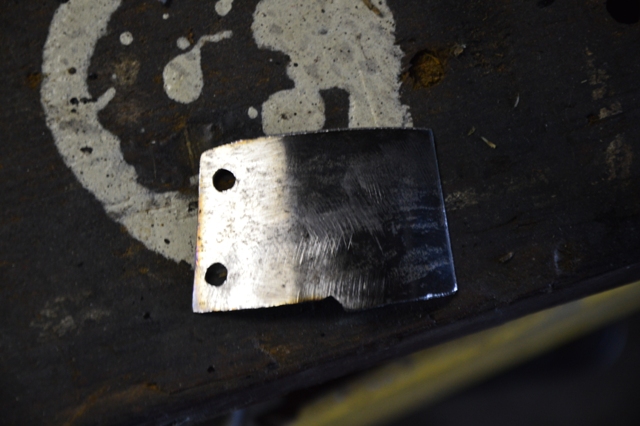
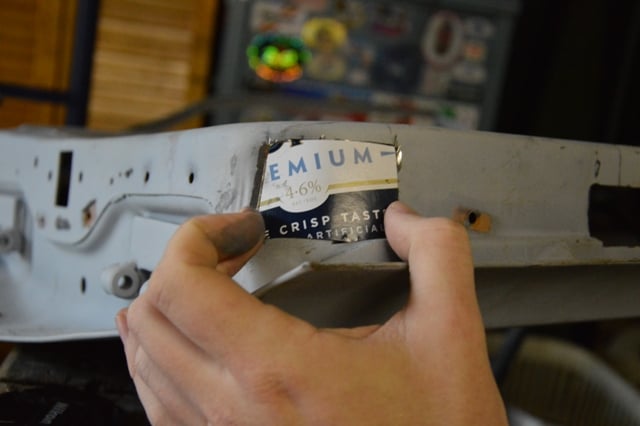
So, beer packs come in handy. This one was the weird shaped one.
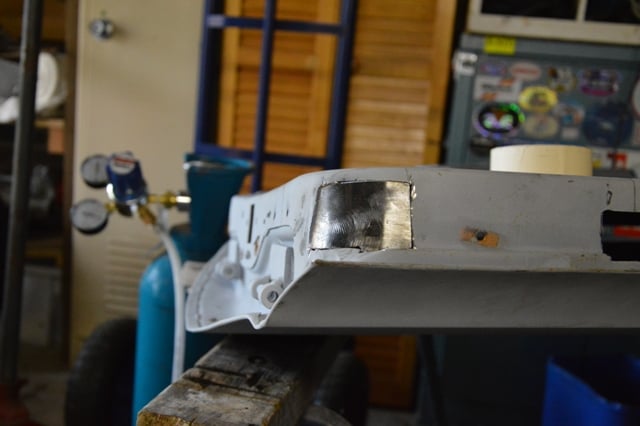
 

DSC_1697_zps3bee9c9c.jpg

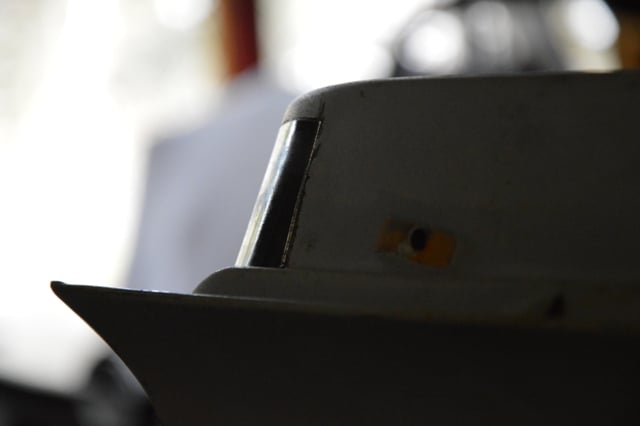
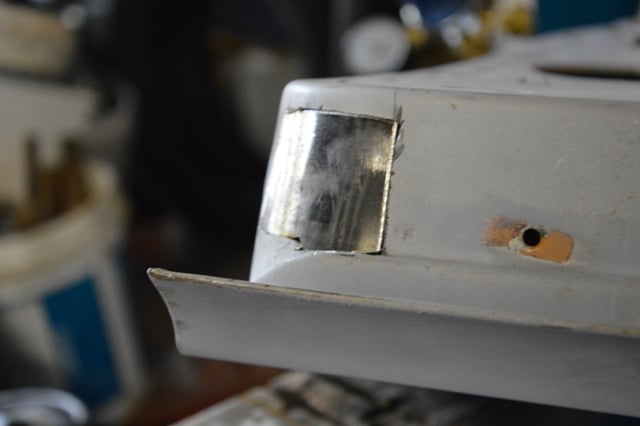
I got it fitting nicely, Im not sure how big a gap im suposed to have around it? It doesn't get any bigger than 1mm is that to big?
 

DSC_1698_zps5b1863fc.jpg


DSC_1699_zps7d7df046.jpg


DSC_1701_zps1755662b.jpg

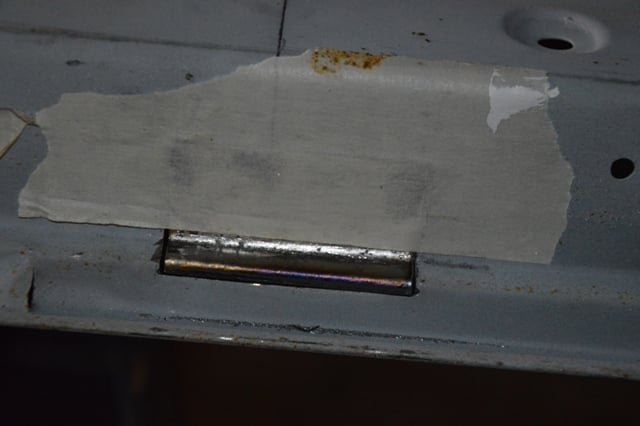
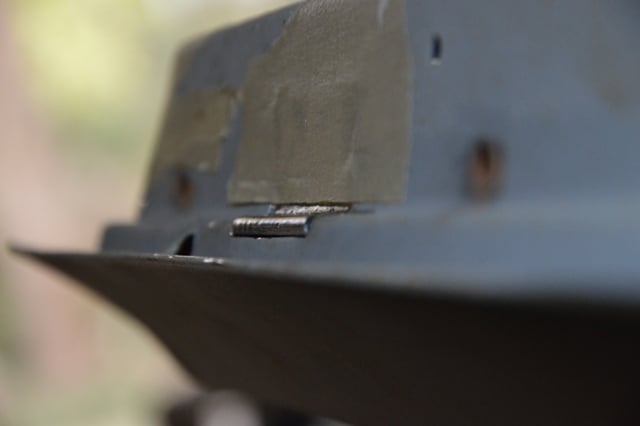
Taped this one up cause i couldn't hold it in place.
 

DSC_1702_zps2f1f3c24.jpg

Need to re bend the bottom lip, no big deal. Kinda hard when you have a shitty vice though.


I figured if there is something im not sure about ill make it bold and red and hopefully someone will notice and give me tips and things.


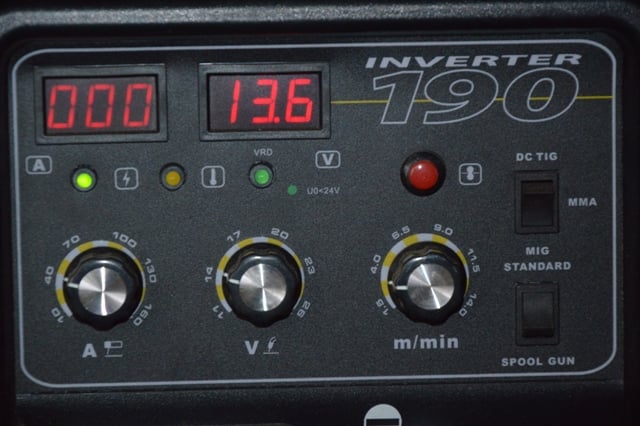
Possibly weld them up tommorrow but i need a bit more practice. What does everyone have the welder set to when doing the car work?


Edited by Hamster, 22 August 2013 - 03:48 PM.


#427 _05-BROCKY-05_

_05-BROCKY-05_
  • Guests

Posted 22 August 2013 - 04:34 PM

Awesome, i hope you stick it out. I have never welded so have no tips in that department, just encouragement :P


#428 Neils LX

Neils LX

    Forum Fixture

  • Members
  • PipPipPipPipPip
  • 2,074 posts
  • Name:a
  • Location:North west NSW
  • Joined: 18-March 07

Posted 22 August 2013 - 07:02 PM

Cool job on making patchs, hope you can weld sweet before welding them on if not you better practice heaps. Sheet metals a bitch.


#429 _Skapinad_

_Skapinad_
  • Guests

Posted 22 August 2013 - 07:06 PM

Very good taste in Beer Hamster :)

#430 _Hamster_

_Hamster_
  • Guests

Posted 22 August 2013 - 07:20 PM

yea dads a boiler maker and i thought he might be able to teach me but apparently anything under 10mm thick isn't steel.

And yea its good beer buy me some more skap?


The panel beater from syd said he can come look at the car and possibly lower  the quote. If i have a few things done on the door i can get him to look at those aswell and see if im going ok and do some on the car itself.


#431 _LS2 Hatch_

_LS2 Hatch_
  • Guests

Posted 22 August 2013 - 08:21 PM

Hi Hayden. I'm not a welders butt hole, but there is not much I don't have ago at. I did all the repairs on my hatch. It's not the bet around, but it's ok. So here is my 2c on how to go about the repair.
Get a sample piece of material and set your welder on that. Make sure it's the same as the material your using. As you probably already know the weld should be hot enough to penetrate but not blow holes. The way I did it was to tack the patch into position at various points. Then go and tack again next to each tack, then again and again until you have gone the hole way around. If you try to weld a run, it can put too much heat into the material and warp it. Take your time and don't rush. Restoration/modification takes time and shouldn't be done if you can't be bothered on a particular day. If you do one or two small repairs a day, it will be done before you know it. Start in a spot that is hard to see to start with. By the time you get to a place you can't hide, you will be an expert!
Good luck, and never be scared to have ago.

By the way, if anyone thinks what I have said is incorrect, please correct it

#432 sibhs

sibhs

    Lotsa Posts!

  • Members
  • PipPipPipPipPipPip
  • 2,709 posts
  • Name:Martin
  • Location:Perth
  • Car:LJ Coupe S
  • Joined: 27-July 12

Posted 22 August 2013 - 09:13 PM

Hi Hayden, I'm a welders butt hole, have been since I started welding 6 months ago. Here are some pics of my settings for thin sheet metal. You need to hear a nice crackle. 1 second bursts.

Attached File  ImageUploadedByTapatalk1377169919.331949.jpg   64.57K   1 downloadsAttached File  ImageUploadedByTapatalk1377169933.340361.jpg   109.55K   1 downloads

your patch work looks awesome, you go man.

Marty


Edited by sibhs, 22 August 2013 - 09:15 PM.


#433 _Hamster_

_Hamster_
  • Guests

Posted 22 August 2013 - 11:14 PM

Thanks guys.

what amps/volts are you using.

All i can get from that is the wire feed and the alphabet ;s


Forgot to check what the gas was on the other day.....oops.


#434 Potta

Potta

    Oh My, Don't you post alot

  • Members
  • PipPipPipPipPipPipPip
  • 6,026 posts
  • Name:Craig
  • Location:Gozzy, WA
  • Car:LC GTR, LC 4 door
  • Joined: 01-May 09

Posted 23 August 2013 - 01:06 AM

:party:


#435 _LS2 Hatch_

_LS2 Hatch_
  • Guests

Posted 23 August 2013 - 06:21 AM

I have done the gas trick many times.
Use your sample to set up amps. I would think B or C depending on how long you sit still and how fast you move.
Have ago and you will tell us.
When you try on the sample, try different things without changing the setting. Sit still for various times, go faster or slower, and check the back for penetration. If you blow a hole, practice welding it back up. Also the cleaner the material where your welding, and where you connect the earth, the better.
Have a go!!!!!

#436 _Hamster_

_Hamster_
  • Guests

Posted 23 August 2013 - 02:12 PM

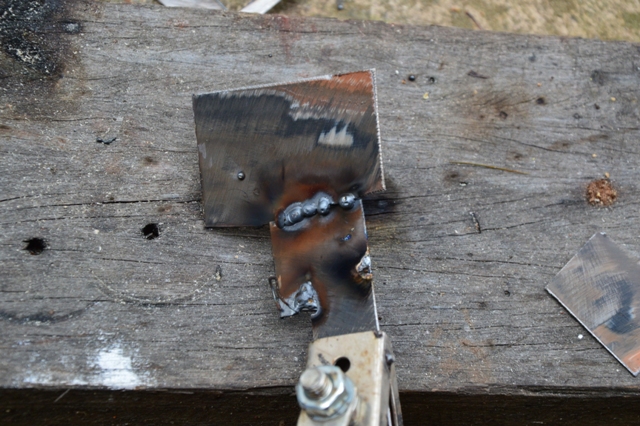
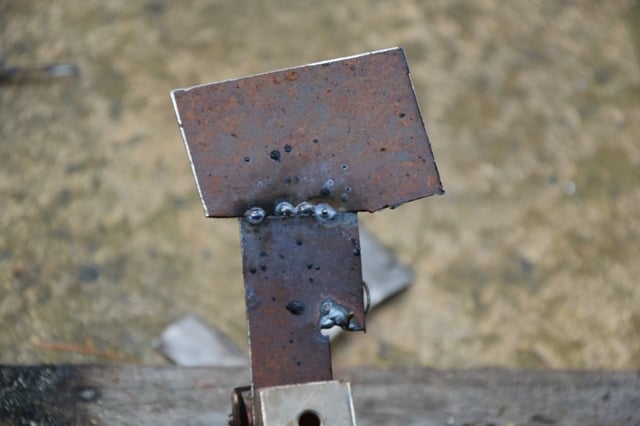
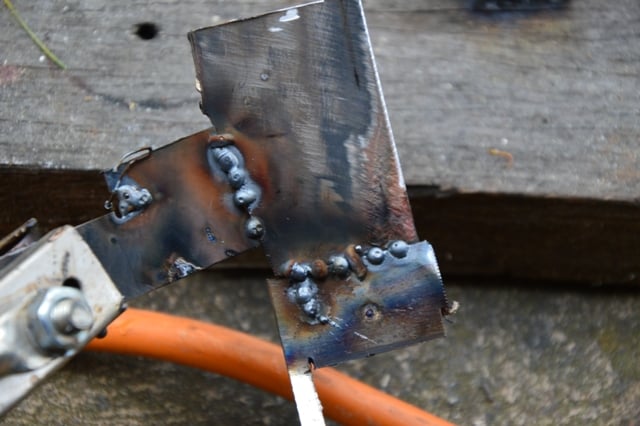
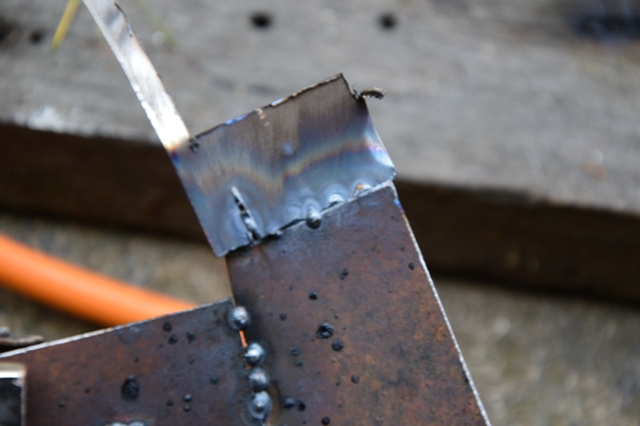
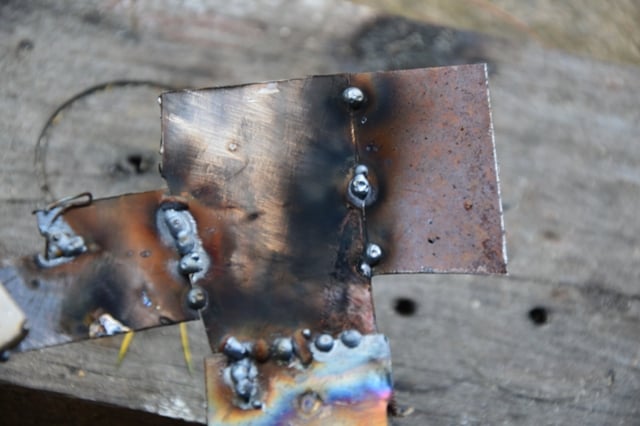
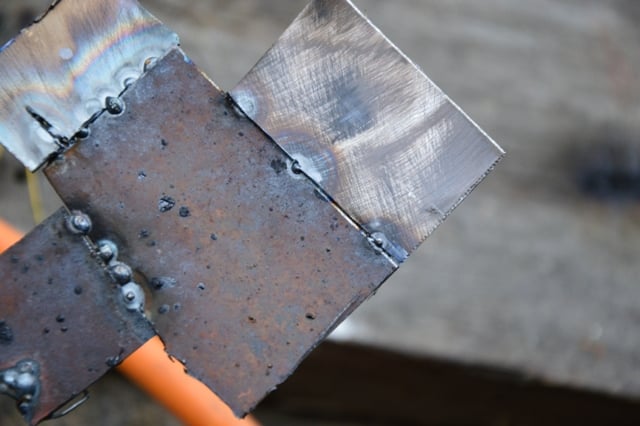
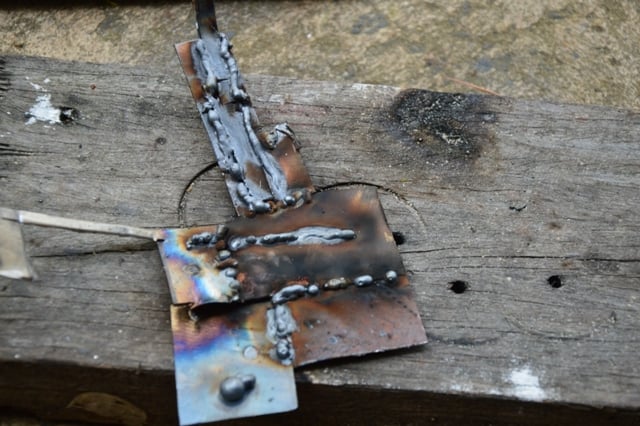
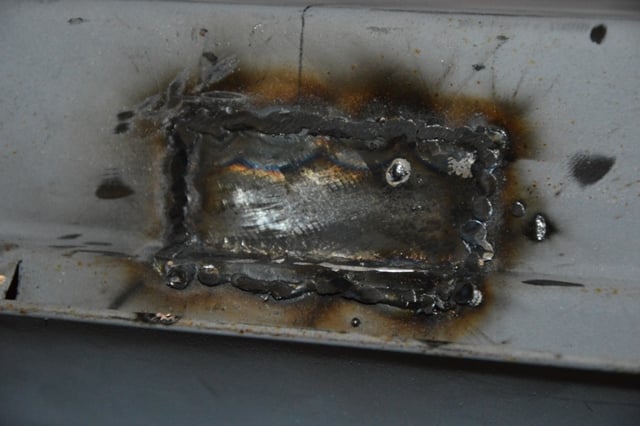
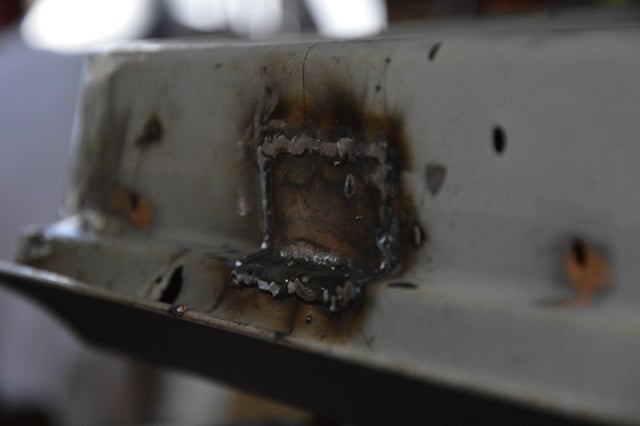
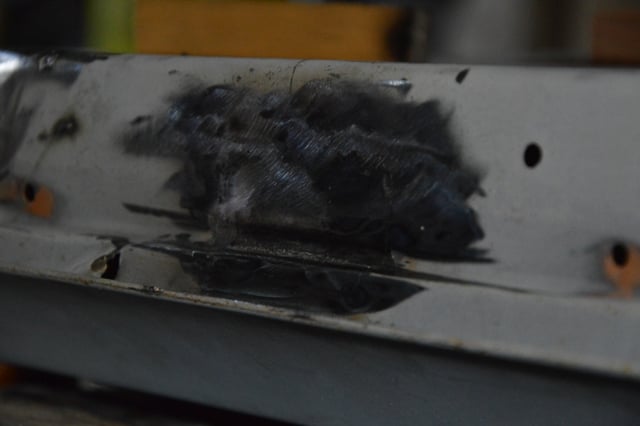
so like.....i'm a horrible welder im just getting that out there to start with.


DSC_1704_zps839007bd.jpg


DSC_1706_zps5042e0f4.jpg

on the flip side


DSC_1707_zps2212cd6c.jpg


DSC_1708_zpscc9abb38.jpg

Flip side


DSC_1709_zps3916a4e0.jpg


DSC_1710_zps1180c384.jpg

flup soid


DSC_1712_zps22d32e3a.jpg

meh


DSC_1719_zpsb19e9fbc.jpg

Thats what i came up with. Probably wrong but anyways.


DSC_1713_zps8f78d067.jpg

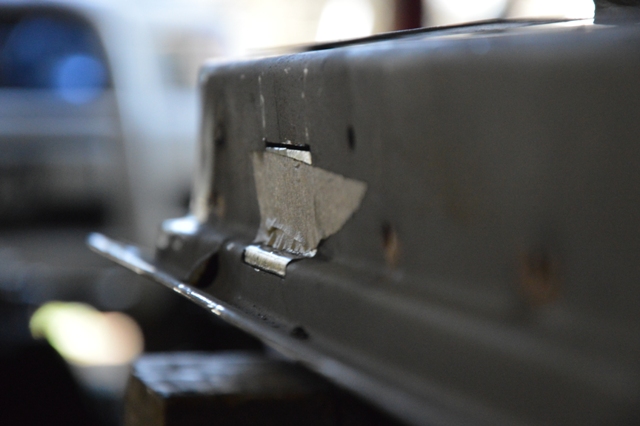
So i can't remember if it had 1 or 2 spot welds so.....i went with 2.


DSC_1715_zpsdaf796f3.jpg

Hey presto?


DSC_1716_zpsecb86545.jpg

Dent top right corner......Im buggered if i know how that happend but anyways.


DSC_1717_zps3b4159e2.jpg


DSC_1718_zpsbe813384.jpg


DSC_1721_zpsa8746864.jpg


DSC_1722_zps771ba008.jpg


DSC_1723_zpsf380a0af.jpg


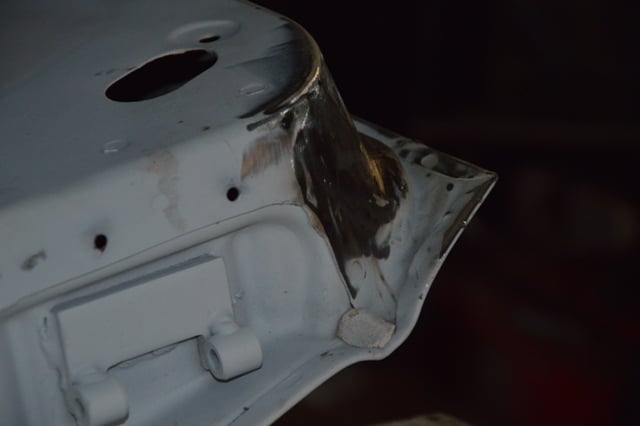
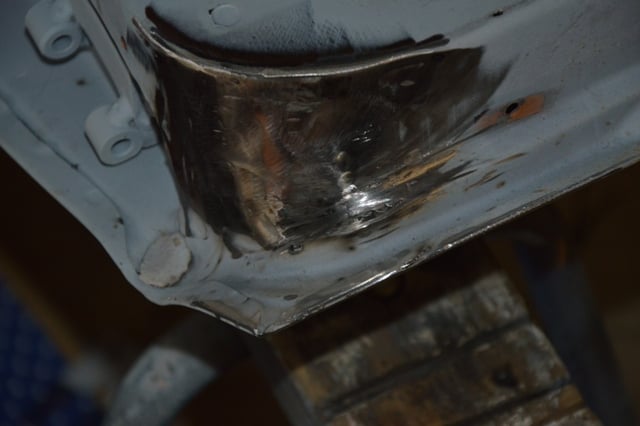
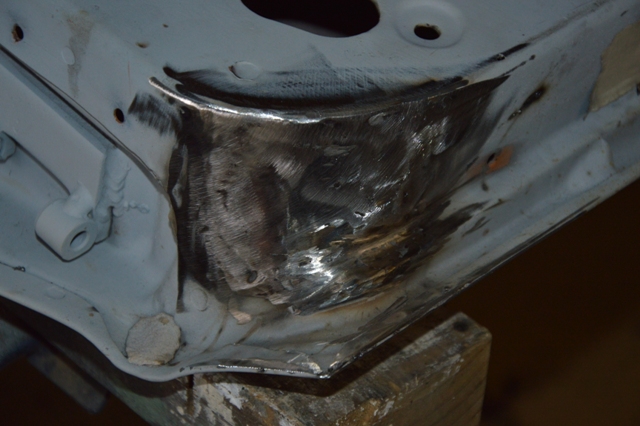
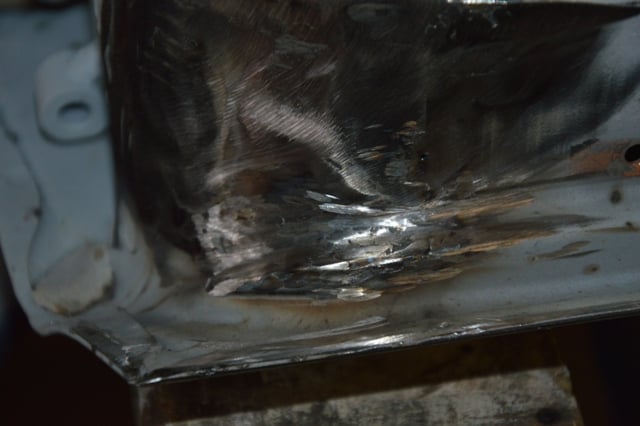
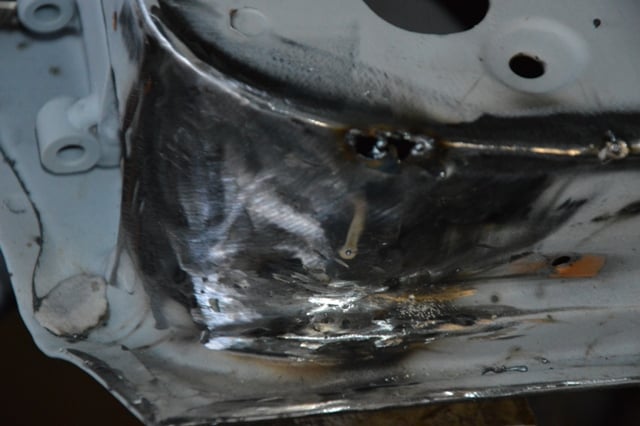
So yea the bottom bit......I duno i think i went apeshit with the grinder or something and i kept burning holes down there so that bits kinda on the #@$^%& up side of things.

Now that its done. (still might do a few touch ups) What do? do people skim bog or do i paint or what?


Do the other one tomorrow so you can abuse me if i did something wrong.


Edited by Hamster, 23 August 2013 - 02:14 PM.


#437 _LS2 Hatch_

_LS2 Hatch_
  • Guests

Posted 23 August 2013 - 04:24 PM

No need or abuse! Only pointers here!
Everyone has their idea of the next process, some say a skim of bog then a light rub and primer, others say primer first then bog then primer again.
I must admit I don't know the correct answer others may want to intervene here. I bogged staight on to bare metal. I was told that it gave better adhesion, but that could be bull shit, I really don't know.
Well done with having a go, and you will get used to the grinder too :)

#438 _Hamster_

_Hamster_
  • Guests

Posted 23 August 2013 - 04:31 PM

whats a good....brand of bog and stuff?
Never bought any before.

Im assuming ill need some sort of sander aswell?


Edited by Hamster, 23 August 2013 - 04:31 PM.


#439 _LS2 Hatch_

_LS2 Hatch_
  • Guests

Posted 23 August 2013 - 04:59 PM

When I bought mine I bought it all from the same supply/manufacturer. As in, the bod, primer, undercoat and colour. That way I reduced the risk of rejection. I used all Protec Paints gear that is now owned by PPG.
Again I'm not the best person for this answer

#440 _toranatime_

_toranatime_
  • Guests

Posted 23 August 2013 - 05:03 PM

I've been using fly weight gold body filler which seems to be quite good.

welding looks like a good start mate. in the pictures of practice above it looks like you could turn the volts up a little, or leave as is and turn the wire speed down just a little. Also you could possibly try and space your tacks a bit tighter so each one only just overlaps the tack before it. And you may be able to turn your gas down also if you wanted, 12lpm should be enough gas flow for your settings and should save you some gas aswell.


cheers


#441 Toranamat69

Toranamat69

    Forum R&D Officer

  • Members
  • PipPipPipPipPip
  • 2,117 posts
  • Location:Brisbane
  • Joined: 07-November 05

Posted 23 August 2013 - 05:41 PM

Grinding is a real art in itself - if you are using a 4.5 or 5" angle grinder, they are big and savage.  flap wheels are good to contour without digging in but are still pretty savage.


The most controlled are the small flat sanding discs on an air die grinder - they are very light, controlable and get into tighter corners. Takes longer but you can be really careful.


I use the 2" roloc type - they come in various grits - you can get them everywhere


http://www.smashsupp...50-Per-Box.html


#442 Stinga

Stinga

    .

  • Members
  • PipPipPipPipPip
  • 2,114 posts
  • Name:Stinga
  • Location:Wollongong, NSW
  • Car:HD Holden ute, and sedan, UC torana
  • Joined: 05-December 05

Posted 23 August 2013 - 05:43 PM

nice job for a first attempt hamster!! what are you grinding the welds down with?


#443 _Hamster_

_Hamster_
  • Guests

Posted 23 August 2013 - 06:03 PM

Got a 4 inch with a grinding wheel that i get the bulk of the weld with, then i clean up with a 5 inch flapo disc.

I have a air thing but its really shitty. Might be worth getting a new one. The air compressor is shitty too lo i think im going to the henty/orange field days again this year. Might hunt for that stuff then.

But yea keen to see if anyones got more info on the bog and stuff.


#444 _Hamster_

_Hamster_
  • Guests

Posted 24 August 2013 - 01:10 PM

grrrr
 

DSC_1725_zps89827d4d.jpg

So fixed the bend, and recut to size.


DSC_1728_zps42d6716e.jpg
Terrible terrible welding skillz


DSC_1730_zps142dbbc5.jpg


DSC_1735_zpsa4695f25.jpg


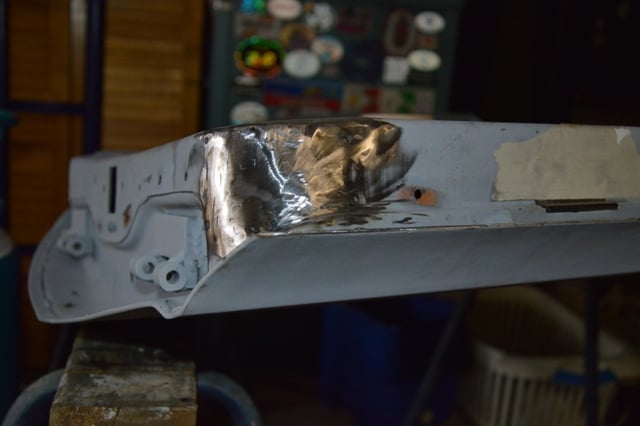
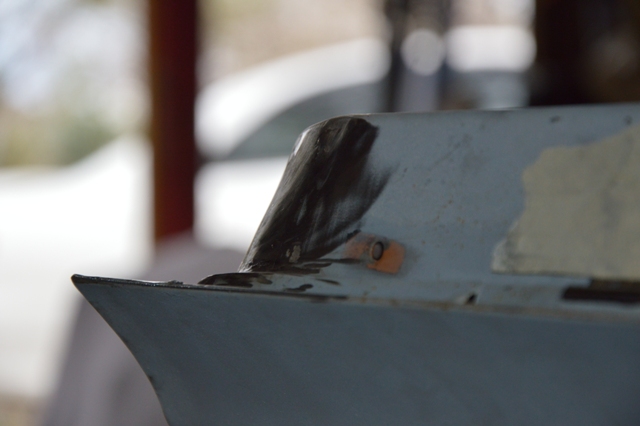
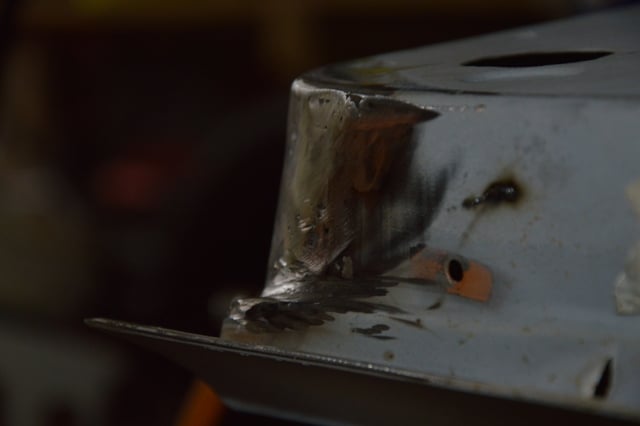
So then on the corner of the other one were it had the dint. Having long arms i could get inside the door and hit it out, but then a littler crack appeared. So i though oh ill just weld that up and it'll be sweet.


DSC_1736_zps817e09f3.jpg

mmmm


So ill redo that and yea.....Learn to not go ape with the grinder. I think i grind the welds back flat with the door, but as im doing that im taking some off the door itself aswell........or something.

I guess the upside is it is more practice but im pissed.


DSC_1737_zps01e2eb46.jpg

Other bit is goot


Edited by Hamster, 24 August 2013 - 01:12 PM.


#445 sibhs

sibhs

    Lotsa Posts!

  • Members
  • PipPipPipPipPipPip
  • 2,709 posts
  • Name:Martin
  • Location:Perth
  • Car:LJ Coupe S
  • Joined: 27-July 12

Posted 24 August 2013 - 01:42 PM

Just keep learning, that's what it's all about.  Not sure if you do this but make sure you grind off the primer before you weld, gives a cleaner and better weld.  I've found I even have to grind off KBS rust blast (leaves zinc coating) for a better job.  Then once welds finished rust blast and coat in Rust seal, it gets into all the minute holes that could be left in a weld, better than primer.


Marty


#446 Toranamat69

Toranamat69

    Forum R&D Officer

  • Members
  • PipPipPipPipPip
  • 2,117 posts
  • Location:Brisbane
  • Joined: 07-November 05

Posted 24 August 2013 - 02:19 PM

^ Agree.  Oxy welding will just burn the weld through primers away no worries but my mig is much happier if you clean the primer off first.


#447 _Skapinad_

_Skapinad_
  • Guests

Posted 24 August 2013 - 02:39 PM

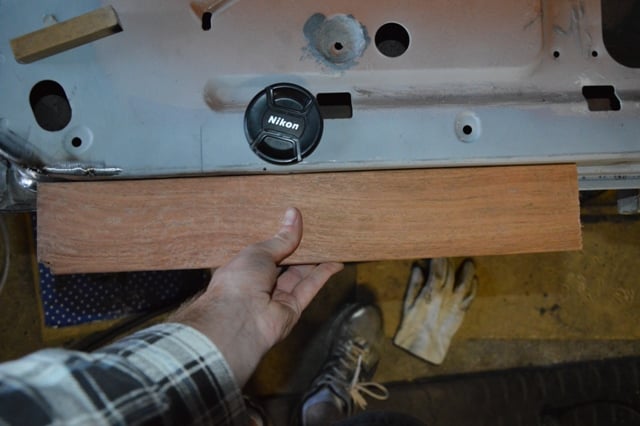
And get a straighter edge.... Timber is rarely straight !

#448 _LS2 Hatch_

_LS2 Hatch_
  • Guests

Posted 24 August 2013 - 06:49 PM

Don't forget that when you grind, you are grinding the weld, not the material. If you try to stay on the weld you have less chance of grinding through, also if you do go through, it leaves more material behind to weld again. Other wise you blow holes and start chasing our tail.

Does that make sense?

#449 _Quagmire_

_Quagmire_
  • Guests

Posted 24 August 2013 - 07:06 PM

Got a 4 inch with a grinding wheel that i get the bulk of the weld with, then i clean up with a 5 inch flapo disc.
I have a air thing but its really shitty. Might be worth getting a new one. The air compressor is shitty too lo i think im going to the henty/orange field days again this year. Might hunt for that stuff then.
But yea keen to see if anyones got more info on the bog and stuff.

i use and like
u-pol hamo....light wieght rage,dolphin glaze or hot shot all are good but used in different ways
but in reality bog is bog there's not a lot of difference between brands
(it's like beer some like vb...all the rest of us have taste :))
the trick is to mix it well and not add to much or to little hardener
which you only get with practice....
but if it's colder you add a little more and vice versa if it's warmer
options are divided on applying to bare metal or over primer
either way ruff it up with 24/36/40 grit sandpaper before you apply anything where you are going to bog

#450 _cabinboy_

_cabinboy_
  • Guests

Posted 24 August 2013 - 11:38 PM

Hi Hayden, I used to be friends with a panel beater, he used to do home jobs on weekends and we helped him a lot. He always primed before he bogged, cheers, Zac.


1 user(s) are reading this topic

0 members, 1 guests, 0 anonymous users