Jump to content


- - - - -

Lj 4 door


  • Please log in to reply
651 replies to this topic

#451 _Hamster_

_Hamster_
  • Guests

Posted 25 August 2013 - 02:04 PM

My trusty big of timber is straight skap lol..


With the bog or skim bog or what ever you call it.


How does one apply it? Like im assuming if im only putting it over that corner it has to end somewhere and there would be a little ridge were it stops? Or does it smooth out flatter than i think? or is there some special paint or something?

Also how much should i be using. Like if i had a small dint 2mm deep or so is that to much bog?


#452 _LS2 Hatch_

_LS2 Hatch_
  • Guests

Posted 25 August 2013 - 05:45 PM

You will probably bog that one area two or three times before you are happy with it. Apply plenty of bog over the area. When you sand most of it will be sanded off and the edges will flatten/smoothern out. You will more than likely sand out too much the first time, then reapply and resend again. When sanding a flat area use as long a block as you can so you don't end up sanding waves into your panels.
This is the funny thing with bog. You buy plenty, apply plenty, sand plenty, then end up with minimal left on. If you had some experience maybe you could apply less, but this was how I did mine.
PLEASE, if someone reading this thinks I am giving bad info, PLEASE correct me. I'm giving the limited knowledge I have, and I too am learning. We all try to help each other.

#453 sibhs

sibhs

    Lotsa Posts!

  • Members
  • PipPipPipPipPipPip
  • 2,709 posts
  • Name:Martin
  • Location:Perth
  • Car:LJ Coupe S
  • Joined: 27-July 12

Posted 25 August 2013 - 05:52 PM

I'll ad to that with....... do a section at a time because you want to sand the bog just as it goes hard so it comes off without to much fuss. Also use a coarse grit to get into it and 'stop the waves'.  That's also my limited knowledge.


Marty


#454 _Quagmire_

_Quagmire_
  • Guests

Posted 25 August 2013 - 08:05 PM

start off at 80 grit and finish off with 120/150 any finer than that and you just clog the paper
if you use the hot shot/dolphin glaze/finishing fillers you can go up to 180 as it's finer and sands smoother
but it gets excy using that stuff as normal bog...
use a random orbie and not those finishing sanders too...sanding by hand sux :)

#455 _Hamster_

_Hamster_
  • Guests

Posted 25 August 2013 - 08:15 PM

y5VYmOk.jpg


Found that in the shed.....Dunno if its right or not. 


"The double strength fibre reinforced polyester filler for stuctural repairs to cars, boats, caravans, surfboards, watertanks, guttering etc"


I remember using it once and it was filled with......fibre i guess what there calling it and you would sand it and have bits of that hanging out of it?


Buy a new lot or use this? 
Also i got no paint. Well i do but not etch primer. I remember removing the bog from the right rear and it had rust under it. So if the bog allows you to paint it first then ill paint it first to be on the safe side of things.


I have an electric wood plainer but no electric sander ;/
Prob find a cheapo somewhere.


Edited by Hamster, 25 August 2013 - 08:17 PM.


#456 _Quagmire_

_Quagmire_
  • Guests

Posted 25 August 2013 - 08:20 PM

unless your filling holes i'd leave that on the shelf
like i said before your call on whether to prime first or not
the juries still out as it's a relietvly new procedure (the prime first before bog)

#457 _Hamster_

_Hamster_
  • Guests

Posted 26 August 2013 - 05:25 PM

guess i could always do a test peace.


Dad works with a guy who used to own his own panel shop and things, he said he would ask him if he knew about it for me.


Hopefully ill get stuck into it again thurs/friday.


#458 orangeLJ

orangeLJ

    Yes, yes I do post alot!

  • Members
  • PipPipPipPipPipPipPip
  • 10,261 posts
  • Joined: 02-May 06

Posted 27 August 2013 - 07:04 AM

Spend some time watching YouTube instructionals, you'd be surprised what you can learn :)

#459 _Quagmire_

_Quagmire_
  • Guests

Posted 27 August 2013 - 03:04 PM

don't skimp on a orbie hamo....for the extra 30-40 you pay it's worth it for a "name" brand

#460 _Hamster_

_Hamster_
  • Guests

Posted 27 August 2013 - 04:43 PM

Yea i won't

Prob go halves with dad.

It's usualy either makita or dewalt for dad. 


To to go video hunting then!


Edited by Hamster, 27 August 2013 - 04:43 PM.


#461 _Hamster_

_Hamster_
  • Guests

Posted 29 August 2013 - 04:19 PM

Far out brussel sprouts
 

DSC_1746_zps114fc753.jpg

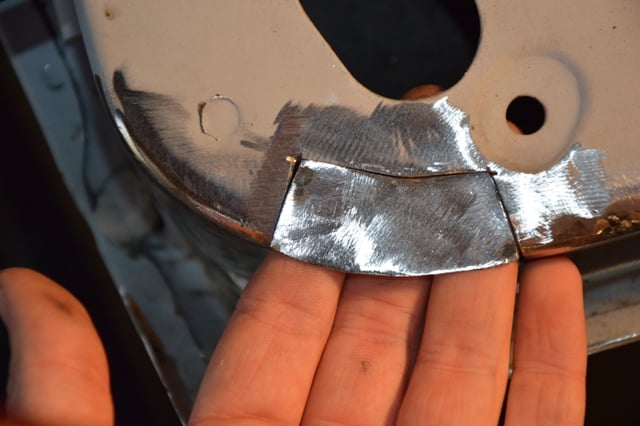
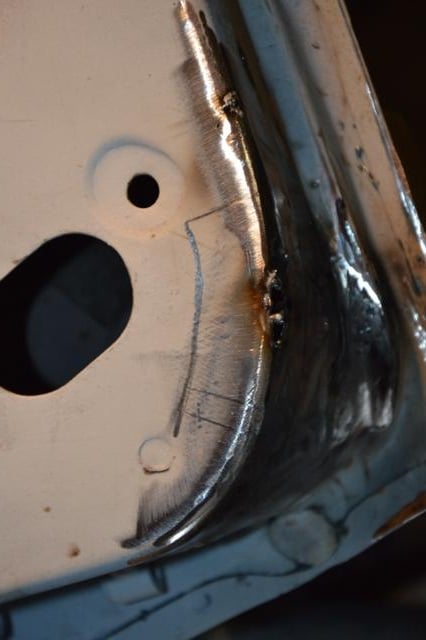
So marked it out, there is that overlaped bit in there someone so to be safe i went in a bit more. I did it 20mm from about 5 different spots and join the dots thinking it would be easier in the long run.
 

DSC_1747_zpsa7aa0fa3.jpg


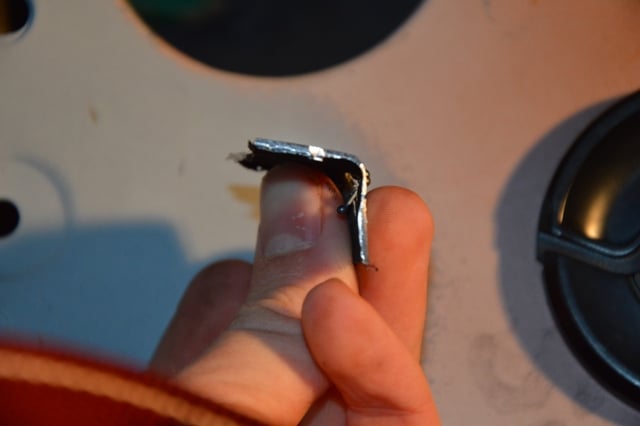
You can see how the bit right up the top is thinner some how.....
 

DSC_1748_zpsc773e681.jpg

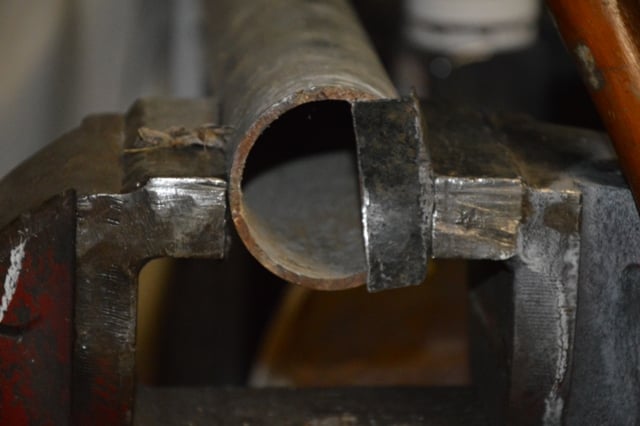
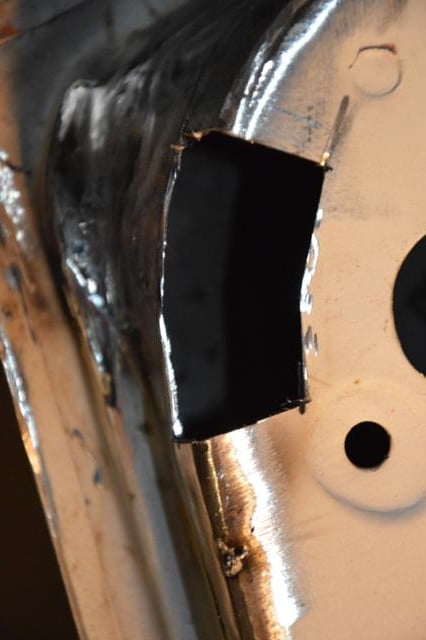
Not the right angle but that bit is 2mm of steel the center is about 1.5mm ish give or take 1/4 of a mm


so i bend the 90 degree angle in it thinking it would then be eaier to bend the smaller bend thing bend up in the bend thingo.

After trying with a couple of pairs of plyers and getting one of the sides bent and the other one more or less flat. I went ape with theorys.
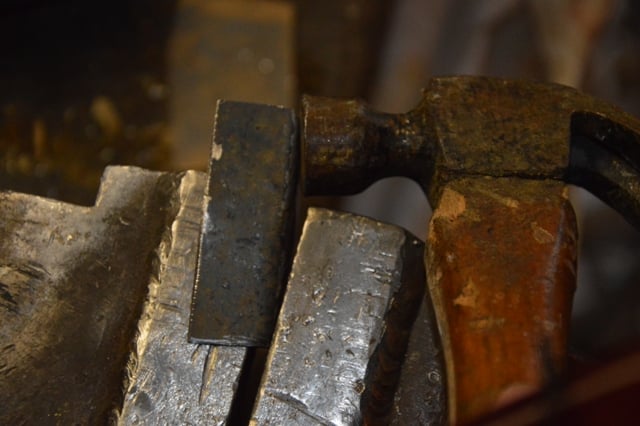
 

DSC_1749_zps30edeb11.jpg

So i tried doing this, as you can see tis only bending the one edge.
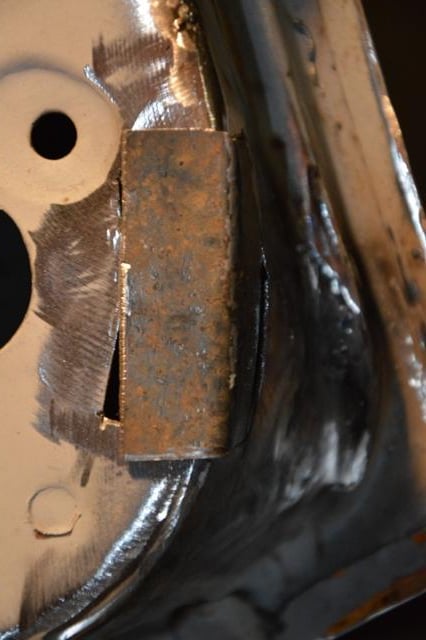
 

DSC_1750_zpsc4d84654.jpg

The bottom is good, rest isnt.


DSC_1751_zps3b8d1298.jpg

THEN i tried doing this, also didnt work.
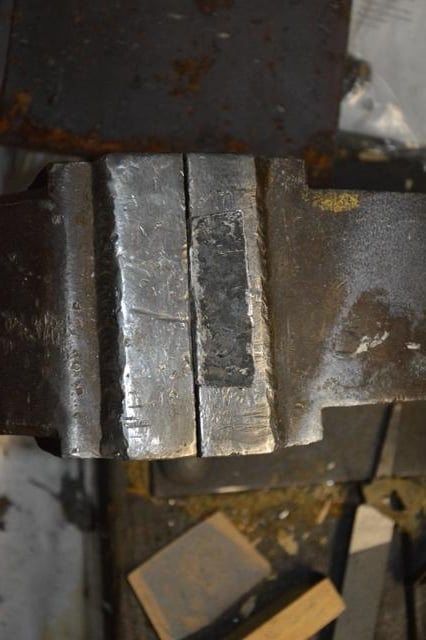
 

DSC_1752_zps39a1d8d1.jpg

so i put it in the vice and smashed the shit out of it and gave up for the day! :D


so question time.

Can i do 2 sections and join them on the bend with weld or is that a no go cause it would be structuraly not so good?

Im assuming you would do this is one of those 2 wheel thina majigas, would be it worth making a rough fail version of one of them if question 1 is a no go.


Also i dunno y but some of the images have flipped themselves over so.......yea photobuckets playing tricks on me.


Edited by Hamster, 29 August 2013 - 04:19 PM.


#462 _toranatime_

_toranatime_
  • Guests

Posted 29 August 2013 - 06:27 PM

for curves like that a shrinker/ stretcher is the go, but it can be done by hammering a lip to stretch where you want it, which will put a curve in it. joining thwo pieces together is plenty strong enough, you just need to be careful with the grinder. It looks like you have ground through the full thickness of the material and most of the weld. when fitting up a join like that try aim for an outside corner joint. 


keep at it

cheers


#463 sibhs

sibhs

    Lotsa Posts!

  • Members
  • PipPipPipPipPipPip
  • 2,709 posts
  • Name:Martin
  • Location:Perth
  • Car:LJ Coupe S
  • Joined: 27-July 12

Posted 29 August 2013 - 07:27 PM

Just cut a line in the straight edge so it will bend then weld the cut. May have to cut a v shape. Hope you know what I mean. Very easy fix.

#464 _Liam_

_Liam_
  • Guests

Posted 29 August 2013 - 07:46 PM

If you don't have a shrinker/stretcher, make it out of two pieces.  Forgive the bluntness, you are wasting your time trying to shrink/stretch something like that with hammer/dollies. 


#465 _Hamster_

_Hamster_
  • Guests

Posted 30 August 2013 - 12:43 PM

Dad found a local panel beater that ive never seen or heard of in my life. Sent him an email i think he was gonna look at the car next week. I told him if i have my door done ill get him to look at it see what he thinks and i might be able to do a few of the easier things to save a bit of coin.


possibly get some of the door done this arvo. Tomorrow im apparently helping the neighbours move (only found out about this like.....yesturday which is handy, but he is irish so....free beer?) And apparently on sunday im going to woolongong to look at a new jack rusell which i only found out about yesturday as well. Kind of a pain in the arse i was hoping to get some bog and finish up most of the door. SO depending on when the guy looks at my car i may have most of it done.


And yea joining the 2 bits seems to be a GOOD IDEA lol.


Edited by Hamster, 30 August 2013 - 12:43 PM.


#466 _Hamster_

_Hamster_
  • Guests

Posted 30 August 2013 - 02:25 PM

DSC_1754_zps08acf082.jpg

Tiny bit to long, i can't hold both bits to line them up. So ill weld this one in and grind it back.


DSC_1757_zps95a9b80a.jpg


DSC_1758_zps666f2509.jpg

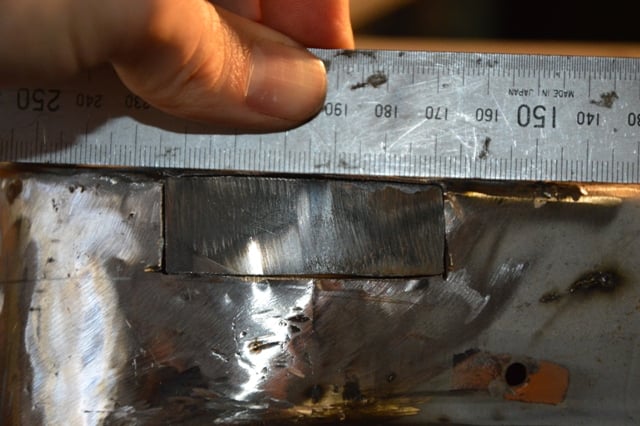
Other bit to go in, kinda looks like a small ridge in the middle.


DSC_1759_zps4da8db71.jpg

Ruler says kinda not a small ridge in middle ;/


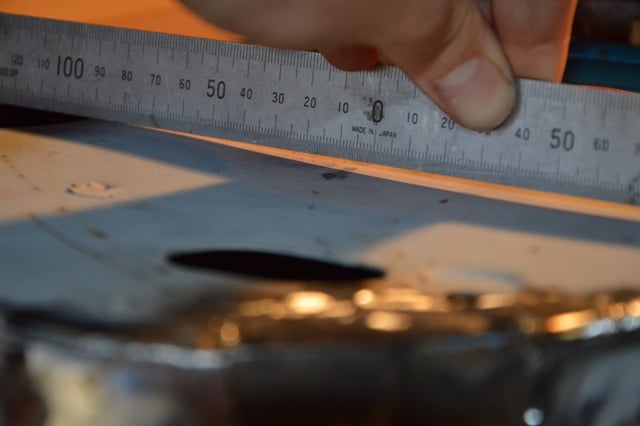
so i went to check the other way and measured away from my new spot to check the whole door.

DSC_1760_zps0b68040f.jpg


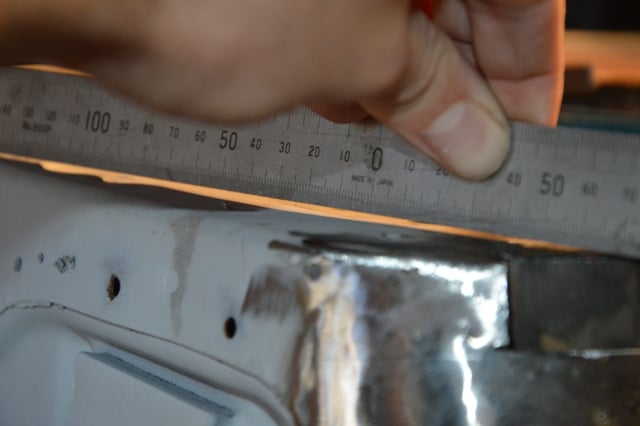
WTF


DSC_1761_zps115cc5fa.jpg

Kinds looks similar?


#467 _Hamster_

_Hamster_
  • Guests

Posted 03 September 2013 - 10:05 PM

So, wondering if anyone would use a tig welder for this stuff.


Figured i need to learn and get some practice with it one day and i may as well be now, providing it is ok to use it.


#468 _Liam_

_Liam_
  • Guests

Posted 04 September 2013 - 09:10 PM

If I used a TIG it would be for big unsupported panels.  Such as a new roof.


#469 _toranatime_

_toranatime_
  • Guests

Posted 04 September 2013 - 09:49 PM

I wouldn't try getting into tig for a project like this. there is nothing wrong with mig, and is much easier to master. Tig requires a very different set up such as tig torch or torches and consumables, filler wire and you need pure argon not argon C02 mix that is just naming a few things. For what you are doing i wouldn't try adding tig to the mix. 1mm panel work probably isn't the best to try learn to tig weld straight up either. 

in the end it is your choice though.


cheers


#470 _Hamster_

_Hamster_
  • Guests

Posted 05 September 2013 - 01:57 PM

I got everything for the tig. Just need to learn how to use it. Have a spool gun to for w/e reason.


Rightio.

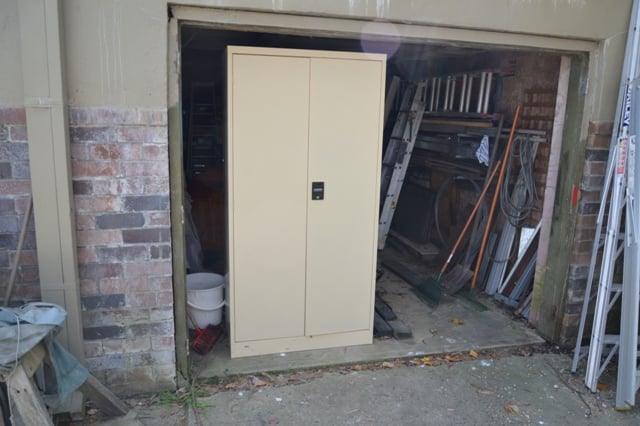
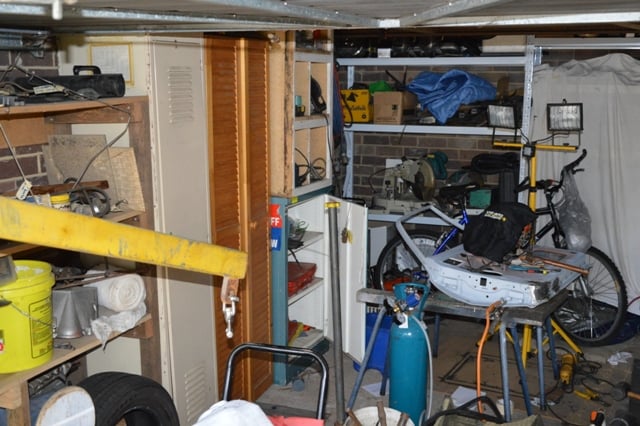
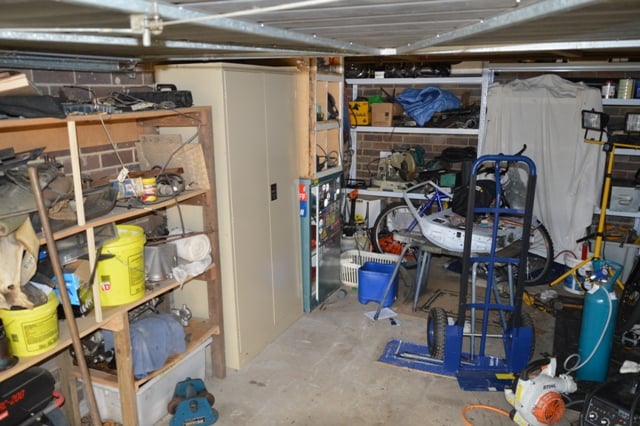
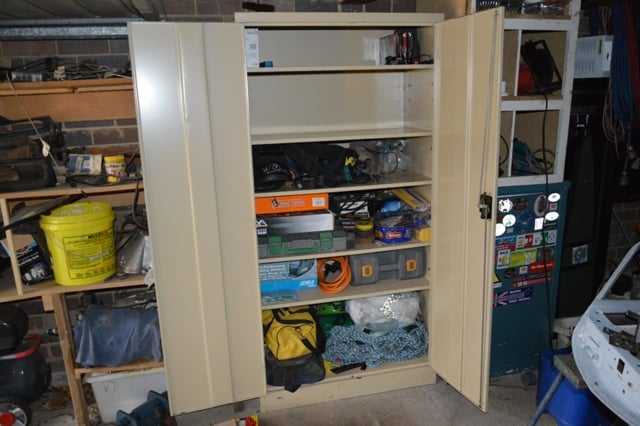
So helped irish man over the road move house the other day, scored 100 bucks and a cabinet.


DSC_1765_zpsee0c0e06.jpg


DSC_1764_zpseac6a2d2.jpg

Will replace the wooden one and the locker.

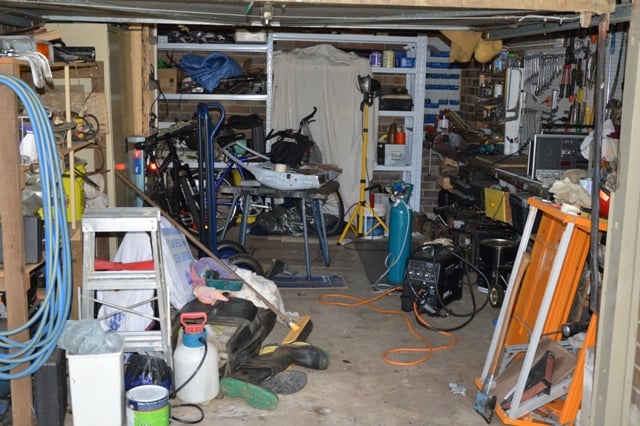
(as you can see its a messy garage)


DSC_1766_zps16a4a220.jpg

managed to man handle it in there, getting the others out was a pain, i left everything in it so i wasn't double handling but with the roof frOcking low it was an ass of a job.


DSC_1767_zps8ffbee7d.jpg

It wasn't me officer honest.


DSC_1768_zpsbec6aa80.jpg

so much more room for activities


DSC_1769_zps5c6c4358.jpg

there was a bench under there from memory.


DSC_1770_zps89f4f248.jpg

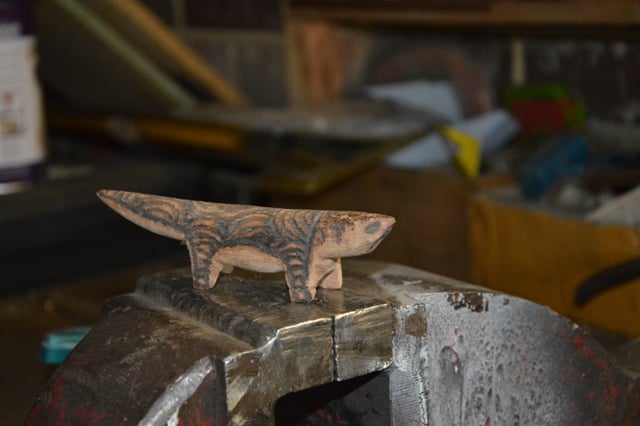
My new pal......................................................Thin lizzy.......so we will call him phil lynott


DSC_1771_zpsd66f9f1c.jpg

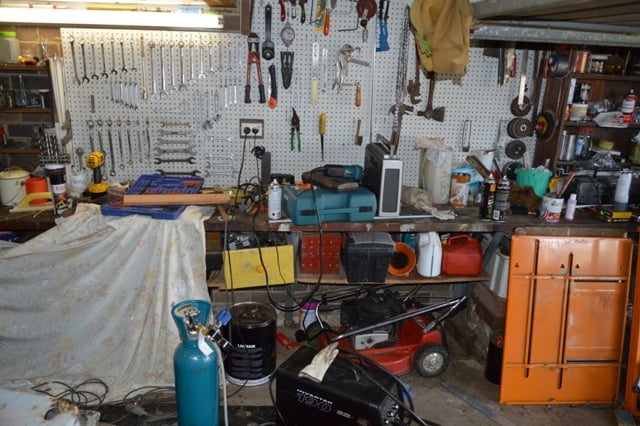
so.....well frOck its not really much better is it?


https://cache.gmh-to...zps06db98aa.jpg

Junk goes here and we have no room for torana again.

FAR OUT


Anyways local panel beater rang today, gonna come look at car next thursday at 8 in the morning for a rough quote and so the story goes on.


I was gonna do more on the door today but after hitting my head on the room and a big steal beam in the other shed i figured i wouldn't push my luck hitting my head again.


Edited by Hamster, 05 September 2013 - 02:00 PM.


#471 _toranatime_

_toranatime_
  • Guests

Posted 05 September 2013 - 04:48 PM

if you have all the tig gear and want to do it, then go for it


#472 _Hamster_

_Hamster_
  • Guests

Posted 06 September 2013 - 12:23 PM

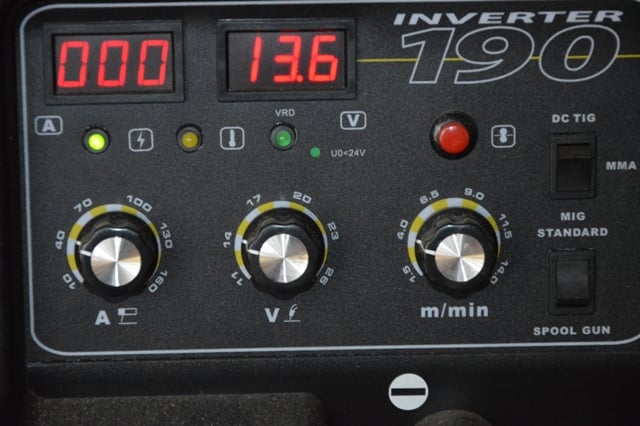
Daaaaaad can you adjust the welder for me.


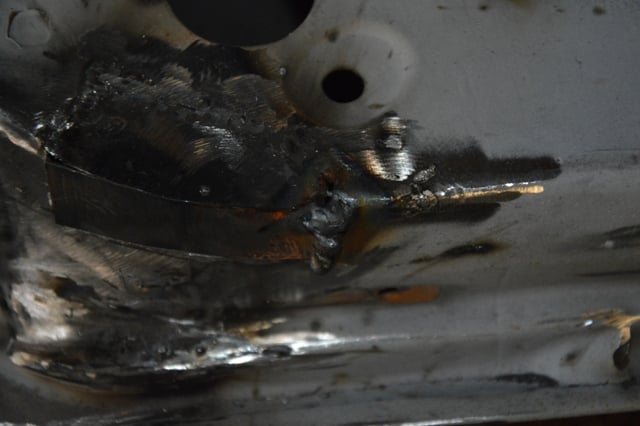
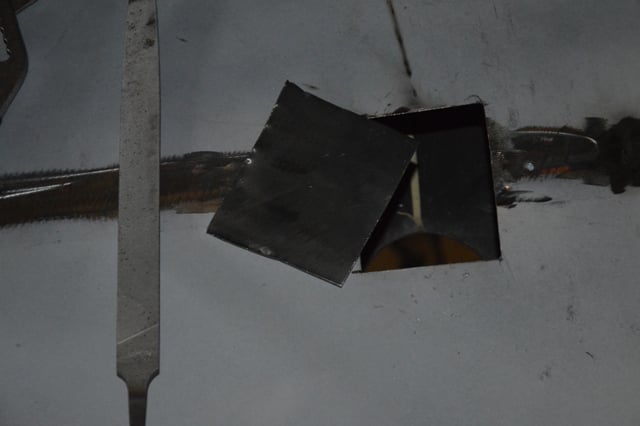
DSC_1811_zps6287dd30.jpg

Neck minit massive hole (fricken boiler makers). He filled it up so its ok. (sorta)


DSC_1812_zps240b0471.jpg

Actualy appears to be working better to what i had it set at.....I think. It's "cracking" more often aswell.


DSC_1813_zps3a5d2236.jpg

Bird shit welding 101


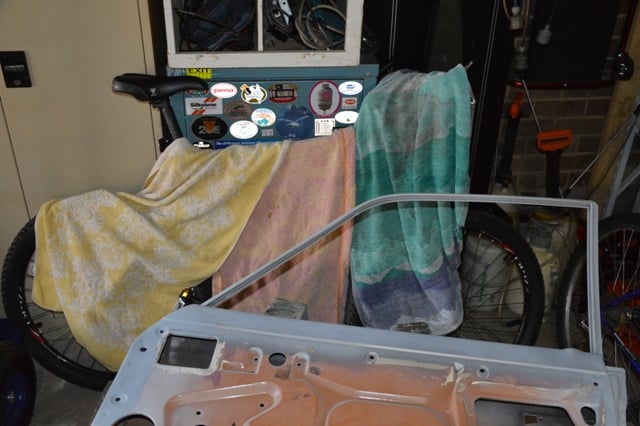
DSC_1814_zps4ebf8ef6.jpg

Forgot to cover up my million dolla bike, no damage done thankfully.


DSC_1815_zpsea037494.jpg

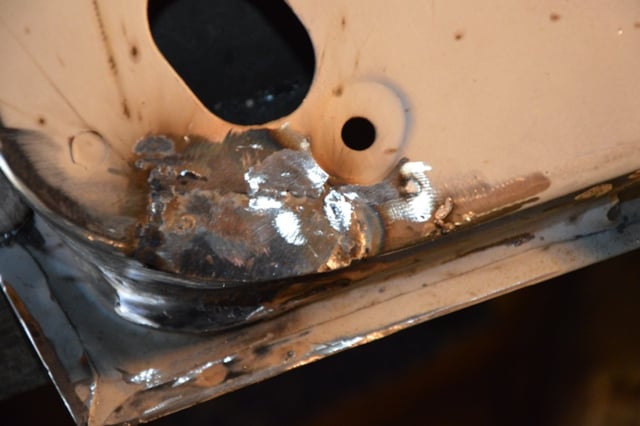
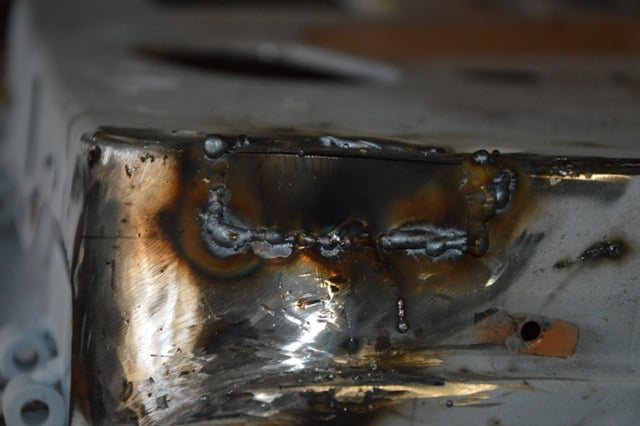
Learning learning....Didn't grind down to the metal to much, Ground back the lip level with the other.


DSC_1816_zpsc34d08c7.jpg

Welded up the lip


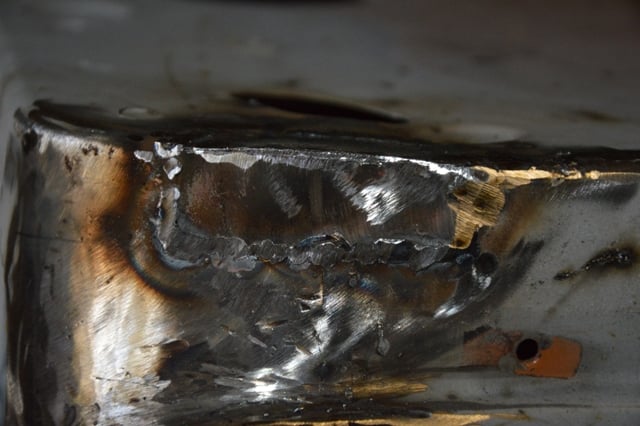
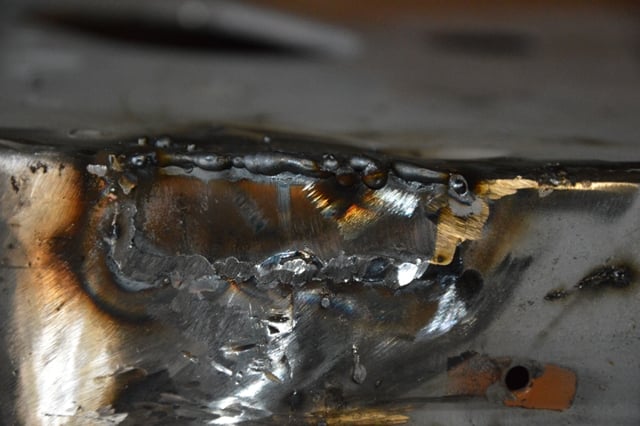
DSC_1817_zpsb9263b03.jpg

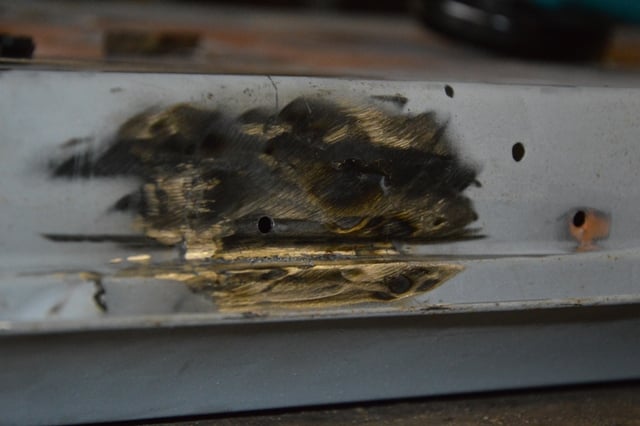
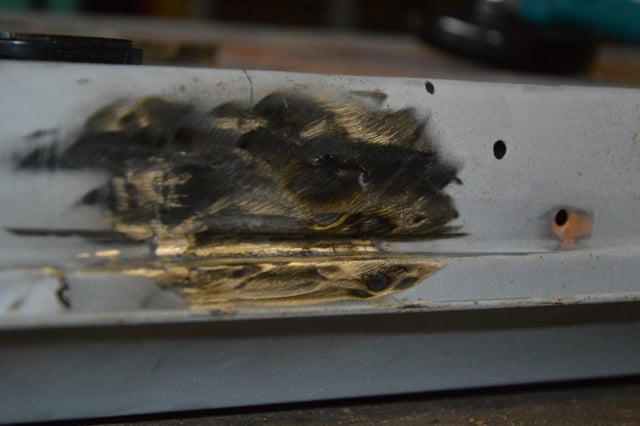
Some more grinding. There is a slight bump/ridge up the top, i managed to bang most of it out, there is still a bit there but.....It's inside the door and something will cover it up. So it will be fine (im guessing) The curve/bend is straight so in theory the door should shut ok.


DSC_1819_zps8a28d9df.jpg

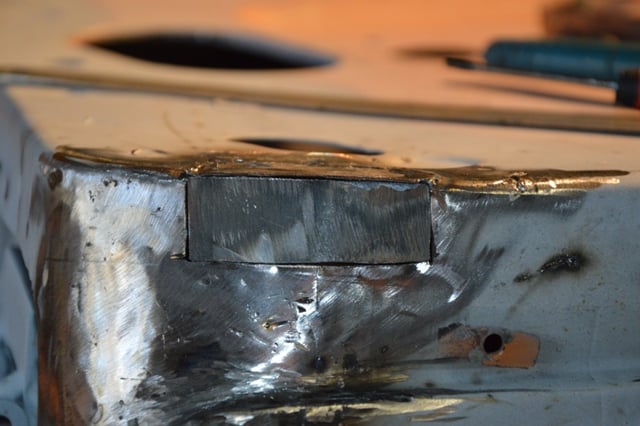
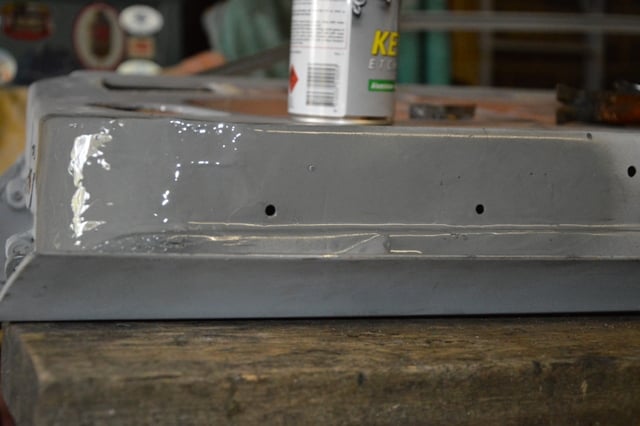
Previous job (prob my best patch on the whole door so far)


DSC_1820_zps685e3342.jpg

Needed the hole for the door rubber so i put that back in.


DSC_1821_zps40ef0fa1.jpg

Paints a different colour......oh well.


DSC_1823_zpsb5679992.jpg

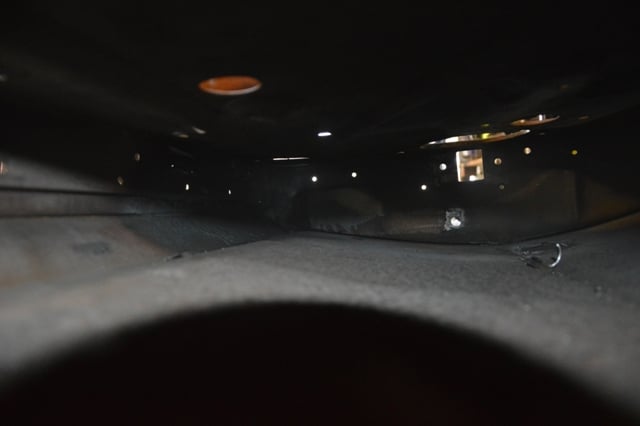
Tried painting the inside......I have no idea if i got it or not ;/


DSC_1824_zpsdd18d3c5.jpg

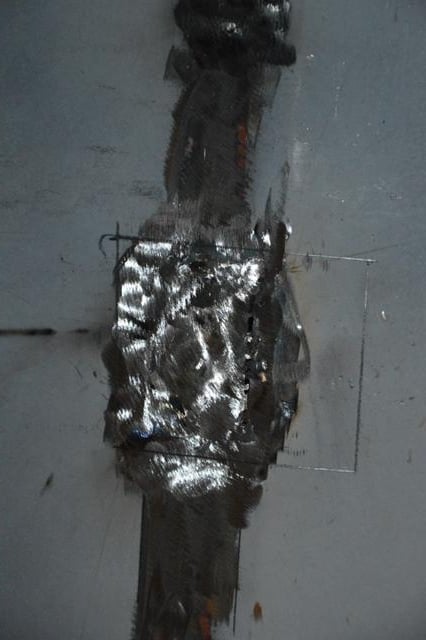
Redo this one cause its rubbish


DSC_1825_zpsc20c55a1.jpg

Cut some metal with the tin snips and prob do that over the weekend when im bored.


Edited by Hamster, 06 September 2013 - 12:25 PM.


#473 N/A-PWR

N/A-PWR

    CABIN ENGINE CONTROLS GALORE

  • Members
  • PipPipPipPipPipPipPip
  • 9,632 posts
  • Name:Dave I
  • Location:Wooroloo, 65km's East of Perth
  • Car:'1969' LC RAT TORANA
  • Joined: 08-December 12

Posted 06 September 2013 - 12:53 PM

Hamo,

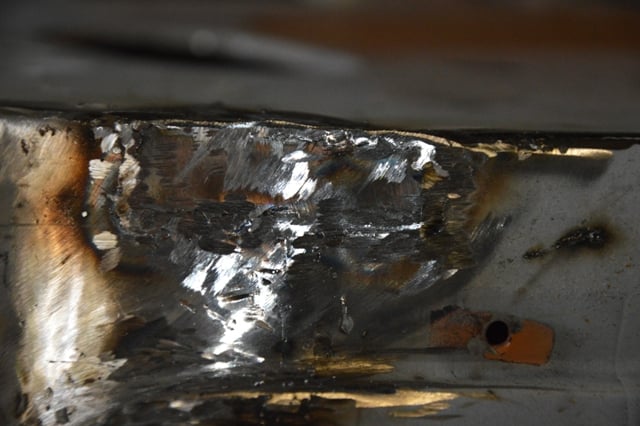
with Tig welding, have the tip doing a circular motion in your right hand travelling towards your left hand with the left hand holding the Tig wire in the heat till you see it drip onto the metal and the circular motion blends all together, hope that helps. Dave I


hmm, he did not do any circular motions hey, oh well any way will do


Edited by TORYPOWER, 06 September 2013 - 12:59 PM.

#474 _toranatime_

_toranatime_
  • Guests

Posted 06 September 2013 - 08:57 PM

you don't so much want to drip the filler onto the base metal but more 'feed' it directly into the puddle, adding the same amount of rod every time.


The rough settings I would use for a start:

-2% lanthanated or thoriated tungsten 1.6mm or even a 1mm

-6 or 7 gas cup using 7lpm of straight argon

-Around 40 amps

- er70s-2 filler wire


#475 _Hamster_

_Hamster_
  • Guests

Posted 08 September 2013 - 03:33 PM

Right so. Did a 5-6 hour bush walk or w/e the hell it was yesturday to the bottom of belmore falls and my knee isn't to great so i didn't feel like bending over and working on the door.

SO

I managed to get dad to agree with putting a new door on the other garage (no idea if mum has agreed to it but its to late now)


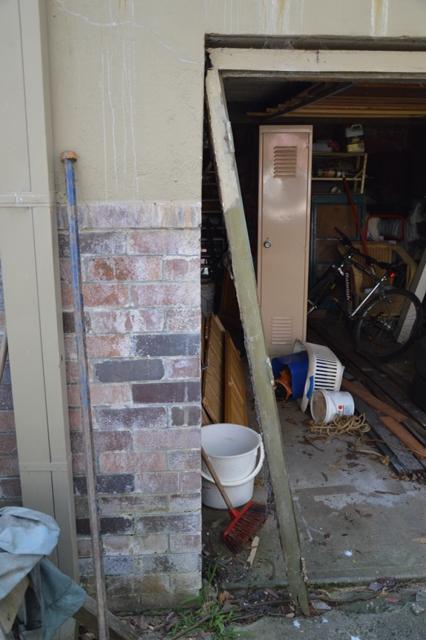
DSC_1935_zps0fa35d50.jpg

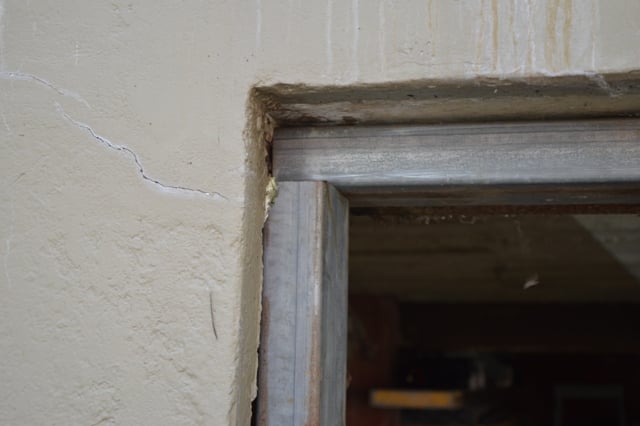
Removing the old rotted frame.


DSC_1936_zps27f7a7ab.jpg

Prob the better looking piece


DSC_1937_zps8e1bf391.jpg

......Only thing holding it on the wall lol.


DSC_1938_zps2f2bd1c3.jpg

DSC_1939_zps92a1dfe8.jpg

Couple of mates


DSC_1941_zps43ce9dac.jpg

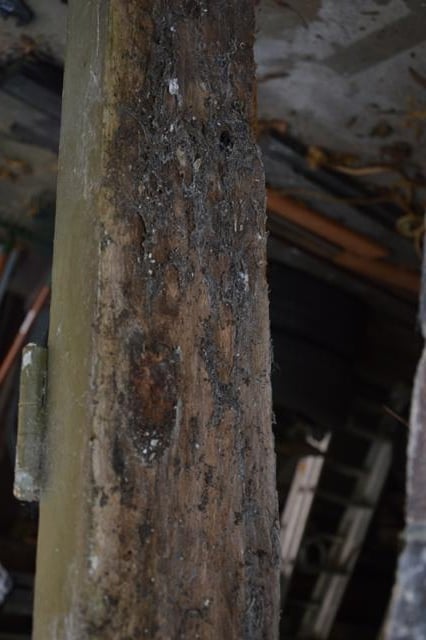
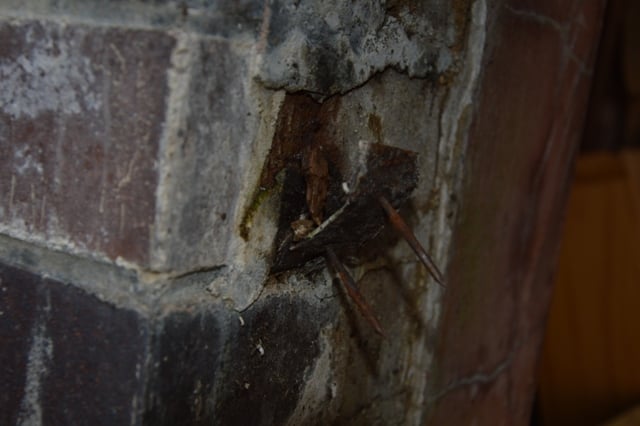
Cleaned out the dirt, rotten timber, pins etc.


DSC_1943_zps2d32ca78.jpg

(i know it doesnt line up, its soo you see how it fits)


DSC_1944_zpsf193cb8d.jpg

And its a bit narrower than the other one which suits me fine.


Gonna weld tabs to the side and bolt it to the wall, there is a big steel beem holding the roof up, take the center bit to that in.....8 spots or so. and we should be sweet. Metal is a bit how ya going cause its been sitting out in the weather for a few years, i suggested to dad i can grind it back and paint it but he doesn't seem to worry about it so i won't.


Doors........................I'll leave that up to them, whether its in iron or wood or w/e.

But yea once doors are on and i can lock it up half th shit in the other shed can go in there or i can work in this shed and have a shit load more room its not even funny.


Edited by Hamster, 08 September 2013 - 03:34 PM.


2 user(s) are reading this topic

0 members, 2 guests, 0 anonymous users