Jump to content


- - - - -

Lj 4 door


  • Please log in to reply
651 replies to this topic

#526 _Hamster_

_Hamster_
  • Guests

Posted 02 October 2013 - 03:01 PM

So i was like bored. So i went to the shed and went lewking for things to do.
 

DSC_2168_zpsa7393bd5.jpg


DSC_2169_zps0ad2ab08.jpg

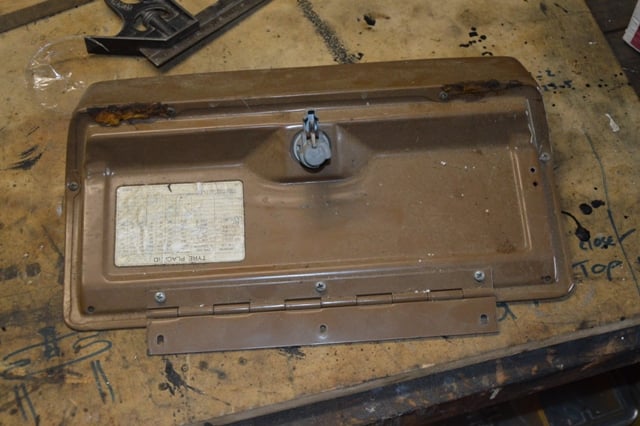
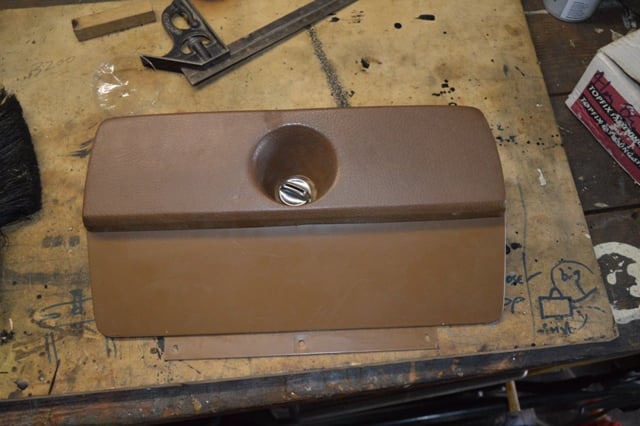
Hey look a glove box!
Not sure if its gonna be black or same colour as the car but ill strip it and undercoat it.
 

DSC_2171_zpsaeb75506.jpg


DSC_2172_zps8058c6b6.jpg


DSC_2173_zps08c09126.jpg

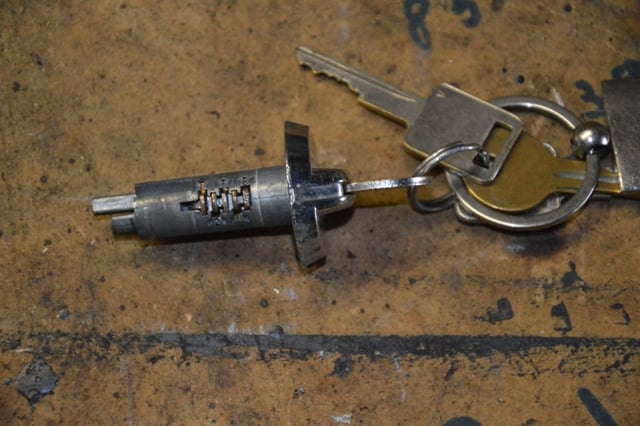
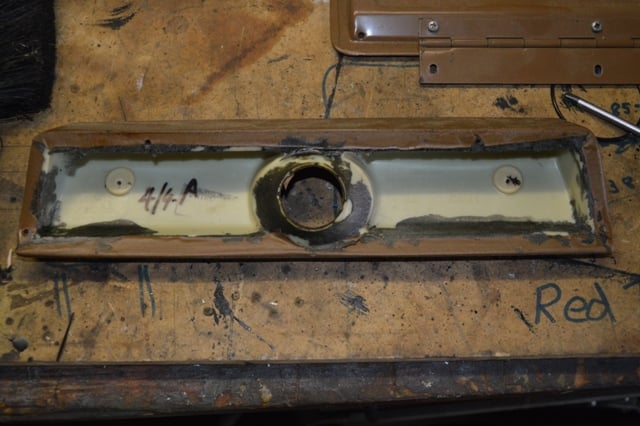
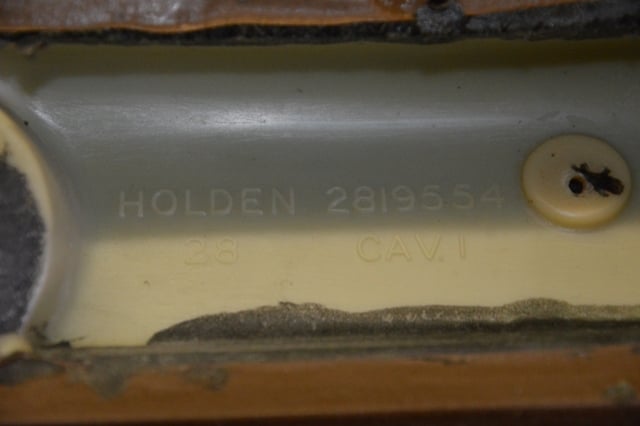
This was the biggest pain. After 20min trying to figure it out myself, i found a video on google.
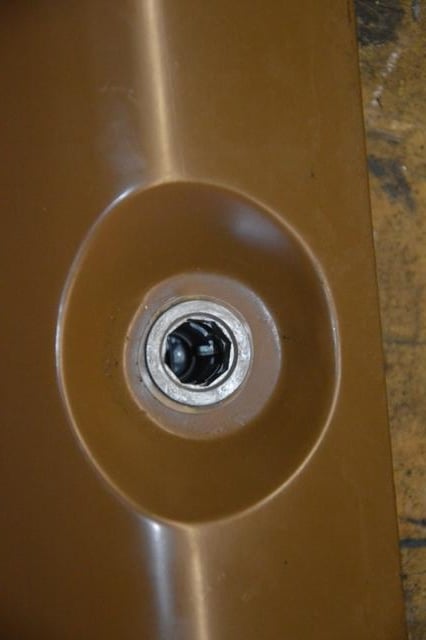
 

DSC_2174_zpsb552a482.jpg

But i didn't watch all the video and i had no idea how this bit came off....
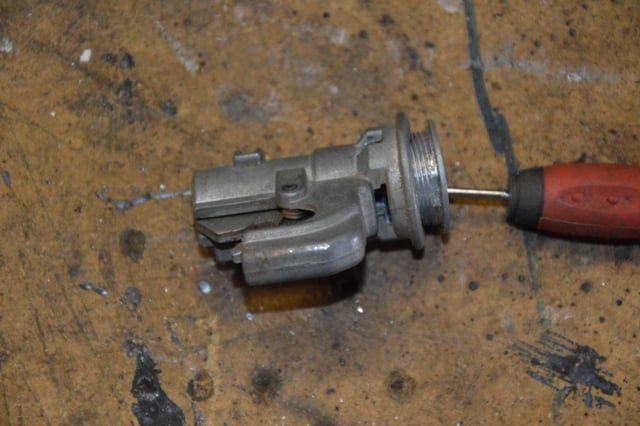
 

DSC_2175_zps8448741c.jpg

Turns out it just screws in so i used my finger as a hex bit (got nothing else for it)
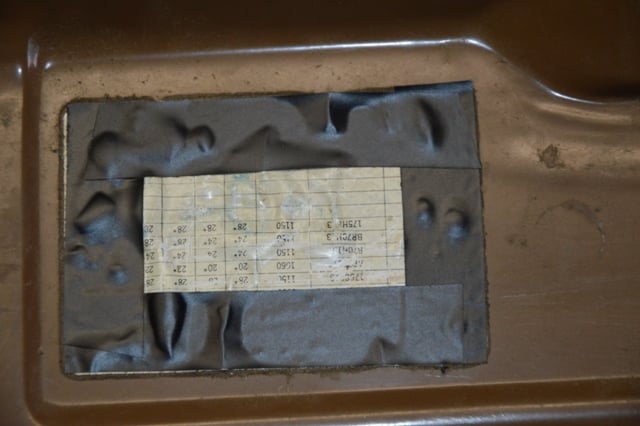
 

DSC_2176_zpsdec854f0.jpg

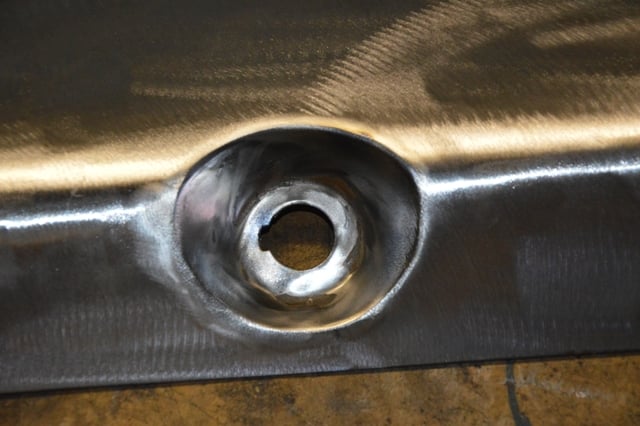
Stripping time!, i planed on keeping this on there to have atleast something original on the car....
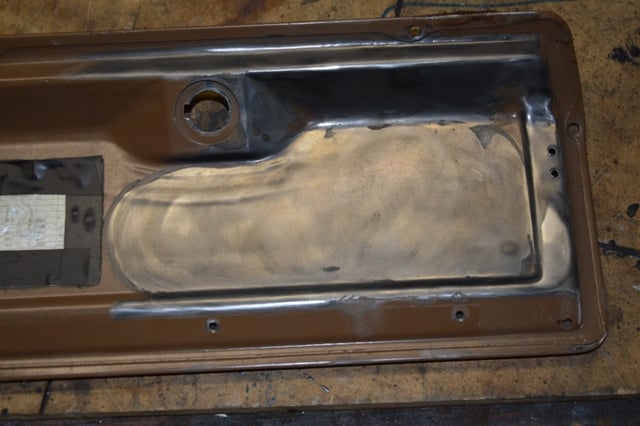
 

DSC_2177_zpsc621b0b8.jpg

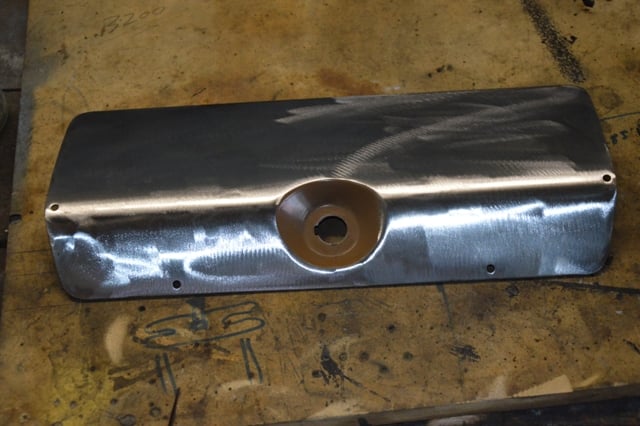
I used the wire buff cause it was easier to shove into the little corners and everything than the flapo disk.
 

DSC_2178_zps37068387.jpg

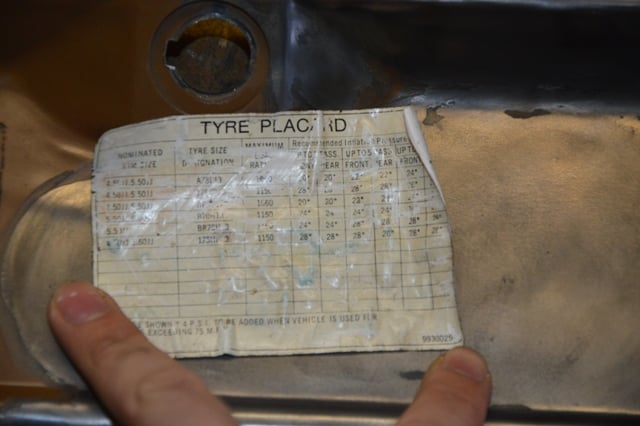
Then i got the shits going around this so i peeled it of really carefully and ill stick it back on later.
 

DSC_2179_zpsd41b6eba.jpg

Flap disced the front.


DSC_2180_zps6d7ce164.jpg

Wire wheel couldn't quite get it all out D: Back to doing it by hand lol
 

DSC_2181_zps65f0e2b4.jpg

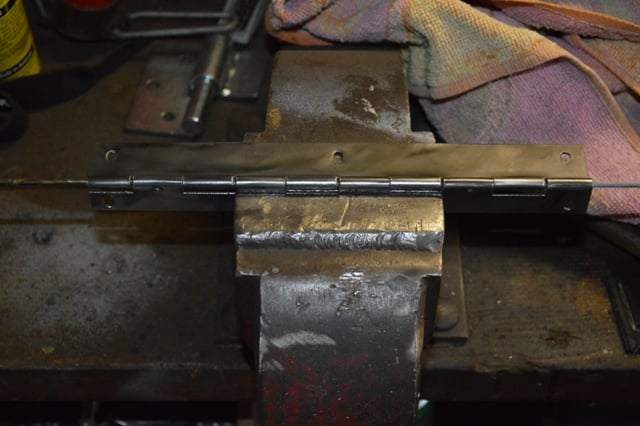
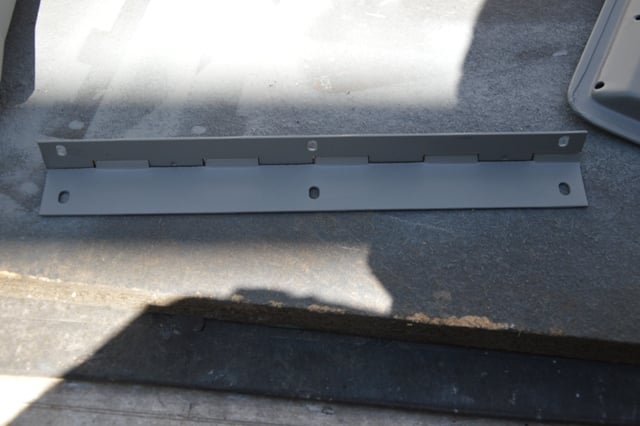
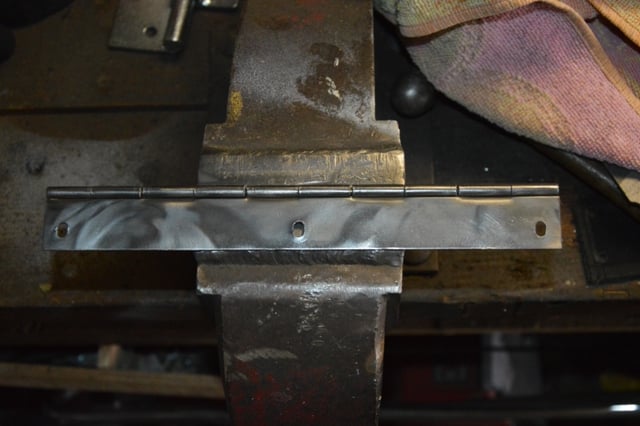
Hindge just went in the vice..


DSC_2182_zpsf4acde62.jpg

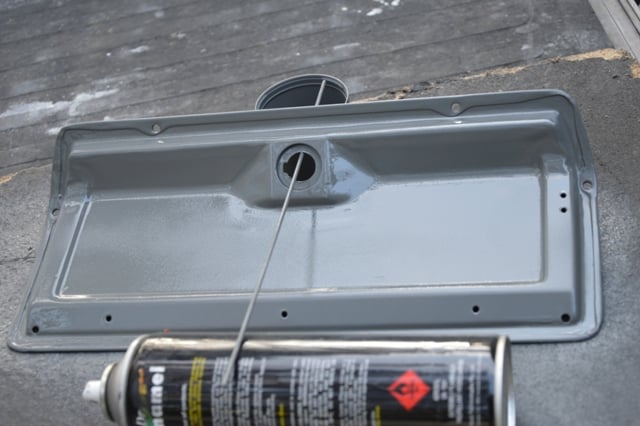
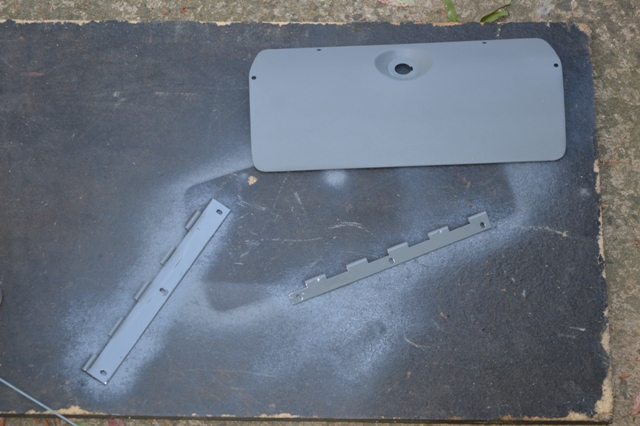
Then to paint i pulled it apart. Protip a small welding rod with all the shit shaved off it works awesomely. 
 

DSC_2183_zpsa6bbfaaa.jpg

painted. (half painted)


So then i had nothing else to do so lewking lewking lewking....
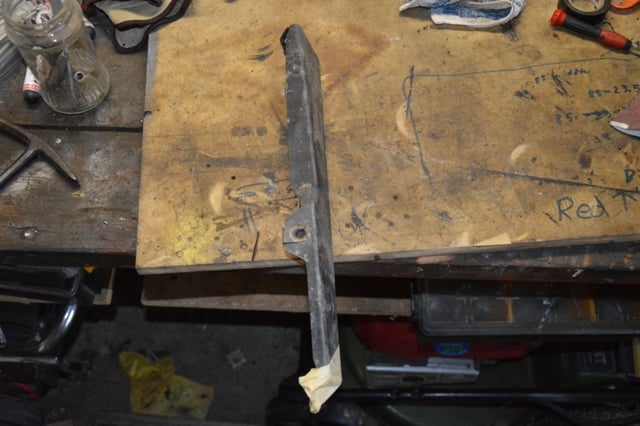
 

DSC_2184_zps26473405.jpg

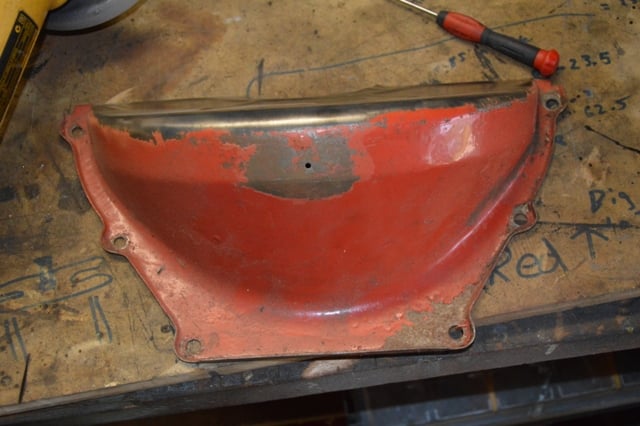
I think this is.......from the front that holds that tiny nose piece under the grill on? If it isnt i have no idea what the hell it is.

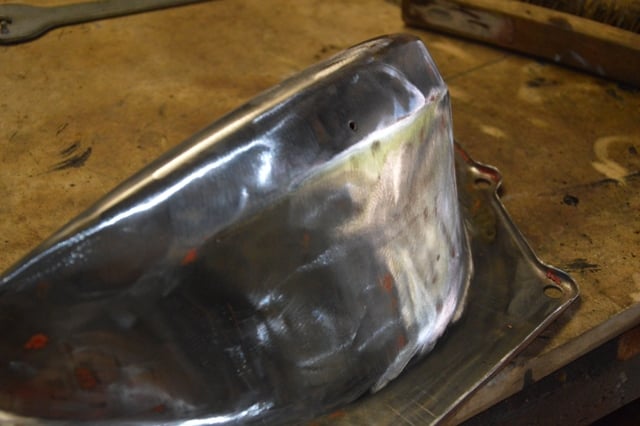
So i stripped that back and half painted it too. And before i painted everything i gave it a wipe with turps and the bit i did with the wheel i lightly sanded.


#527 _Hamster_

_Hamster_
  • Guests

Posted 02 October 2013 - 05:14 PM

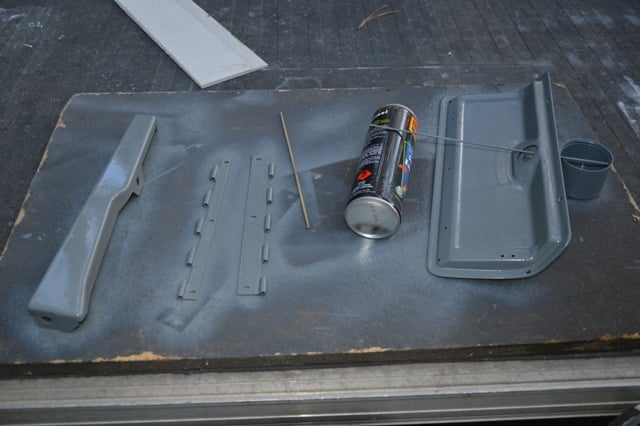
annnnd all done.


DSC_2185_zps816d09eb.jpg


DSC_2186_zpscfcd88ba.jpg


Shiny, now i gotta decide what colour. Assuming that is the bit near the grill ill paint it black.


#528 Rockoz

Rockoz

    Oh My, Don't you post alot

  • Members
  • PipPipPipPipPipPipPip
  • 4,008 posts
  • Name:Rob
  • Location:Cowra NSW
  • Joined: 21-September 08

Posted 02 October 2013 - 05:30 PM

Keep at it Hayden. Keep doing small jobs and eventually it will be all done.


If I was in your position I would look at doing the following.


Buy a good MIg. Compressor and spray gun.


Stock up on consumables. Body filler Sandpaper flap discs and grinding discs. 2 pack etch primer thinners etc


Then just get into it. Tackle the smaller jobs first.


You will make mistakes. Dont worry about it. Just do it again.


You will get advise and encouragement from heaps of people here.


#529 _Hamster_

_Hamster_
  • Guests

Posted 02 October 2013 - 05:47 PM

well the other welder should be fixed soon......It's a good welder apart from it dieing on me the other day. Still has like 2 years warranty ;/


Yea im thinking of a new compressor but im not keen on painting it myself so dunno, i was gonna get a new little compressor thingo....Like those dremels but air operated.

And yea got all the grinding gear, ill just keep stealing dads he doesnt seem to mind.....yet. Just need to bog and things when i get a move on.


#530 Rockoz

Rockoz

    Oh My, Don't you post alot

  • Members
  • PipPipPipPipPipPipPip
  • 4,008 posts
  • Name:Rob
  • Location:Cowra NSW
  • Joined: 21-September 08

Posted 02 October 2013 - 06:17 PM

Welding and painting are similar. Practice.


They can both be repaired. 
 

Give it a go and surprise yourself.
 

Theres a few build threads on here where they started with little knowledge and ended up with great cars.


Buy a decent compressor, preferably belt driven.


#531 _judgelj_

_judgelj_
  • Guests

Posted 02 October 2013 - 07:08 PM

Can't go wrong with  good compressor mate, makes everything super easy. Soo many uses.


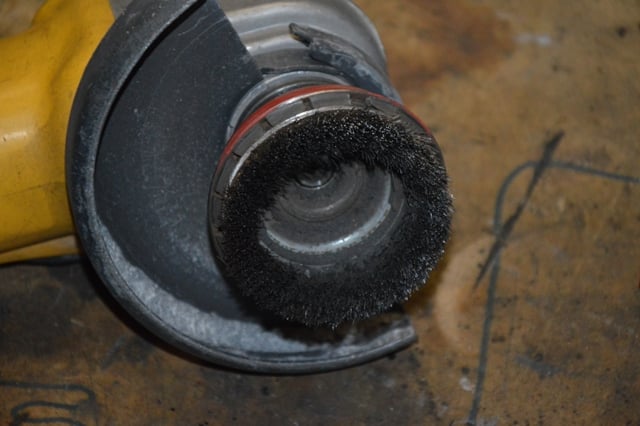
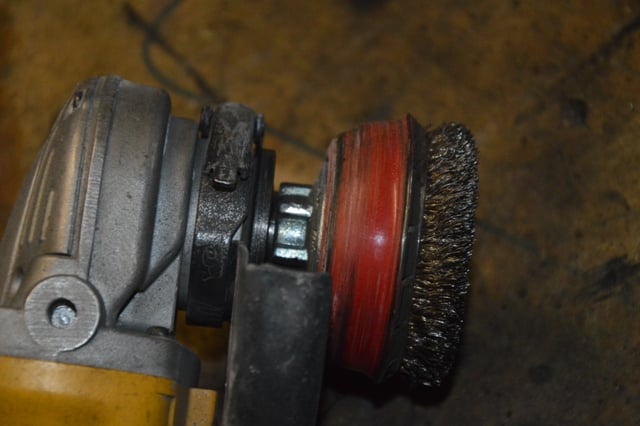
Do you have a picture of the wire buff you used to strip the paint? 


#532 _Hamster_

_Hamster_
  • Guests

Posted 02 October 2013 - 11:15 PM

Yea if i remember ill get it for ya  tomorrow.

Basicly just screws onto the grinder.


#533 _judgelj_

_judgelj_
  • Guests

Posted 03 October 2013 - 01:01 PM

Yeah but is it the wire twist one? I wanted to use one to sand back my floor pan but im not sure if it will be too harsh. 


#534 _Hamster_

_Hamster_
  • Guests

Posted 03 October 2013 - 02:29 PM

Forgot to get pics until i read that.


I found it wasn't to harsh. I had a small rusty spot i had to hit up with the flap disk because it woudn't cut into it so to speak.


DSC_2187_zps53cb2dbf.jpg


DSC_2188_zps303ab1a2.jpg


You see those other ones that are out the side which always have bits of metal flying off and stabbing into you. I only had a couple bits stuck in my shirt when i was done. It's also dense....You really need to shove it in to small corners to get the paint off.

But yea all i would say is you need a pretty good grinder to turn it otherwise it may take quite a while, but didn't damage the panels like the flap disc would if i tried shoving that into the lips/corners.


Also note: this ones worn down a lot, its suposed to have little plastic tabs around the outside.

(i also think you can get bigger ones, but honestly i wouldn't go much bigger than this and this grinder has a lot of balls. (its a 5 inch aswel)


Edited by Hamster, 03 October 2013 - 02:31 PM.


#535 _judgelj_

_judgelj_
  • Guests

Posted 03 October 2013 - 11:51 PM

That's awesome i want one!!! Will definitely be using one to clean up my floor pan before painting!!!


#536 madtoranajzedded

madtoranajzedded

    Sir ask alot

  • Members
  • PipPipPipPipPipPip
  • 2,893 posts
  • Name:Maz
  • Location:Southern Tasmania
  • Car:72 LJ SL SEDAN.
  • Joined: 30-September 13

Posted 04 October 2013 - 09:39 PM

you have had it pretty hard with the rust so far bud,keep goin :banghead:  i would of been pissed off ages ago hamster,you have done a pretty wicked job so far not affraid of havin ago,its all money money money bud thats how i see it with me project,hate goin in the shed when i aint got no money to get into it,here,s a pic of me 4dr to dateAttached File  tuff 72 009.jpg   402.58K   1 downloads


#537 _judgelj_

_judgelj_
  • Guests

Posted 04 October 2013 - 11:20 PM

If i knew how to type out a whistle i would. That's sexy!


#538 _Hamster_

_Hamster_
  • Guests

Posted 04 October 2013 - 11:51 PM

late late late


it does look nice......*whistle*?


Sandblaster is closing up soon (new he was gona eventualy) Gives me more motivation to get it back home sooner rather than later.


Kitchen may take longer, uncles funeral is friday next week dad goes back to work after that more or less so who knows whats doing with the kitchen.


Annnnnd thats about it, might find a few more small bits and bobs to clean up in the next few days.


#539 _AD_75_

_AD_75_
  • Guests

Posted 05 October 2013 - 04:03 AM

you have had it pretty hard with the rust so far bud,keep goin :banghead:  i would of been pissed off ages ago hamster,you have done a pretty wicked job so far not affraid of havin ago,its all money money money bud thats how i see it with me project,hate goin in the shed when i aint got no money to get into it,here,s a pic of me 4dr to dateattachicon.giftuff 72 009.jpg

That looks awesome! should do a build thread on it if you havent already.


#540 _Hamster_

_Hamster_
  • Guests

Posted 06 October 2013 - 01:56 PM

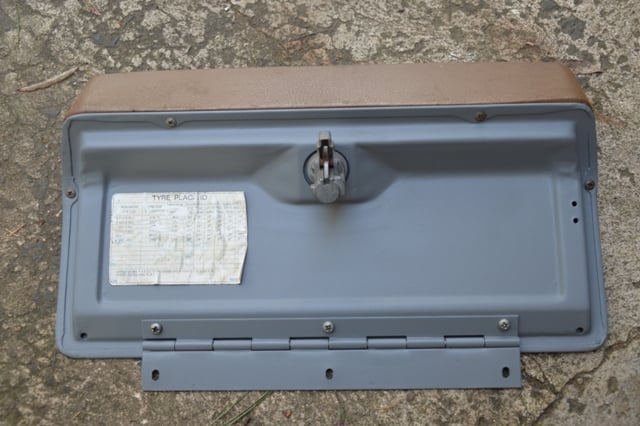
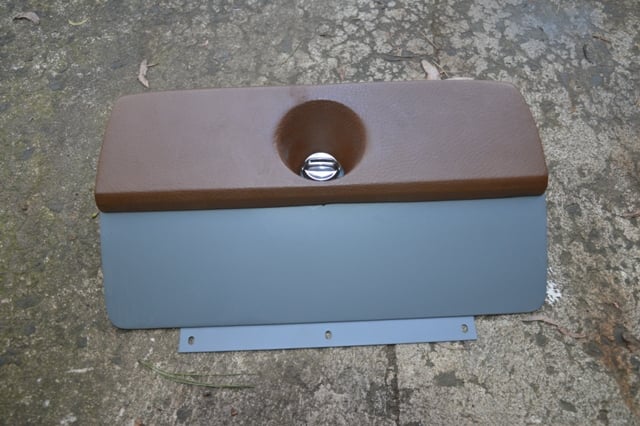
So dispite what everyone might say i put the glovebox back together.

Yea i know its not fully painted but 1 i dunno what colour, 2 i dont got no paint and 3 if i put it back in the shed bits will be lost forever (cause its a frOcking mess) SO i put it all back together and in theory i can't lose little screws etc.


DSC_2189_zps755d7df3.jpg


DSC_2191_zps2435a6dd.jpg

(has just enough stick to stay there for the time being) (the sticker that is.......)


DSC_2192_zpsd070bfab.jpg


DSC_2193_zps663066eb.jpg

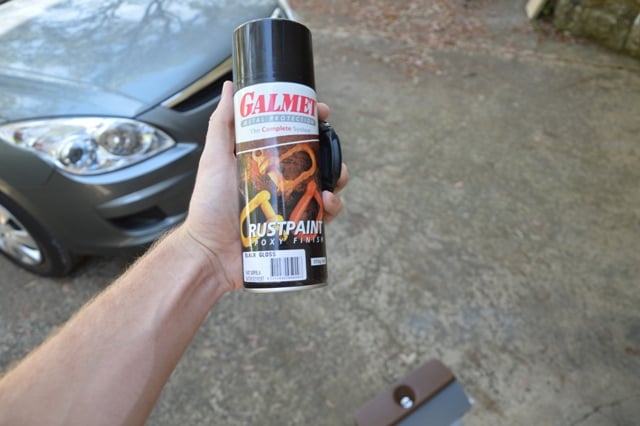
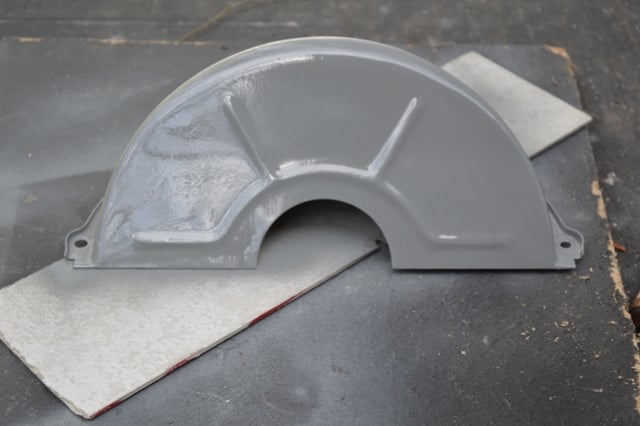
So found this, figured i would paint the front bit with it and see how it goes, just says lighting sand the primer so i did that yadda yadda.


DSC_2208_zps444c76b2.jpg


DSC_2207_zps7ab4b926.jpg


DSC_2194_zpsf46da552.jpg

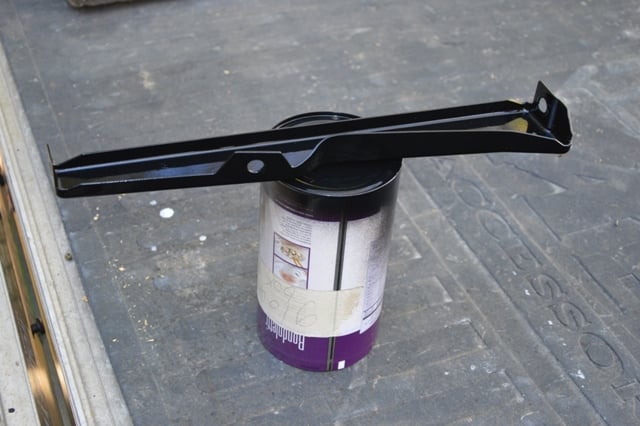
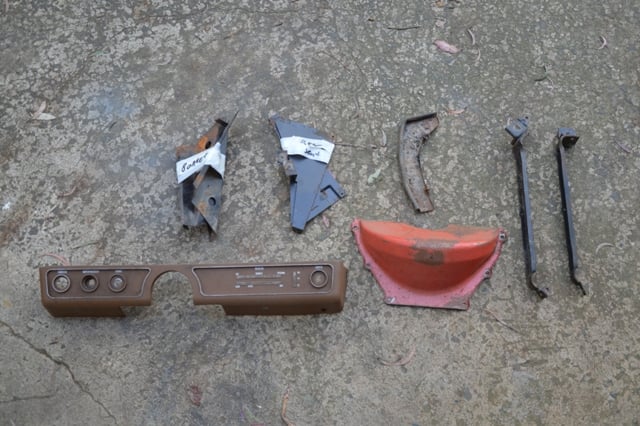
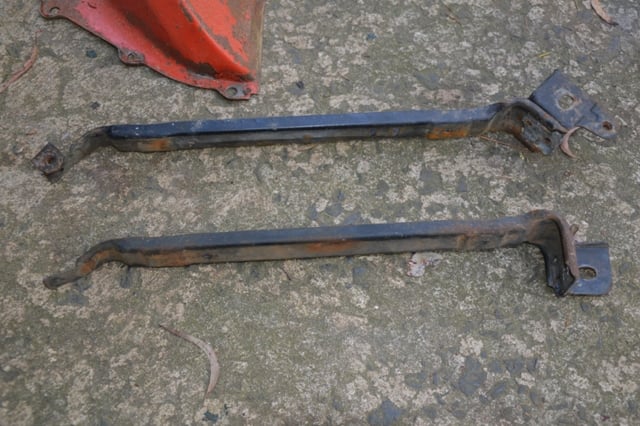
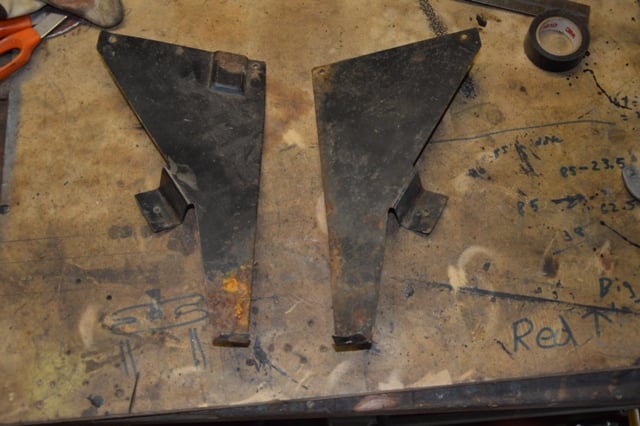
So while that was drying i found all these bits i can clean up and paint.....no frOcking idea what the 2 bits on the end are?


DSC_2195_zps75b64506.jpg

At a guess they were off the ford kb lazer but i won't throw them out until im 100% sure.........so if anyone has any ideas that would be good.


DSC_2197_zpsf8047623.jpg

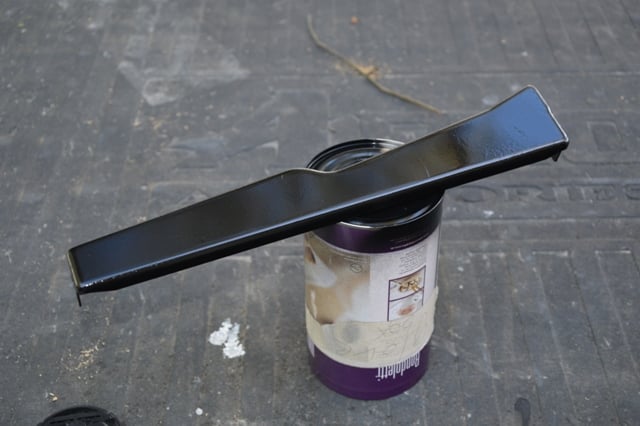
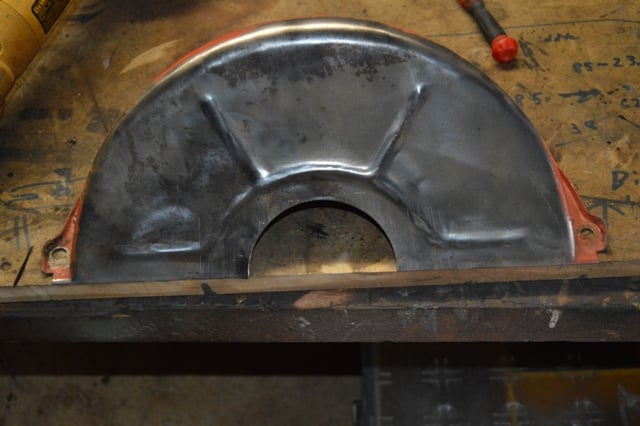
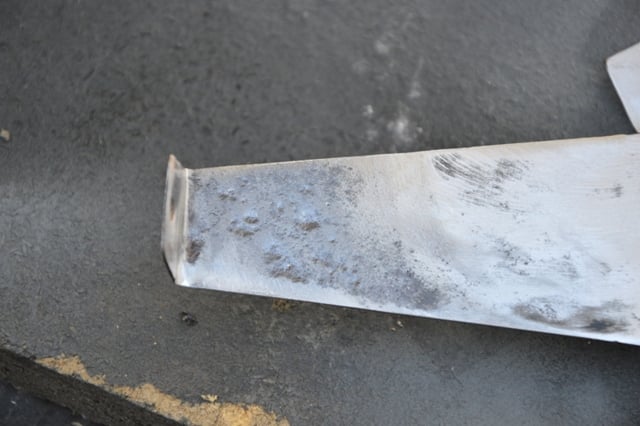
Shiny, paint came off pretty easy, used the buffer again for this bit but its a bit rusty so i used the flap disk to clean it all up properly.


DSC_2198_zps3f44010c.jpg


DSC_2199_zpsa5ae4851.jpg

Annnnnd had to do this bit by hand.....yay?


DSC_2200_zps865559b2.jpg

Not very staight....but it came off a working car so i won't touch it.


DSC_2201_zpsa074cccc.jpg


DSC_2202_zps773de84b.jpg

Shiny


DSC_2203_zps7b3bc183.jpg

Bits that hold the rear seat in place.


DSC_2204_zpse59c60c3.jpg

woah oh oh sweet child o mineeeeeeeeeeeeee


DSC_2205_zps2b362deb.jpg

Back to the car....All the little tabs were bent so i just put them in the vice and that worked.


DSC_2206_zps9087cb53.jpg

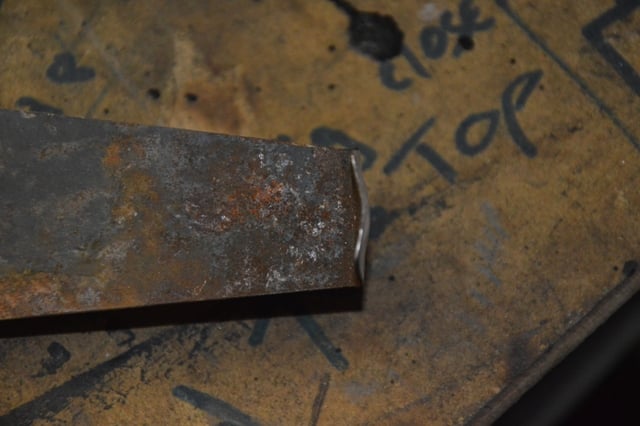
This bit was rusty but....like its a bit that holds the rear seat in place. If it was the car body itself i would get it fixed but.....I can easily replace it if it stuffs up so i not really worried about it.


(and i forgot to get pics of it painted, paint jobs rough cause i was using every last drop in the bottom of the can....again its hidden i couldn't care)


As for the lower dash....dunno what im gonna do there. I can't do all those little letters i thought they were etched/scribed in but they arn't so.............yea iduno.


#541 _judgelj_

_judgelj_
  • Guests

Posted 06 October 2013 - 03:35 PM

Lower dash use vinyl pressure pack paint. Paint over everything and buy a silver paint pen and draw everything in. Or use masking tap and a fine scalpel or something to cut the masking precisely. 


#542 kiwi-lilj

kiwi-lilj

    Forum Fixture

  • Members
  • PipPipPipPipPip
  • 1,426 posts
  • Name:Blair
  • Location:NZ
  • Car:LIL J
  • Joined: 14-September 08

Posted 06 October 2013 - 05:56 PM

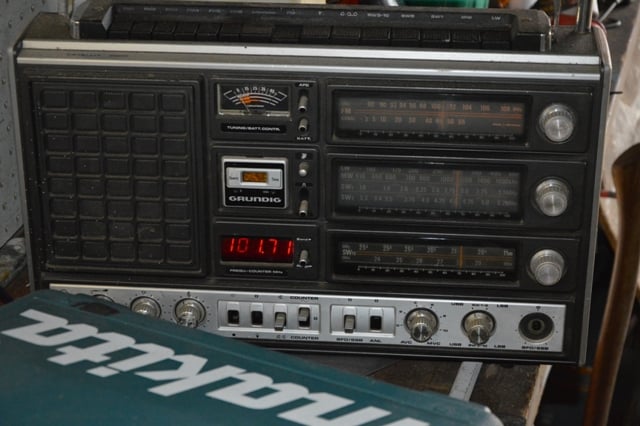
Nice boom box.

#543 madtoranajzedded

madtoranajzedded

    Sir ask alot

  • Members
  • PipPipPipPipPipPip
  • 2,893 posts
  • Name:Maz
  • Location:Southern Tasmania
  • Car:72 LJ SL SEDAN.
  • Joined: 30-September 13

Posted 06 October 2013 - 08:22 PM

So dispite what everyone might say i put the glovebox back together.

Yea i know its not fully painted but 1 i dunno what colour, 2 i dont got no paint and 3 if i put it back in the shed bits will be lost forever (cause its a frOcking mess) SO i put it all back together and in theory i can't lose little screws etc.


DSC_2189_zps755d7df3.jpg


DSC_2191_zps2435a6dd.jpg

(has just enough stick to stay there for the time being) (the sticker that is.......)


DSC_2192_zpsd070bfab.jpg


DSC_2193_zps663066eb.jpg

So found this, figured i would paint the front bit with it and see how it goes, just says lighting sand the primer so i did that yadda yadda.


DSC_2208_zps444c76b2.jpg


DSC_2207_zps7ab4b926.jpg


DSC_2194_zpsf46da552.jpg

So while that was drying i found all these bits i can clean up and paint.....no frOcking idea what the 2 bits on the end are?


DSC_2195_zps75b64506.jpg

At a guess they were off the ford kb lazer but i won't throw them out until im 100% sure.........so if anyone has any ideas that would be good.


DSC_2197_zpsf8047623.jpg

Shiny, paint came off pretty easy, used the buffer again for this bit but its a bit rusty so i used the flap disk to clean it all up properly.


DSC_2198_zps3f44010c.jpg


DSC_2199_zpsa5ae4851.jpg

Annnnnd had to do this bit by hand.....yay?


DSC_2200_zps865559b2.jpg

Not very staight....but it came off a working car so i won't touch it.


DSC_2201_zpsa074cccc.jpg


DSC_2202_zps773de84b.jpg

Shiny


DSC_2203_zps7b3bc183.jpg

Bits that hold the rear seat in place.


DSC_2204_zpse59c60c3.jpg

woah oh oh sweet child o mineeeeeeeeeeeeee


DSC_2205_zps2b362deb.jpg

Back to the car....All the little tabs were bent so i just put them in the vice and that worked.


DSC_2206_zps9087cb53.jpg

This bit was rusty but....like its a bit that holds the rear seat in place. If it was the car body itself i would get it fixed but.....I can easily replace it if it stuffs up so i not really worried about it.


(and i forgot to get pics of it painted, paint jobs rough cause i was using every last drop in the bottom of the can....again its hidden i couldn't care)


As for the lower dash....dunno what im gonna do there. I can't do all those little letters i thought they were etched/scribed in but they arn't so.............yea iduno.

they have them stencil kits for lower dash on ebay hamo,between 20-30 bucks ,have a geeser


#544 _Hamster_

_Hamster_
  • Guests

Posted 06 October 2013 - 09:15 PM

Ill see if i can find the stencil. Im not good enough to do what judge said >.>


I was toying with the idea of scribing (tracing) the letters whats there with the....thingo tool thingo (to late for proper names) (electric scribber thingy majig we will call it)

But if i can find the stencils then thats what im gonna do.


#545 _Hamster_

_Hamster_
  • Guests

Posted 09 October 2013 - 12:49 PM

Went on an 8 hour bush walk into the valley near katoomba yesturday so i did what i could before my legs gave up on me. (over 3000 stairs is not a good idea)


DSC_2301_zps740a0b42.jpg

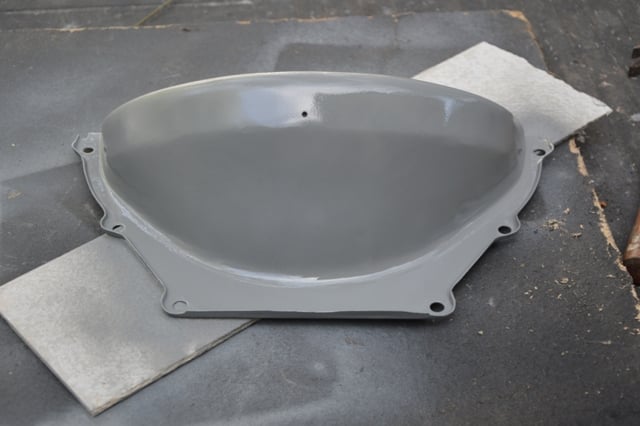
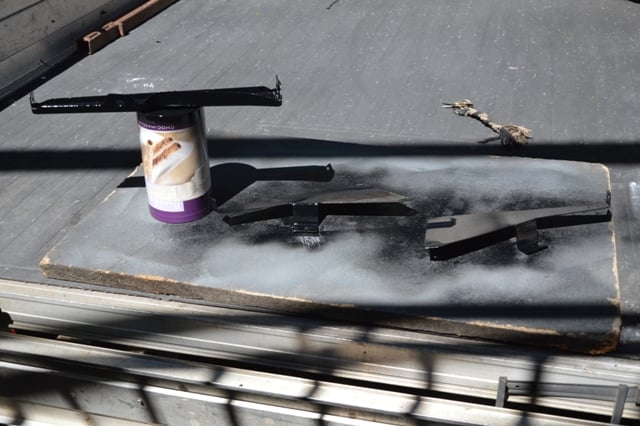
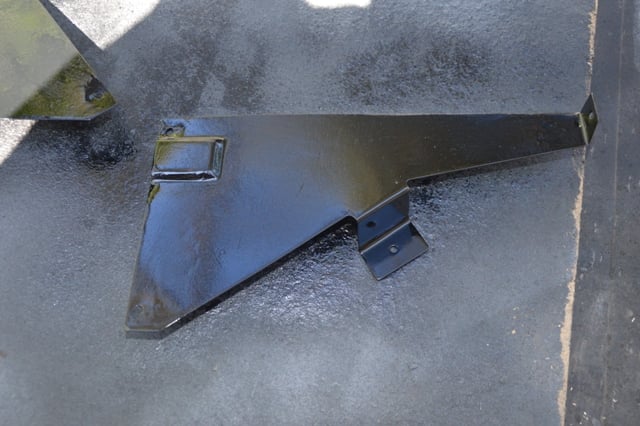
Painted the left overs, gave another coat on the......thing that we dont have a name for yet.


DSC_2303_zps8487e150.jpg

Looks like a horrible paint job, but turned out pretty good when it dried.


then i went lewking again.

DSC_2304_zpsce951d11.jpg


DSC_2305_zpseedcdc2d.jpg


DSC_2306_zpse7f3a583.jpg


DSC_2307_zps9d292c03.jpg


DSC_2308_zps67c19a1c.jpg


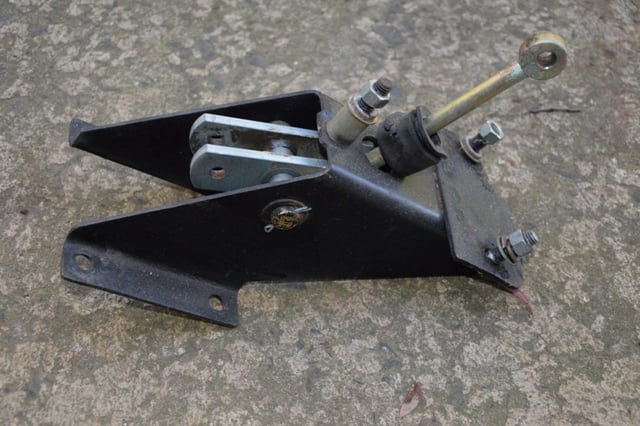
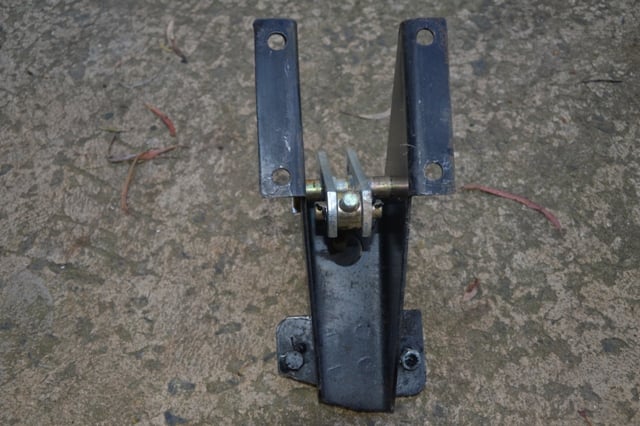
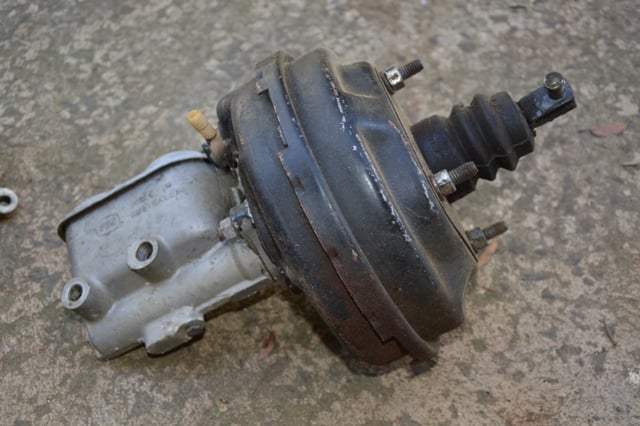
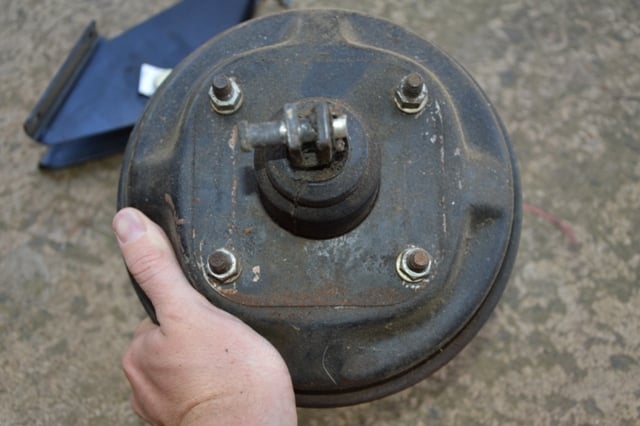
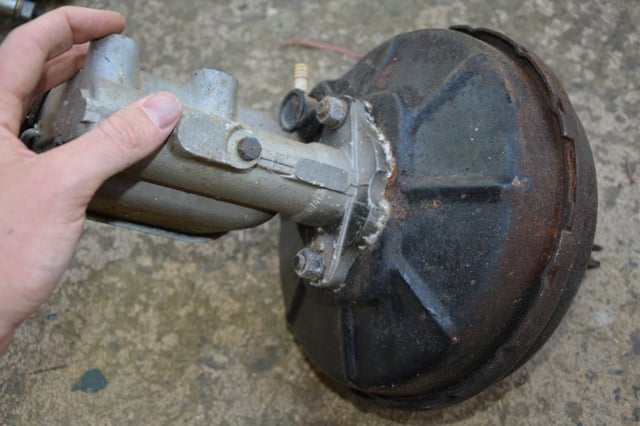
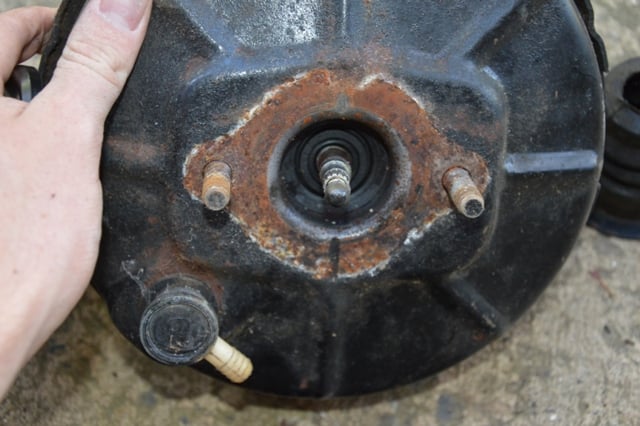
So the bracket isnt to bad, the bottom of the booster is all rusty so im thinking because it looks like a huge pain in the ass ill rob get those 2 bits sandblastered and ill muster up a few more bits and pieces for him to do aswell, then maybe get him to undercoat it in that red shit the diff is done in or normal primer? dunno.


so i went on a quest to pull it apart

DSC_2309_zps67211784.jpg


DSC_2310_zps8ee79b46.jpg


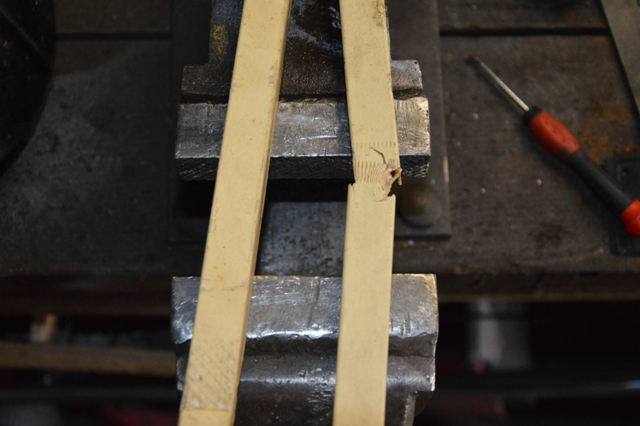
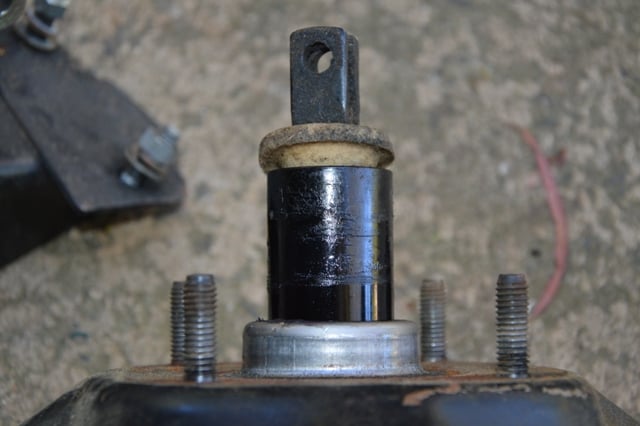
got it all off, and figured the middle section twisted apart. So i put it in the vice with 2 small bits of wood to protect the thred on the bolts and got the crowbar (already tried with the hamer and things) and yanked the absolute shit out of it. That didn't work so then i heated it up a LITTLE not knowing whats inside.


DSC_2311_zpsc0feb4f5.jpg


And the 2 bits of wood holding the bolts in the vice broke.....so save to say it aint comming apart without the proper tool (providing there is one)


Then i came back inside to look at photos from yesturday and die pretty much.


#546 orangeLJ

orangeLJ

    Yes, yes I do post alot!

  • Members
  • PipPipPipPipPipPipPip
  • 10,261 posts
  • Joined: 02-May 06

Posted 09 October 2013 - 02:38 PM

wait, you are trying to pull the booster apart?


dont do that.


#547 _Hamster_

_Hamster_
  • Guests

Posted 09 October 2013 - 03:19 PM

yea.......i wont now lol.


I was gonna pull it all apart then just get the two ends blastered.

Also i have no idea if it needs to be reco'd or anything.


#548 Rockoz

Rockoz

    Oh My, Don't you post alot

  • Members
  • PipPipPipPipPipPipPip
  • 4,008 posts
  • Name:Rob
  • Location:Cowra NSW
  • Joined: 21-September 08

Posted 09 October 2013 - 09:28 PM

would have been an interesting story if you managed to get it apart


#549 Ice

Ice

    Cool

  • Members
  • PipPipPipPipPipPipPip
  • 15,178 posts
  • Name:Gene
  • Location:Galaxy's away from Ipswich
  • Car:77 HZ Sandman Van
  • Joined: 03-January 07

Posted 09 October 2013 - 10:02 PM

yea.......i wont now lol.
 
I was gonna pull it all apart then just get the two ends blastered.
Also i have no idea if it needs to be reco'd or anything.

If was me just pay the money and get it recon they will put a coat of paint on it
they dont stop that good as it is the toranas brakes are good

#550 _Hamster_

_Hamster_
  • Guests

Posted 09 October 2013 - 10:45 PM

Yea see how much a reco costs. Local mechanic might be able to do it. He does a bit with older cars from what i understand.


Look for more bits to do tomorrow.


Gotta look in some engine bays i think those other bits i had in my first pile to do (with lower dash) that go on the sides near the heater box...........Arn't in everyones cars so i dunno if i need to do them or not. They do look quite ugly.


2 user(s) are reading this topic

0 members, 2 guests, 0 anonymous users