Jump to content


SINGLE CAB KOMBI UTE V8 BUILDUP


  • Please log in to reply
225 replies to this topic

#176 _dirtbag_

_dirtbag_
  • Guests

Posted 15 February 2012 - 06:53 PM

Well it's not much but I did a bit more today.

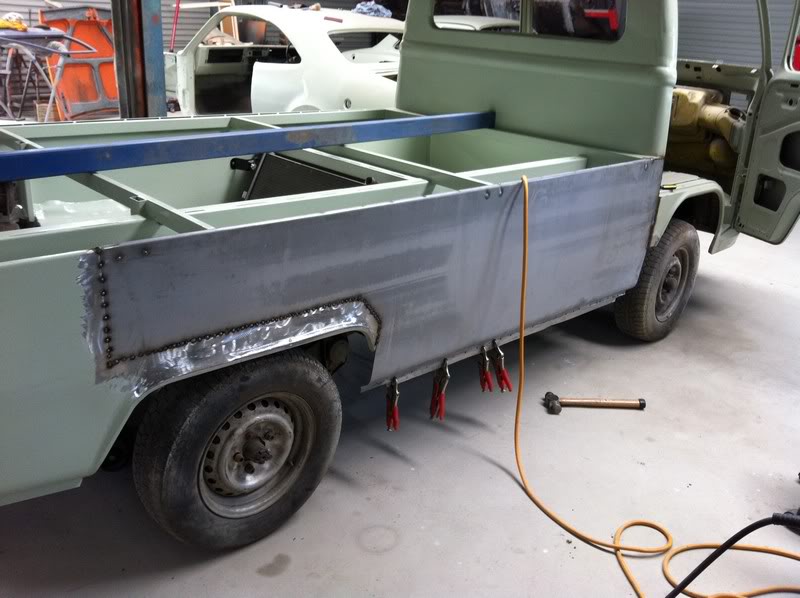
The time has come to weld one of the sides on.

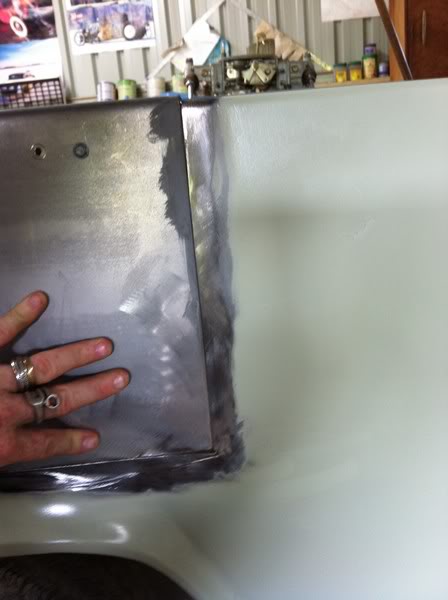
I removed some of the paint where I want to weld and trimmed the existing body so the new side would fit on properly with no overlaps.


Posted Image


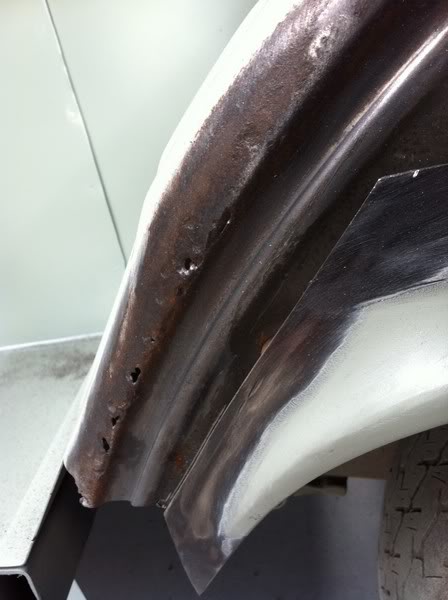
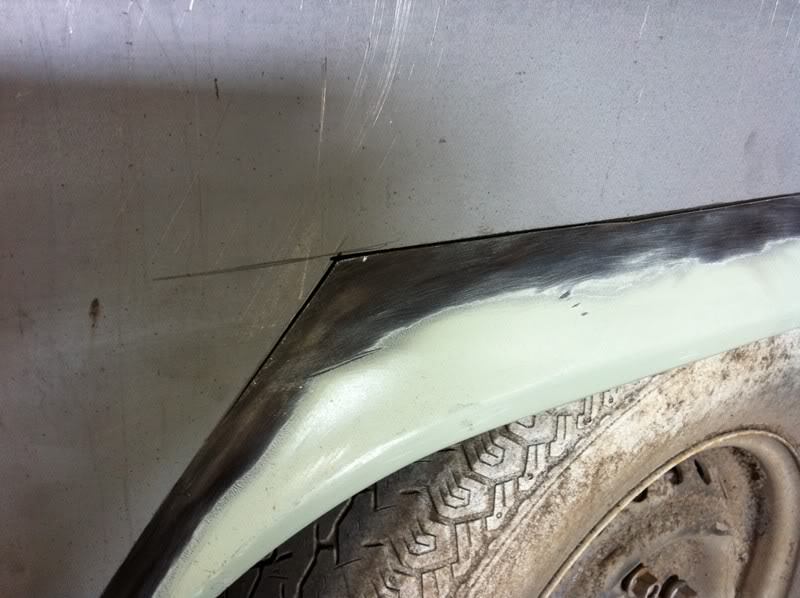
I did find a couple of little rust holes in the wheel tub but nothing serious.


Posted Image

Posted Image


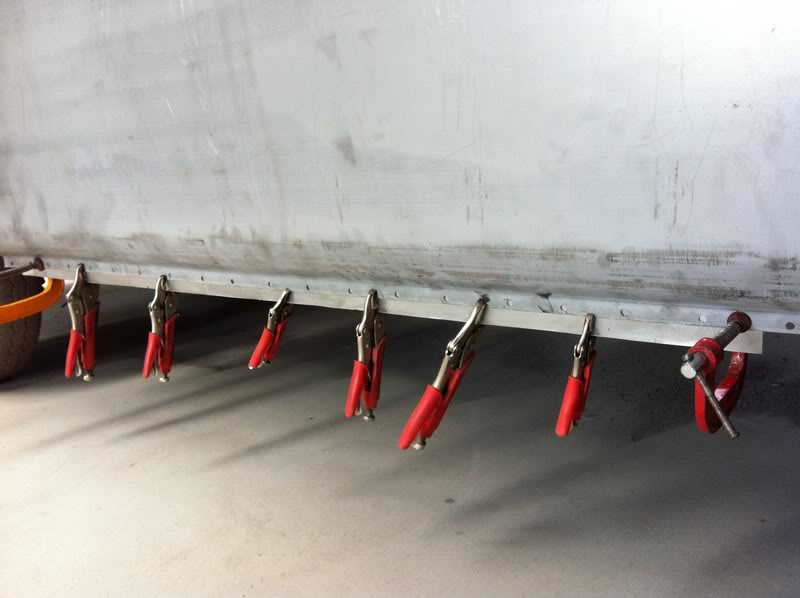
I also sanded some of the primer off the inner sill for where I'm going to plug weld the new side on.


Posted Image


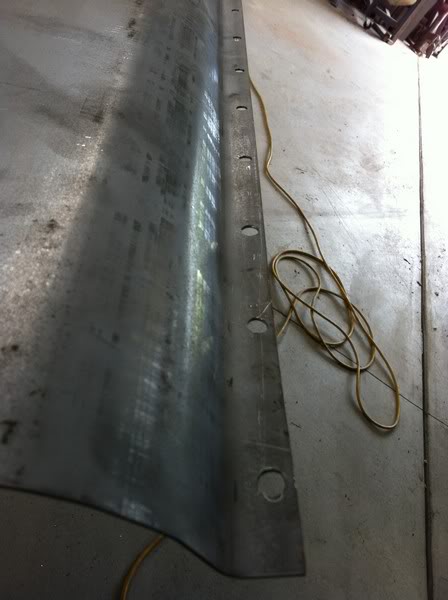
So that meant drilling a row of holes along the lower edge of the new side.


Posted Image


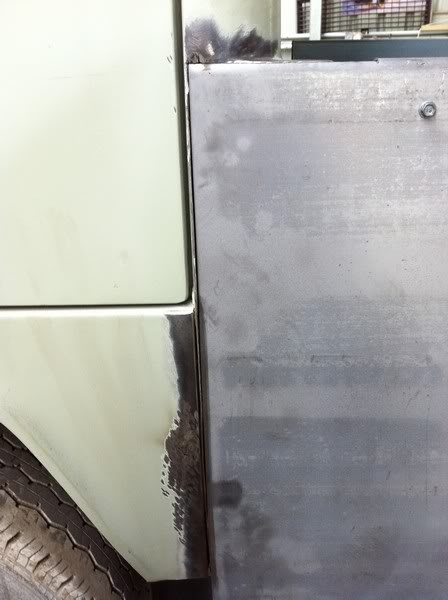
There's about a 1mm gap between the existing body and the new side.


Posted Image

Posted Image


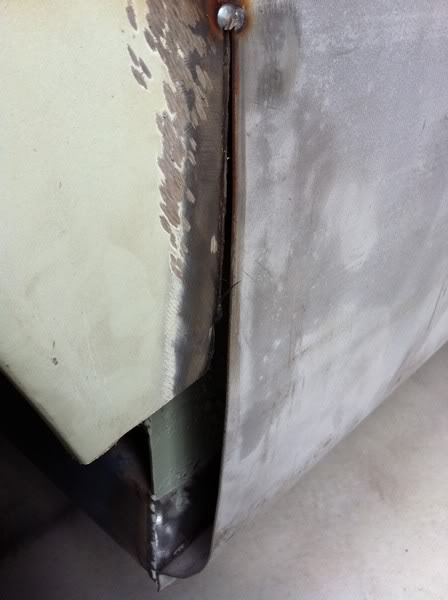
At the front there's a seam where the new side will join. I'll weld the new side to the seam, which will also fill the seam. Lovely : )


Posted Image


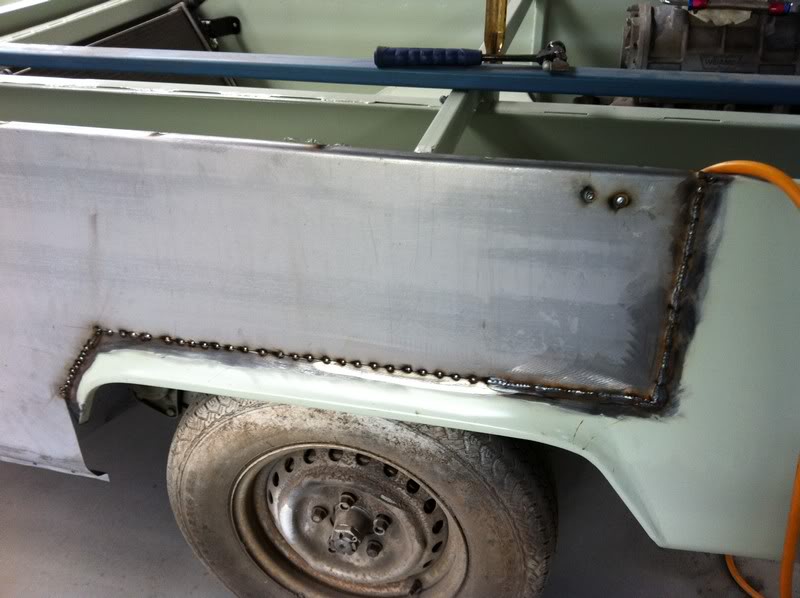
Let the welding begin!


Posted Image


Posted Image


Welded.


Posted Image


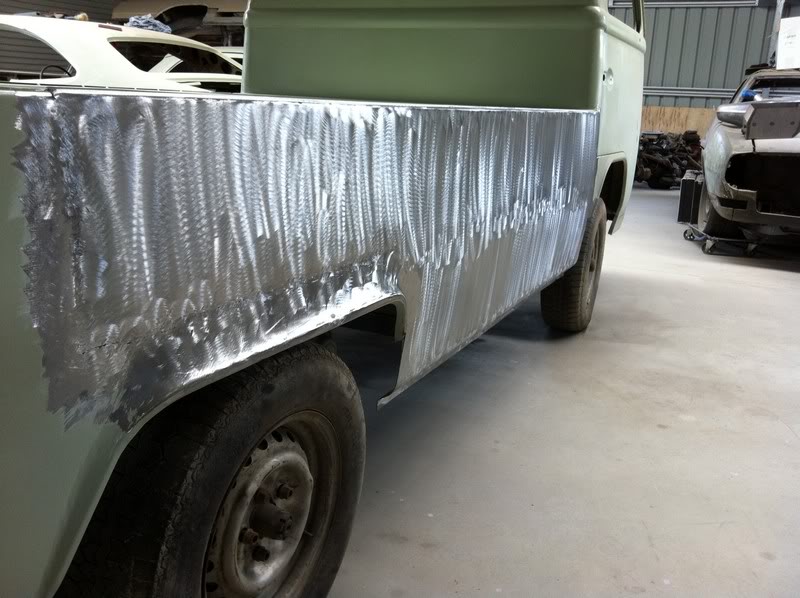
Now it's sanded and the inner sill has been trimmed to suit.


Posted Image


The front pillar tapers in more than the new side, as the new side is 3 inches deeper. I'm going to split the seam and pull the pillar out to meet the new side.


Posted Image


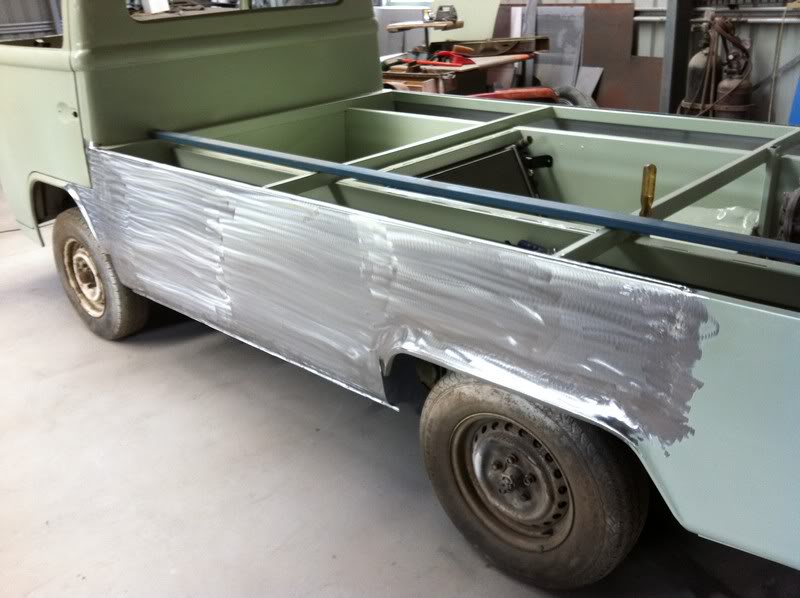
It's starting to look like a proper car!


Posted Image


I still have to finish the wheel arches though.


Posted Image


You can see here how the pillar has been brought out to meet the new side.


Posted Image

Posted Image


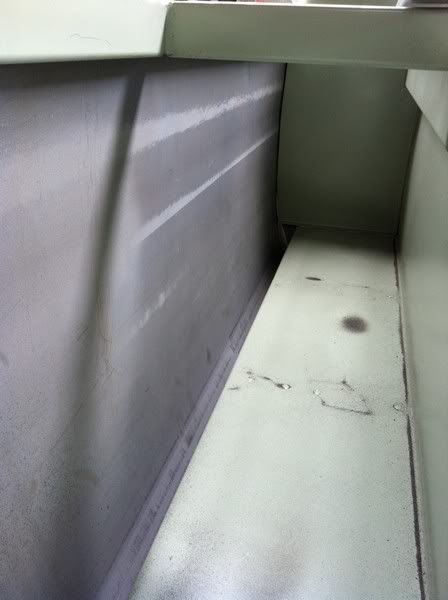
Good storage in the sides.


Posted Image


And of course some rust converter : )


Posted Image


I can actually notice the 3 inch added to the sills now. I like it. It'll look a lot better when I finish the wheel arches though.


Posted Image


That's it for now : )

#177 _CraigA_

_CraigA_
  • Guests

Posted 15 February 2012 - 07:06 PM

I am typically a watcher not a poster in threads like this but love your application to task and creativity. Cool project.

Keep it coming :)

#178 _dirtbag_

_dirtbag_
  • Guests

Posted 16 February 2012 - 04:37 PM

Thanks CraigA.


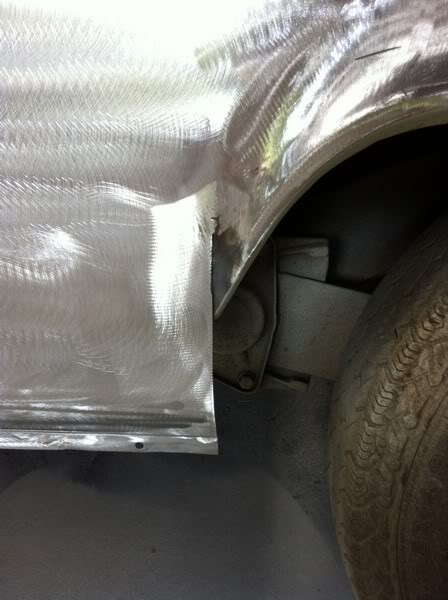
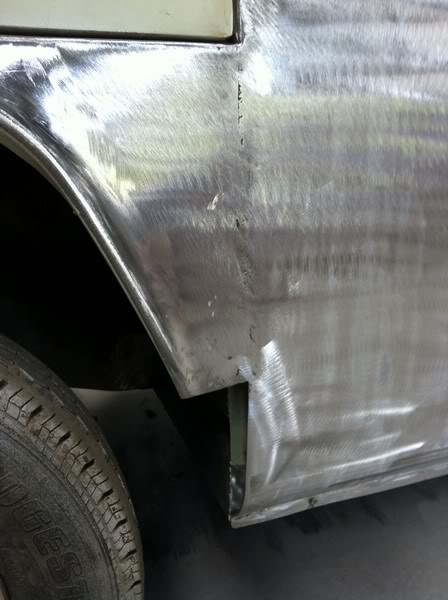
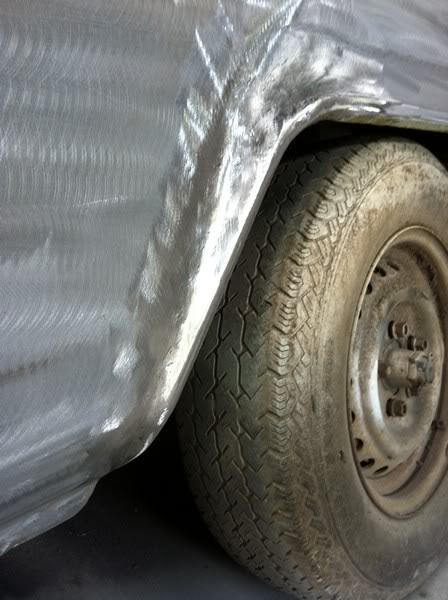
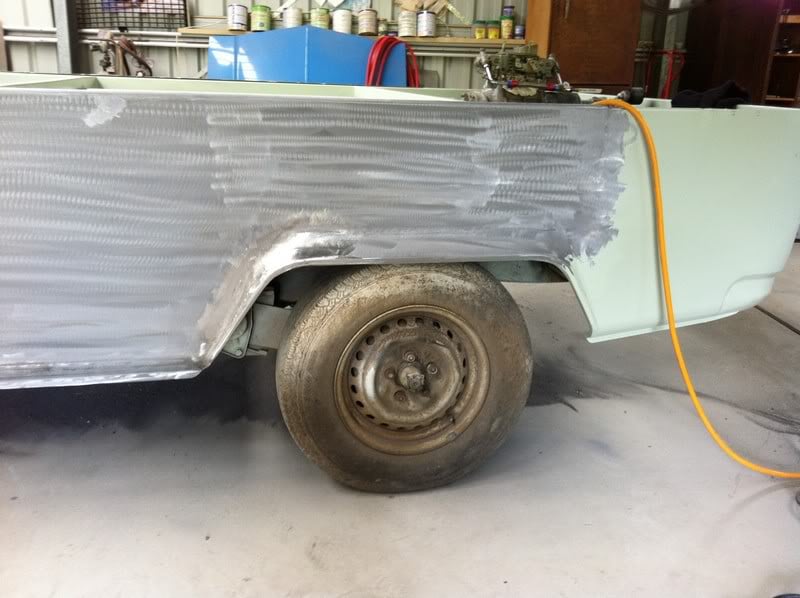
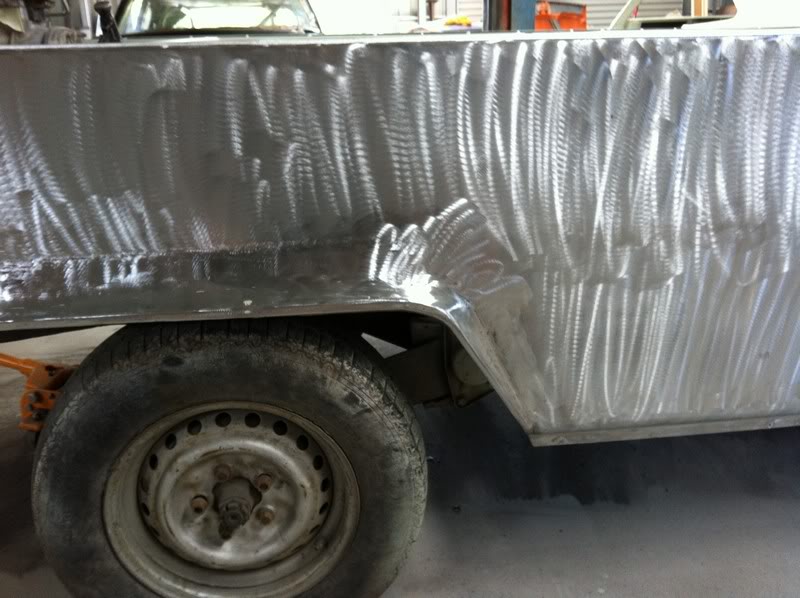
Well I did a little bit more today. I had to finish the wheel arches as it was bugging me.


Posted Image


I added the inner lip to keep it looking stock.


Posted Image


Posted Image

Posted Image


With that done I did the front one too.


Posted Image

Posted Image


Posted Image


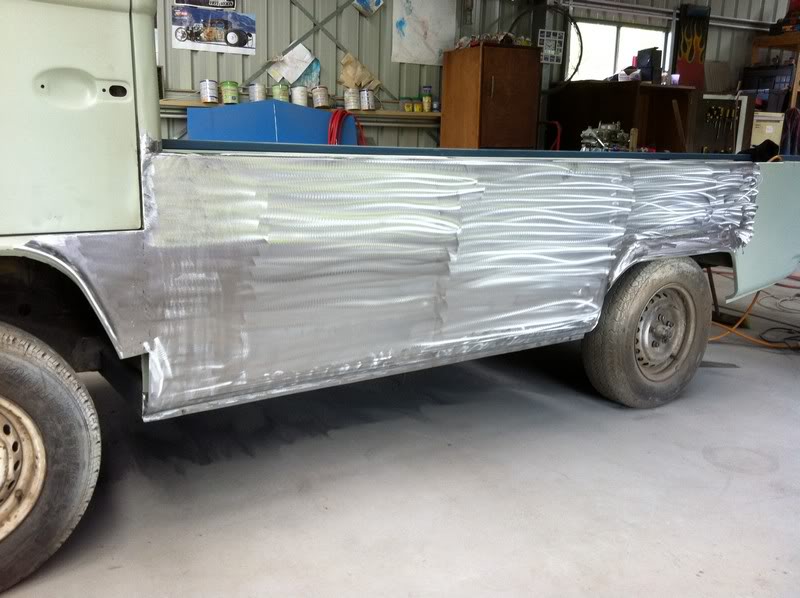
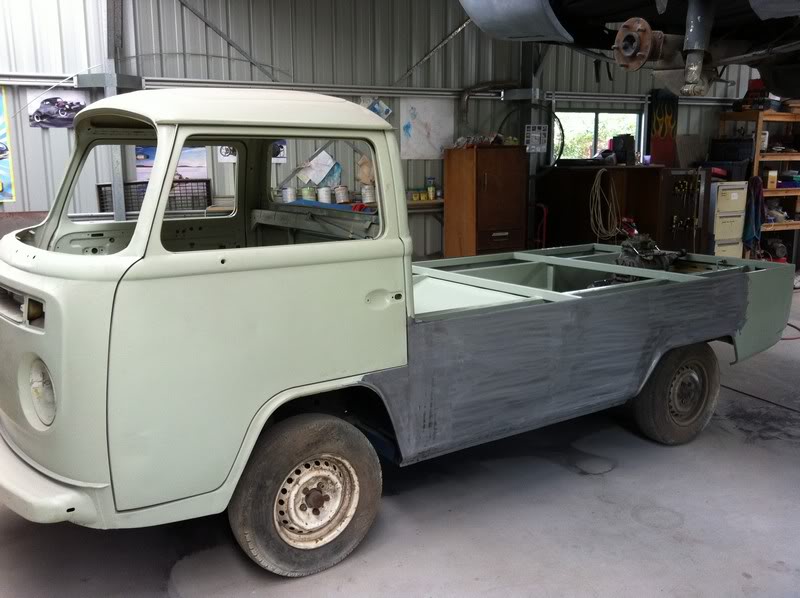
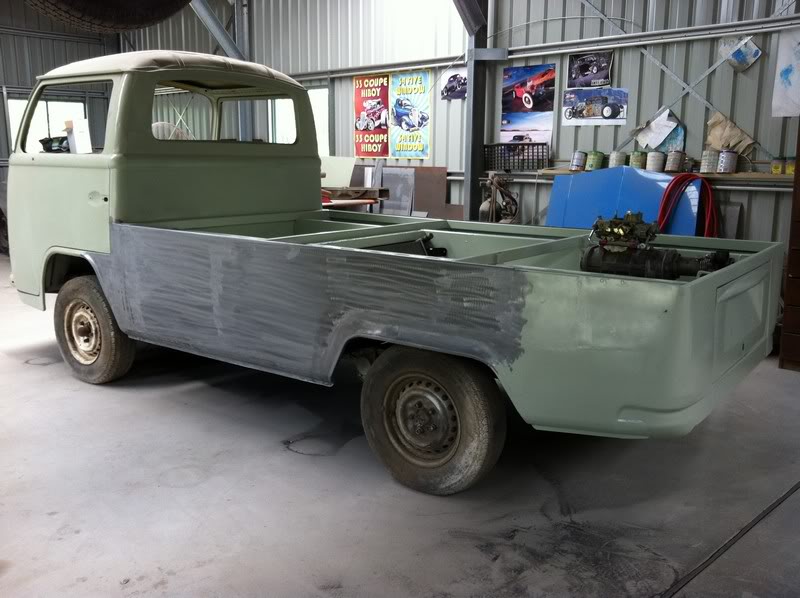
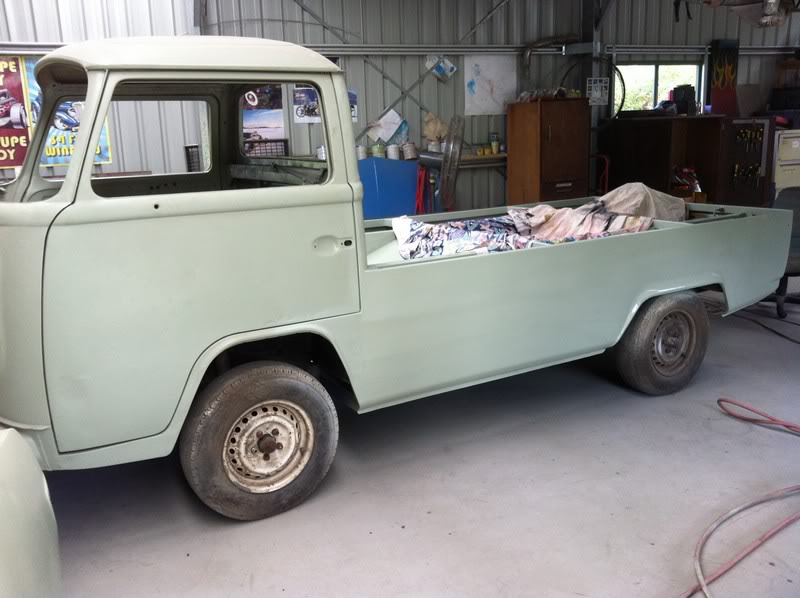
It's funny but even though I've lengthened the car 5 1/2 inches, to me it looks like the wheel base has been shortened. The deeper side panels and longer tail create the illusion I guess, but I like it : )


Posted Image

Posted Image

Posted Image


That's it for now : )

#179 _Viper_

_Viper_
  • Guests

Posted 16 February 2012 - 10:30 PM

Nice Tim, There really long rear tubs, what size rear tyres are you planning to run?

#180 _dirtbag_

_dirtbag_
  • Guests

Posted 17 February 2012 - 11:45 PM

Tyres wont be that big. There's not a lot of width in the tubs and it's going to be very low meaning even less room. Yes the wheel arches look long, but that;s just how they are. I thought about shortening the opening a few inches but then it wouldn't look as kombi ish : )

#181 Stinga

Stinga

    .

  • Members
  • PipPipPipPipPip
  • 2,114 posts
  • Name:Stinga
  • Location:Wollongong, NSW
  • Car:HD Holden ute, and sedan, UC torana
  • Joined: 05-December 05

Posted 18 February 2012 - 12:25 AM

new sills and wheel arches look awesome Tim, is there much left to do to it? what tail lights are going in?

#182 _dirtbag_

_dirtbag_
  • Guests

Posted 24 March 2012 - 09:34 AM

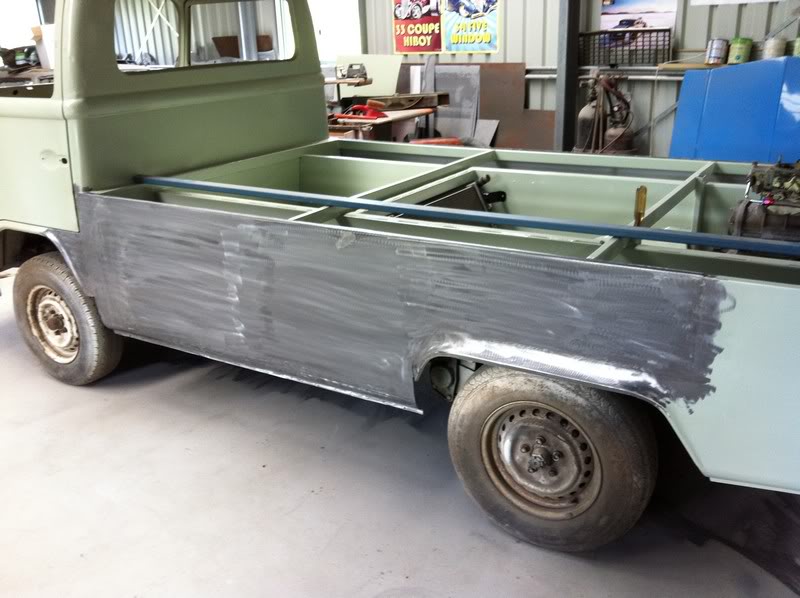
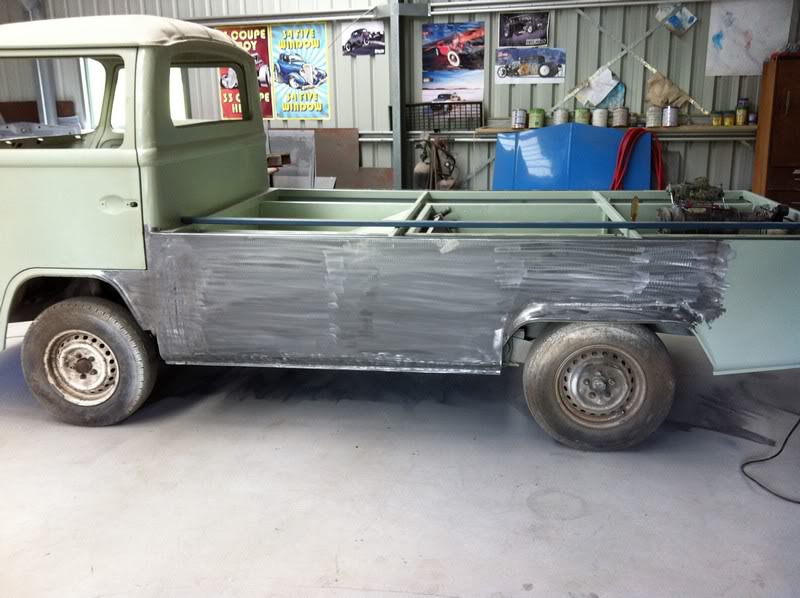
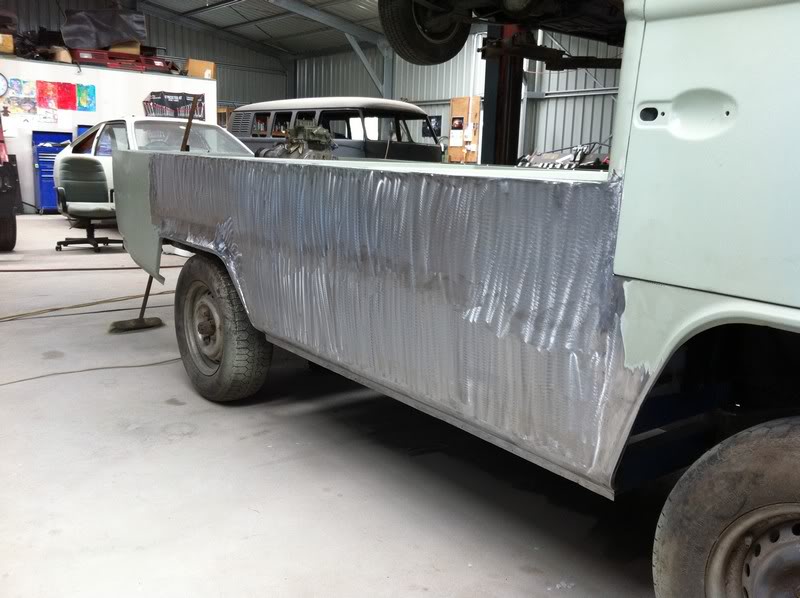
So I finally threw some etch on the side to seal it all up. Almost looks like a car now!


Posted Image

Posted Image


I then started on the other side by sanding off the etch where I have to weld.


Posted Image


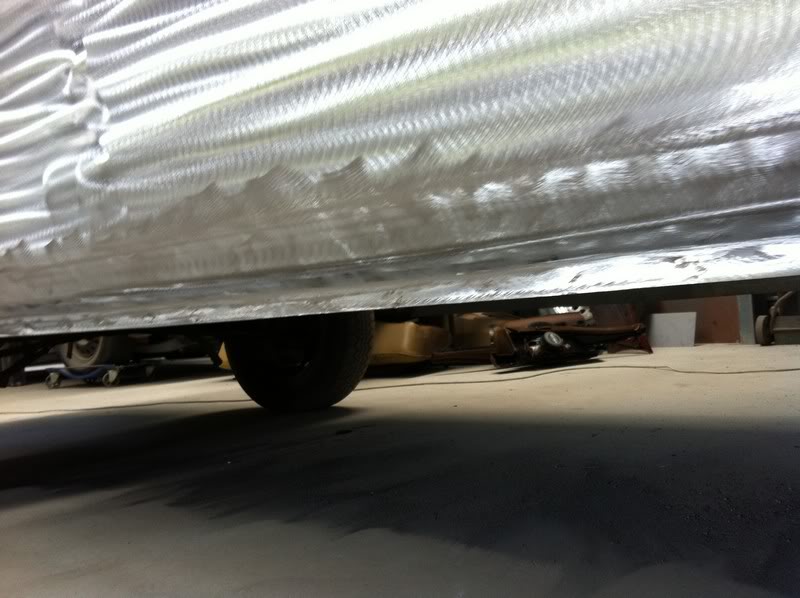
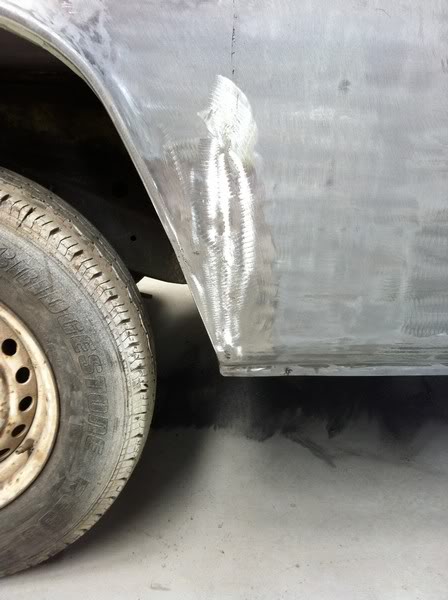
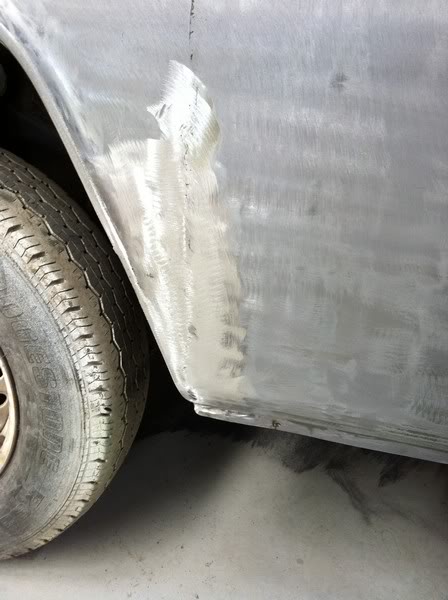
The wheel arch on this side was knocked in a bit so I gave it a bit of a hit with the slide hammer.


Posted Image


I got most of it out, but I'll get the rest pulled out when the side is welded on, as it's just pulling the whole tub out if I go any further.


Posted Image


With that done I sanded the inside of the new panel and drilled the holes along the sill for plug welding.


Posted Image


Let the weldathon begin : )


Posted Image

Posted Image


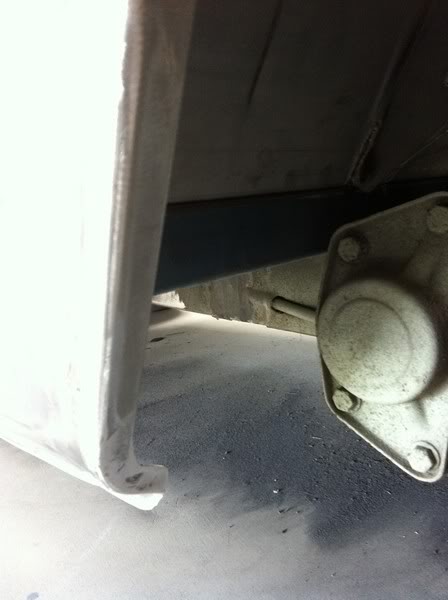
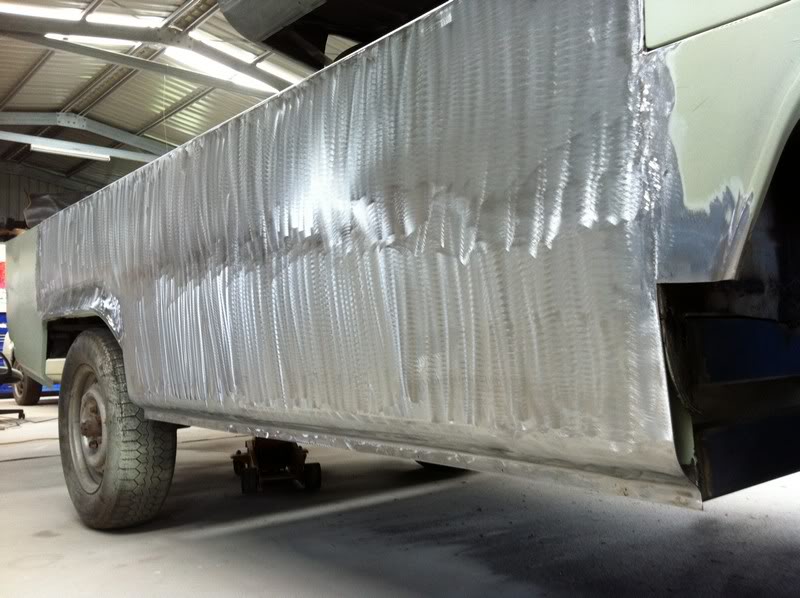
With all the sill plug welds done and sanded I could trim the inner sill to match. Looks much neater without the other bit sticking out the bottom : )


Posted Image


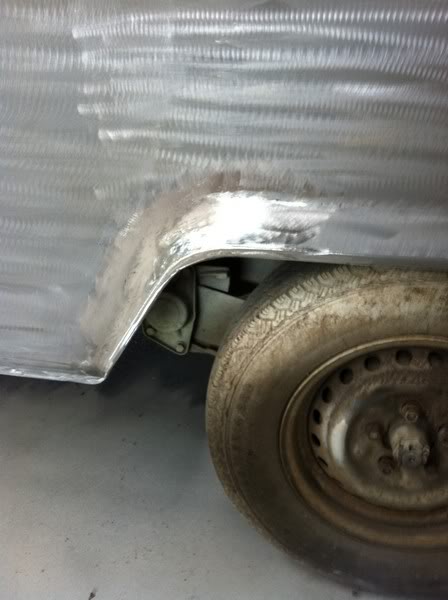
Then the wheel arches needed doing.


Posted Image

Posted Image

Posted Image

Posted Image

Posted Image

Posted Image


Then of course it's the usual rust converter and etch primer.


Posted Image

Posted Image


That's it for now : )

Stinga, yes there's still a bit to do. I still have to cut the rust out of the doors, make the tray, put a lip all around the top of the tray, panel beat the whole thing etc. Feel free to come and help : )

As for tail lights, we're thinking something like a low light kombi tail light. Something that's smaller than what was in this originally.

#183 _mick74lh_

_mick74lh_
  • Guests

Posted 24 March 2012 - 01:28 PM

Looks wicked. As if there wasn't enough fab work on one side, then you had to go and do pretty much the same thing on the other side. Cheers again for posting pictures.

#184 _Moose lc_

_Moose lc_
  • Guests

Posted 02 April 2012 - 10:45 PM

Wow! That's awesome! I can't say any more than that. I'm just looking forward to seeing how this finishes up.
Great work
Moose

#185 wot179

wot179

    Green Eggs and Spam

  • Members
  • PipPipPipPipPipPipPip
  • 6,784 posts
  • Name:Jesus Bloody Christ
  • Location:Sunny Santa Maria
  • Car:Goon
  • Joined: 06-February 09

Posted 03 April 2012 - 08:35 AM

There are so many ways you could go with tail lights.

60-66 Chev pickup would look good, or 71 Camaro, or even s4 Corvette.

A lot would depend on wheel choice and colour/style

That said,I really like early zombie lights,too.

#186 _Liam_

_Liam_
  • Guests

Posted 03 April 2012 - 11:47 AM

What about BA era XR8 Ute lights?

#187 _stretchlc_

_stretchlc_
  • Guests

Posted 03 April 2012 - 05:35 PM

I'm very surprised that no body has mentioned that the Esky has copped a heap of body work to it aswell in the process of this build!!.........Nice!

#188 _dirtbag_

_dirtbag_
  • Guests

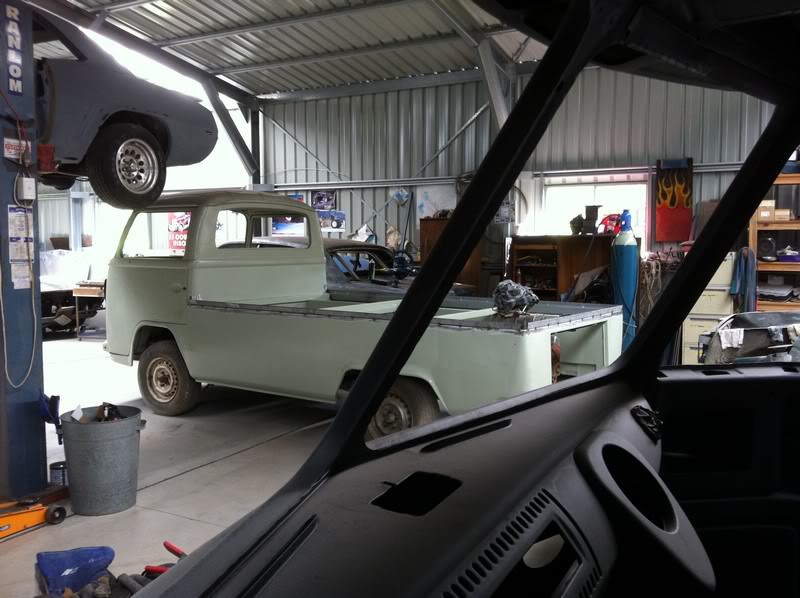
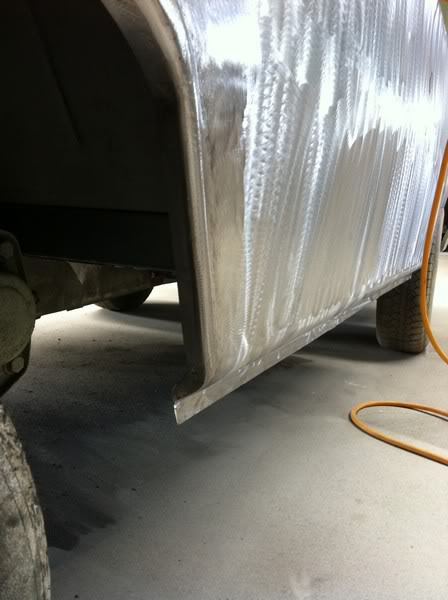
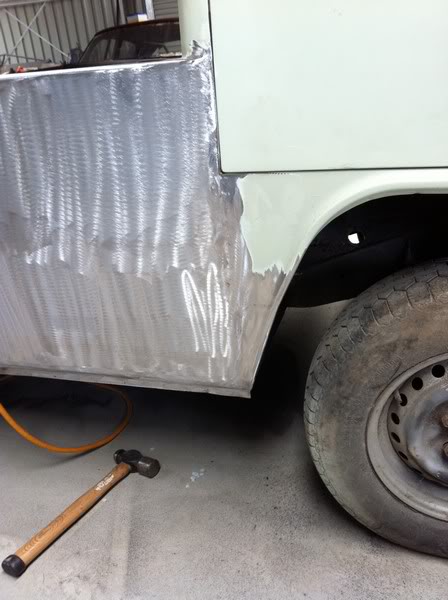
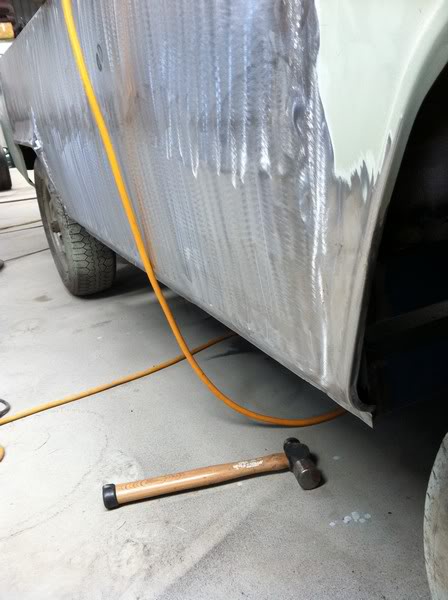
Posted 22 April 2012 - 10:18 AM

Well I've done a bit more to the old monster over the last couple of days. Nothing huge to see but it's all important to the finished product.


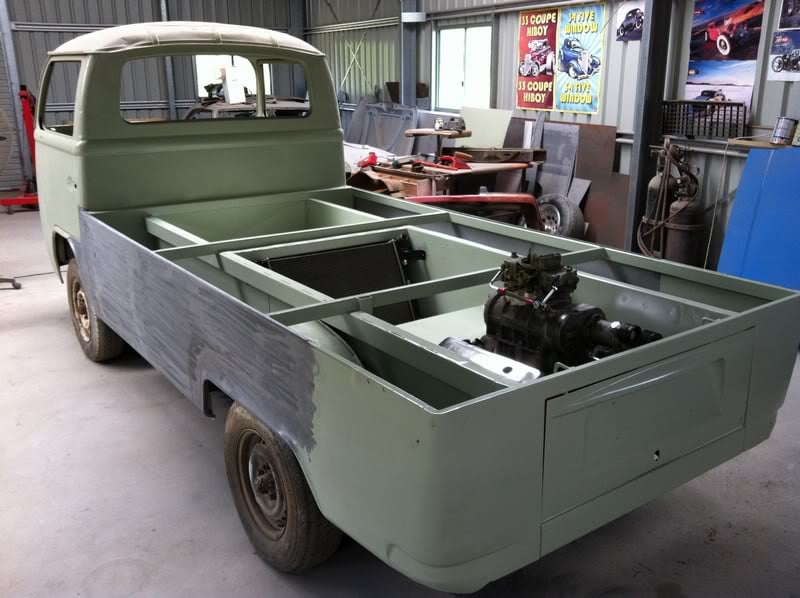
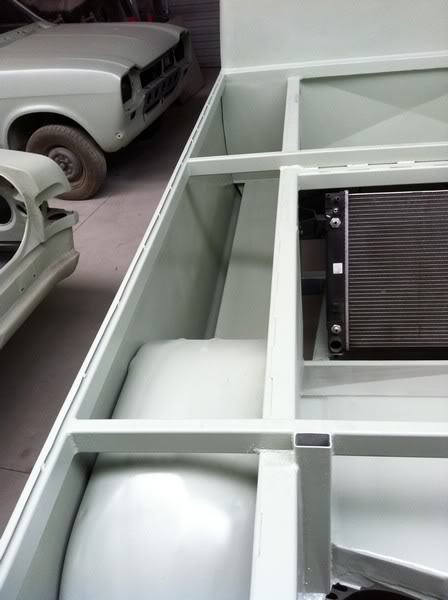
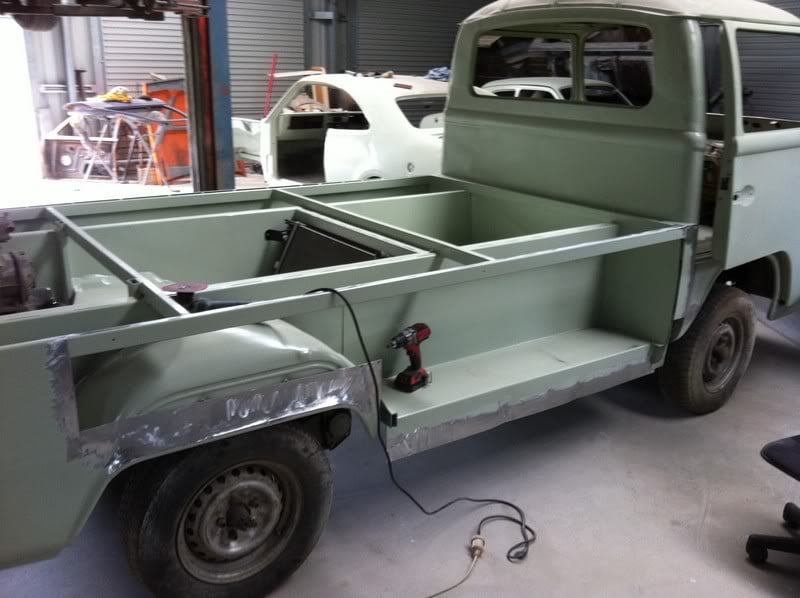
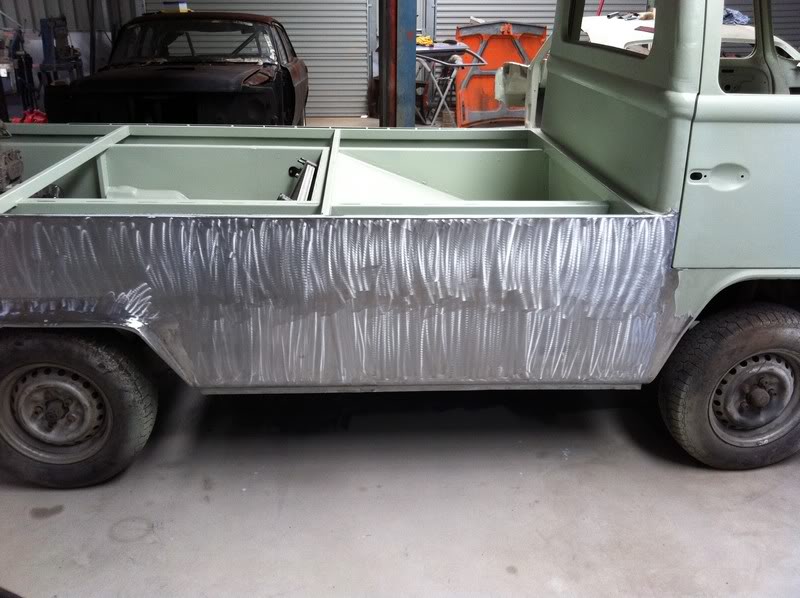
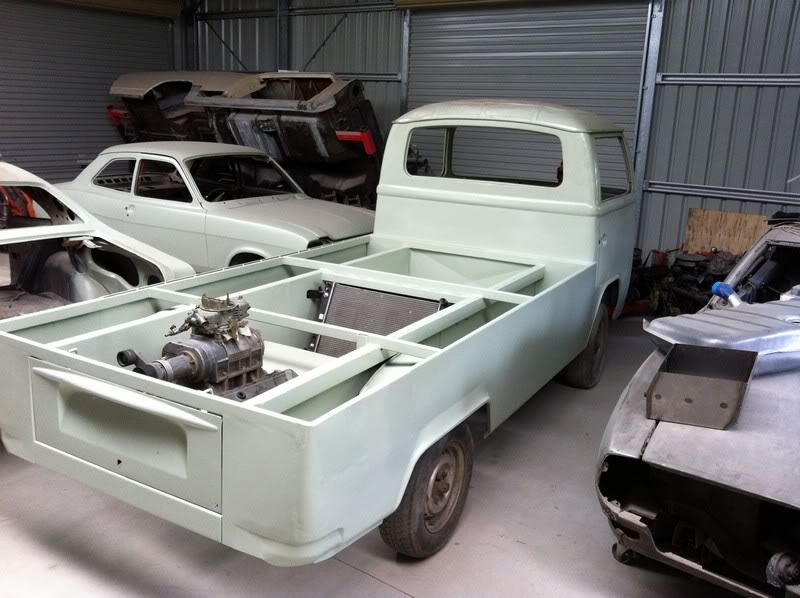
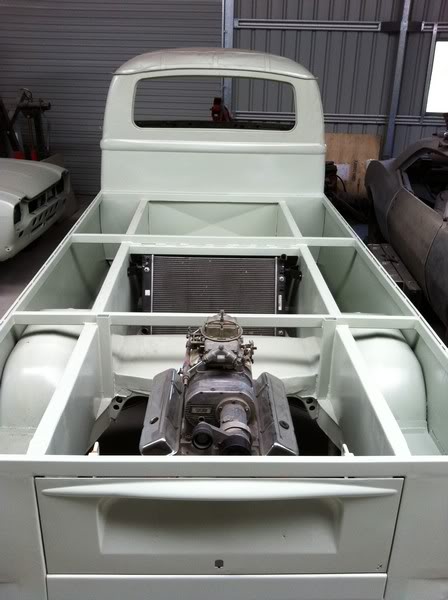
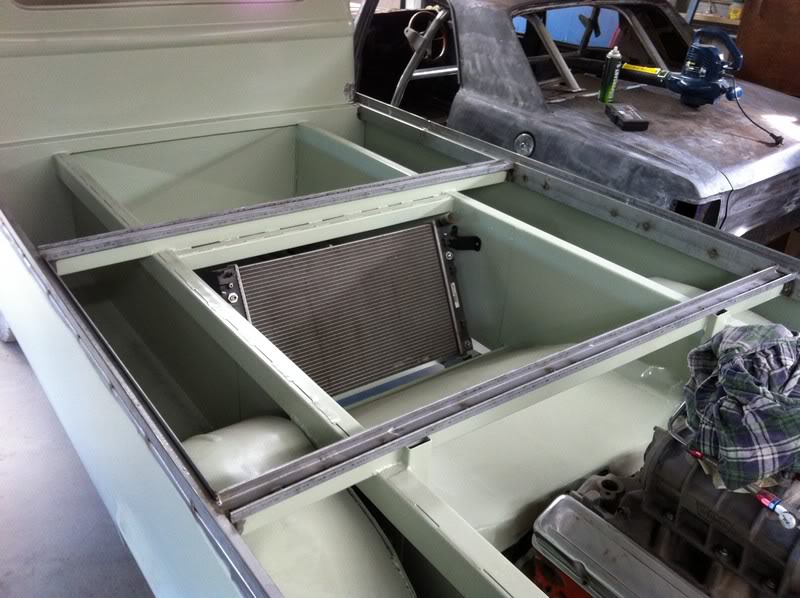
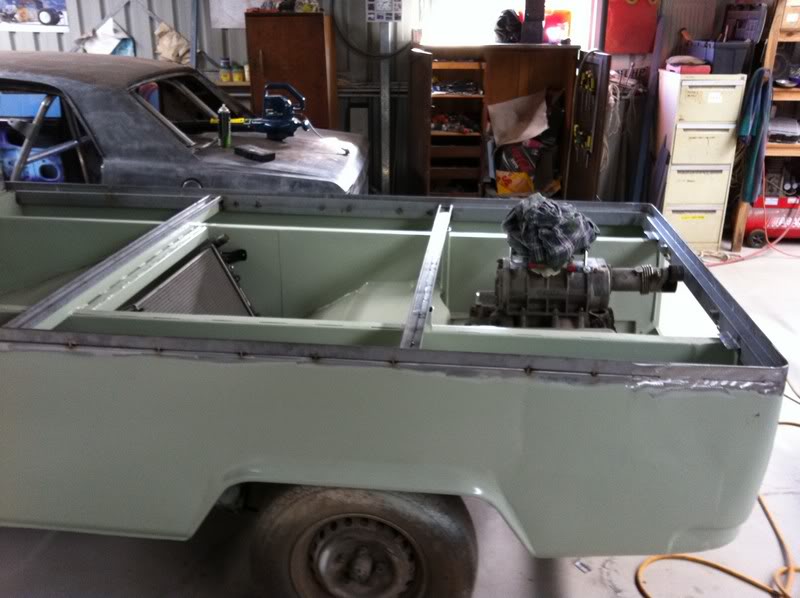
The tray is going to be timber decking running length ways. It'll be in 3 sections that will hinge at one end to gain access to all the compartments inside. I've been talking to the owner about using marine carpet to line the storage compartments so things don't rattle around so much. One thing that cropped up was the compartments filling with water. We don't want that, so I've got to make it so the water wont go in the compartments.


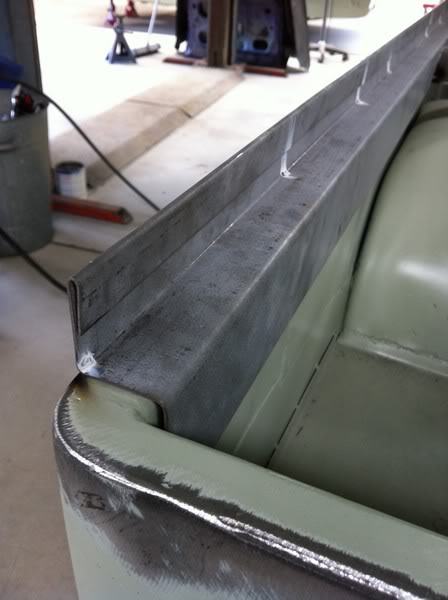
Anyway, the first thing I needed to do was to build a lip around the top of the tray so the timber can sit inside it.

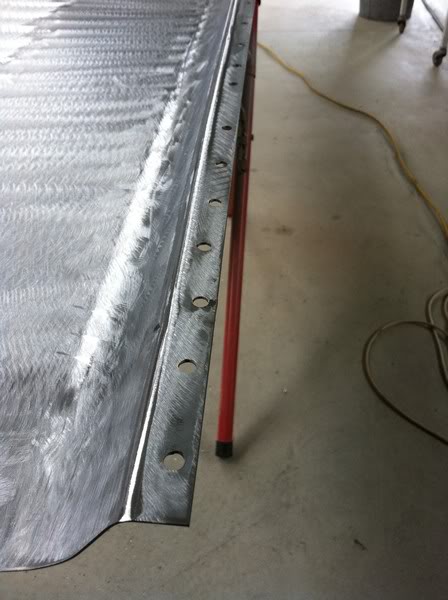
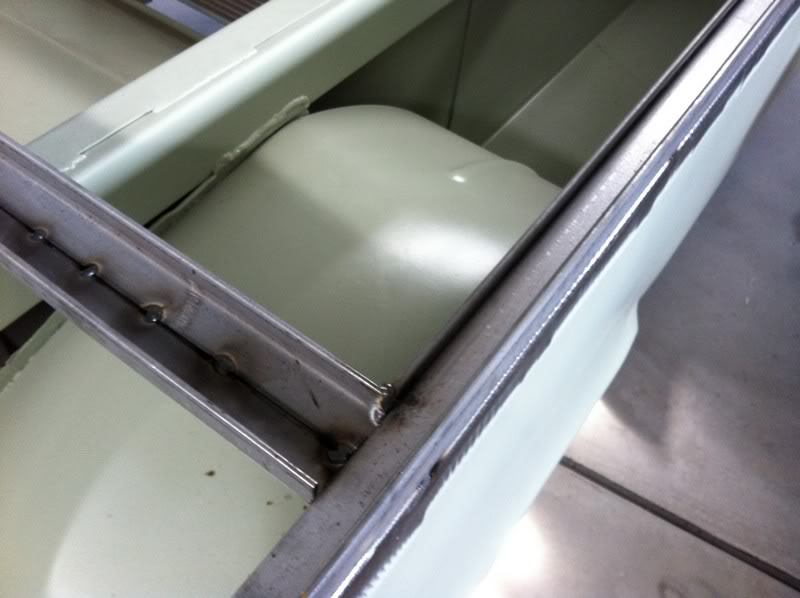
I folded up the pieces so they wrap around the top rail, as it makes it look neater. I also added a folded safety edge along the top so there's no sharp edges.

Posted Image


I've made the lip 35mm high, to leave room for the drain channels and timber. Plus I think a bit more height to the tray will help it aesthetically.
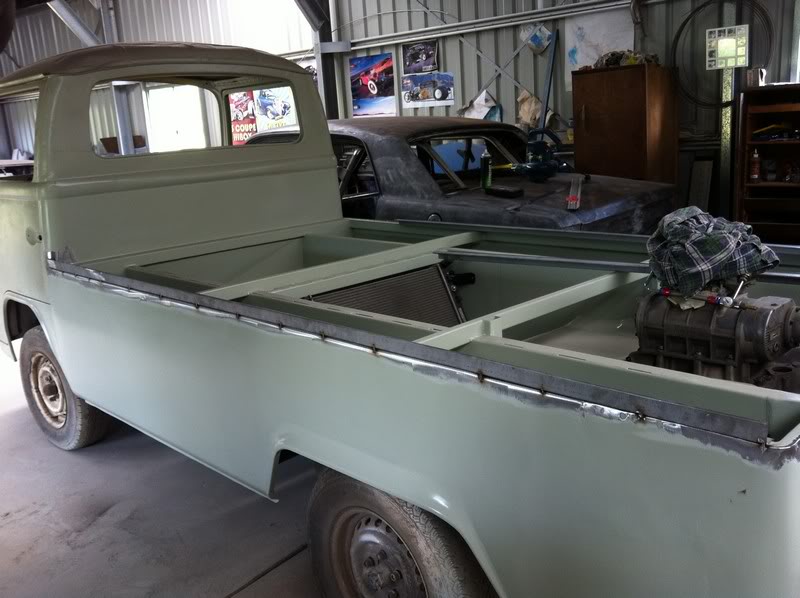

Posted Image


The new lip will flow into the back of the cab so it'll all look like it's meant to be there.
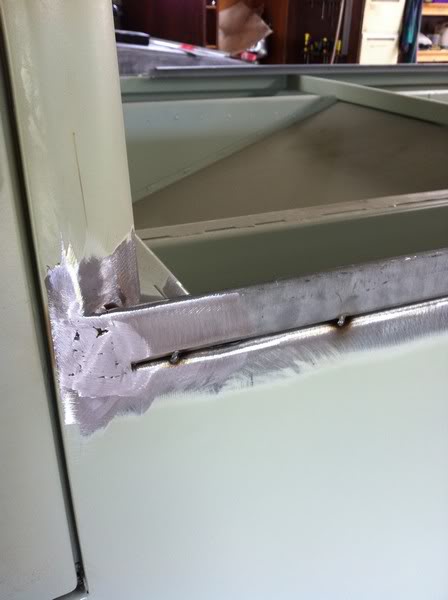

Posted Image


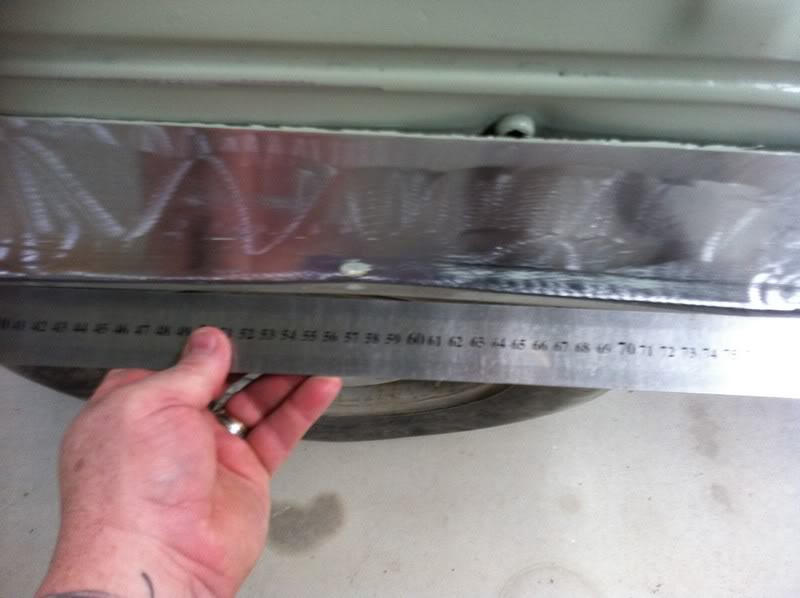
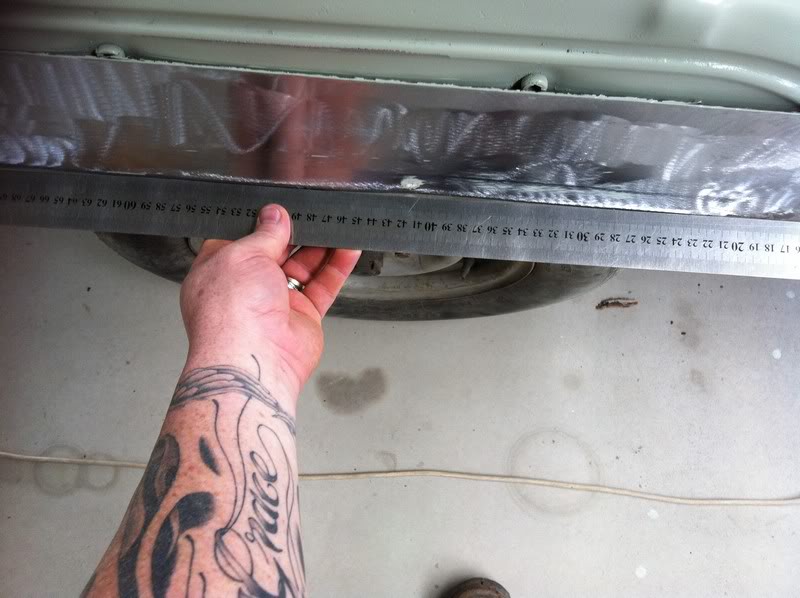
It's amazing how long this tray is. The main pieces I've used for the lip are 2400mm long, yet I still have to fold up another piece just over 500mm long to get the length I needed : )
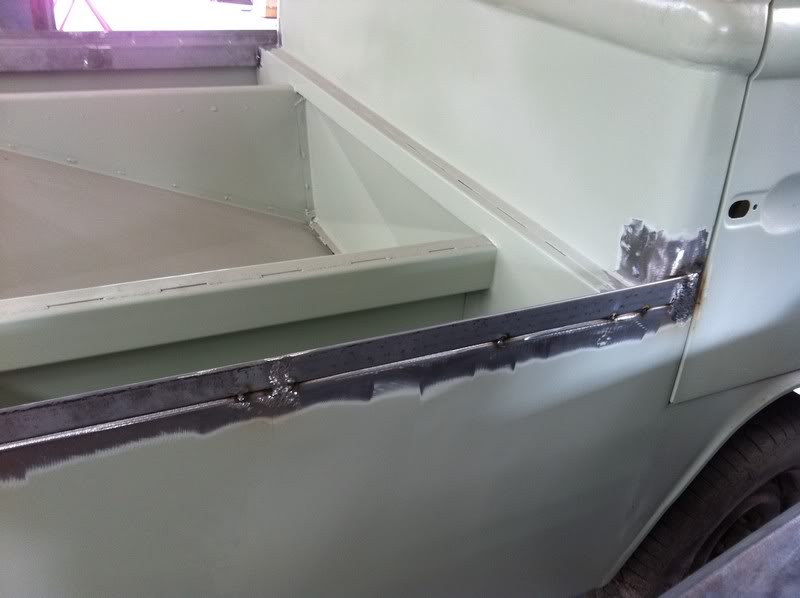

Posted Image


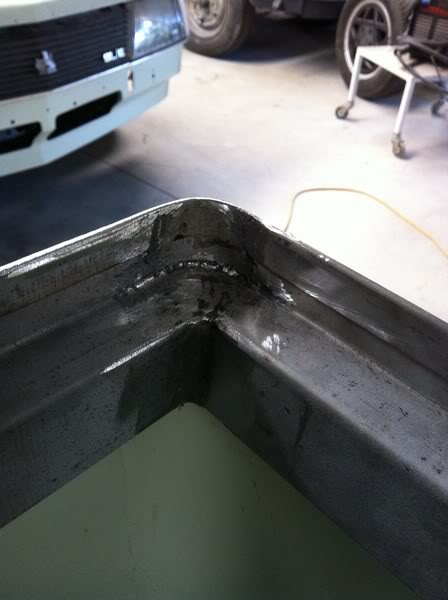
I've tacked the straight pieces on first. I'll make the corner pieces separately as curving the safety edge is tricky.
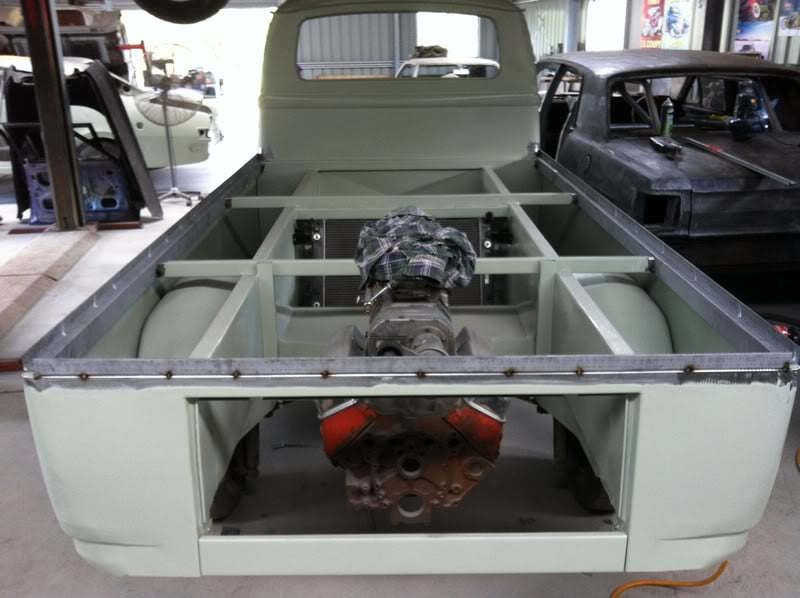

Posted Image


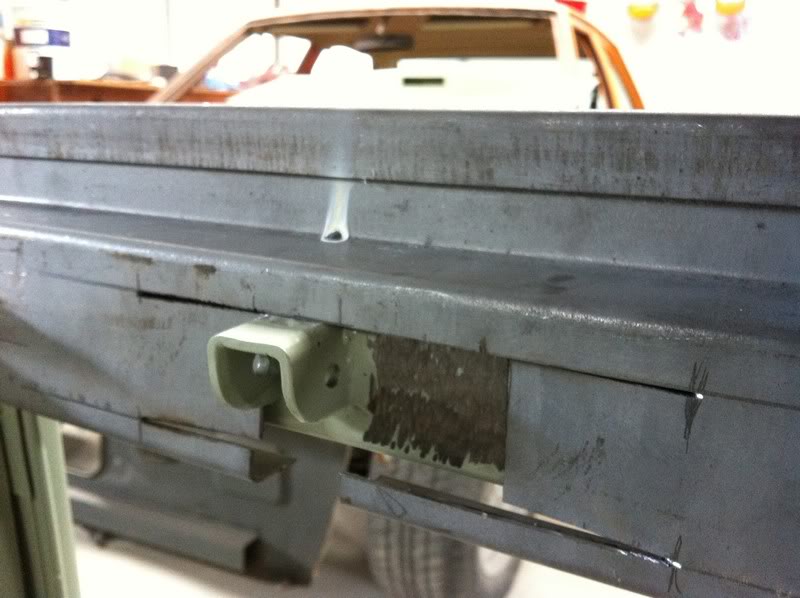
I've got to make recesses next to the engine lid hinge mounts so the hinge pins have room to be slid out when needed.

Posted Image


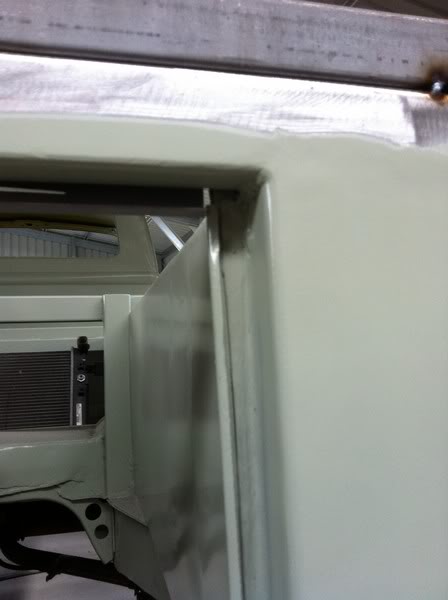
By making the rail cover part a bit deeper it can be used to mount the engine lid seal along the top.

Posted Image


The arty shot : )


Posted Image


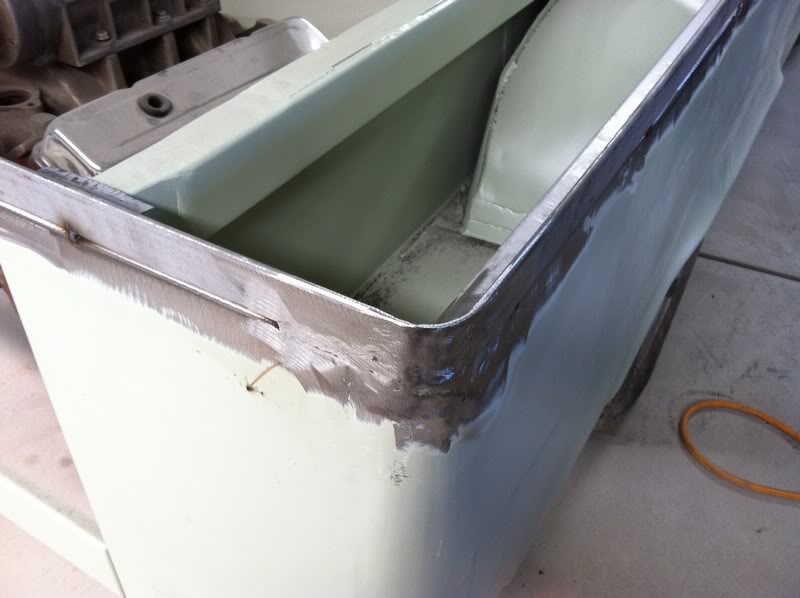
Next thing I did was make the corner pieces.

Posted Image

Posted Image


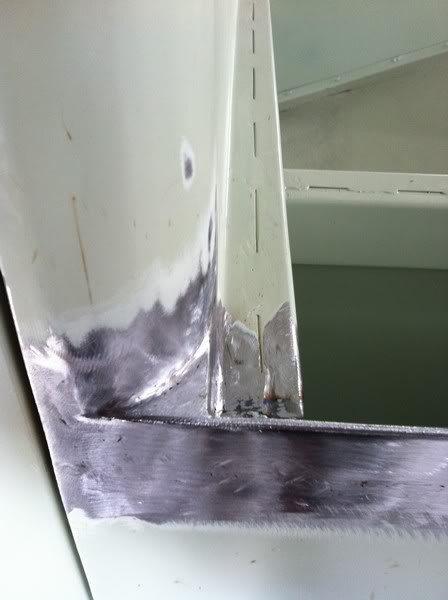
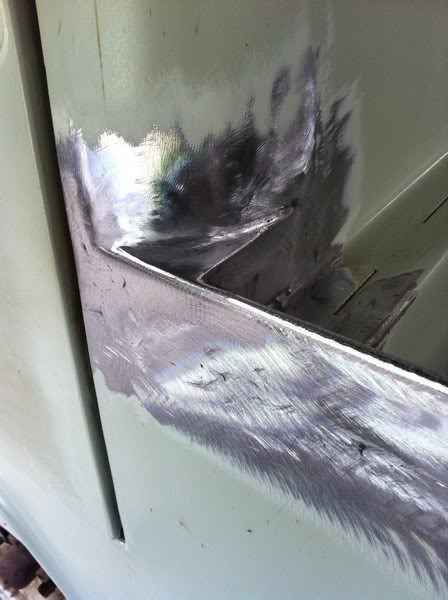
Where the lip meets the cab needed to be boxed up so the timber can be in a straight line all the way along the cab, rather than having to taper into the corners.
Posted Image

Posted Image


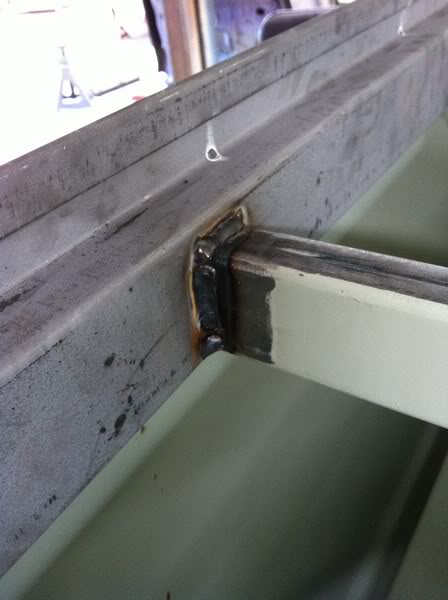
With that done it was time to start on the drain channels. I started by fully welding the new rail pieces to the top supports that run across the tray, as the drains will cover these so I wont be able to get to them once the drains are on.

Posted Image


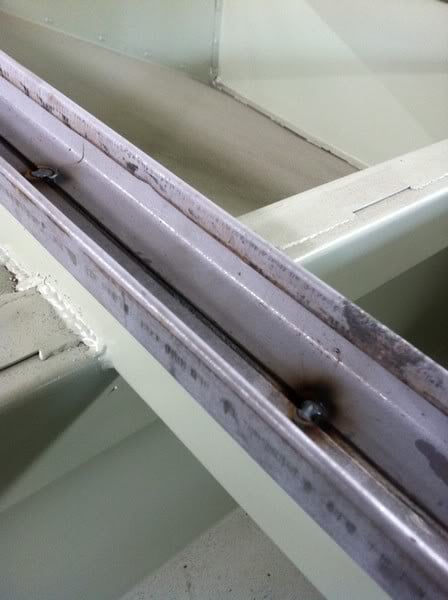
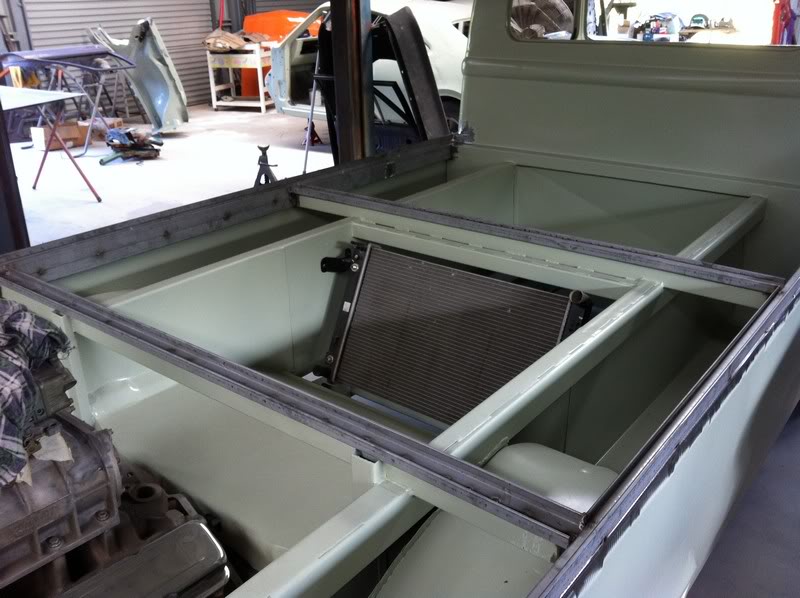
Again I folded up some 1.2mm with a safety edge to make the channels. That way when someone reaches in to grab something or work on something in one of the 3 sections they wont cut themselves on the steel edge.
Posted Image

Posted Image


I've only made the drain for the middle section, but you see how it's going to work. Each cross drain will have a hole drilled straight through it to and a tube welded in that will run to underneath the car. I'll do the same in each rear corner. Should work fine and be easy enough to make. I can't imagine this car getting driven too much on really rainy days but it can't hurt to plan ahead as much as possible.
Posted Image

Posted Image


Posted Image


Once all the various bits and pieces are fabricated and fitted I'll then have the fun task of a massive weldathon blending it all in, but I think it'll look pretty cool. The lids for each of the 3 compartments will just be 1.2mm zinc with a 10mm folded edge that will overlap the lips in the tray. The timber decking will get screwed to the 3 steel lids and they'll all have gas struts to support them. I still have to nut out the hinges and catches yet but I'm not at that stage yet so haven't been thinking about it. i will soon though so hopefully something will pop into my pea brain : )

Edited by dirtbag, 22 April 2012 - 10:22 AM.


#189 _SLEDGE_

_SLEDGE_
  • Guests

Posted 22 April 2012 - 05:37 PM

awesome work. I love seeing progress on this beast! your problem solving and workmanship is second to none
#190 _j.e.d._

_j.e.d._
  • Guests

Posted 22 April 2012 - 06:17 PM

Looking real good as usual...Whats the story with the Falcon in the background? (Just being nosy mate)... :D

#191 Stinga

Stinga

    .

  • Members
  • PipPipPipPipPip
  • 2,114 posts
  • Name:Stinga
  • Location:Wollongong, NSW
  • Car:HD Holden ute, and sedan, UC torana
  • Joined: 05-December 05

Posted 22 April 2012 - 06:31 PM

whats happening with that falcon in the back ground Tim? how many projects do you have on the go at the moment?

#192 _dirtbag_

_dirtbag_
  • Guests

Posted 22 April 2012 - 06:48 PM

The falcon is just another car that came in a short while ago for lots of rust repairs and paint etc. I've got 9 cars on the go at the moment so there's lots to do!


#193 its Paul

its Paul

    Formerly lx8vd77

  • Members
  • PipPipPipPipPip
  • 1,577 posts
  • Name:Paul
  • Location:Gold Coast
  • Car:LXSS, VUSS, VESSv & the mighty HB
  • Joined: 07-January 08

Posted 22 April 2012 - 07:56 PM

9 Cars? Theres the reason you cant sleep, you dont have time for that luxury.

Do you have a link to that thread, Tim? Assuming there is one.

The Dub is coming along beautifully, cant wait to see it with some colour.

#194 _dirtbag_

_dirtbag_
  • Guests

Posted 22 April 2012 - 10:02 PM

Hahaha I think you're right Paul : )

As for the falcon I haven't really done much other than started stripping it. I can start a thread if anyone wants to see it, but it is a Ford : )

#195 _Liam_

_Liam_
  • Guests

Posted 22 April 2012 - 10:09 PM

Hahaha I think you're right Paul : )

As for the falcon I haven't really done much other than started stripping it. I can start a thread if anyone wants to see it, but it is a Ford : )


I'd love to see it Tim.

#196 Stinga

Stinga

    .

  • Members
  • PipPipPipPipPip
  • 2,114 posts
  • Name:Stinga
  • Location:Wollongong, NSW
  • Car:HD Holden ute, and sedan, UC torana
  • Joined: 05-December 05

Posted 22 April 2012 - 10:44 PM

+1 for the falcon thread

#197 wot179

wot179

    Green Eggs and Spam

  • Members
  • PipPipPipPipPipPipPip
  • 6,784 posts
  • Name:Jesus Bloody Christ
  • Location:Sunny Santa Maria
  • Car:Goon
  • Joined: 06-February 09

Posted 22 April 2012 - 10:50 PM

I think the foulcan thread should be located here.

http://www.taxinews.com.au/

#198 _j.e.d._

_j.e.d._
  • Guests

Posted 23 April 2012 - 04:34 AM

Yup I'd like to see it too...

#199 _wblje_

_wblje_
  • Guests

Posted 24 April 2012 - 07:00 PM

yeah bring it on dirt. i want to see the coon thread too. my next project is an xa.

#200 _dirtbag_

_dirtbag_
  • Guests

Posted 06 May 2012 - 08:17 AM

Well I'll give you a quick look at the chook tin.

It was blasted a couple of years ago and then given a coat of crap single pack etch, so now it's got heaps of surface rust. And structural rust : )


This shows the sill, base of A pillar and a super straight door : )


Posted Image


Here's the area cleaned up.


Posted Image


More nice stuff.


Posted Image


I wire wheeld the door jams and at the base of the rear dogleg was just bog. Lots of bog. Tasty : )


Posted Image


At least there's no more bog in there : )


Posted Image


Here's just a few more pics of cleaning the metal, then back to the kombi!


Posted Image

Posted Image

Posted Image


Nice hey : )


3 user(s) are reading this topic

0 members, 3 guests, 0 anonymous users