Jump to content


- - - - -

lh injection project


  • Please log in to reply
159 replies to this topic

#76 _Torza_

_Torza_
  • Guests

Posted 02 November 2011 - 08:29 PM

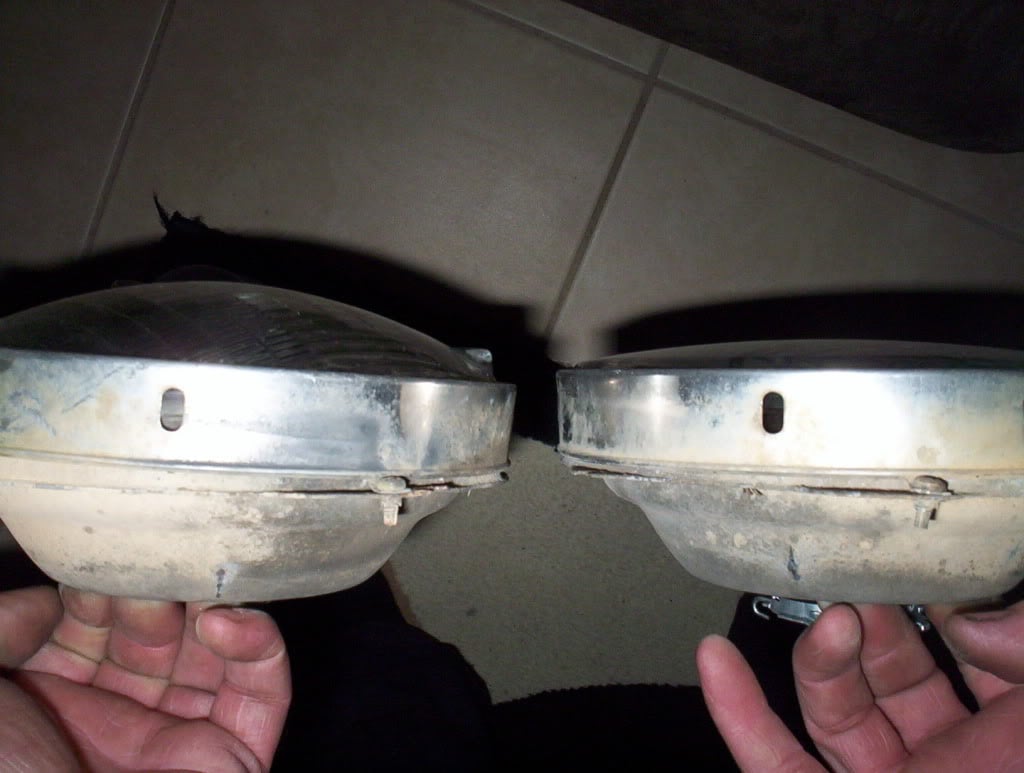
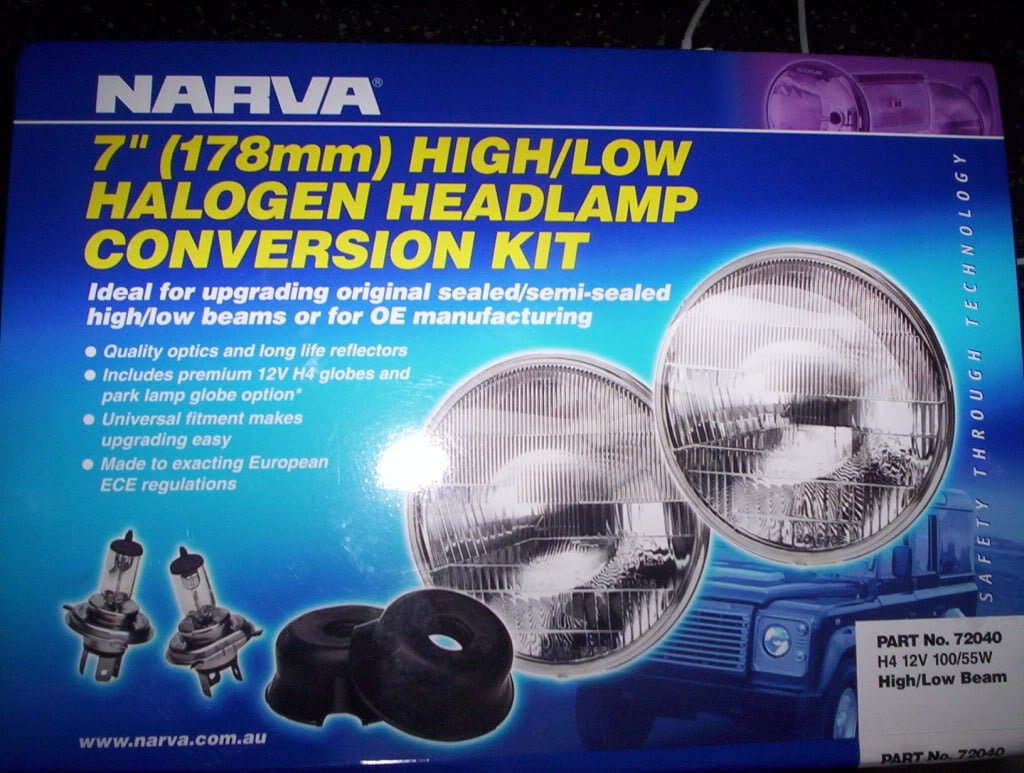
picked up a pair of H4 headlights to go with my new round headlight buckets today, pretty happy with them.
Posted Image

#77 _robslxhatch_

_robslxhatch_
  • Guests

Posted 03 November 2011 - 06:17 AM

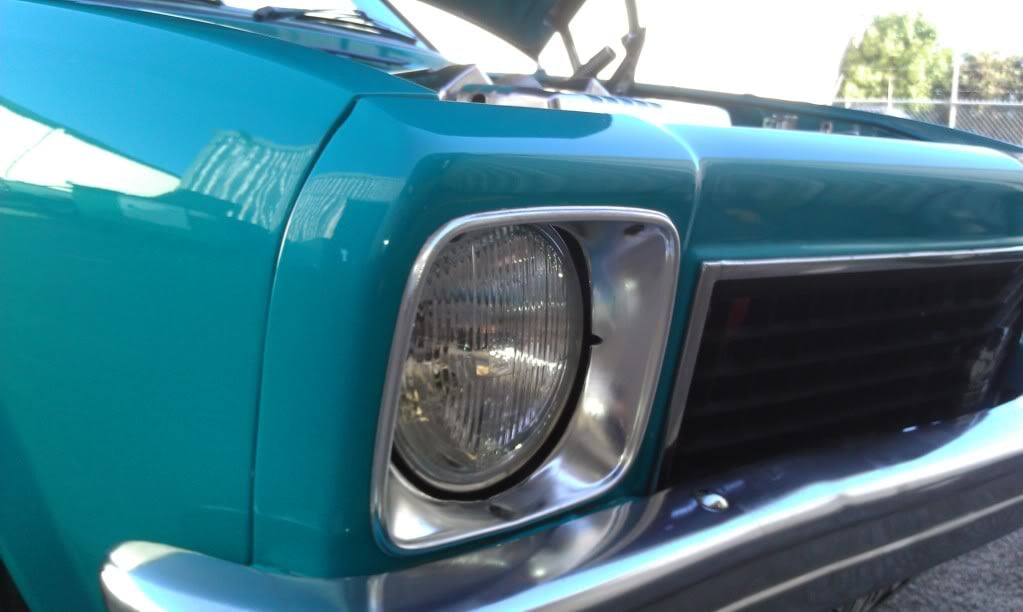
i just did that to mine .. i can't believe how much brighter they are over the std ones. Its a bit of a shame the glass is flatter though , it changes the look a bit

#78 _Torza_

_Torza_
  • Guests

Posted 03 November 2011 - 07:59 PM

hey rob i just fitted one up to check it out i see what you mean about it being flatter do you have any pics of them fitted to the car?
Posted Image

#79 _robslxhatch_

_robslxhatch_
  • Guests

Posted 04 November 2011 - 06:09 AM

I'll see what i can do , maybe tonight i'll post a pic or 2.

#80 _robslxhatch_

_robslxhatch_
  • Guests

Posted 08 November 2011 - 06:03 AM

sorry it took so long Posted Image

#81 _Torza_

_Torza_
  • Guests

Posted 08 November 2011 - 07:57 PM

Hey rob that looks awesome i think they look cool thanks for posting

#82 _Torza_

_Torza_
  • Guests

Posted 27 November 2011 - 09:30 PM

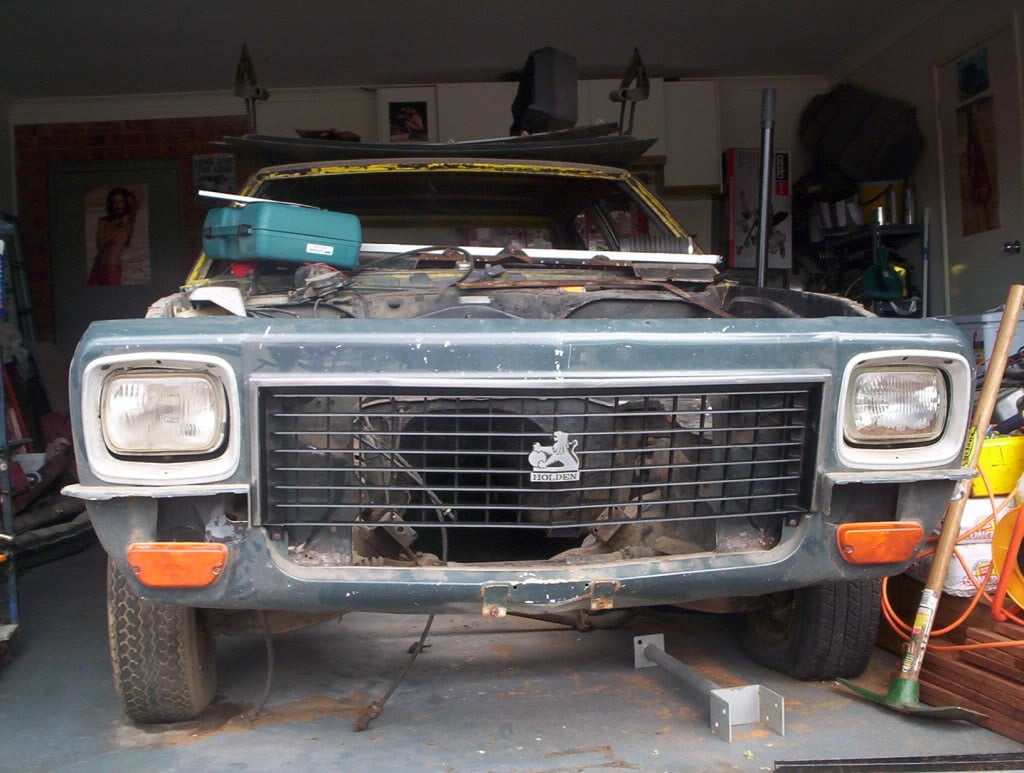
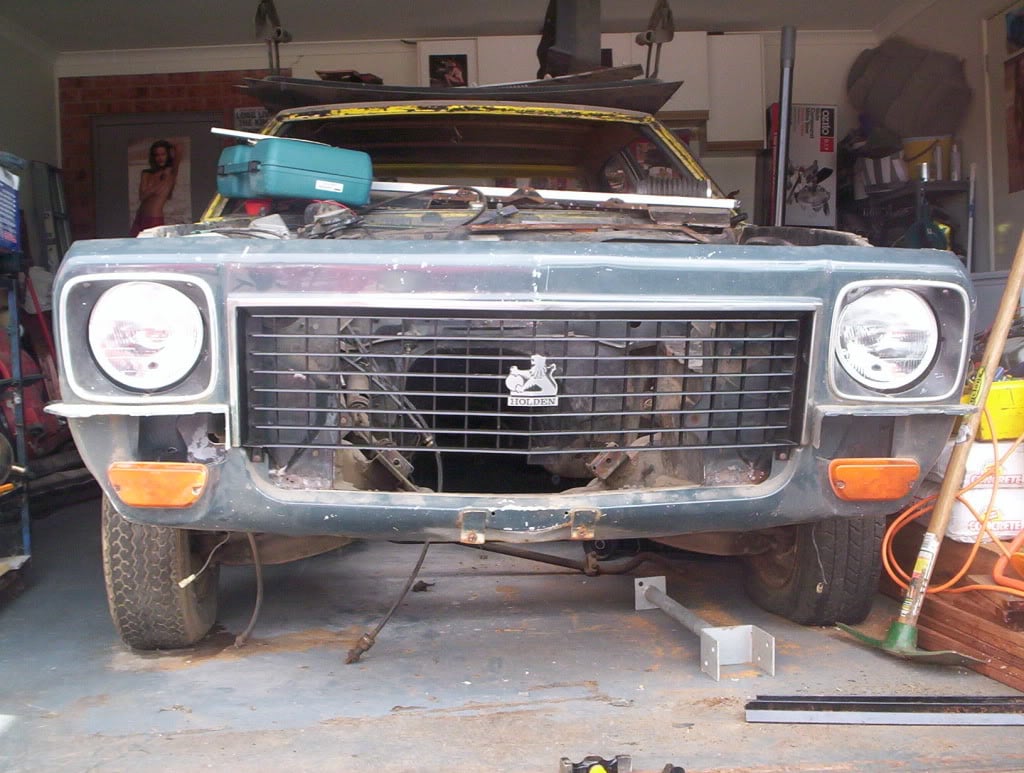
ok so its been ages since i've worked on the car but this afternoon i finally got off my butt and did something. i've had the round headlight buckets i got off a kingswood sitting on the bench in my garrage for about a month now so today i drilled out the hole for the parker and fitted them up . im wrapt with the way they look... i just mocked up what it will look like
Posted Image
Posted Image

#83 _greenmachine215_

_greenmachine215_
  • Guests

Posted 29 November 2011 - 09:30 PM

i love the tittie pics all over the walls! screams man cave :D

#84 _Torza_

_Torza_
  • Guests

Posted 29 November 2011 - 09:38 PM

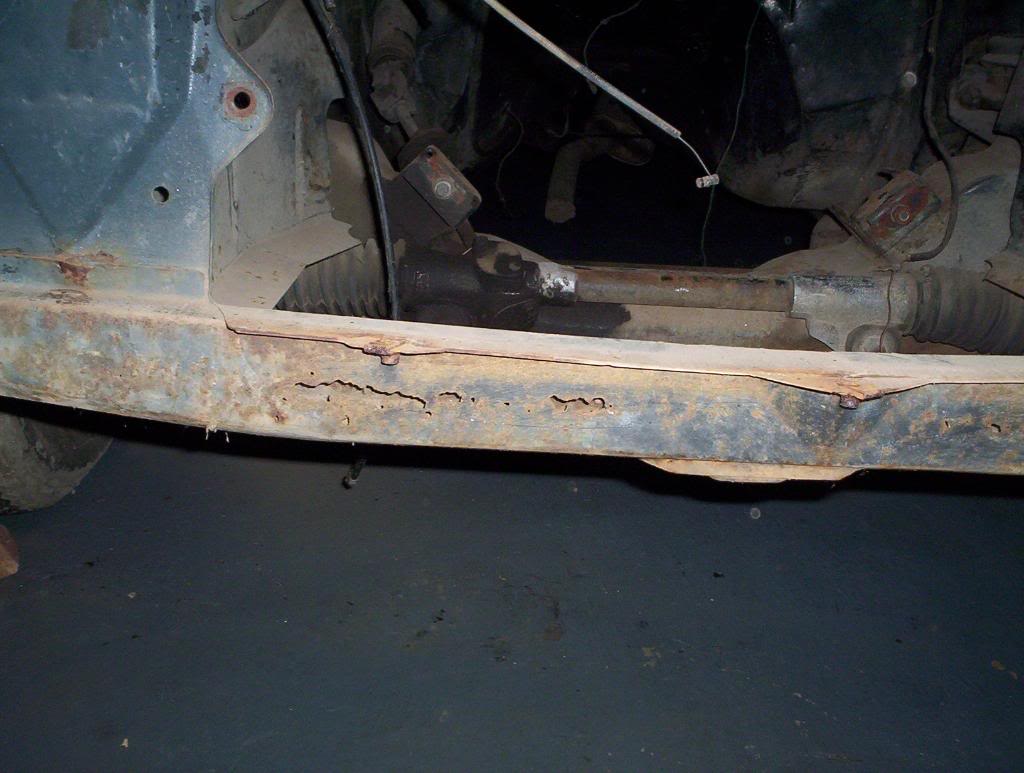
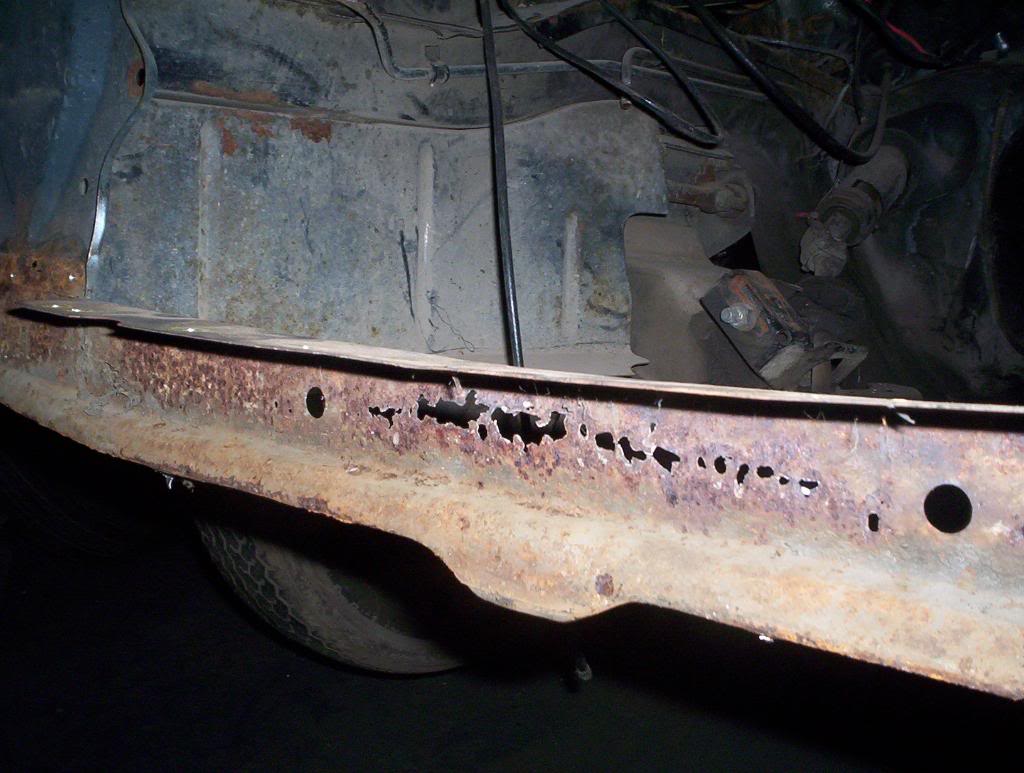
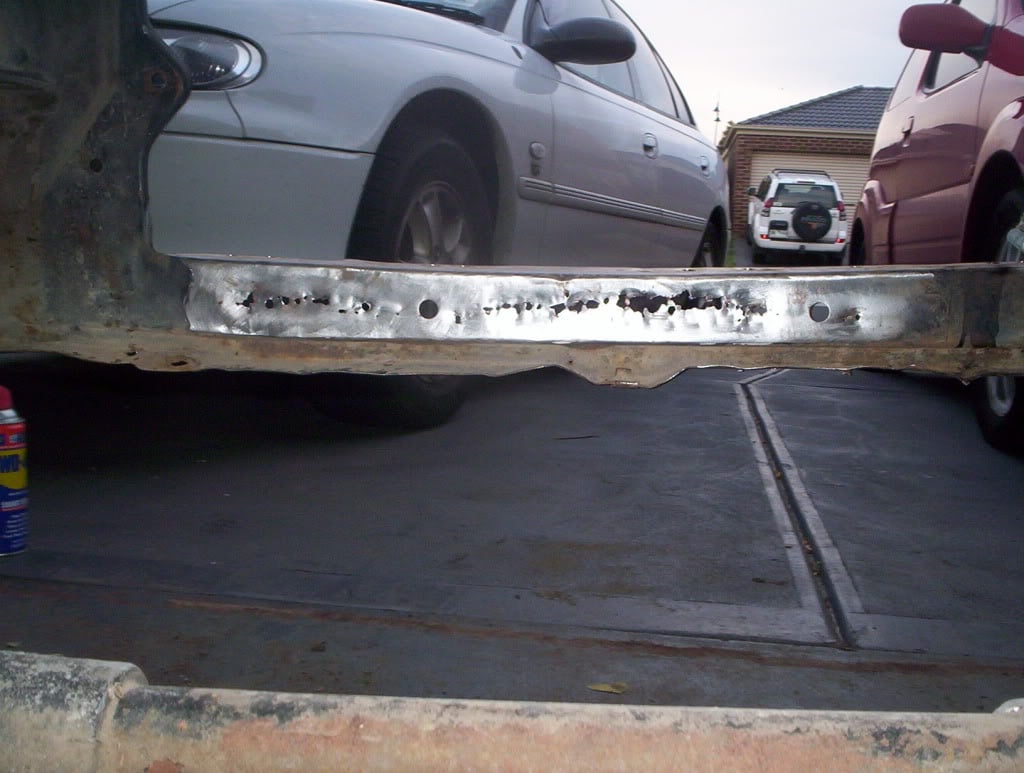
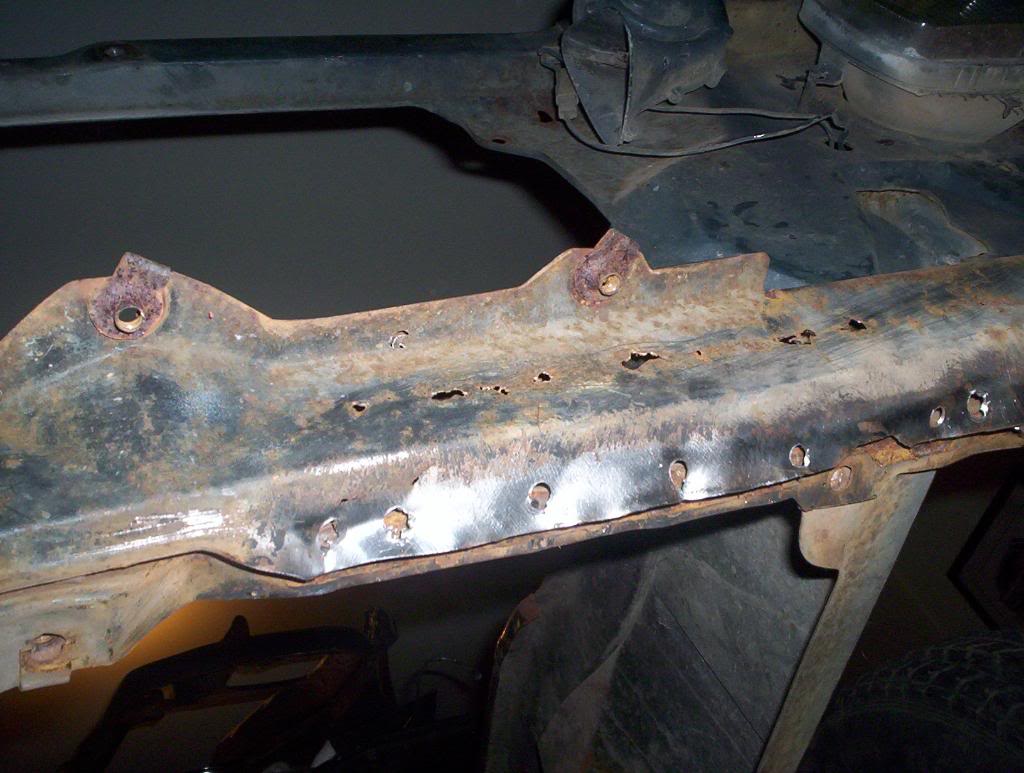
ok seeing how nice the LX round lights looked was just the motivation i needed to get things going again so here's what i've been up to. i realy want to get all the panels back on the car so first thing to do was to tackle all the rust in the radiator support panel, here's a few pics of what it did look like
Posted Image
Posted Image
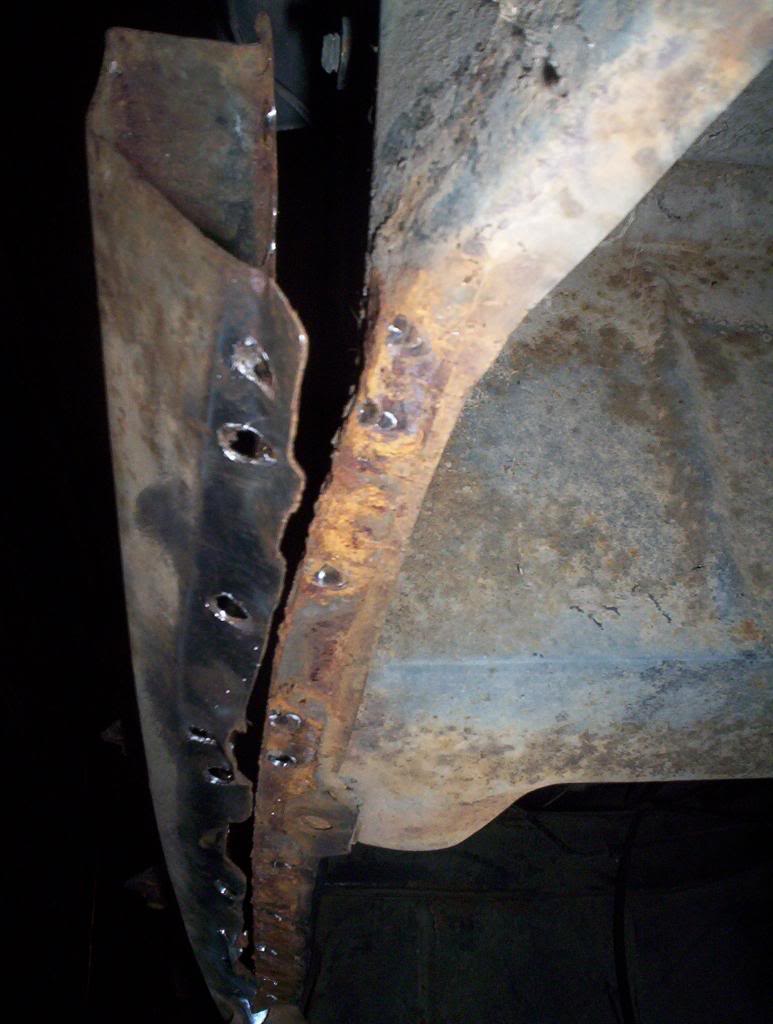
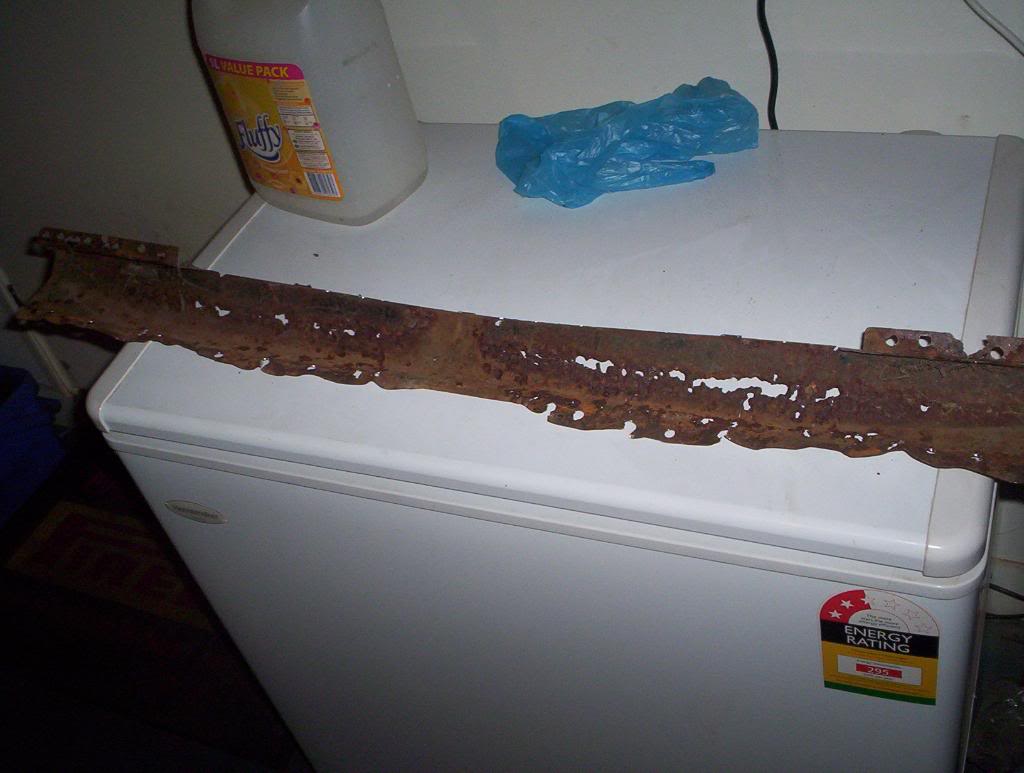
so out with the spot weld drill and after about half an hour of drilling,prying and stuffing about off poped the outer skin
Posted Image
Posted Image
Posted Image
and this is what im left with
Posted Image
Posted Image
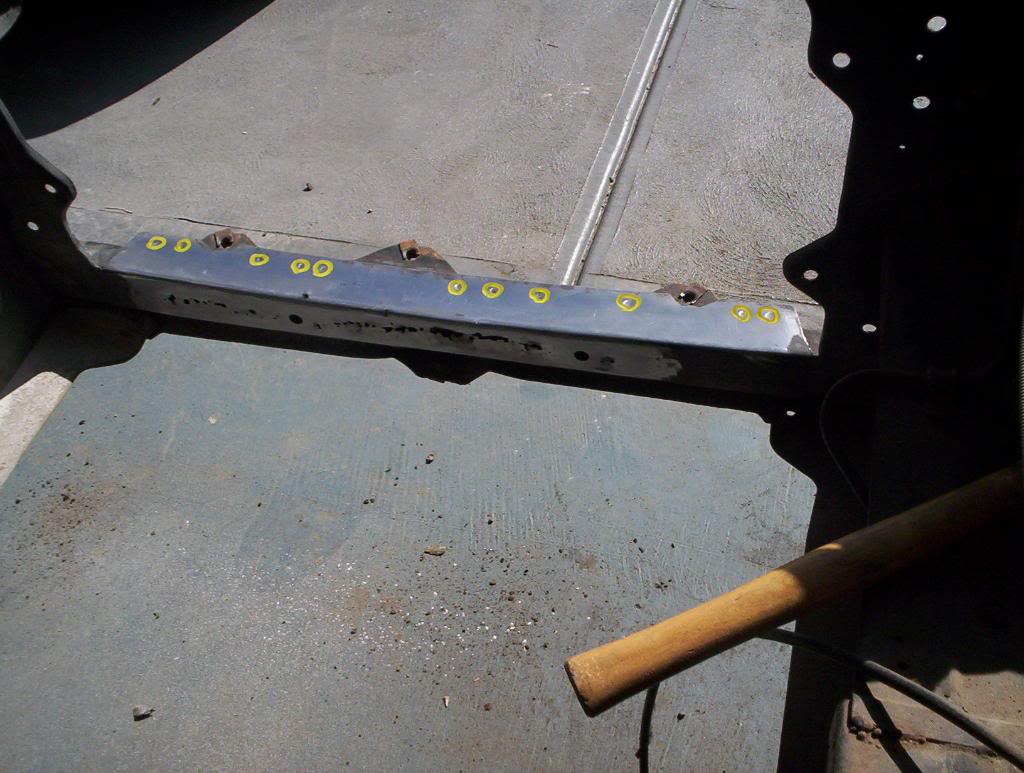
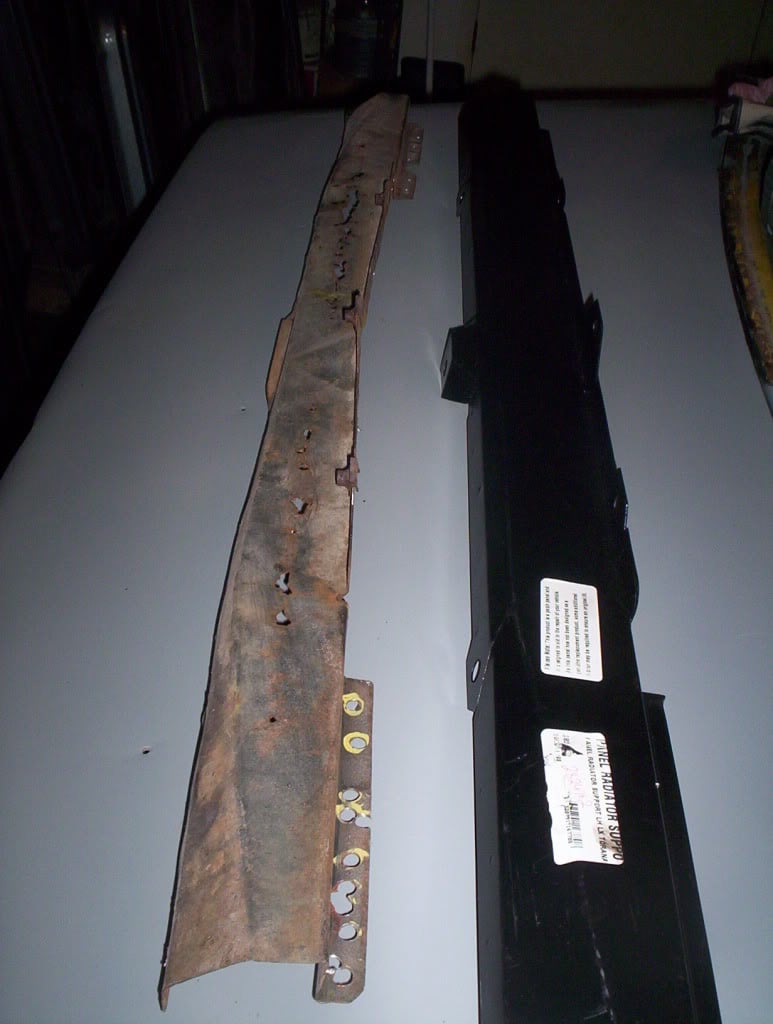
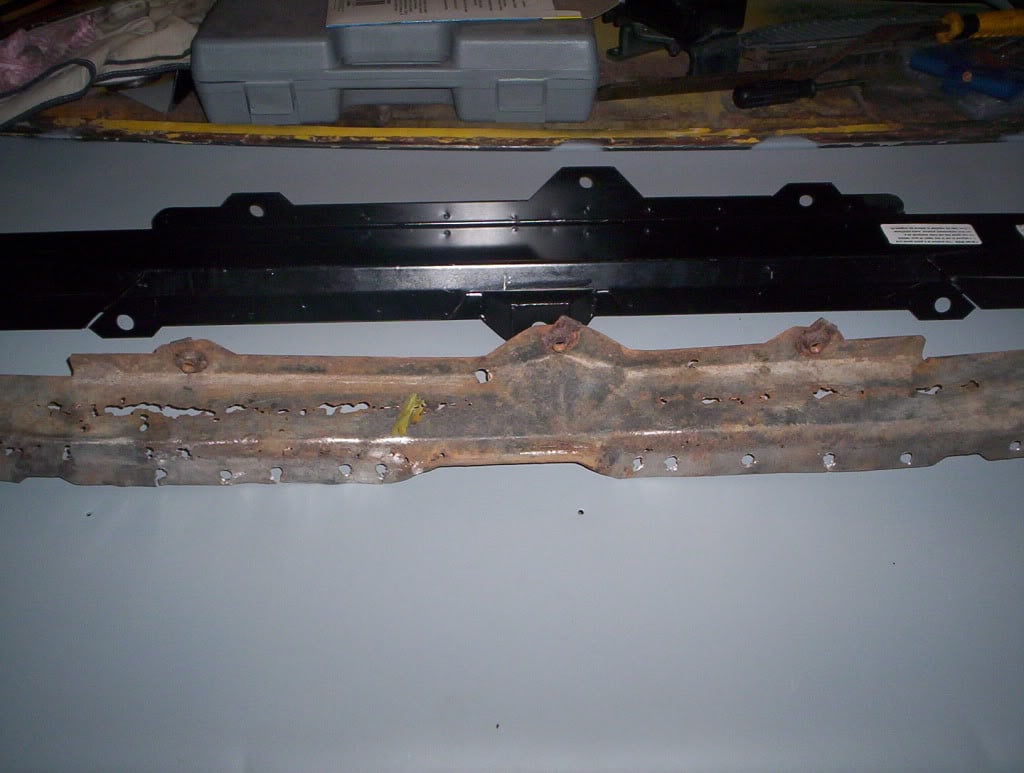
so now i decided it time to buy a rare spares replacement panel... here it is
Posted Image
Posted Image

#85 _Torza_

_Torza_
  • Guests

Posted 05 December 2011 - 09:06 PM

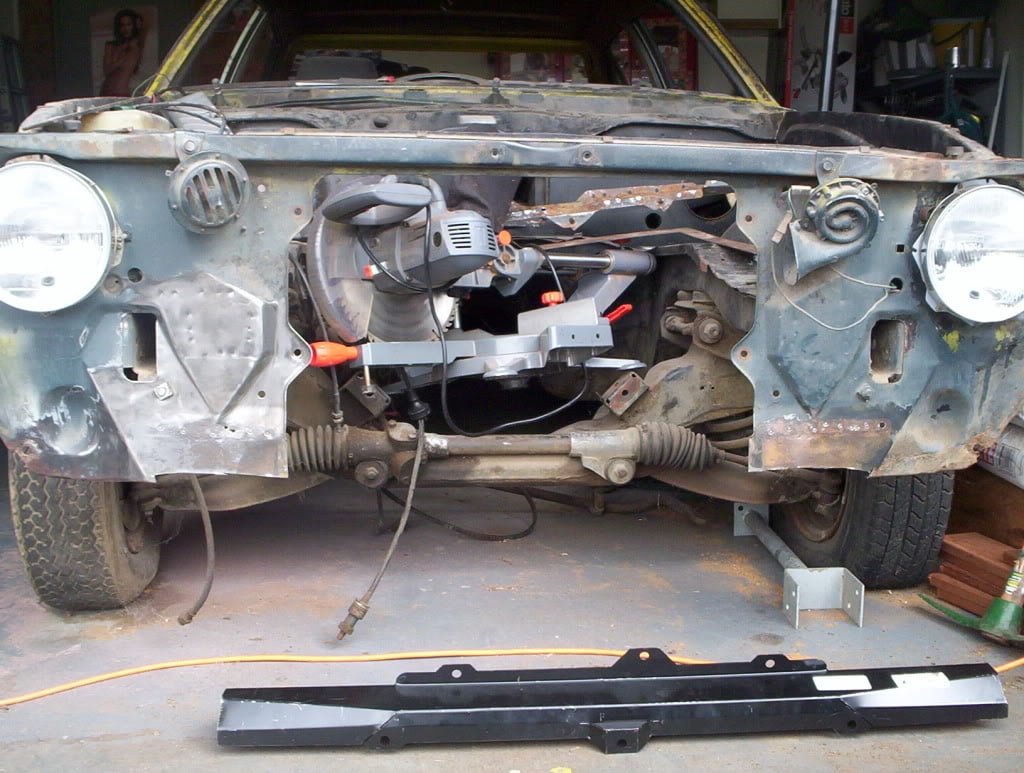
ok so thats where i was up to but stupid me being all excited about getting the new panel just couldn't wait to cut the old one off and so out with the grinder and off it came... but now i think i've gone and stuffed it all up!
Posted Image
yes that is my drop saw sitting in the engine bay but anyway back to the important stuff so with the old panel cut away i got the new one and held it up to see how it looks and guess what ... it don't bloody fit! the gap for the radiator on the car is 620mm wide but the rare spares gap is only 613mm so it wont just fit up it'll have this little step in it... any ideas on how to fix this? is the gap on the car to wide ? or is it the new panel thats the problem... things just never seem to go easy for me!
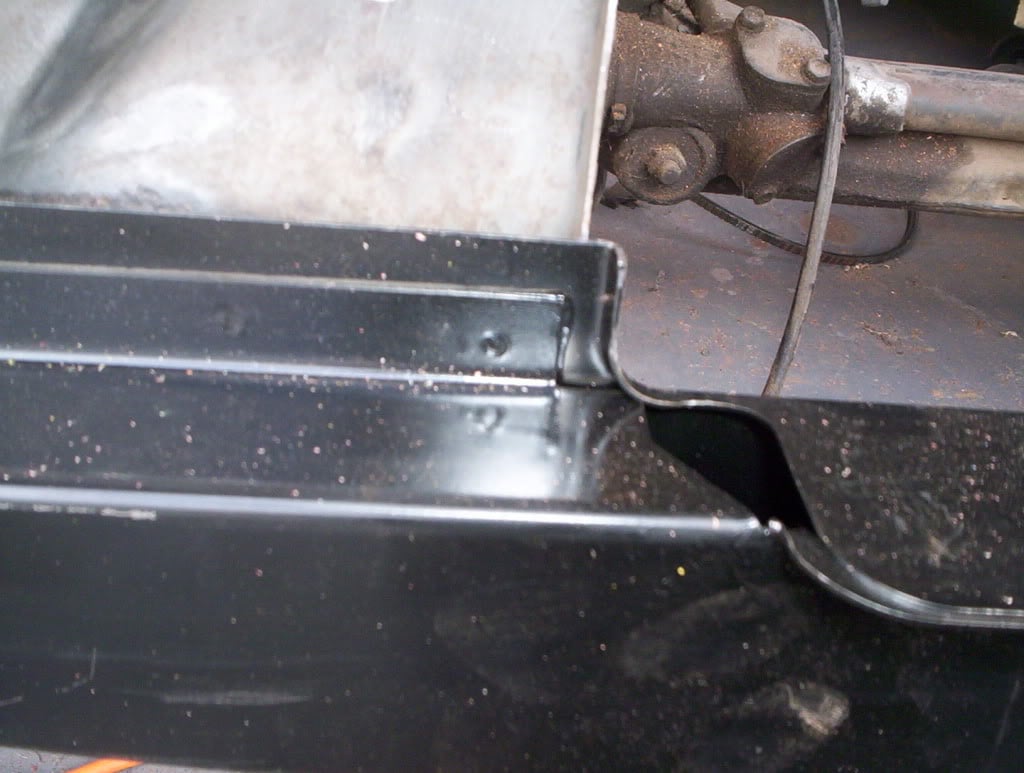
Posted Image
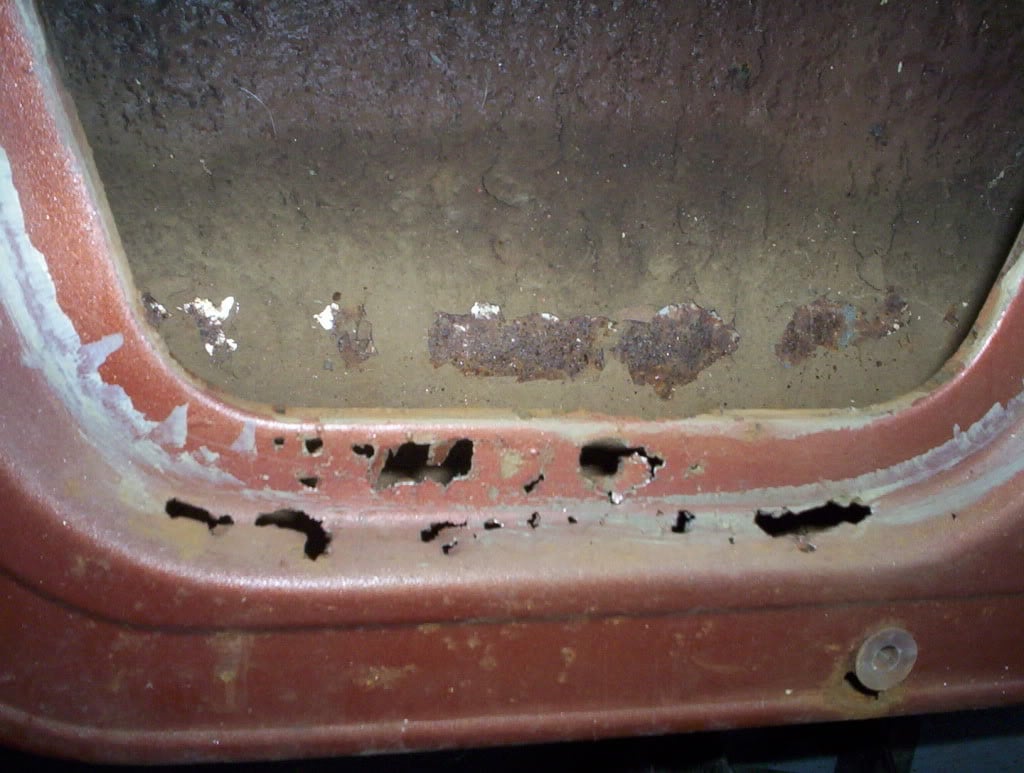
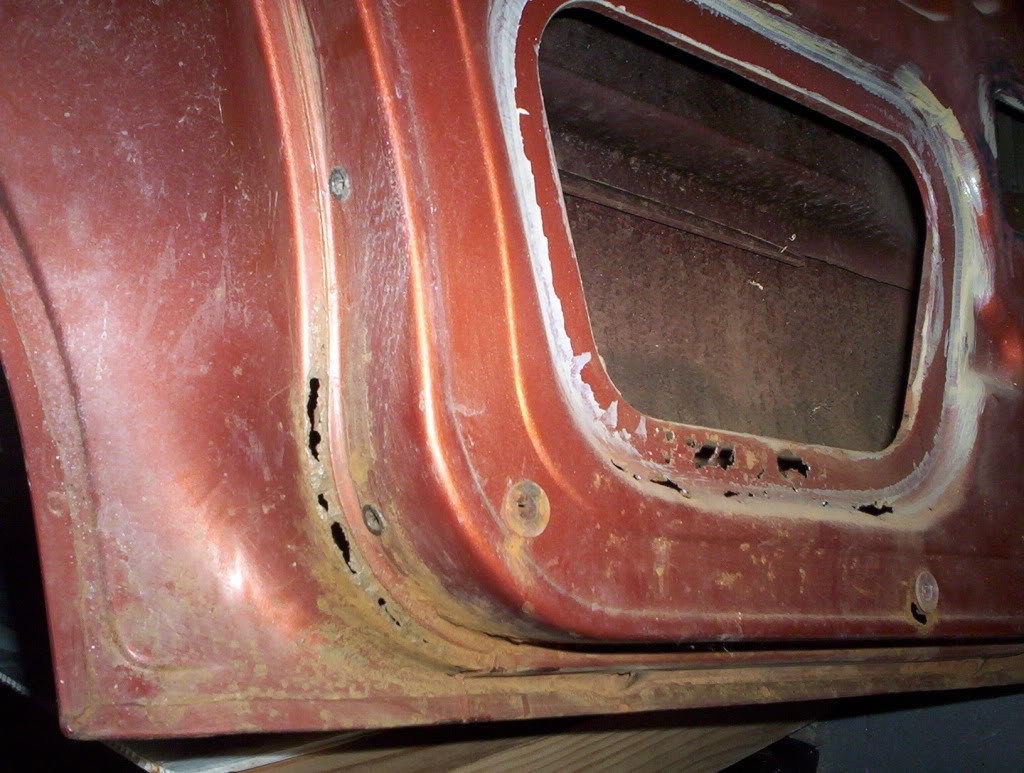
and to top it off the "good" r/h/f door i got seems to be full of rust all along the top whats the best way to fix this ?
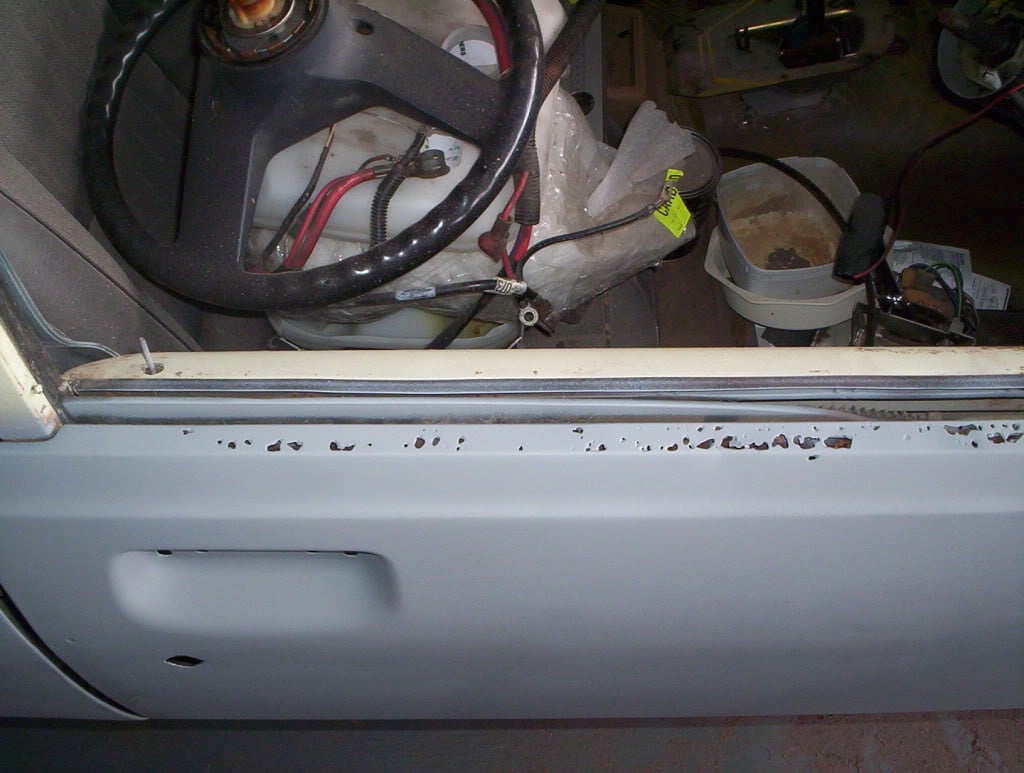
Posted Image

#86 76lxhatch

76lxhatch

    That was easy!

  • Members
  • PipPipPipPipPipPipPip
  • 7,199 posts
  • Location:Unzud
  • Car:SS
  • Joined: 04-August 08
Garage View Garage

Posted 06 December 2011 - 05:44 AM

Nothing ever fits right straight away. Is the opening the same at the top as it is as the bottom? Will modifying it one way or the other interfere with radiator fitment? Basically you just have to choose which piece you are going to modify (or modify them both and meet in the middle), it will all work out.

#87 ls2lxhatch

ls2lxhatch

  • Members
  • PipPipPipPipPipPipPip
  • 5,332 posts
  • Location:Perth
  • Car:LX Hatch
  • Joined: 29-May 06

Posted 06 December 2011 - 10:49 AM

How does the Rares Spares panel compare to the panel you cut off?

#88 mrlctorana

mrlctorana

    Forum Fixture

  • Members
  • PipPipPipPipPip
  • 572 posts
  • Location:North-West Tassie
  • Joined: 17-January 06

Posted 06 December 2011 - 02:51 PM

The rare spares panel that i fitted was a slightly different shape to the panel i removed and took a bit of time to fit right, but in the end everything lined up reasonably well. Nothing ever fits perfect straight away, it'd take all the fun out of it haha

#89 _Torza_

_Torza_
  • Guests

Posted 11 December 2011 - 08:50 PM

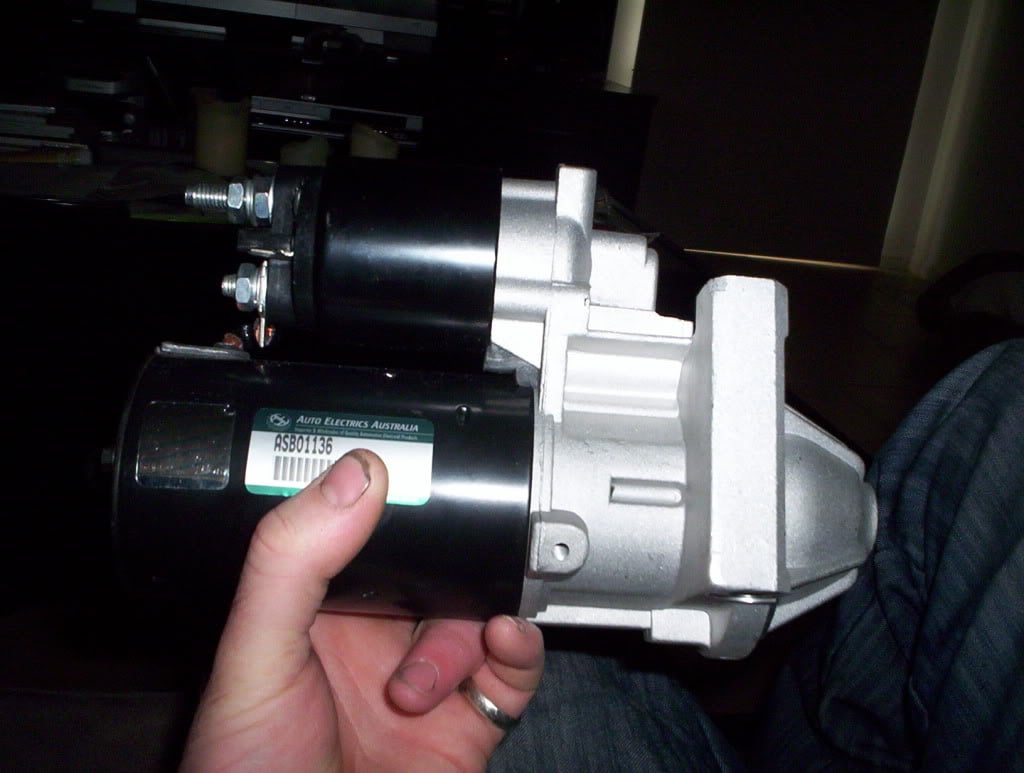
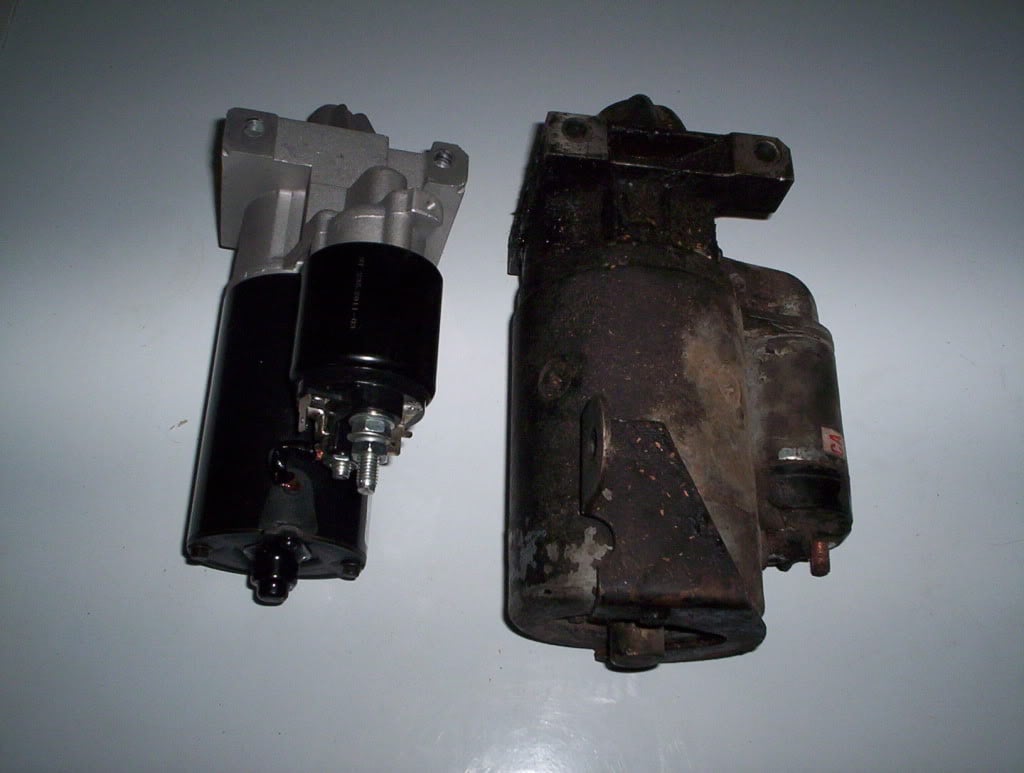
finally got the starter motor sorted out... i got this reduction starter off ebay so hope thats all good still have to fit it up and see how it is but should be all good!
Posted Image
Posted Image

#90 _robslxhatch_

_robslxhatch_
  • Guests

Posted 12 December 2011 - 06:24 AM

That is the sucker that you need. With mine i had to trim a few extra mm off the area where the extractors go past for clearance.

#91 _Torza_

_Torza_
  • Guests

Posted 13 December 2011 - 09:00 PM

Posted Image
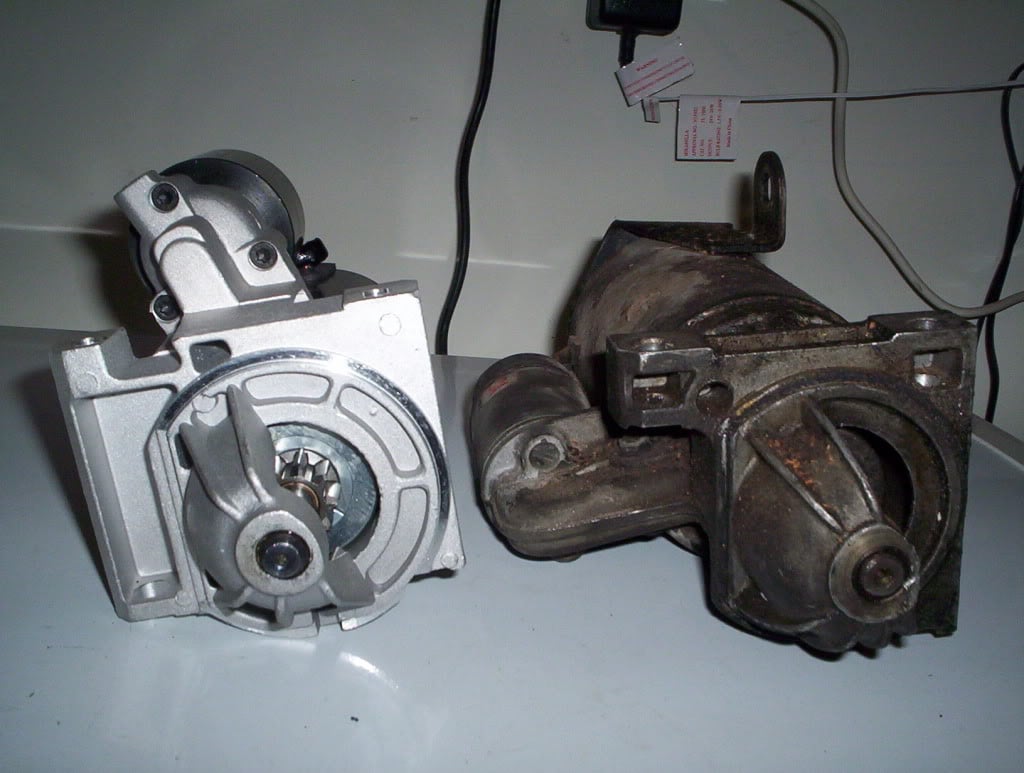
can anyone spot the problem i got now? my new starter housing is different from the standard VN type and so now the bolts dont fit. one is too long and the other too short, so where do i go to get new bolts any ideas?

#92 _robslxhatch_

_robslxhatch_
  • Guests

Posted 14 December 2011 - 05:50 AM

I tried the local Holden dealer with no luck , ended up buying 2 bolts from the 'nuts and bolts' guy down the road .

#93 _homer_

_homer_
  • Guests

Posted 14 December 2011 - 08:19 PM

I just went to Bunnings to get mine. Works a treat.

#94 _Torza_

_Torza_
  • Guests

Posted 14 December 2011 - 09:35 PM

thanks guys looks like im off to bunnings tomorrow night ill let you know how i go :-)

#95 _Torza_

_Torza_
  • Guests

Posted 08 January 2012 - 09:43 AM

i love the tittie pics all over the walls! screams man cave :D

hi guys its been a while so thought id get back into it and just looking back through my thread i just saw this comment lol.... there not tittie pics there my inspiration... this ones my favourite
Posted Image

#96 _Liam_

_Liam_
  • Guests

Posted 08 January 2012 - 12:28 PM

Hey Torza, this is just a suggestion, are you going to fill in that hole on the radiator support where the two skins are welded? On that picture where you were showing how much shorter the piece is, that 20c coin sized hole. I'm filling mine in, I don't need to promote the water to fall in that easily.

#97 A9X

A9X

    A fortunate run

  • Members
  • PipPipPipPipPipPipPip
  • 5,024 posts
  • Name:Welby
  • Location:Perth
  • Joined: 09-November 05
Garage View Garage

Posted 08 January 2012 - 12:35 PM

when you fit that starter motor, remember to shim it correctly

#98 _Torza_

_Torza_
  • Guests

Posted 08 January 2012 - 02:57 PM

wow yeah look at that hole i hadn't even thought of that but looking at it i think your right something needs to be done to it. as for the starter i didn't kwow it needed to be shimed how do i go about that? is it simple like taking that bottom cover off the bell housing and fit it up then see if it will mess in with the ring gear ok?

#99 A9X

A9X

    A fortunate run

  • Members
  • PipPipPipPipPipPipPip
  • 5,024 posts
  • Name:Welby
  • Location:Perth
  • Joined: 09-November 05
Garage View Garage

Posted 08 January 2012 - 03:16 PM

yes

#100 _Torza_

_Torza_
  • Guests

Posted 13 January 2012 - 10:09 PM

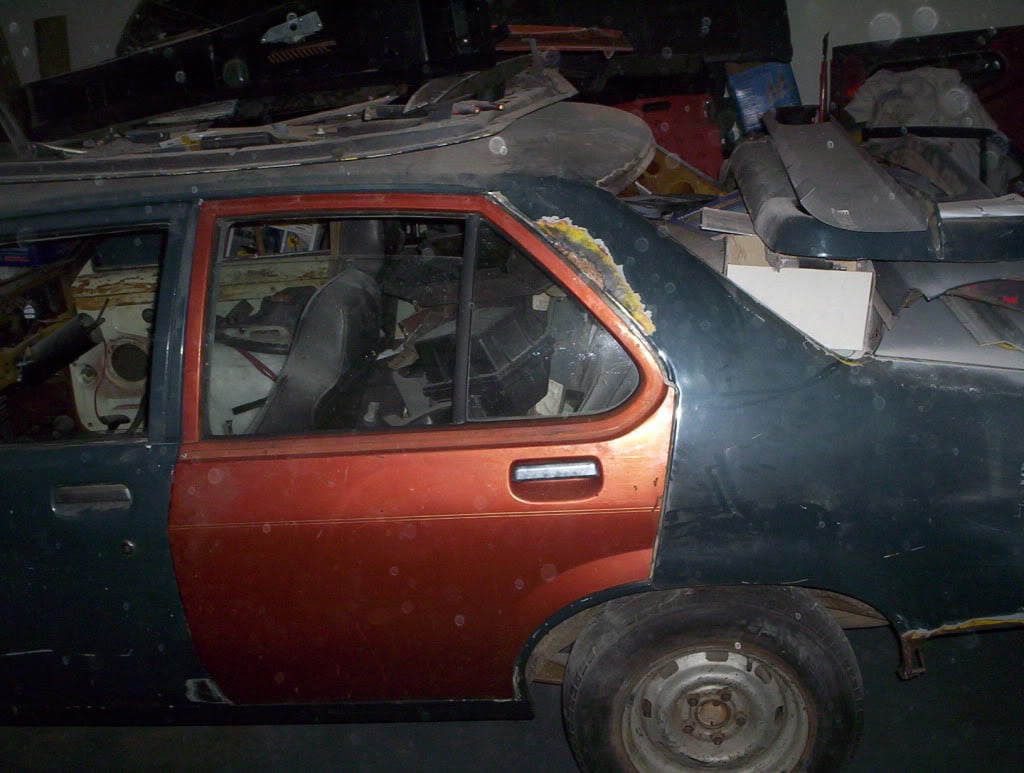
ok so thought i should check in with you guys and share my utter dissapointment. I got home from work tonight and thought id do a bit of work on the car so headed out to the garage to see what i could do. i've had that l/h/r door that i got from a wreckers sitting in the corner since october last year so decided to fit it up and see what it looks like. to start with the ruber door seal was totally shot as to be expected but after i ripped it off along with the trim i found it was all rusted out... not good.
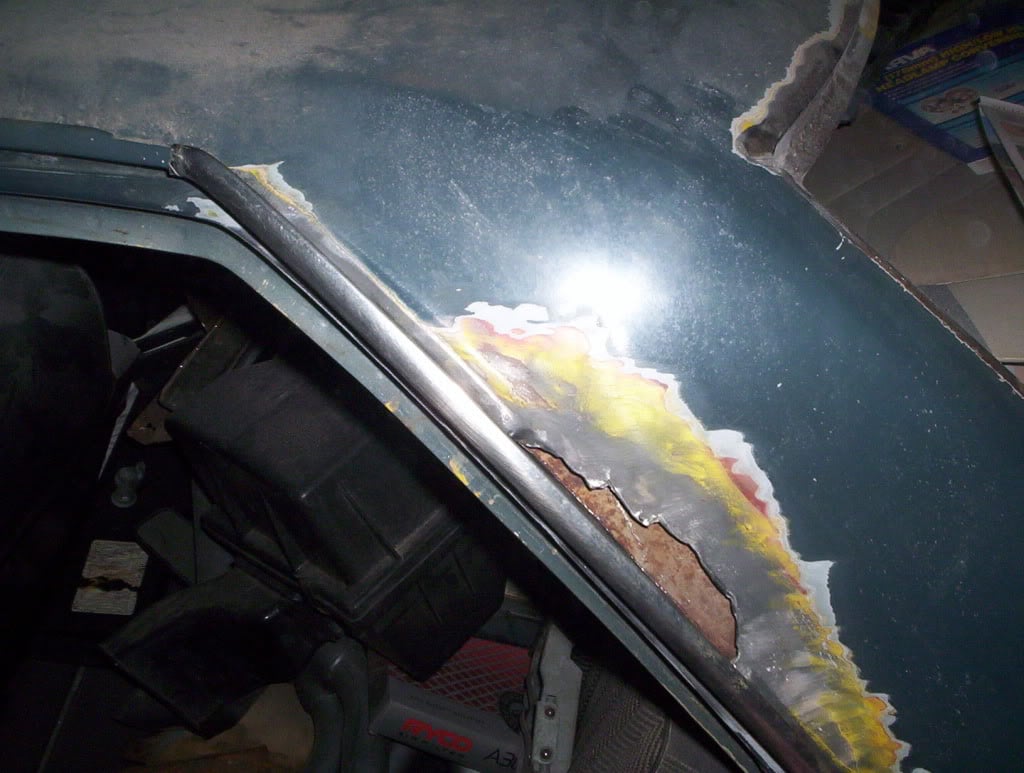
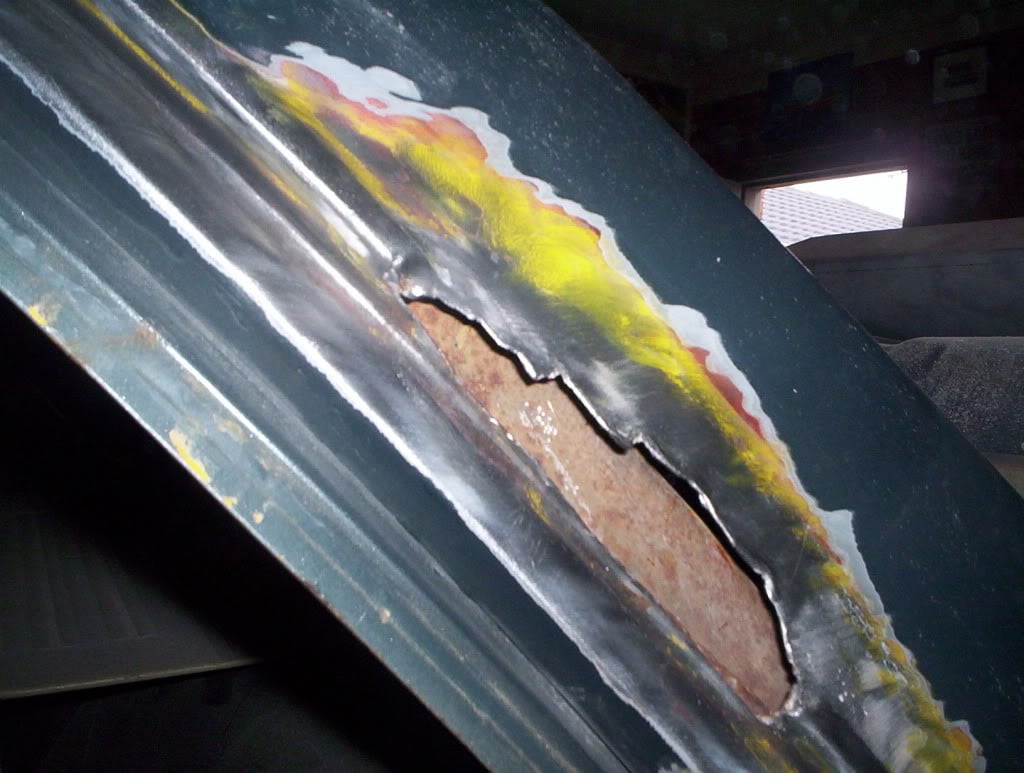
so i pulled the other door off the car ready to fit the new one and while i got it off i get to thinking that i should try to fit the rain gutter too so i can see if it looks good. when i go to fit it up i see the screw holes have been filled in and with the history of bog in this car i get a little on edge. i decided that i had to know why the rain gutters were removed and why the holes boged over so i got out the grinder and got stuck into it... my instincts were right to be on edge and as i grinded away i couldnt believe what i was seeing... the c pillar is totally rusted out and had a bit of tin plate folded up and boged over to cover all the damage! all this rust is getting me down i feel its getting beond me i dont know if i can fix all this by myself... here's some pics but i dont like looking at them they make me sad
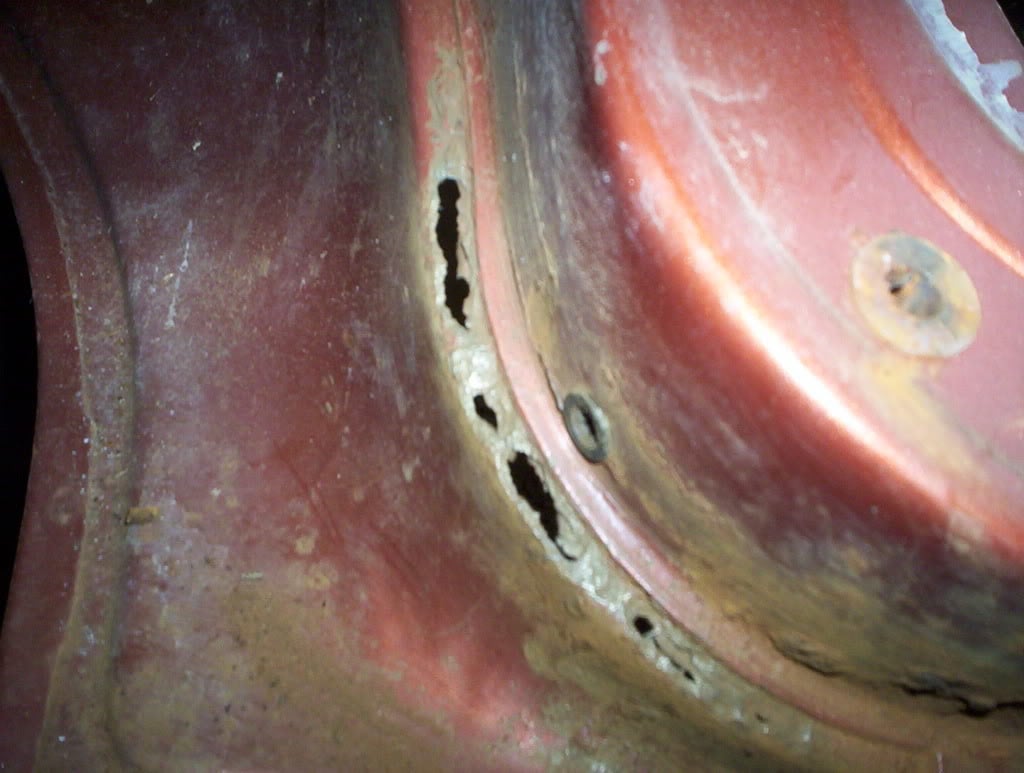
Posted Image
Posted Image
Posted Image
Posted Image
Posted Image
Posted Image


2 user(s) are reading this topic

0 members, 2 guests, 0 anonymous users