lh injection project
#126

Posted 19 March 2012 - 07:50 PM
cheers.
#127
 _Torza_
Posted 30 March 2012 - 08:39 PM
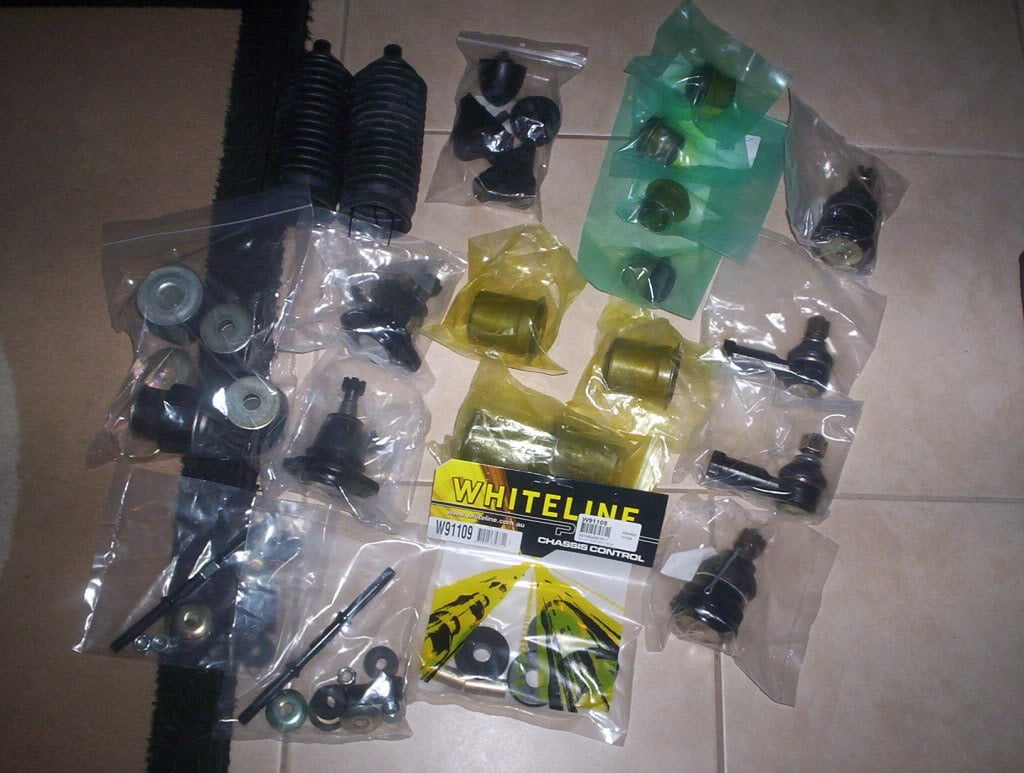
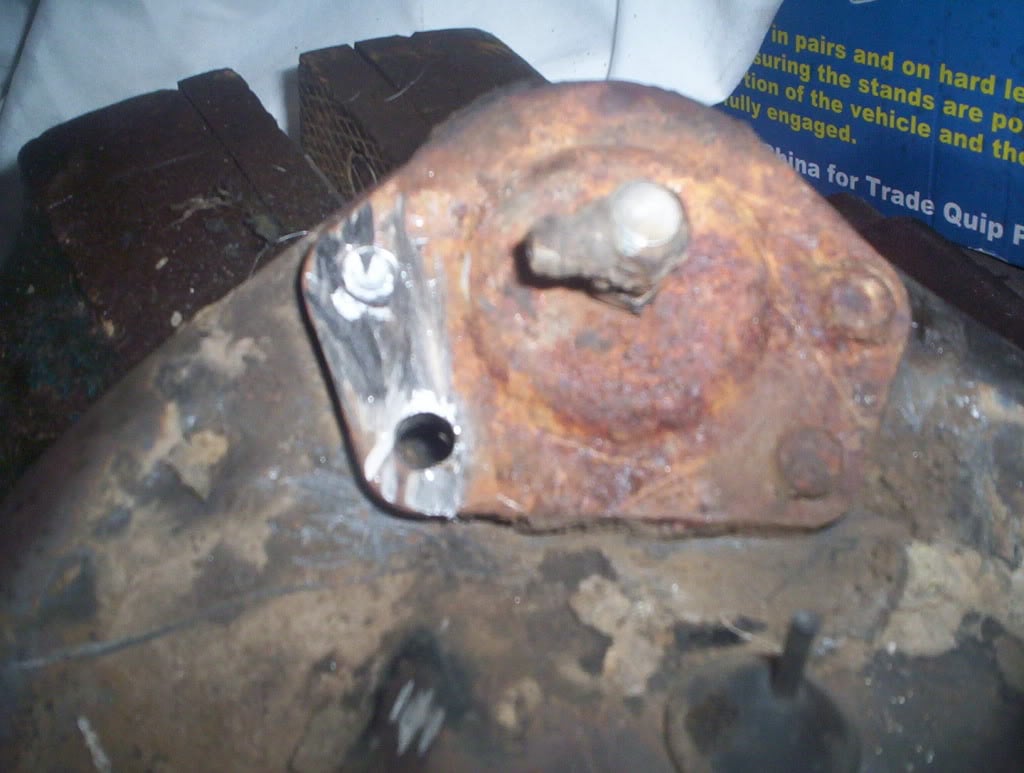
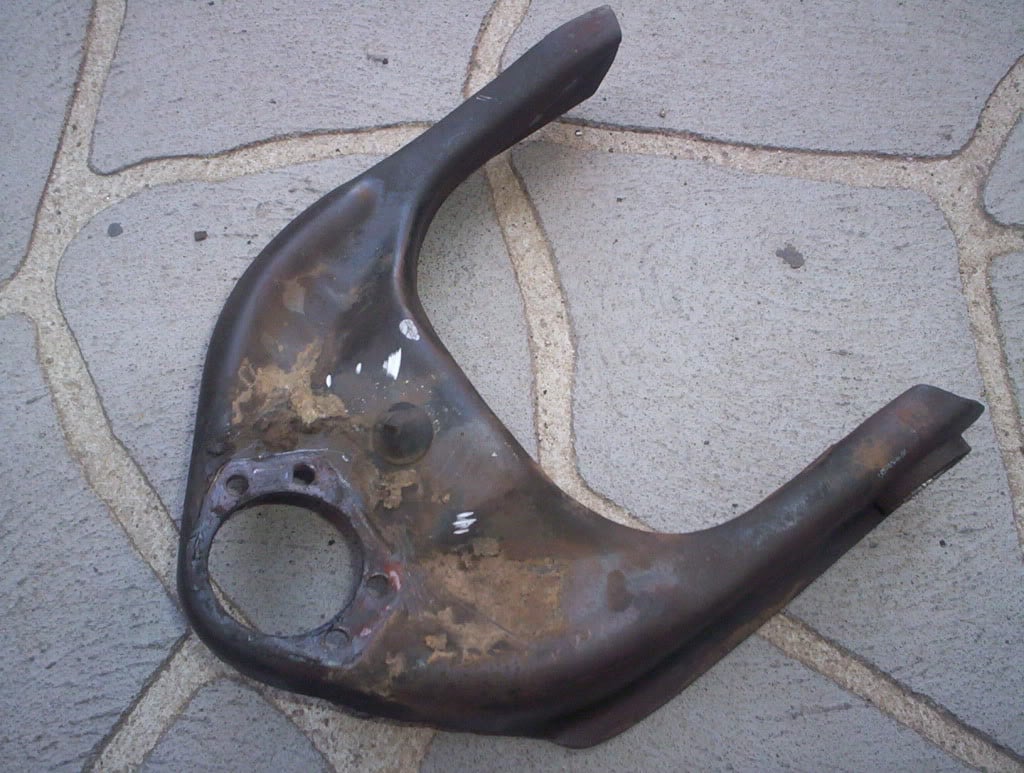
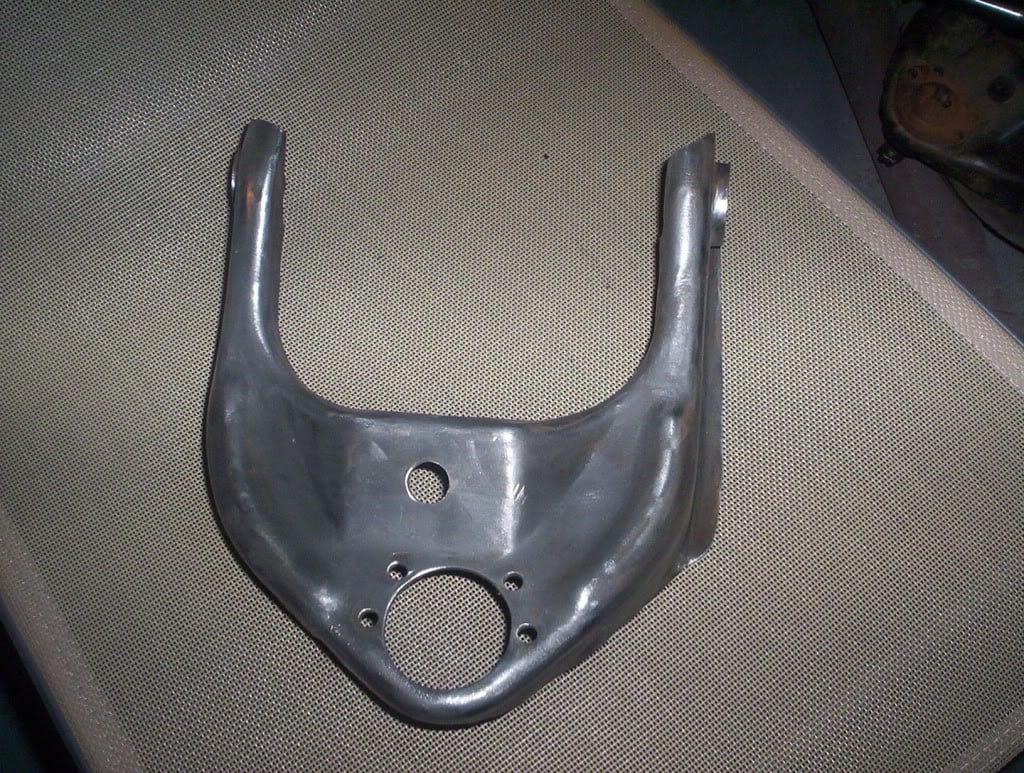
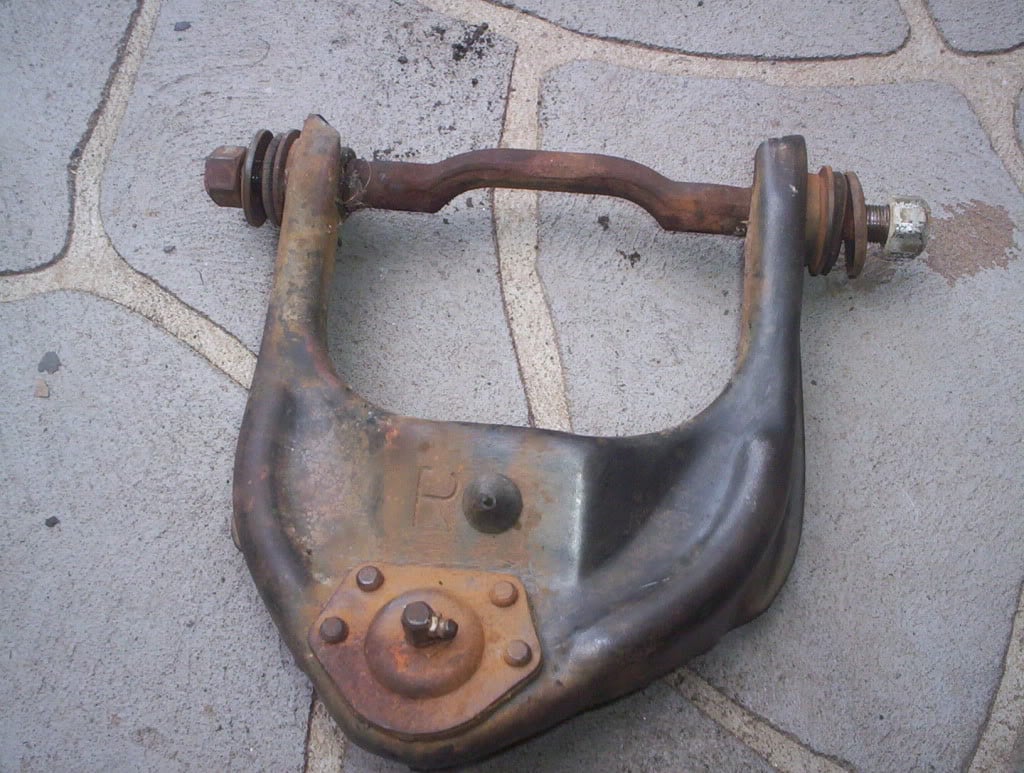
so with no more excuses left i had to start to strip the spare crossmember down, bloody hard job getting those bushes out i only started on the one side for now and so far i've only done the upper control arm its all striped back and cleaned up ready for paint so my question is whats the best spray paint to use i just want it black to look neat and tidy its not going to be a show car so only using cans for this part so any tips? here some pics
#128
 _robslxhatch_
Posted 31 March 2012 - 05:53 PM
Edited by robslxhatch, 31 March 2012 - 05:54 PM.
#129

Posted 31 March 2012 - 05:56 PM
cheers
nick
#130
 _Torza_
Posted 31 March 2012 - 09:02 PM
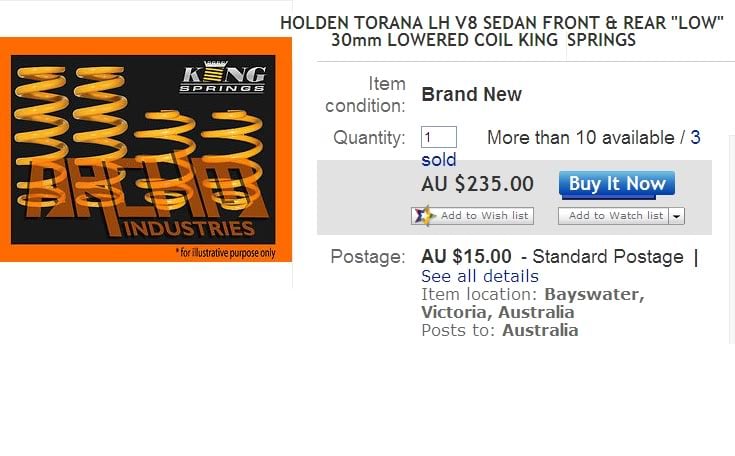
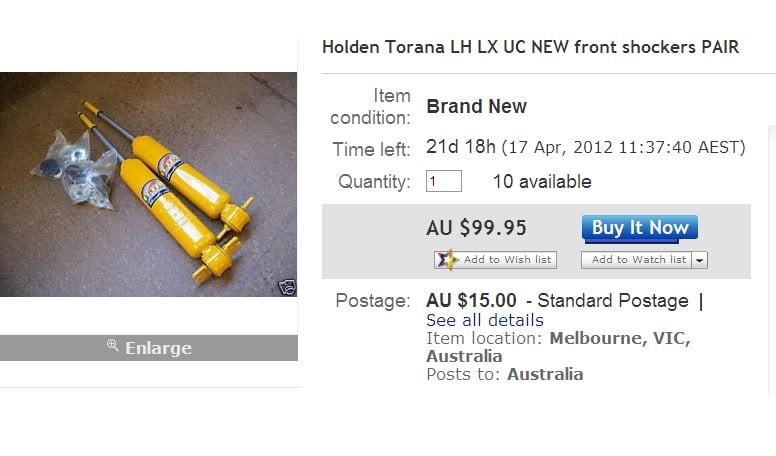
#131
 _robslxhatch_
Posted 01 April 2012 - 07:42 AM
#132

Posted 01 April 2012 - 12:59 PM
\

Edited by ls2lxhatch, 01 April 2012 - 01:00 PM.
#133
 _Torza_
Posted 01 April 2012 - 02:56 PM
#134

Posted 01 April 2012 - 05:37 PM
The LH/LX upper control arms are symmetrical so they can be fitted on either side and the are not stamped with the R.
In the photo below of an LX arm you can see the ball joint is in line with the bump stop.

If the k-frame has this bit on rod welded on then it is a UC k-frame.

If the part numbers on the steering arms are 9947248 and 9947249 then you have UC steering arms.
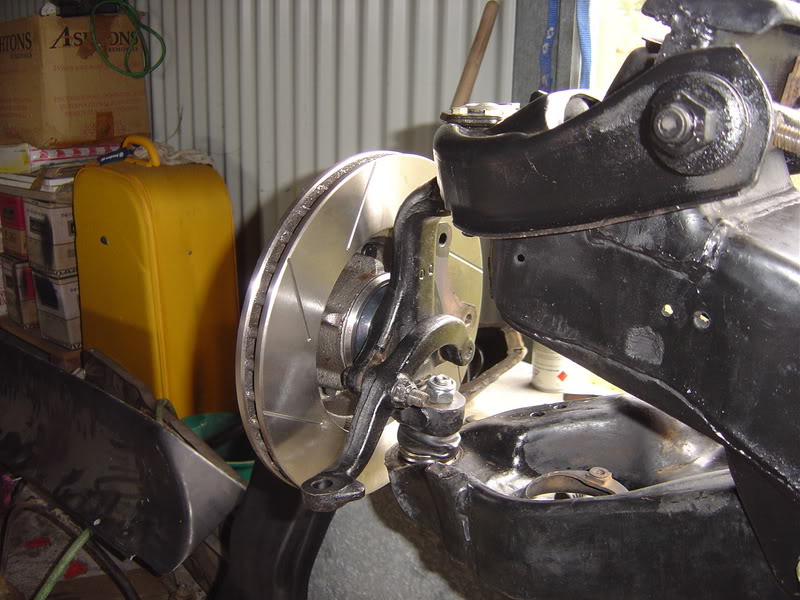
If the lower control arm has a steel stop welded to the control arm where the steering arm touches the control arm then you have UC lower control arms. You can see the steering stop on the UC lower control arm in this photo by rorym.
Edited by ls2lxhatch, 01 April 2012 - 05:46 PM.
#135
 _robslxhatch_
Posted 01 April 2012 - 08:53 PM
#136
 _Torza_
Posted 02 April 2012 - 07:20 PM
#137
 _Torza_
Posted 08 April 2012 - 12:25 PM
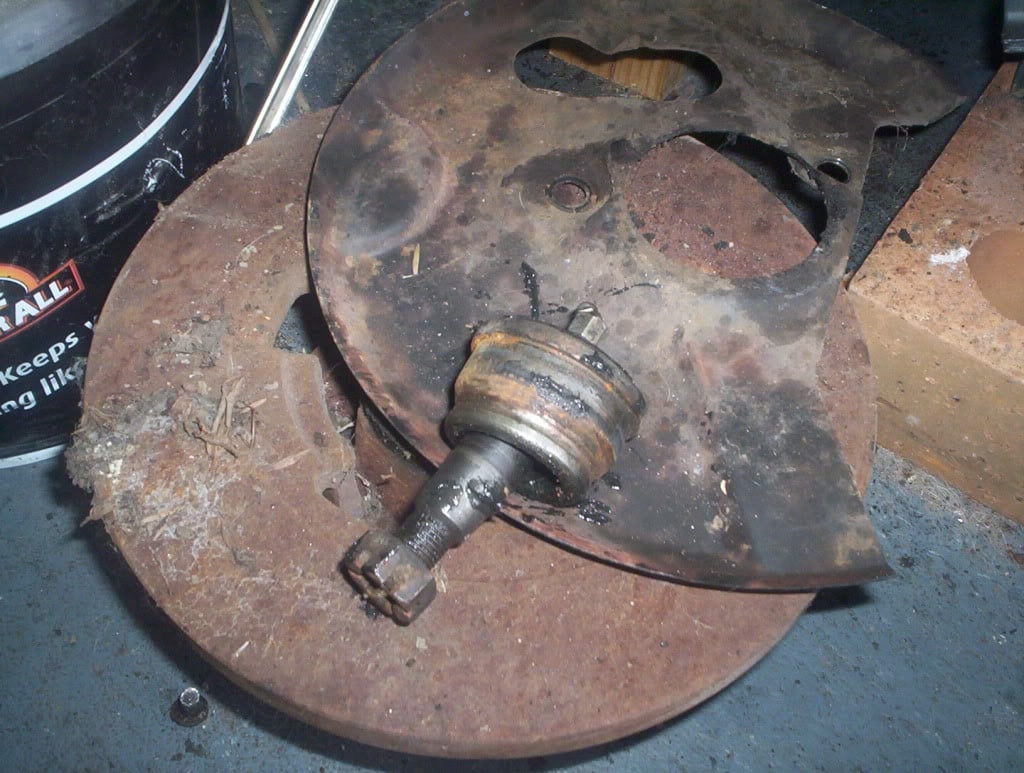
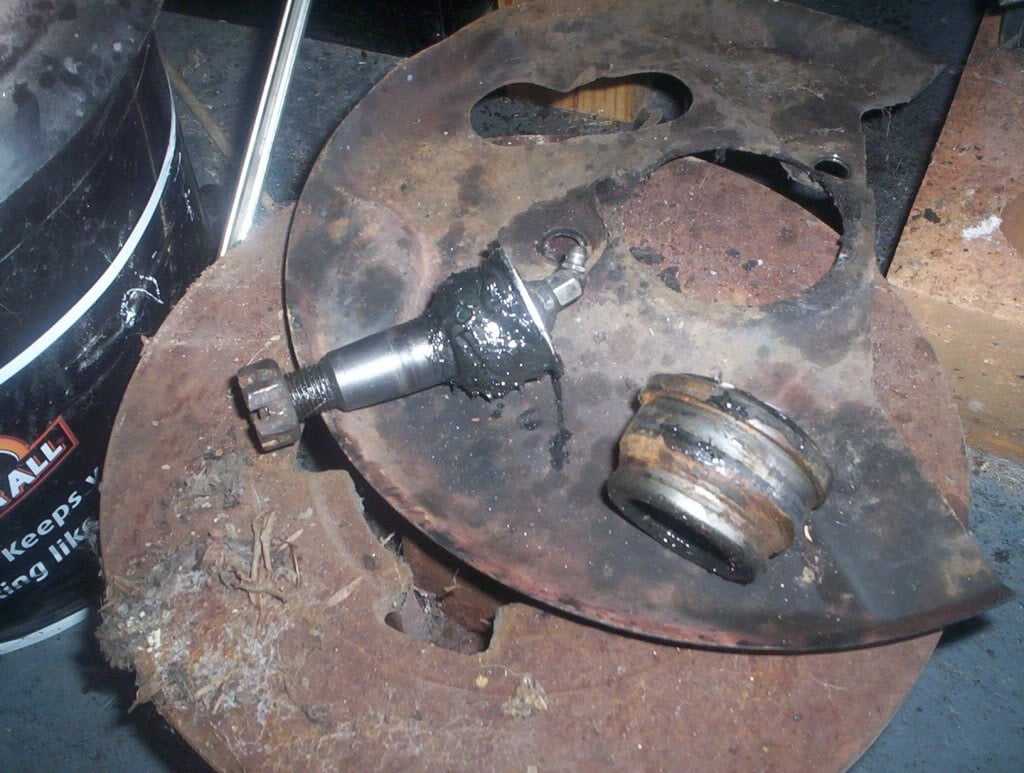
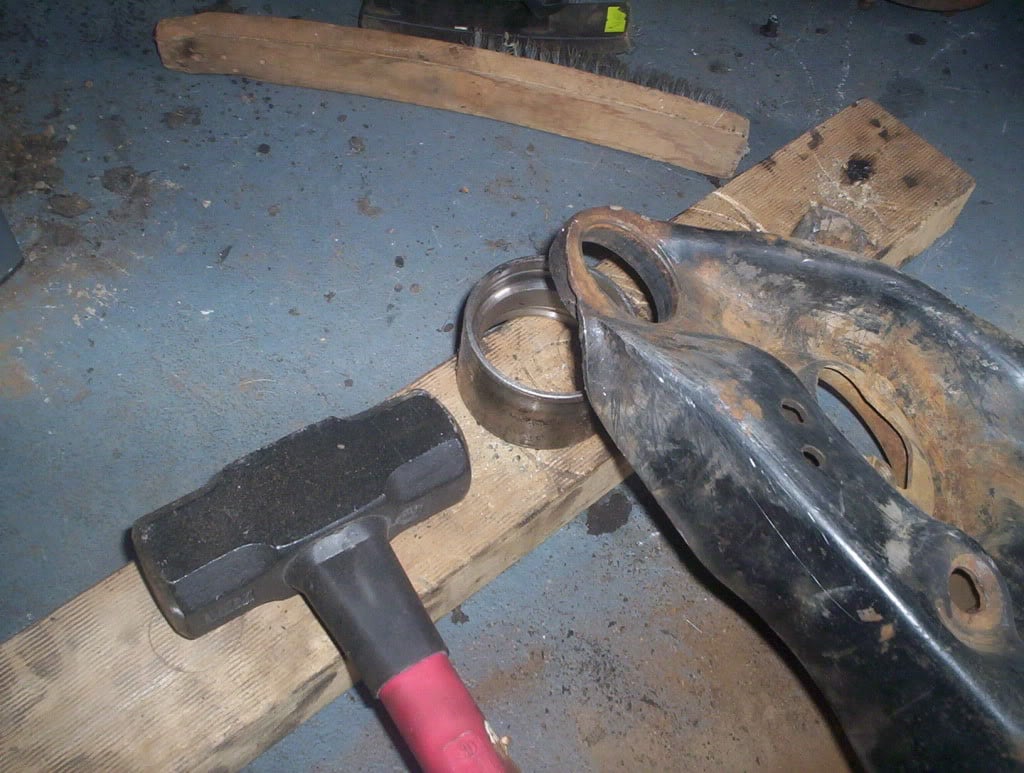
still trying to strip the crossmember down and not having much luck with the lower control arm bushes, as my old man would say there as tight as a nuns nasty! any tips to help get them out? im thinking ill just take them into work and get them pressed out, i had them in the vice smacking the crap out of them and they just wont buge. had a bit more luck with the bottom ball joint, just smashed that out with my fine adjustment hammer and it poped straight out... well in two peices but it did come out easy enough! heres some pics
#138

Posted 19 April 2012 - 08:41 PM
#139
 _L32M20_
Posted 19 April 2012 - 09:05 PM
#140
 _Torza_
Posted 20 April 2012 - 02:27 PM
#141

Posted 20 April 2012 - 03:13 PM
#142
 _robslxhatch_
Posted 21 April 2012 - 07:31 AM
#143
 _Torza_
Posted 22 April 2012 - 07:13 PM
#144
 _Torza_
Posted 20 May 2012 - 09:49 PM
#145

Posted 20 May 2012 - 09:59 PM
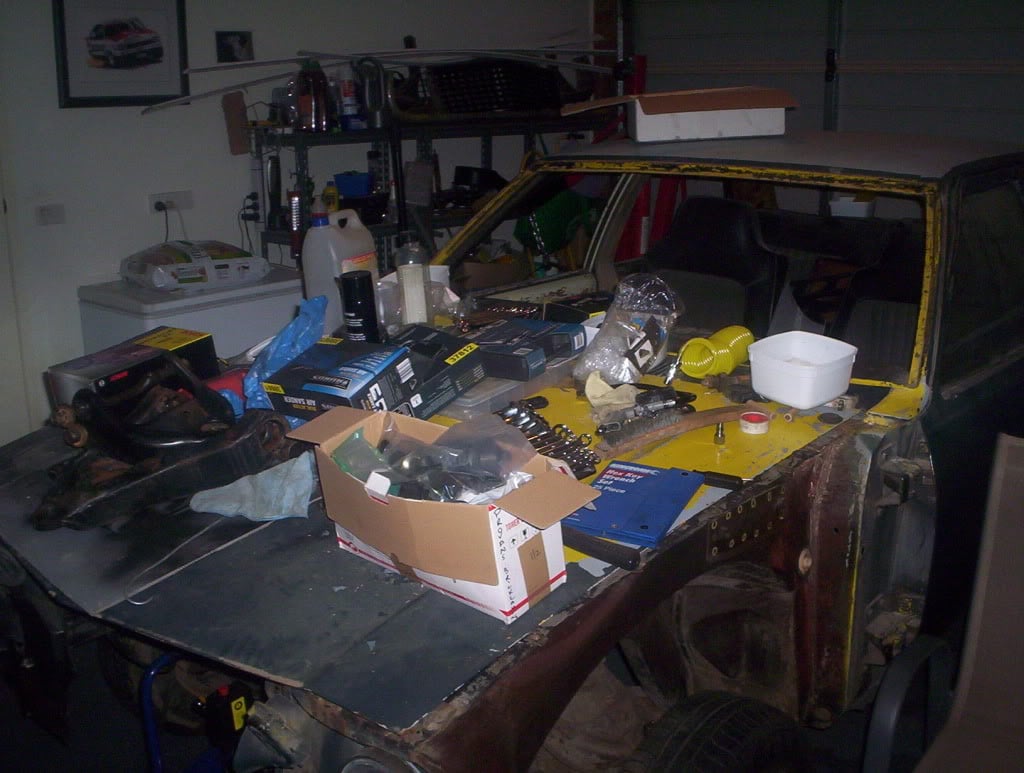
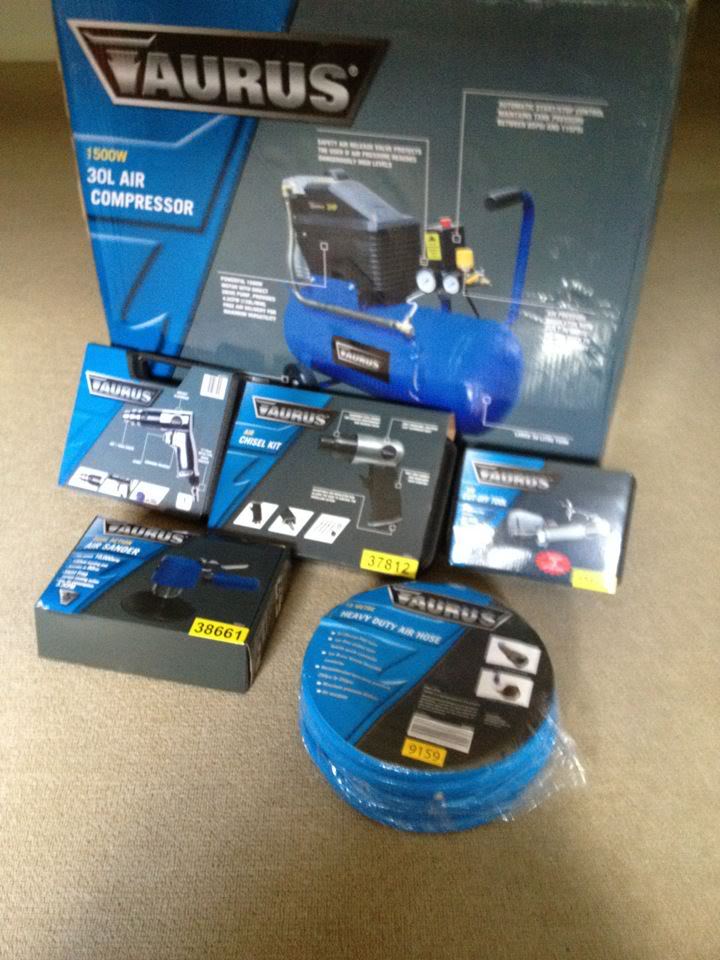
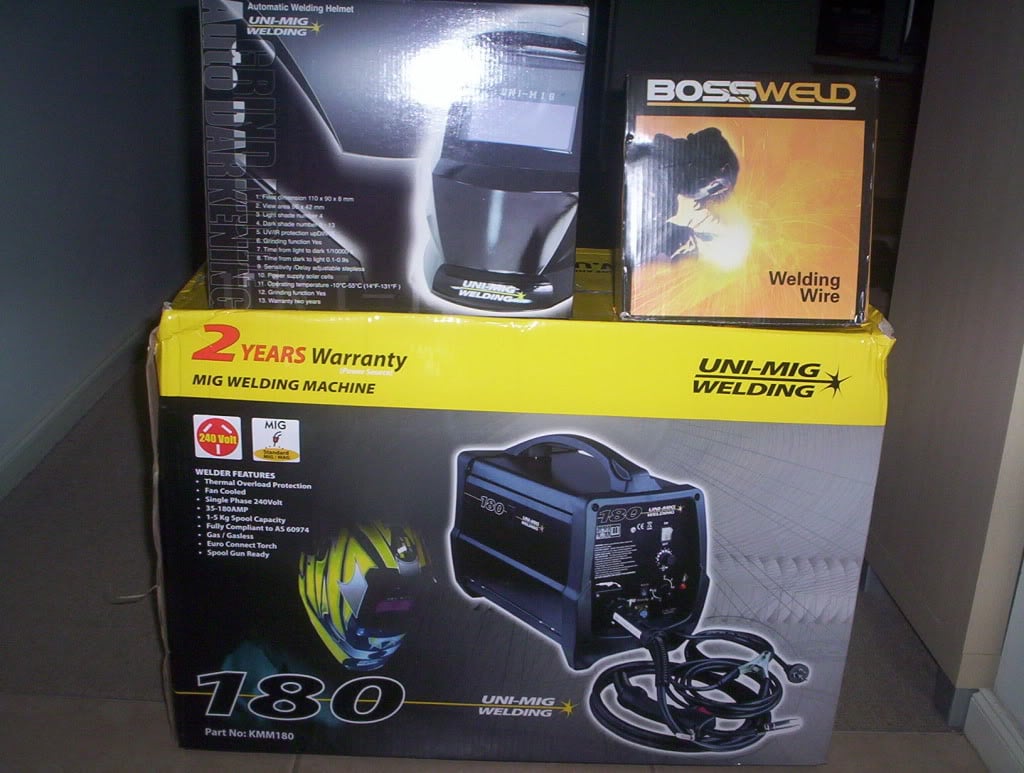
I store everything inside the car and boot lol soon I have to start pulling everything out so I can start
Epoxy priming... What's next on the to do list??
#146
 _Torza_
Posted 20 May 2012 - 10:36 PM
#147
 _Torza_
Posted 21 May 2012 - 08:23 PM
#148
 _Torza_
Posted 24 May 2012 - 10:10 PM
#149

Posted 27 May 2012 - 02:09 PM
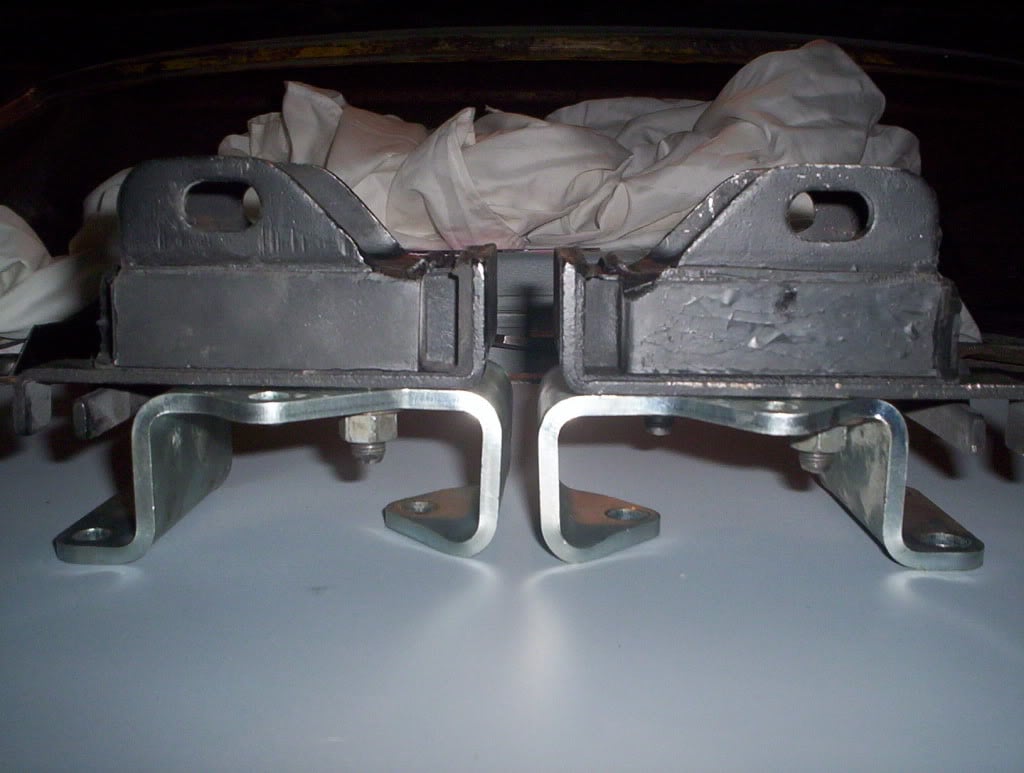
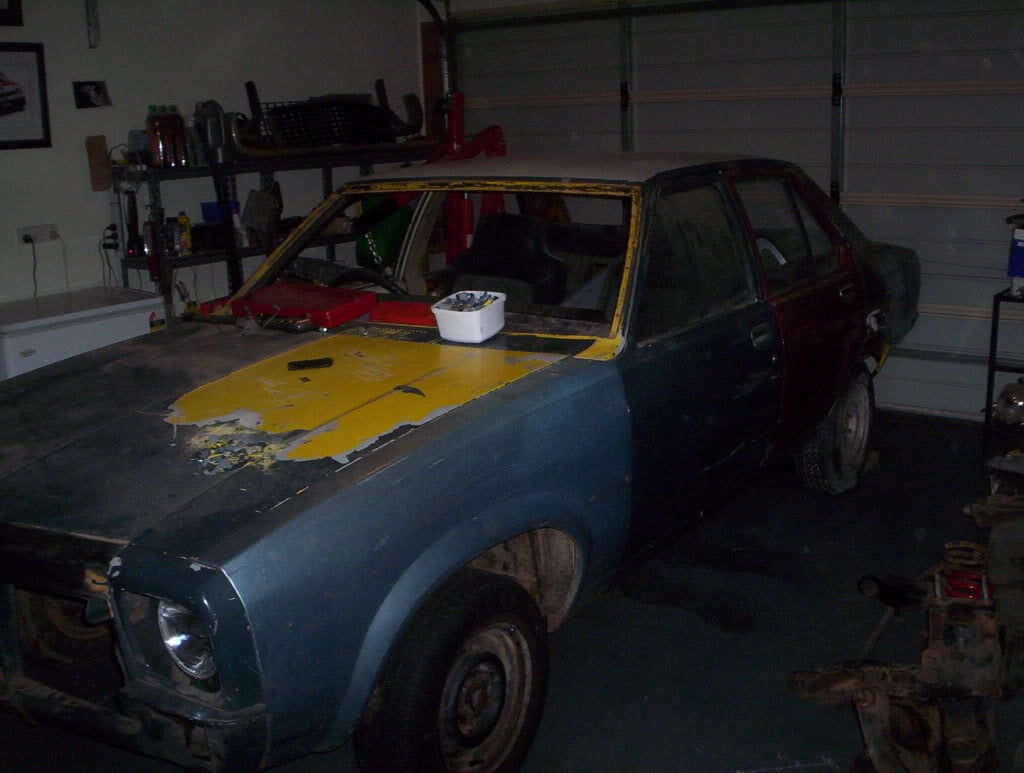
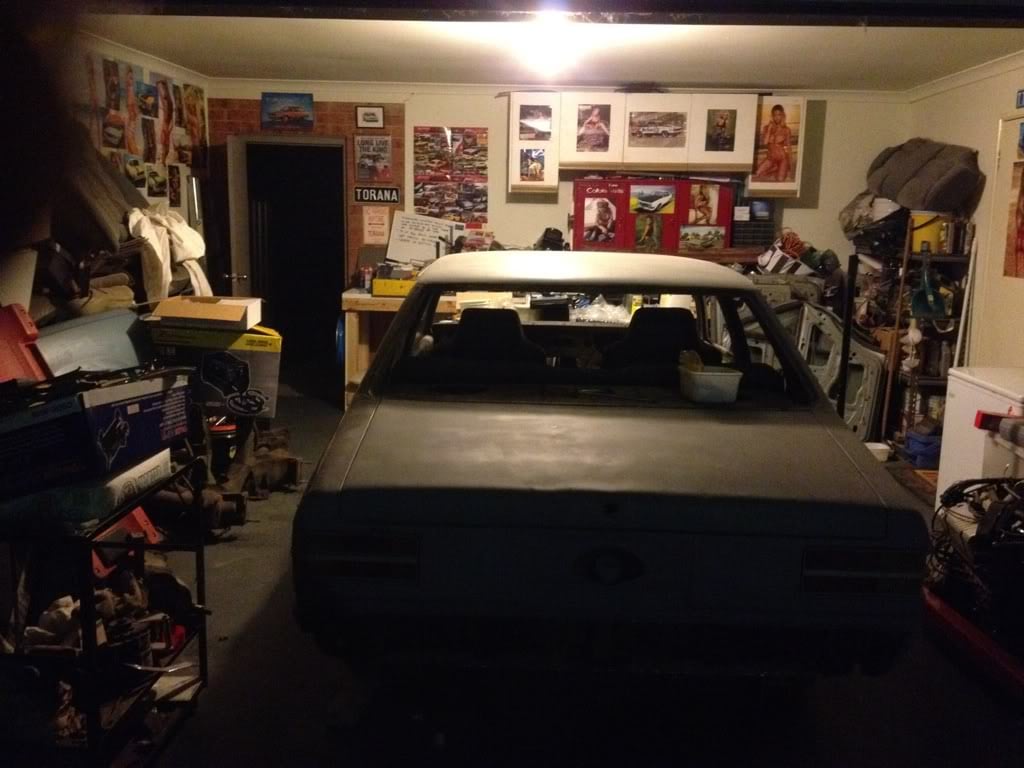
hey neil thanks for the offer of the engine cover might take you up on it just let me know what you want for it and the cost to get it to melbourne, im in no hurry though the cars nowhere near ready ive been a bit slack of late so not much been done to my car but what i did do was to pull my engine mounts back off just to check if there different from left to right but just my luck there the same, must be chevs that are different.
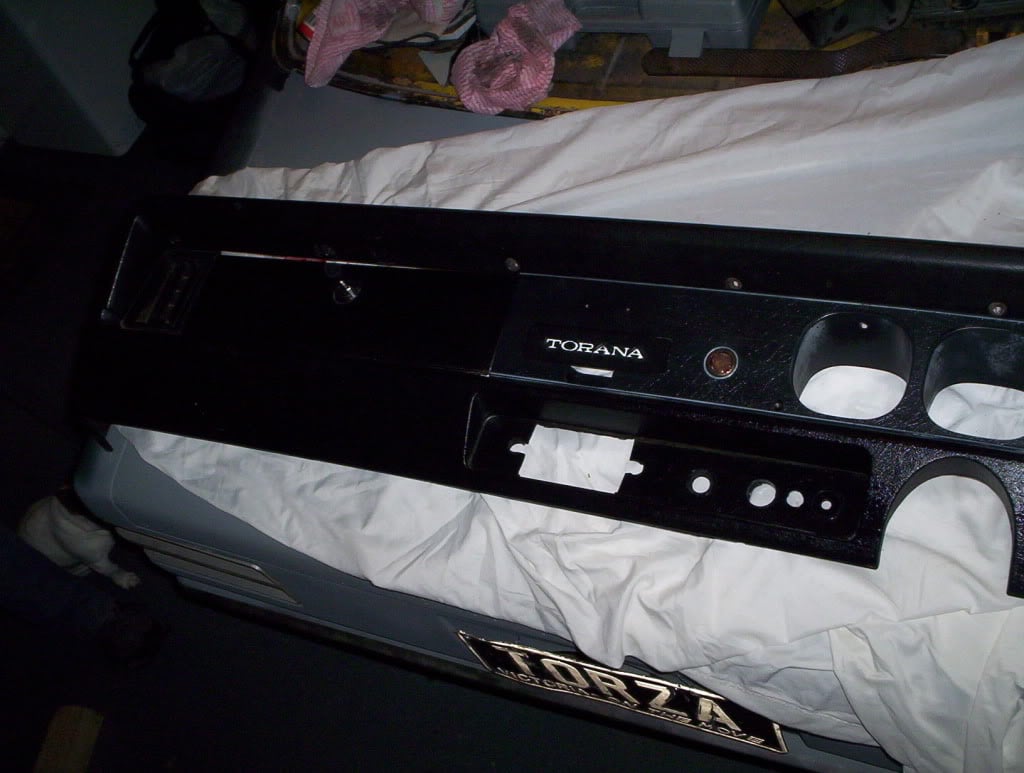
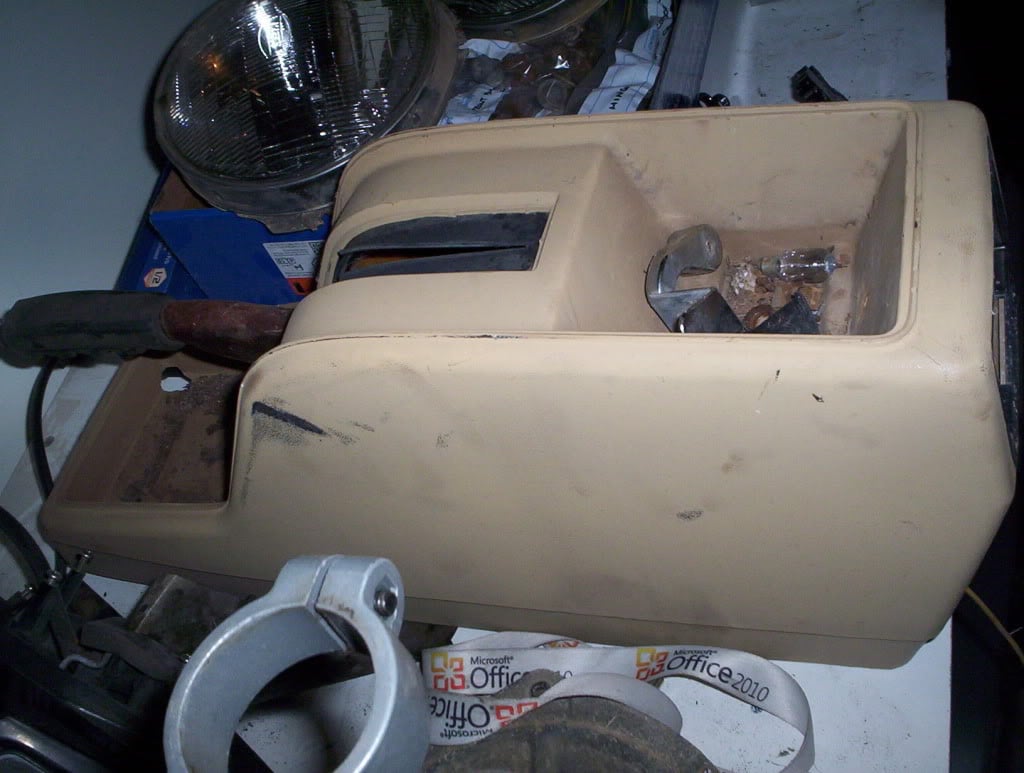
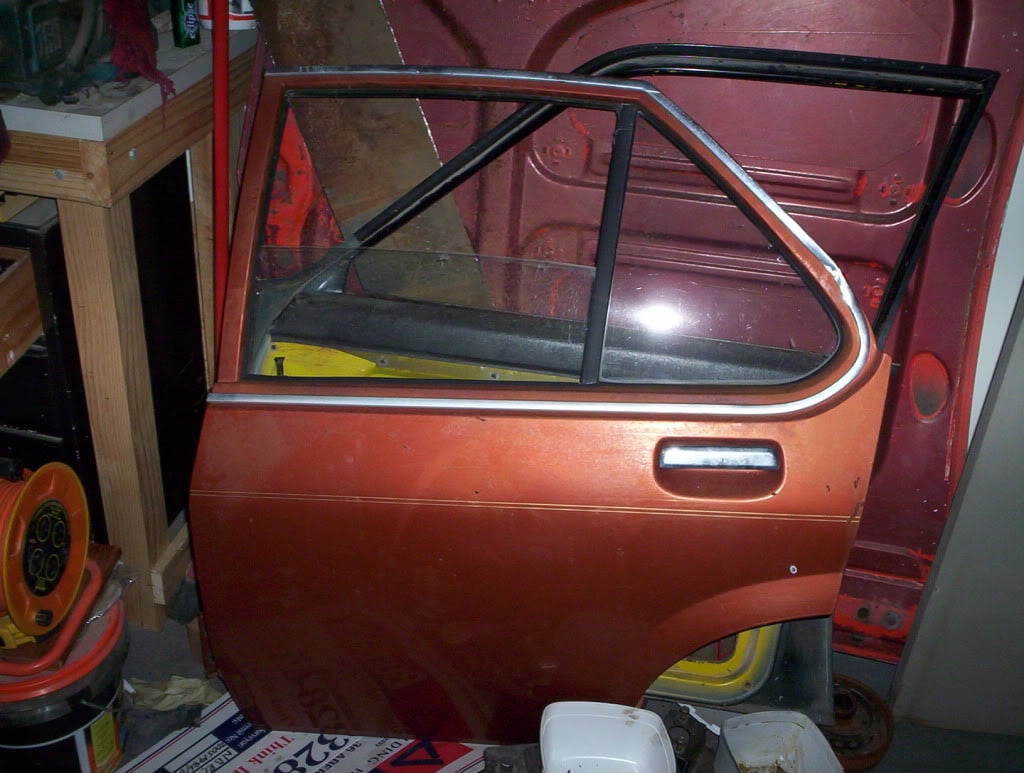
also went on a bit of a road trip with a mate to a wrecking yard that had a dozen or so lh/uc toranas and picked up a few goodies! i spent $300 and got a complete dash, round headlight buckets and lights, a uc pull up handbrake and console, a l/h/r door, both rear door rain gutters, a commodore air filter box and lots of little odds and ends,all in all a good trip!
hey mate just wondering what wreckers you went to pick up those goodies?? i need to buy some stuff for my car a well. i am over looking on ebay..
if you can pm me the details that would be good
cheers
nick
#150
 _rig3cam_
Posted 29 May 2012 - 11:05 AM
2 user(s) are reading this topic
0 members, 2 guests, 0 anonymous users




 View Garage