Jump to content


- - - - -

YT's LH Project


  • Please log in to reply
83 replies to this topic

#1 _YTsLH_

_YTsLH_
  • Guests

Posted 06 March 2011 - 03:31 PM

I finally decided to start a thread on my lil project I got going.

A little about myself. I'm neither a panel beater nor a mechanic and have little to no experience rebuilding cars. Therefore I usually do everything wrong at least twice before getting it right. I've been working on this for the last couple of years and would love to have it ready for next year's SummerNats. Fingers crossed.

The car is a LH to be fitted with VE SS L98 6.0L and donor parts.

Posted Image

Posted Image

Posted Image

Posted Image

Posted Image

Posted Image

Posted Image

Posted Image

Edited by YTsLH, 06 March 2011 - 03:37 PM.


#2 Neils LX

Neils LX

    Forum Fixture

  • Members
  • PipPipPipPipPip
  • 2,074 posts
  • Name:a
  • Location:North west NSW
  • Joined: 18-March 07

Posted 06 March 2011 - 03:46 PM

Nice one, looking foward to this one finished.

#3 _BradTorana_

_BradTorana_
  • Guests

Posted 06 March 2011 - 05:29 PM

That's will be a nice car when it's finished.
Brad

#4 _Lamo_

_Lamo_
  • Guests

Posted 06 March 2011 - 05:46 PM

Noice!

*clicks 'watch thread' button*

#5 Growla

Growla

    Forum Member

  • Members
  • PipPipPip
  • 229 posts
  • Location:Canberra ACT
  • Car:LX SL/R LS1 conversion completed July 2010
  • Joined: 07-February 07

Posted 07 March 2011 - 06:27 PM

Might want to keep the tunnel out of the donor car.

cheers

Mark

#6 _2wild4u_

_2wild4u_
  • Guests

Posted 08 March 2011 - 12:50 AM

nice looking torana, looks pretty straight

#7 _uctorry_

_uctorry_
  • Guests

Posted 08 March 2011 - 10:56 AM

Dont worry Chad that is how we are learnt
But when you are finished you can tell the novices how to go about things.
Take ya time and you will have a one of a kind street machine
keep us all updated with your progess

#8 Statler

Statler

    Heckler Extraordinaire

  • Administrators
  • PipPipPipPipPipPipPip
  • 6,294 posts
  • Name:Col
  • Location:Mackay Qld. Whitsundays for all you back packers!
  • Joined: 20-May 06

Posted 08 March 2011 - 10:58 AM

If you decide to de-chrome it, i would be interested in the gutter moulds.

Nice project!

*suscribed*

#9 _Kush_

_Kush_
  • Guests

Posted 08 March 2011 - 01:27 PM

Interesting.......... I likey :)

#10 _YTsLH_

_YTsLH_
  • Guests

Posted 08 March 2011 - 06:53 PM

Cheers Guys.

A little more info.
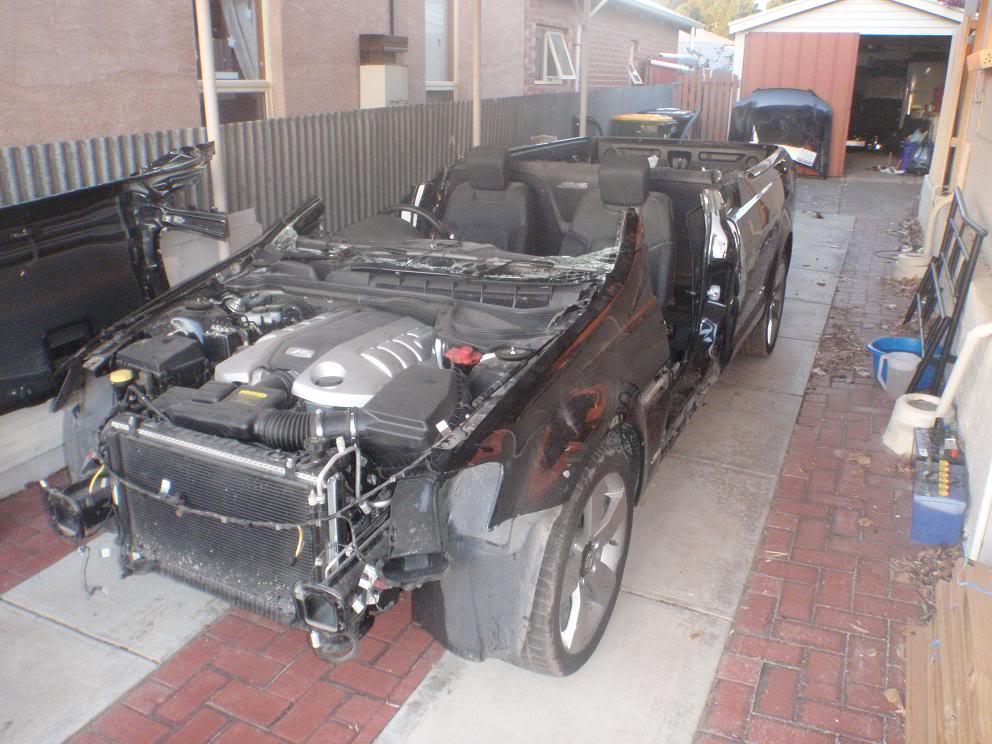
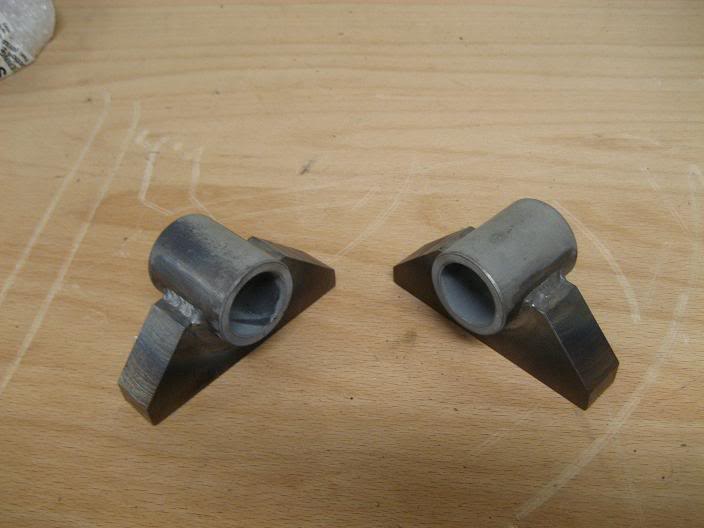
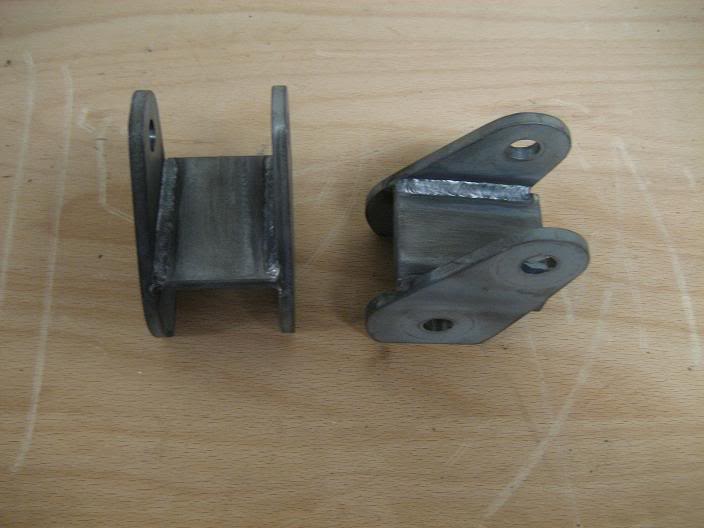
So far I have the engine and gearbox in and fitted. I fabricated my own engine mounts and gearbox cross member because I didn't like some of the other stuff that was out there and also just wanted to give it a go myself. I have better scaled pics of each part of the engine mounts before they were welded in the event that someone may want to copy them one day.
Posted Image
Posted Image
Posted Image
Posted Image
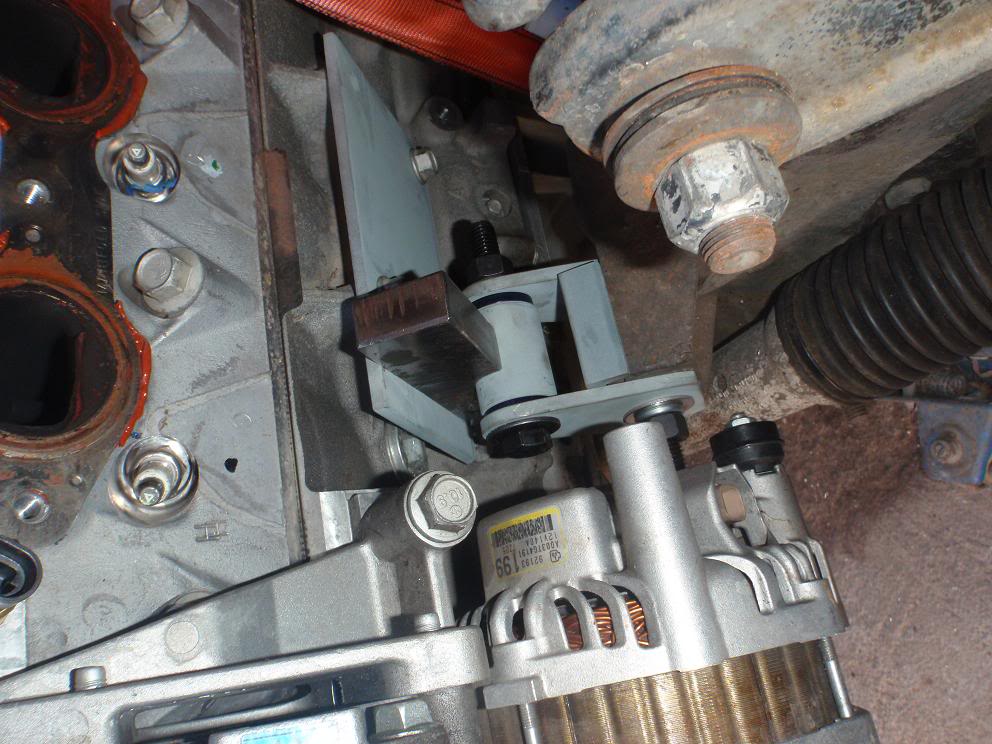
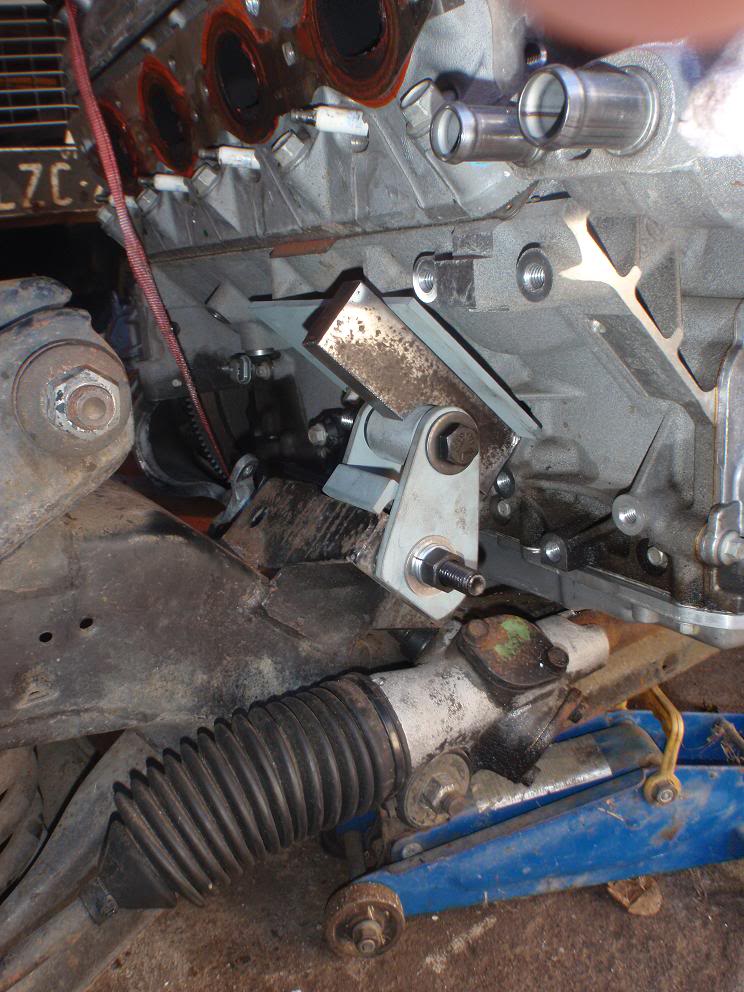
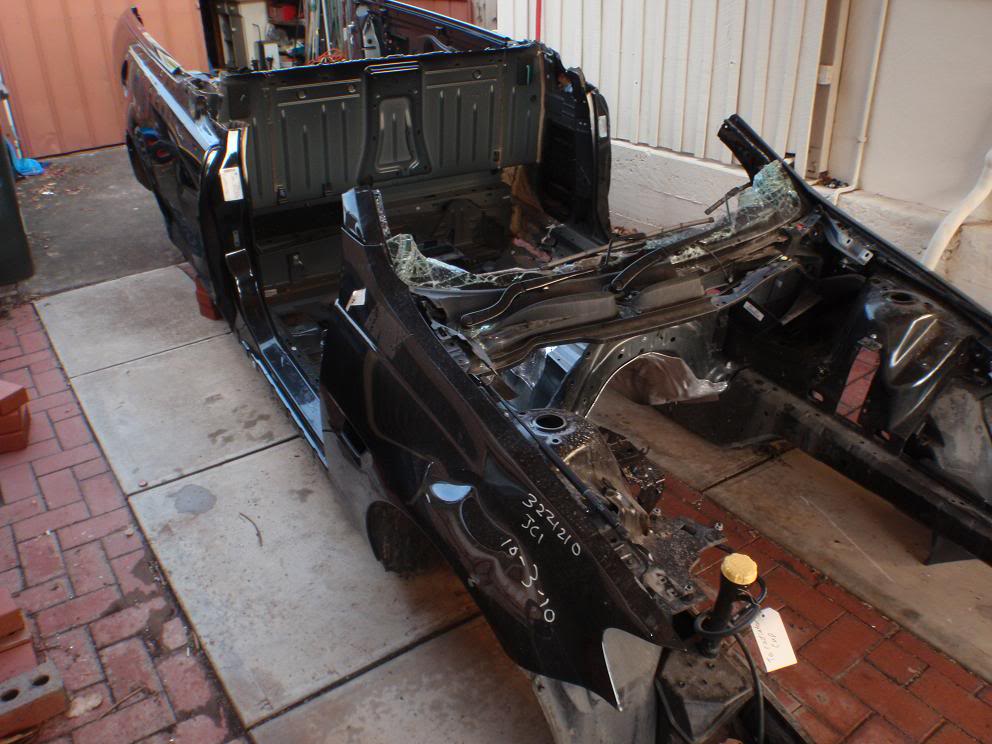
Growla - I did cut the tunnel out the VE just in case but found some gentle manipulation of the forward part of the torana tunnel allowed the T56 to fit ok. Not a lot of room but at least 3/8" all way round. I'm hoping it will be enough. As the gear shift setup on the VE T56 is different to an aftermarket T56 I decided to use the forward shifter mounting position after sourcing a shifter that will fit. This also gets it away from the middle floor strengthening section thingy that I have seen others need to modify.
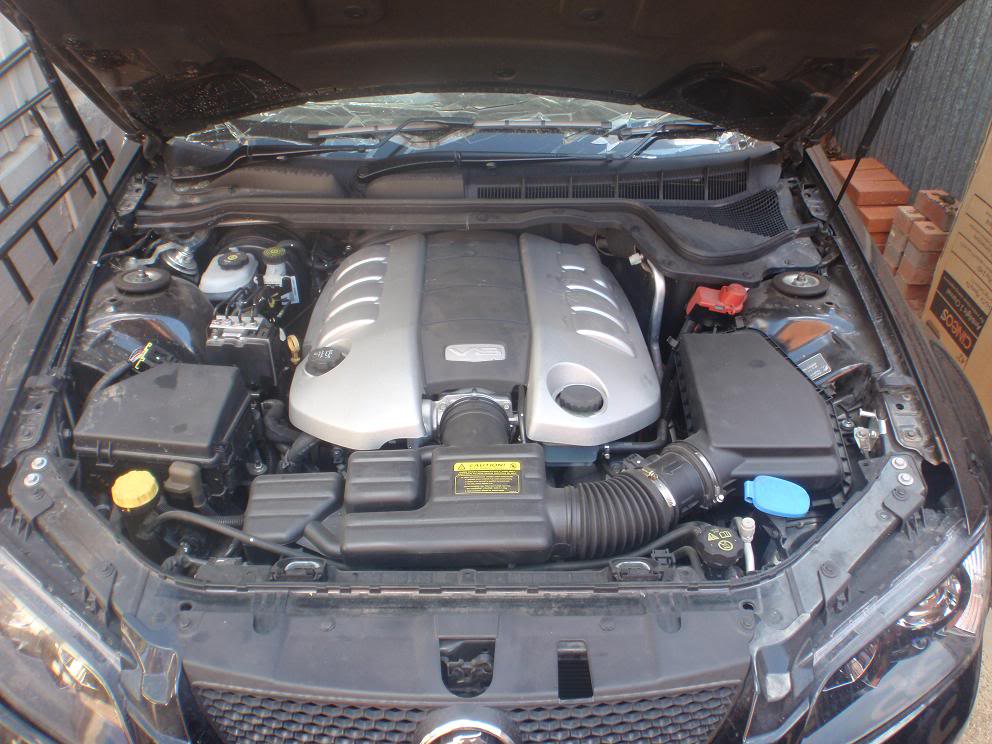
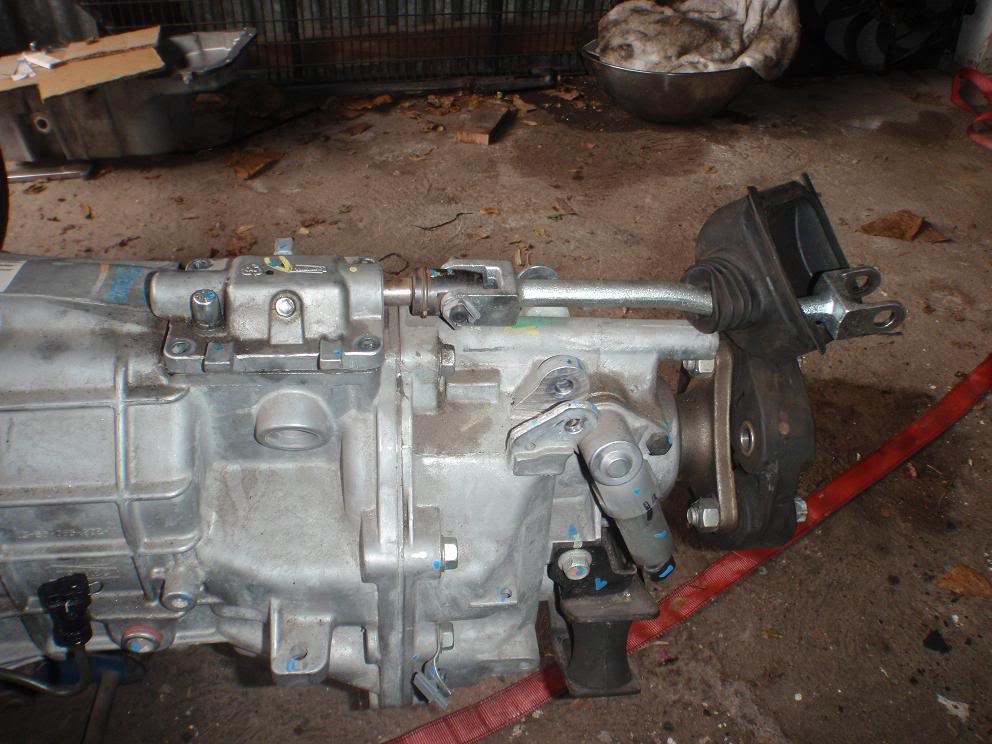
VE Commodore T56
Posted Image
Posted Image
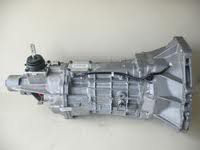
One version of the aftermarket T56 (There are Others)
Posted Image

I'll try to keep the info coming guys.

Stay tuned.

Cheers,
YT


#11 _gen3torrie_

_gen3torrie_
  • Guests

Posted 08 March 2011 - 07:21 PM

what was the point of chopping the commodore apart thou?

looking to be a great project, i've always wanted an LS motor in my torry can't wait for updates.

#12 Stinga

Stinga

    .

  • Members
  • PipPipPipPipPip
  • 2,114 posts
  • Name:Stinga
  • Location:Wollongong, NSW
  • Car:HD Holden ute, and sedan, UC torana
  • Joined: 05-December 05

Posted 08 March 2011 - 07:38 PM

probably to access the interior without getting an eye full of glass??

nice work on the engine mounts!

#13 Lima31

Lima31

    Forum Fixture

  • Members
  • PipPipPipPipPip
  • 874 posts
  • Name:Lee
  • Location:Perth WA
  • Joined: 18-April 10

Posted 09 March 2011 - 12:14 AM

You might want to insert some soft resilient (vibration) pads to the engine mounts, to keep the engine noise and vibration down

#14 _YTsLH_

_YTsLH_
  • Guests

Posted 14 March 2011 - 04:02 PM

Correct I cut the roof off to get access to the dash and remove it in one piece.

The mounts are pretty firm and I am a little worried about the vibration and noise. See how it goes I suppose. Credit for the mounts must go to LS2LXHatch as he made a set the same. I found making your own allowed for mounting the engine as far up, down, forward or back as you want.

These are the Rear tyres I�m squeezing in.
Mickey Thompson Sportsman S/R�s 26X12.00R15LT
Posted Image


I needed some R15 10� rims with HQ stud pattern and the correct offset to measure up for the diff but couldn�t find any so I had these made. I�ll probably run a set of drag slicks on them for some strip work after the car is finished.
Posted Image

I dropped the diff out ready to measure up for the new one hopefully this week. I�ll be getting a F100 9� cut down.
Posted Image
Posted Image


Cheers,

YT


#15 _LS1 Hatch_

_LS1 Hatch_
  • Guests

Posted 14 March 2011 - 04:27 PM

Nice setup coming along!

I used a complete Camaro LS1 and T56 in my car...it uses a "normal" slip yoke extension housing and the standard shifter location already as well (similar to what you are doing with yours.

Oh, and I had raised the trans tunnel area about an inch and abit for clearance around the trans...just trimmed it on the side and left it attachet at the front, raised it up and just welded a strip back down either side to fill it in (back towards where the shifter box comes up that is)

#16 _YTsLH_

_YTsLH_
  • Guests

Posted 15 March 2011 - 07:10 PM

Cheers Jeff.

I'm not sure how much tunnel clearence is needed. Any thoughts? I'm more worried about it getting hot.

I picked up the Diff measuring thing-a-ma-jig today and will see how I go with it tomorrow. It just clamps your wheels on and adjusts in the middle to get your flange to flange measurment.
Posted Image

Cheers,
YT

#17 _Kush_

_Kush_
  • Guests

Posted 15 March 2011 - 08:11 PM

Wow! I didn't know there was such a thing as a diff measuring tool. That beats the arse off my idea...... I was just going to use a stick with lines drawn on it!

Where do you get one and how much does it cost? :dontknow:

#18 _Liam_

_Liam_
  • Guests

Posted 15 March 2011 - 09:19 PM

Could you just use an inner and outer tube with the wheel hub on each end put you wheels on it. And tap a thread with a locking screw. That should work Kush.

#19 ls2lxhatch

ls2lxhatch

  • Members
  • PipPipPipPipPipPipPip
  • 5,332 posts
  • Location:Perth
  • Car:LX Hatch
  • Joined: 29-May 06

Posted 15 March 2011 - 10:30 PM

You could use two axles and a tube that slips over the splines. PVC tube would probably be sufficient.

#20 _YTsLH_

_YTsLH_
  • Guests

Posted 16 March 2011 - 08:21 AM

Spot on Andy.

Its pretty much two axles that slide in an outer tube with locking bolts. Its great for keeping the wheels square.

I borrowed this one from Rod Collins at Rodtech where I am getting my diff made.

Cheers,
YT

#21 _LS1 Hatch_

_LS1 Hatch_
  • Guests

Posted 16 March 2011 - 09:42 AM

Cheers Jeff.

I'm not sure how much tunnel clearence is needed. Any thoughts? I'm more worried about it getting hot.


Cheers,
YT


I kept my engine pretty low over all, so didn't need to raise the tunnel all too much. And getting hot should not be a problem I don't think..they are pretty tight in the Camaro's to start with actually..

Oh,and I shorted the console bracket as well...so it still works!


Here was a pic while working on the tunnel...

Attached Files


#22 fenz

fenz

    Forum Member

  • Members
  • PipPipPip
  • 220 posts
  • Name:Aaron
  • Location:South Australia
  • Car:LJ 2 door and UC V8 4door
  • Joined: 26-July 09

Posted 16 March 2011 - 08:01 PM

Hey gonna be a nice toy...
Hows it go with rego in south oz??

#23 _YTsLH_

_YTsLH_
  • Guests

Posted 16 March 2011 - 08:06 PM

Ok, I�ll say it was a successful measurement after a bit of mucking around.

Here it is at 2/3�s less than the original bump travel. (measured original 90mm travel so used 60mm)
Posted Image
And at running height.
Posted Image
Posted Image
I�m not entirely happy with the ride height but it�s as far up in the guards as it will go at full bump so I suppose I will have to live with it.


For those that might pick it I have extended the rear flares by 20mm to accommodate the 26� diameter of the tyres. (Cut and fibre glassed a patch in). I�ll dig up some pic�s if people are interested.

Cheers,

Chad


#24 _YTsLH_

_YTsLH_
  • Guests

Posted 16 March 2011 - 08:19 PM

G'day Aaron

I had the project engineered and Statement of Requirements approved by motor reg before I bought either car.

Cheers,
YT

Edited by YTsLH, 16 March 2011 - 08:22 PM.


#25 _Kush_

_Kush_
  • Guests

Posted 16 March 2011 - 08:23 PM

I would like to see those pics!
Regarding the height, I think it looks ok. If it goes any lower I think it will hit your flares over every bump. And that would suck.

Is this car going to be regularly driven?


1 user(s) are reading this topic

0 members, 1 guests, 0 anonymous users