Jump to content


- - - - -

Kush's Hatch


  • Please log in to reply
140 replies to this topic

#1 _Kush_

_Kush_
  • Guests

Posted 31 March 2011 - 07:21 PM

hello fellow members,
I'm Kush, you might remember me from such inspirational and life-changing threads like "what's with the shameless advertising?", the history-defining "I've got an ugly lump on my body" and the epic "easiest way to repair plenum".

�I think it's about time I showed you all where I'm up to on my project. But firstly, a bit of a background story about the car and me......

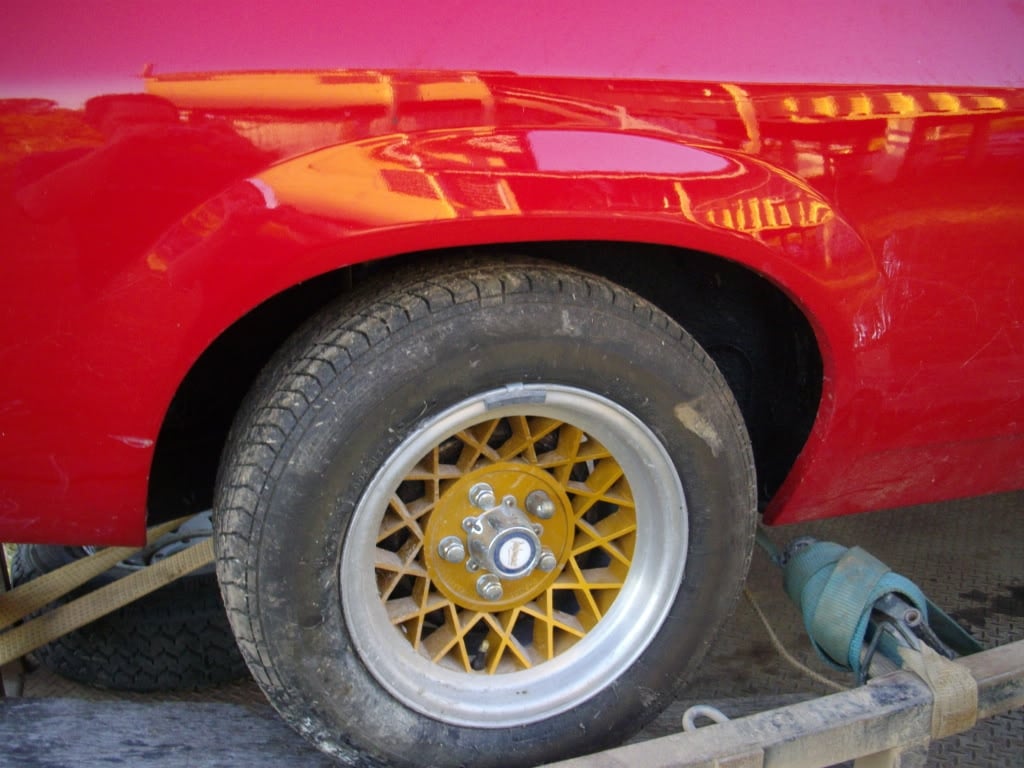
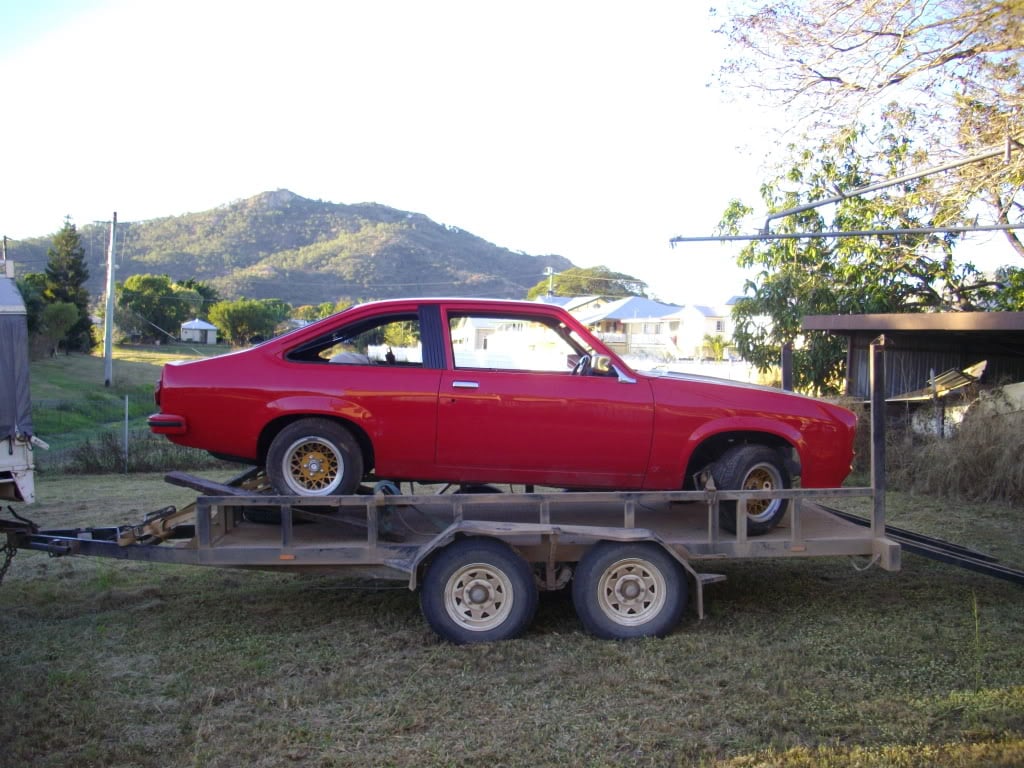
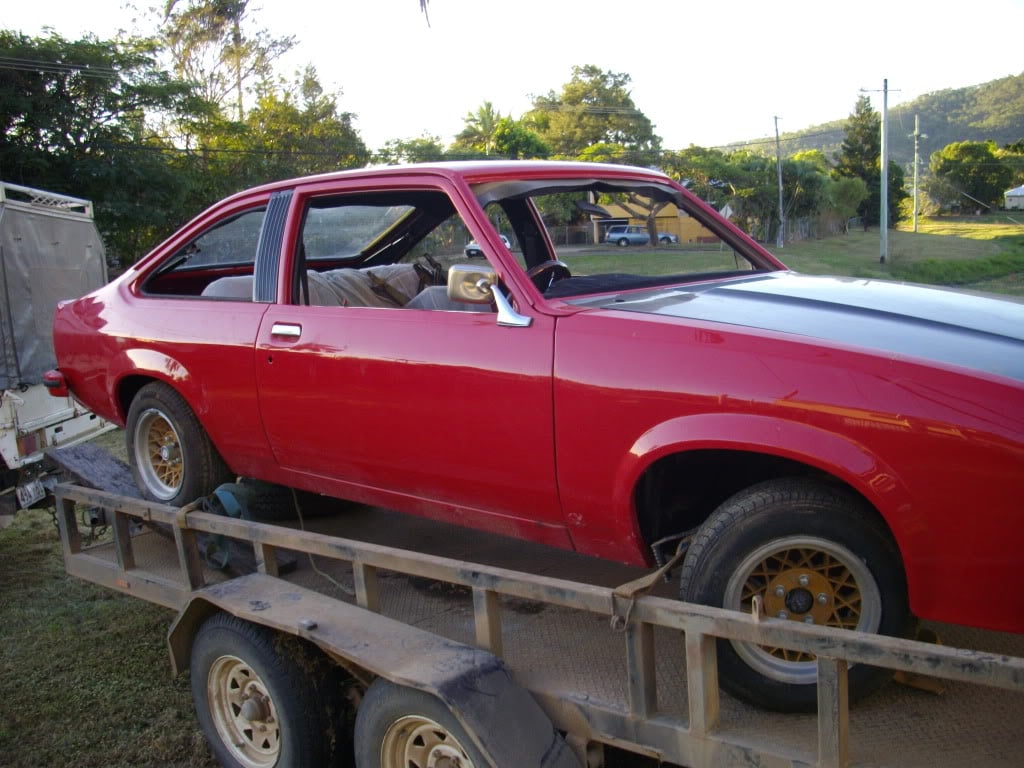
I bought this car in 2007 from a panel beater/painter who had to sell it due to an upcoming house purchase.�

I couldn't afford an LX at the time and they were really hard to find, so a UC would have to do. The hatch presented well with nice new shiny paint and an interior trimmed in suede. It had a 202 and m20 but they weren't fitted. I was impressed and gave the guy $2500 for it. Due to lack of funds it sat around untouched right up until late last year.�
Posted Image
Posted Image
Posted Image
Posted Image
Posted Image


During this time, the nice new shiny paintjob that the previous owner did, started to reveal it's dodgeyness with bubbles appearing in heaps of places.�And the more I looked at it, the more bad things I found.

I have never done any car repair stuff in my life except oil/water and tyre changes. I tend to have a nasty habit of frOcking up everything I touch, so this build is a bit scary.�

However, to combat my "passion fingers" syndrome , I've taken to a new concept called "research" and I use this method before I pick up any tools (especially the sharp or heavy ones). It seems to be working as I haven't broken/damaged as much as I usually do.....so far.�

Plans are the whole UC to LX conversion
383 chev
9 inch
Slightly improve Holdens interior design
FLARES!!!
And all the other blah blah blah that we all do to our cars

So I hope you enjoy reading, criticising AND contributing to this thread. I'll need all the help I can get. (Dirtbag, you'd better be reading this!)

I've got quite a few pics so be patient while I go through them :)

#2 _Skapinad_

_Skapinad_
  • Guests

Posted 31 March 2011 - 07:25 PM

Looks pretty bloody good in those pics.... Glad you will changing those ugly bloody taillights !

#3 _Bomber Watson_

_Bomber Watson_
  • Guests

Posted 31 March 2011 - 07:28 PM

Cool!!!

I'll take the 202 off your hands....

Cheers.

#4 _Ozzie Picker_

_Ozzie Picker_
  • Guests

Posted 31 March 2011 - 07:31 PM

dirtbag is a very good car repairer,

but i,ll give some help from time to time,bubbles in paint not good,is it 2 pack or acrylic?

#5 DanWA

DanWA

    Forum Fixture

  • Members
  • PipPipPipPipPip
  • 2,440 posts
  • Location:Southwest W.A
  • Car:LS1 LX 4 Door
  • Joined: 27-April 06

Posted 31 March 2011 - 07:34 PM

another uc being advanced into a lx

i like this

nice car kush

i need to roll my hatch out the shed for some pics

#6 _Kush_

_Kush_
  • Guests

Posted 31 March 2011 - 07:35 PM

dirtbag is a very good car repairer,

but i,ll give some help from time to time,bubbles in paint not good,is it 2 pack or acrylic?


Thanks mate,
I assume it's 2pac but I know bugger all about the stuff anyway, so it's Anyones guess :dontknow:

#7 _Ozzie Picker_

_Ozzie Picker_
  • Guests

Posted 31 March 2011 - 07:42 PM

what i would do first is fit up all your running gear so its a driver,then remove engine,then repair body again,

usually when fitting new components damage may occur to paint,so start buying your parts and fit them,i may have a new sump for your car with pic up,bought and engine that had only done dyno runs,the project fell in a heap,lh torana.it has the large pan,for extra oil, looks flash.

#8 _dirtbag_

_dirtbag_
  • Guests

Posted 31 March 2011 - 07:44 PM

Cool!

#9 _Bomber Watson_

_Bomber Watson_
  • Guests

Posted 31 March 2011 - 07:47 PM

what i would do first is fit up all your running gear so its a driver,then remove engine,then repair body again,


Best advice anyone could give.

*cough202cough*

Cheers.

#10 TempesT

TempesT

    Forum Fan

  • Members
  • PipPipPipPip
  • 493 posts
  • Name:James - JImmy or Jim
  • Location:Snowy Mountains
  • Car:LX hatch
  • Joined: 08-November 05

Posted 31 March 2011 - 07:52 PM

good starting point,

look forward to progress

#11 _Kush_

_Kush_
  • Guests

Posted 31 March 2011 - 08:23 PM

Ok, first thing needing attention was the plenum....

Posted Image

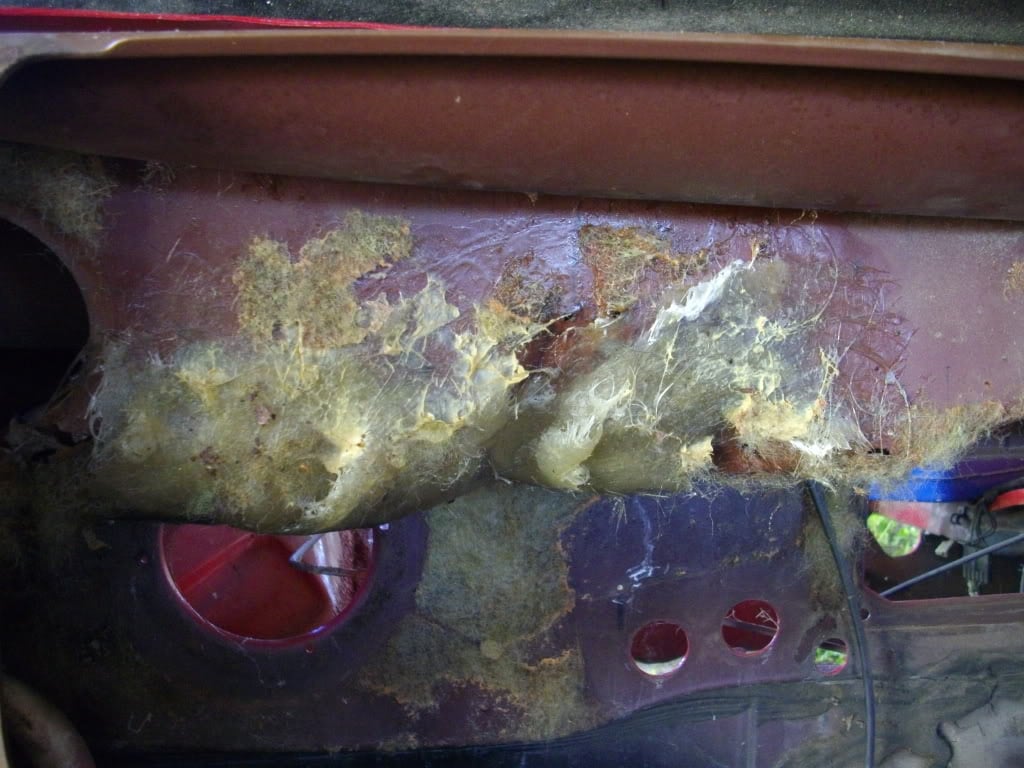
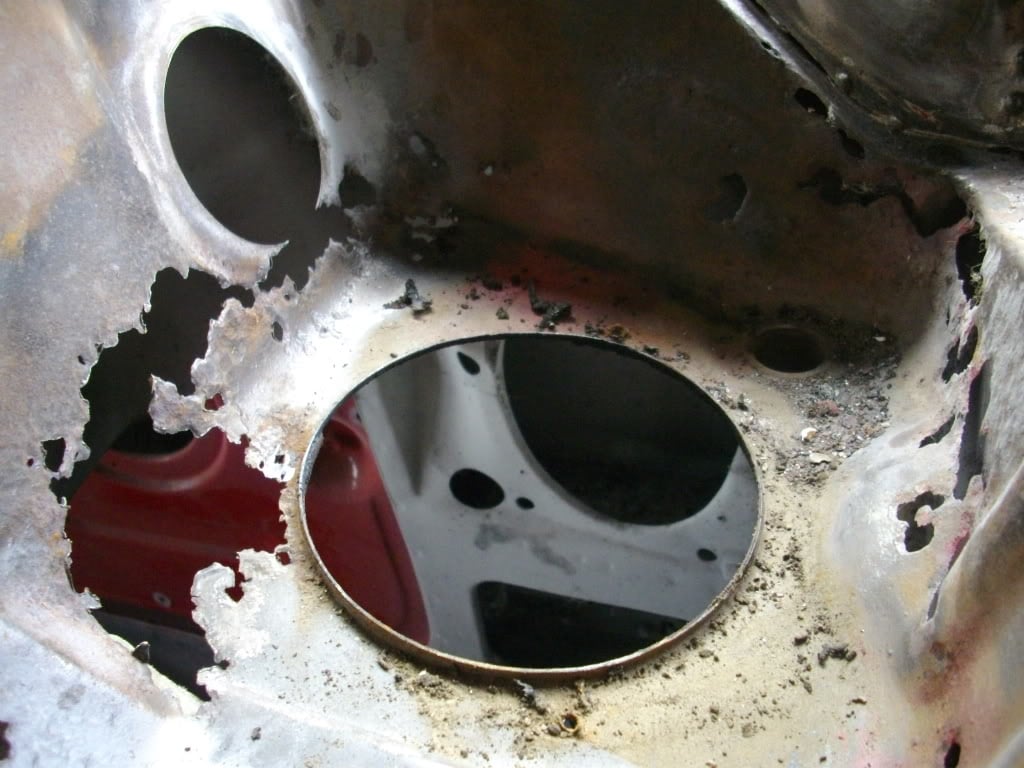
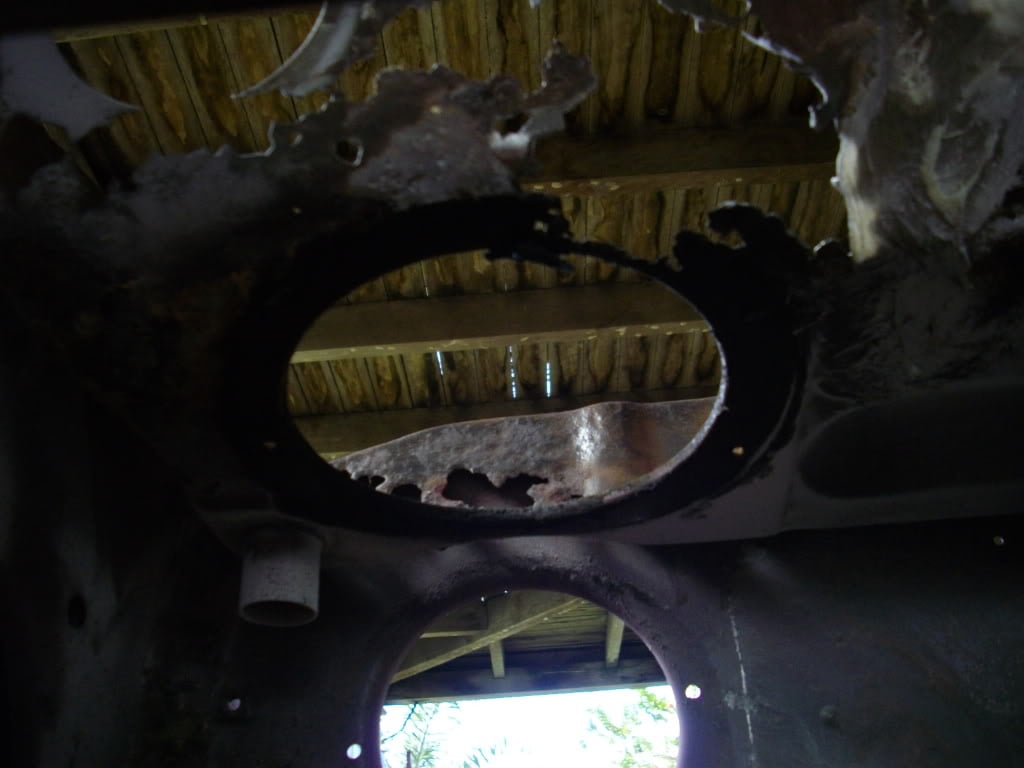
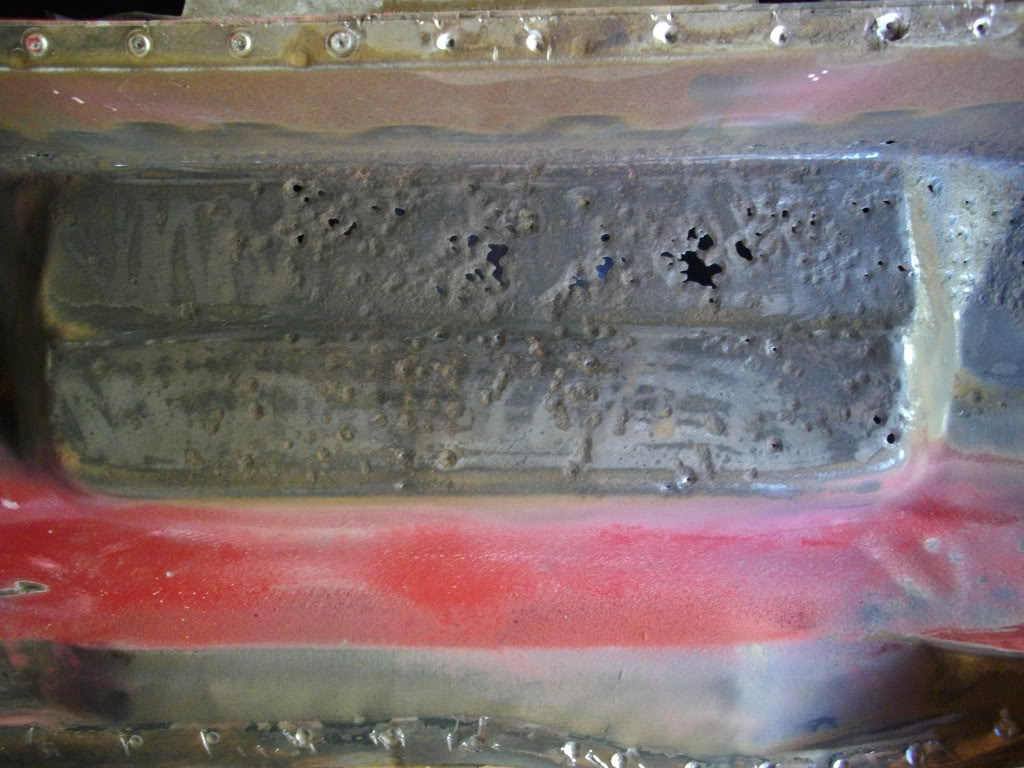
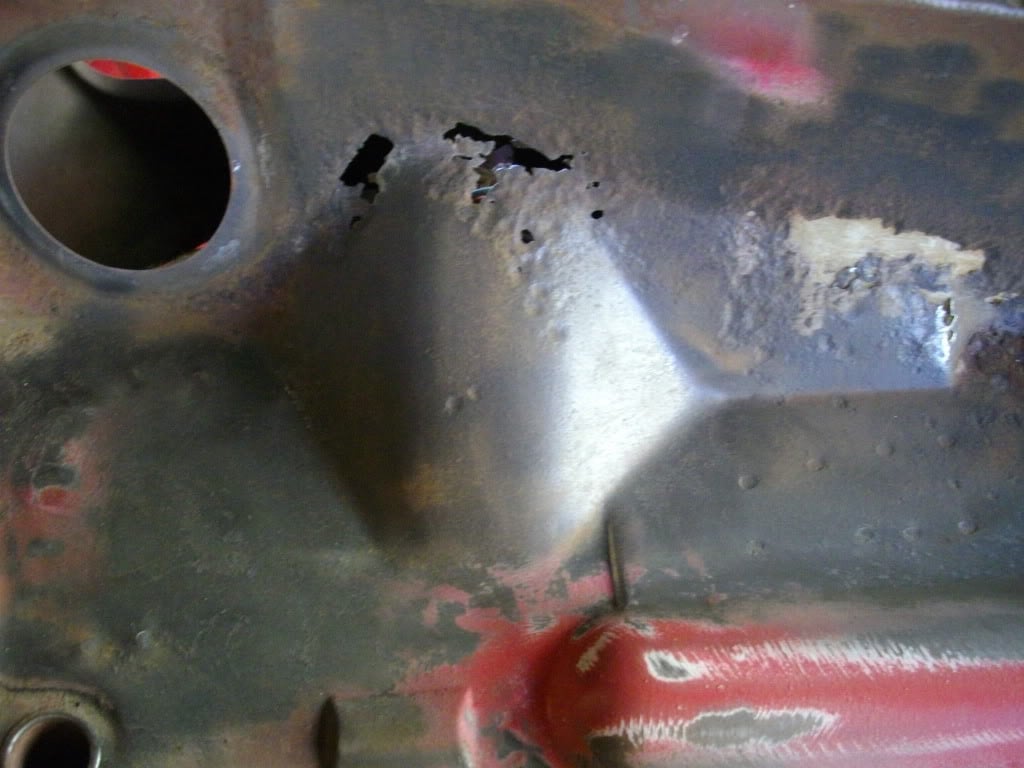
I started a thread ages ago seeking a simple fix, but as it turned out, there is no such thing....... So off came the plenum cover!

I found this.......

Posted Image
Posted Image
Posted Image
Posted Image

It was a bit scary because I knew I'd have no choice but to fabricate virtually a whole new setup. So being that my panel making skills were (and still are) non existent, I had to do it as simply as possible. I just cut out pretty much all of it and welded in new plate.

I've often heard of clearance issues under the dash for this and that so I thought I raise the level of the plenum while I was at it.

Here's the pics......

Posted Image
Posted Image
Posted Image
Posted Image

I had to put the original drain thing back in because when I did the garden hose test, a small pool formed here. Following the second test, all was sweet and it works perfectly :)

More pics tomorrow :buttrock:

#12 _Kush_

_Kush_
  • Guests

Posted 31 March 2011 - 08:48 PM

Oops! Forgot a pic

Posted Image

#13 Neils LX

Neils LX

    Forum Fixture

  • Members
  • PipPipPipPipPip
  • 2,074 posts
  • Name:a
  • Location:North west NSW
  • Joined: 18-March 07

Posted 31 March 2011 - 10:37 PM

Looks like a good project. should be interesting to see whats hiding behind c pillars. I see the seams dissapered.

#14 Statler

Statler

    Heckler Extraordinaire

  • Administrators
  • PipPipPipPipPipPipPip
  • 6,297 posts
  • Name:Col
  • Location:Mackay Qld. Whitsundays for all you back packers!
  • Joined: 20-May 06

Posted 31 March 2011 - 10:53 PM

About bloody time~! :)

If you are going to make another UC/LX, why not change the dashboard frame too?

*suscribed*

#15 _Kush_

_Kush_
  • Guests

Posted 01 April 2011 - 04:41 AM

Looks like a good project. should be interesting to see whats hiding behind c pillars. I see the seams dissapered.


Yes, indeed.
Its not pretty, I stuck a mirror and torch up behind there to have a look.

#16 _Kush_

_Kush_
  • Guests

Posted 01 April 2011 - 04:46 AM

About bloody time~! :)

If you are going to make another UC/LX, why not change the dashboard frame too?

*suscribed*


Statler, that's the plan.
They are really hard to find. I hope I'll be able to locate one so I don't have to go through the nightmare of trying to make something up.

#17 _Kush_

_Kush_
  • Guests

Posted 01 April 2011 - 08:30 AM

ENGINE BAY TIME!!!!!! :buttrock:

I want the smooth look, so this is what I've come up with so far....

Here's the battery tray stuff. If you are wondering why it's cut a funny shape, it's because I couldn't get my grinder close enough to the radiator support panel.

Posted Image
Posted Image
Posted Image

Next up is the chassis rail circumcision :)

Posted Image
Posted Image
Posted Image

More to come :)

#18 _Kush_

_Kush_
  • Guests

Posted 01 April 2011 - 08:59 AM

Hmmm.....
Relatively little rust behind this bonnet hinge

Posted Image

I wonder the other side is in the same condition???


GAAAAAHHH!!!! MY EYES!! MY EYES!!

Posted Image


Passenger side fixed

Posted Image

#19 _Kush_

_Kush_
  • Guests

Posted 01 April 2011 - 11:28 AM

Removing these things on the wheel arch.....

Posted Image
Posted Image
Posted Image

#20 _Kush_

_Kush_
  • Guests

Posted 01 April 2011 - 11:54 AM

After dollying the lumps out of the wheel arch, where the brake lines go trough.

This was so much easier than I thought it would be.
I had to cut the x into the arch to get the shape better though.

Posted Image
Posted Image

#21 _Kush_

_Kush_
  • Guests

Posted 01 April 2011 - 12:08 PM

Some filler plate thingos to add to the smoooothness :)

Posted Image

And blanking out the heater hole

Posted Image
Posted Image

#22 _Kush_

_Kush_
  • Guests

Posted 01 April 2011 - 12:21 PM

This is how it is now,
but I still need to put the odd smear of spot putty on a few imperfections here and there.

Posted Image
Posted Image

So what do you think?
:)

#23 TempesT

TempesT

    Forum Fan

  • Members
  • PipPipPipPip
  • 493 posts
  • Name:James - JImmy or Jim
  • Location:Snowy Mountains
  • Car:LX hatch
  • Joined: 08-November 05

Posted 01 April 2011 - 12:34 PM

I like it i recon it came up really good, esp round the battery tray and chassis lip.

so what colour is this hatch going to be?

#24 _Kush_

_Kush_
  • Guests

Posted 01 April 2011 - 12:47 PM

Dunno about the colour yet. Red or green maybe? I really like the poison ivy colour that is on the new commys but the paint will be the last thing i do so i might be over the poison ivy by then .
blackouts definately. Which rules out painting the car black :)

Edited by Kush, 01 April 2011 - 12:52 PM.


#25 Swarbs

Swarbs

    Forum Fixture

  • Members
  • PipPipPipPipPip
  • 1,668 posts
  • Name:Dave
  • Location:North West WA
  • Car:LX 5000
  • Joined: 18-April 07

Posted 01 April 2011 - 01:01 PM

For a self confessed "no panell skills" bloke your off to a flyer
Keep up the good work


2 user(s) are reading this topic

0 members, 2 guests, 0 anonymous users