Restoring my engine bay..
#1 _bangbang_
Posted 15 June 2011 - 08:20 PM
I have just finshed restoring my 1977 LX into a A9X replica.. this is how it looks now:
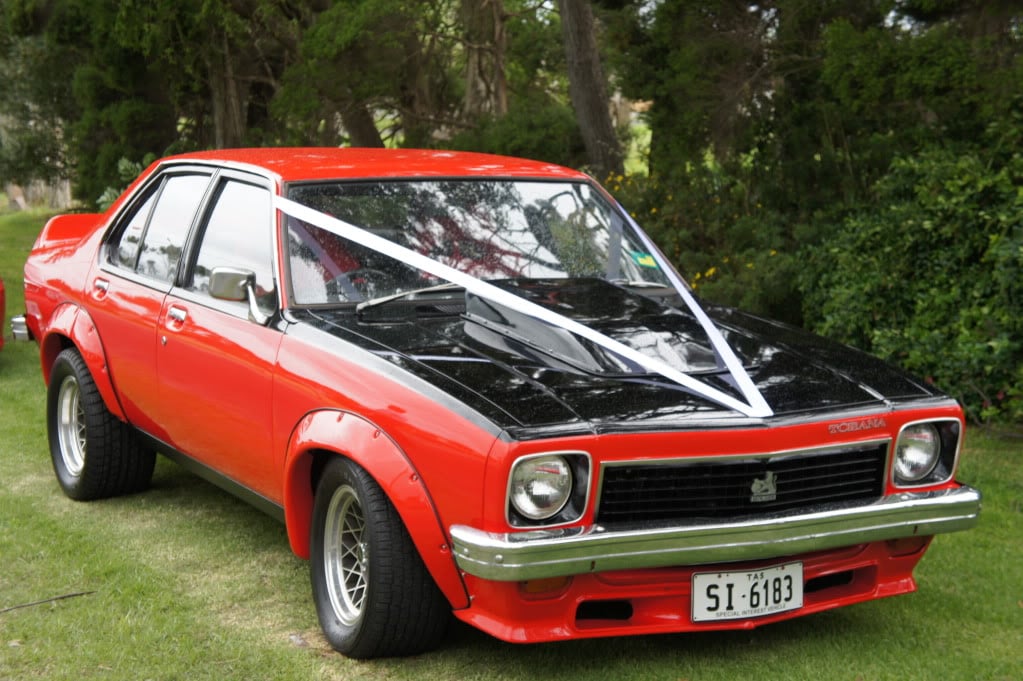
I am now in the process of getting a new engine built (383 stroker), but the plan is to have the externals of the engine looking the same as an A9X. While the current engine (253) is out of the engine bay, I am also wanting to convert the current engine bay into that of an A9X.
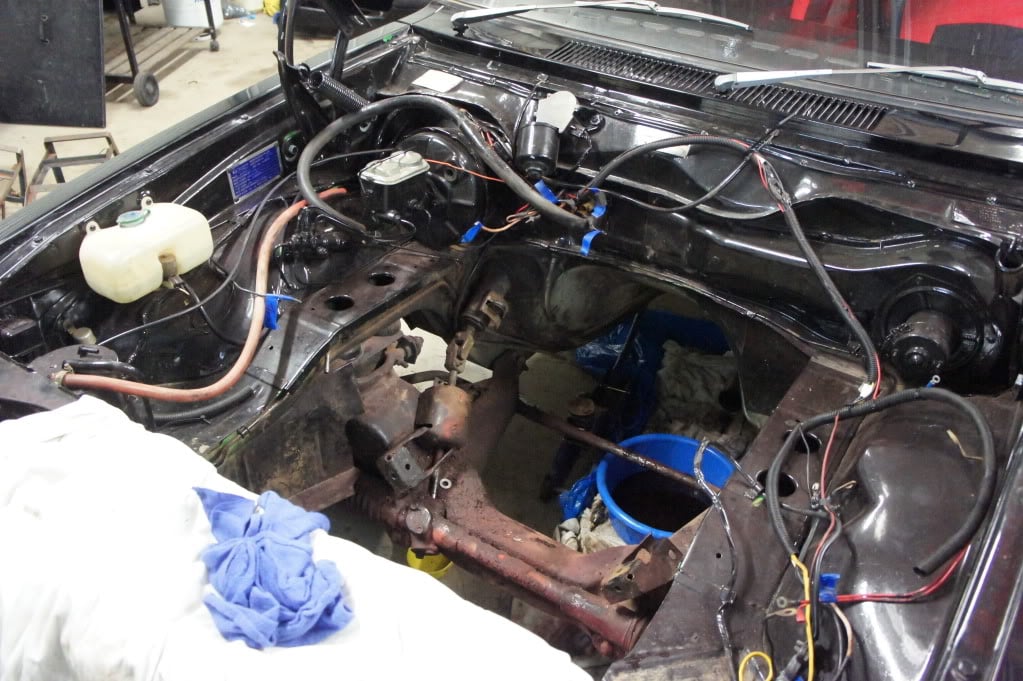
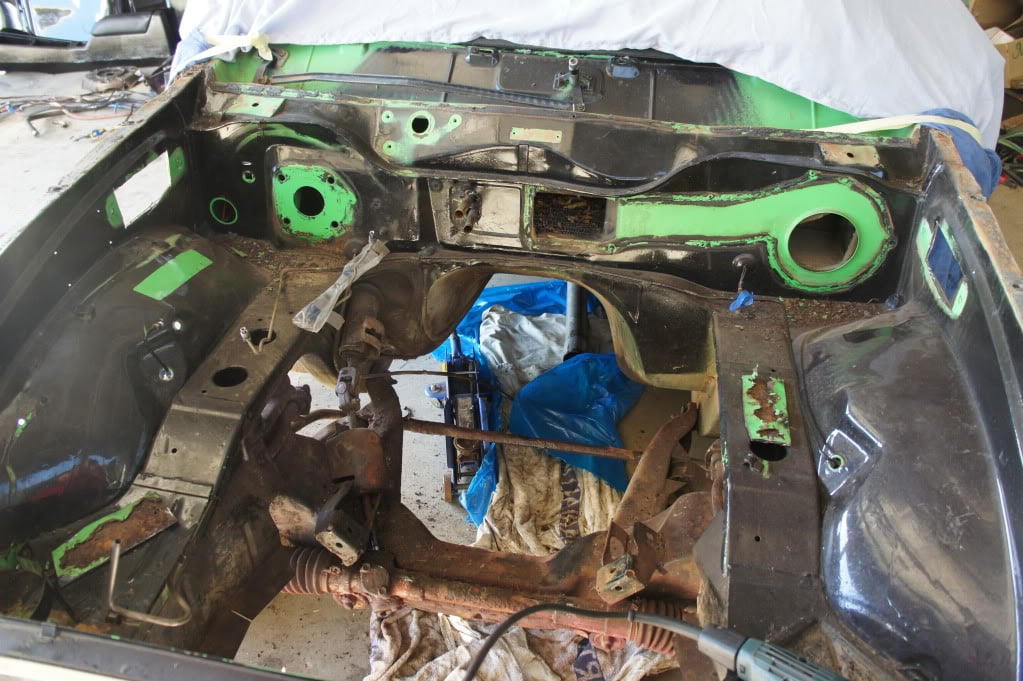
This is what the engine bay looks like currently:
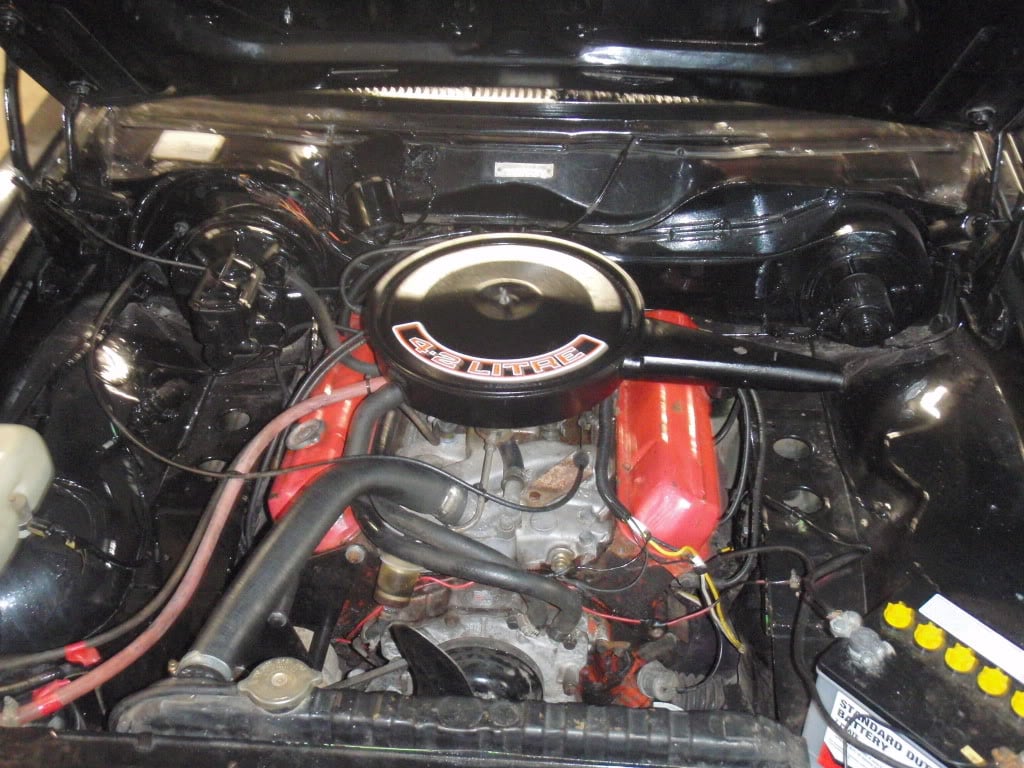
When the previous owner/s painted the engine bay, they didn't remove a single thing.. just thick black paint all over the top!! Big huge runs, painted brake lines etc.
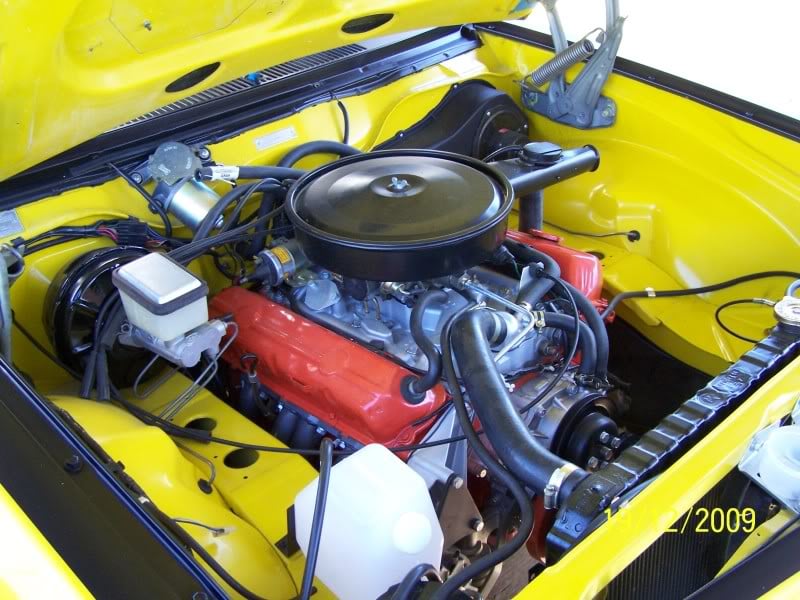
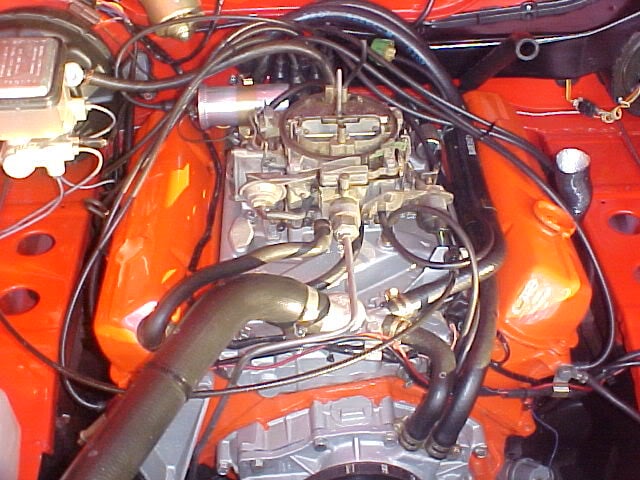
Here are some original A9X engine bay pics.. (thanks REDA9X), this is what I want mine to look like:
I have very little experience with paint/panel etc.. so I'm after some advise please.
Should I use paint stripper anywhere, or sand it all back by hand (including brake lines etc, in the little corners etc)?? To do a proper job, I will be removing everything and painting/stripping it all individually. Is there any special paint to use for the radiator?? Any help/suggestions would be great please
Thanks heaps
Coxy
#2 _LS1 Hatch_
Posted 16 June 2011 - 08:28 AM
I pulled everything out of the engine bay completely and detailed everything seperately and then put it back.
With your brake lines, you could easily pull the front ones and stip them, then maybe just give them a rub back with scotchbrite or such before putting them back. For me, I just made new ones...but I changed around the booster/master cylinder/etc all at the same time.
I pulled my wiper motor completely apart, paint stripped it, regreased it, painted, etc before putting it back on as well.
Also paint stripped the bonnet hinges and springs before giving them a fresh coat.
On the radiator...over here they do sell a special paint just for them, that is somewhat thinner than normal paint so it does not clog or impede airflow inbetween the fins. Not sure if you guys have anything like that?
And by the way....pefect color combo on your car.
Here are a couple pictures of mine...not a restoration to stock, but gives you a little idea of it at least hopefully. With it done, one while I was paint stripping it and one from a while back just before pulling the engine to start the rebuild process...
Attached Files
#3 _bangbang_
Posted 17 June 2011 - 10:22 AM
#4 _LS1 Hatch_
Posted 17 June 2011 - 10:43 AM
#5 _bangbang_
Posted 04 July 2011 - 10:44 AM
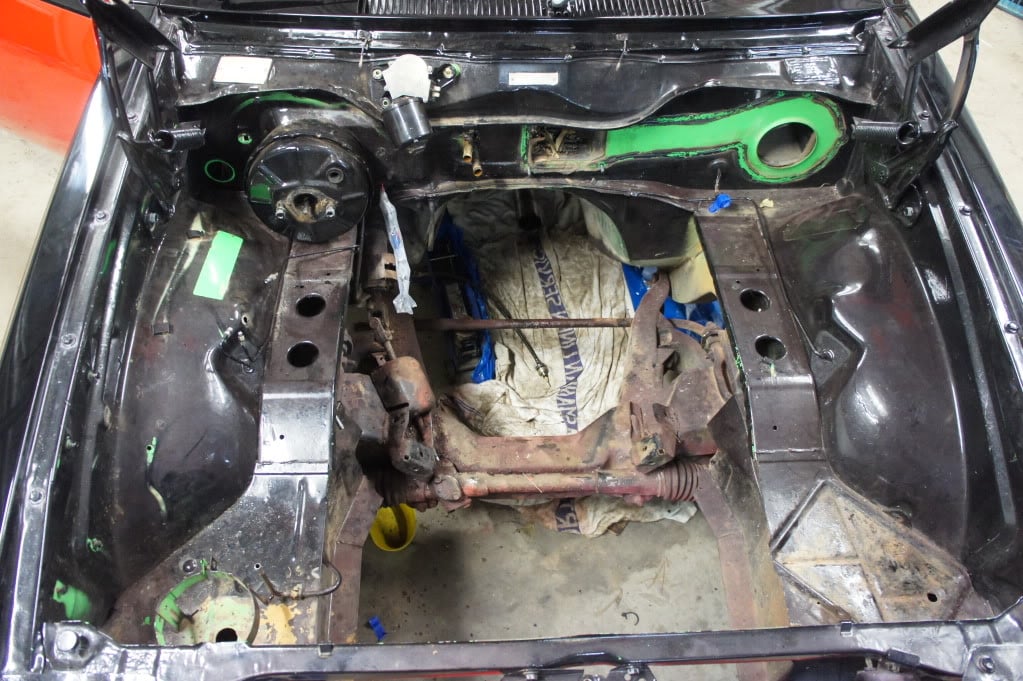
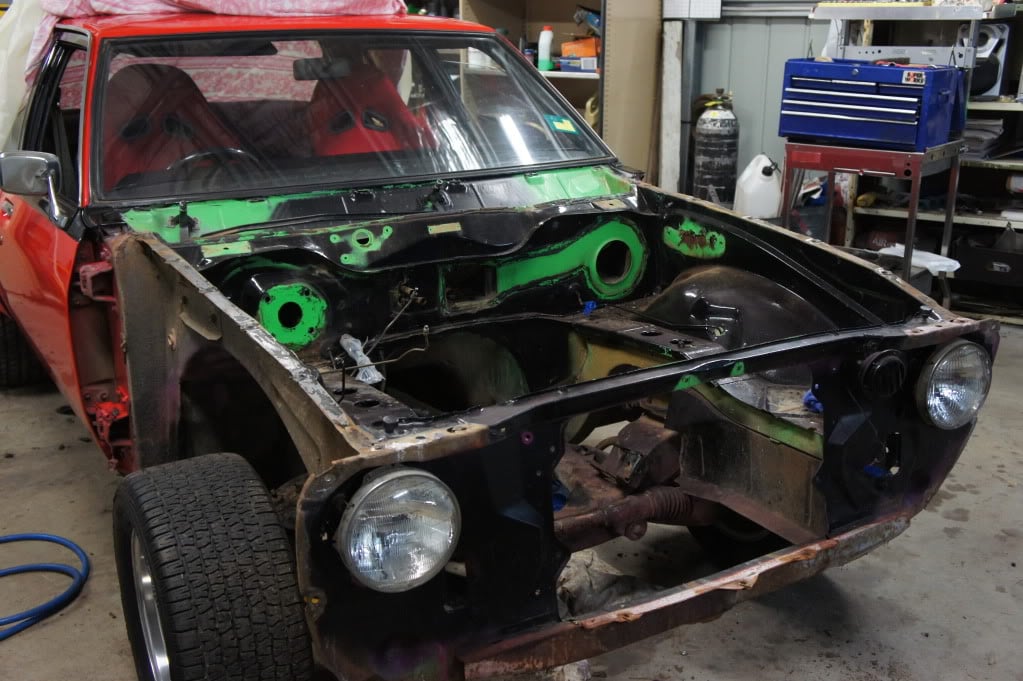
Now.. what should I do??!! 1: Get in there with sand paper (600??) and try to rub it back.. 2: Sandblast the entire engine bay � including these little hard to reach places and then sand it back.. 3: Degreaser/truck wash and a karcher pressure cleane it all, followed by rubbing it back with 600 wet and dry??
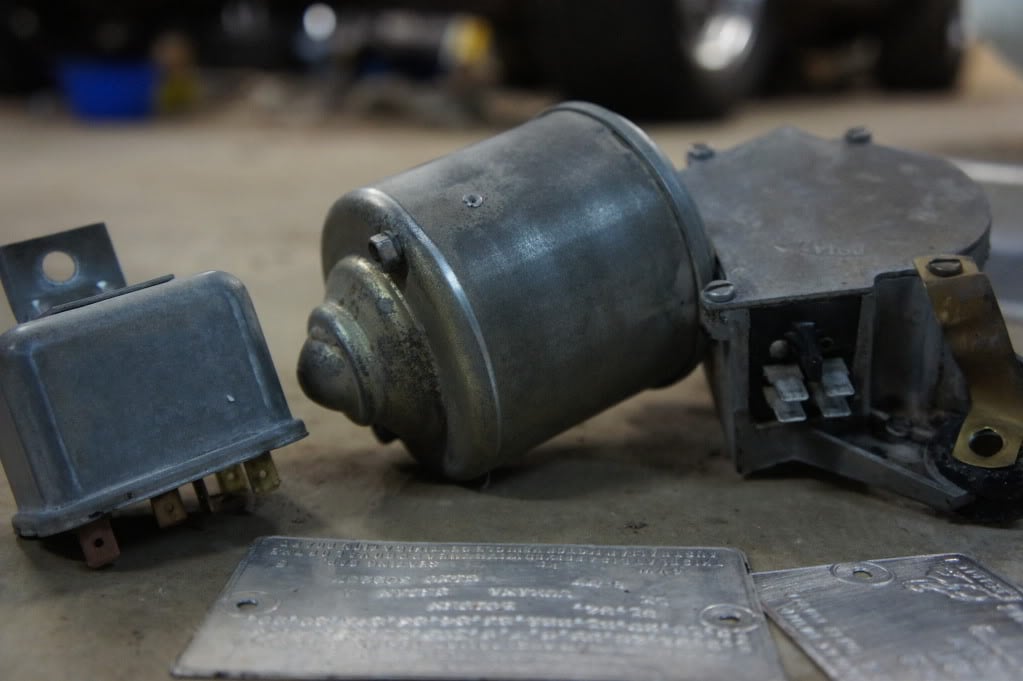
Thanks for the help/advise.. heres where I am up to, although I have since removed the brake booster, started rubbing back the headlight relay, wiper motor etc..
#6 _Quagmire_
Posted 04 July 2011 - 12:14 PM
just depends how much you want too spend and how wet you want to get
remember to prepsol after and before rubbing
gl and i got to do the same on a hx ute next weekend too
but i'm too cheap to buy a sandblaster so i'm going option 3 .....with possibly a paint stripper chaser
#7 _bangbang_
Posted 04 July 2011 - 02:16 PM
#8
Posted 04 July 2011 - 02:22 PM
#9 _bangbang_
Posted 04 July 2011 - 03:09 PM
#10 _Quagmire_
Posted 04 July 2011 - 04:05 PM
to remove 90% of the contaminants and give a good base for the paint to stick to
the reason to do it before you rub back is so you don't sand any nasties into the remaining paint
if your sandblasting i doubt you will need to do a before wipe with prepsol
but i would give it a good blow with the air gun and a vacum to remove the "media"
#11
Posted 04 July 2011 - 07:16 PM
#12 _bangbang_
Posted 04 July 2011 - 10:11 PM
xu1kid.. I have been advised strongly to ensure that everything is 100% sealed up, cause the sand makes a real mess if you don't!! hehe
#13 _bangbang_
Posted 04 July 2011 - 10:29 PM
#14 _Liam_
Posted 05 July 2011 - 05:37 PM
#15 _Quagmire_
Posted 05 July 2011 - 06:19 PM
#16 _markymark20_
Posted 05 July 2011 - 09:00 PM
#17 _Liam_
Posted 05 July 2011 - 09:14 PM
at least there is no visable rivots
You be quiet Al...
#18 _LS1 Hatch_
Posted 06 July 2011 - 01:04 AM
have also been stripping/rubbing back the wiper motor, relays etc
While you have the wiper motor off, you might want to go through it, just incase. I pulled mine to bits while I was cleaning it up...cleaned all the contacts, fresh grease, etc. Nicer to paint it all in pieces then assemble it anyways I figure..
#19 _bangbang_
Posted 07 July 2011 - 12:25 PM
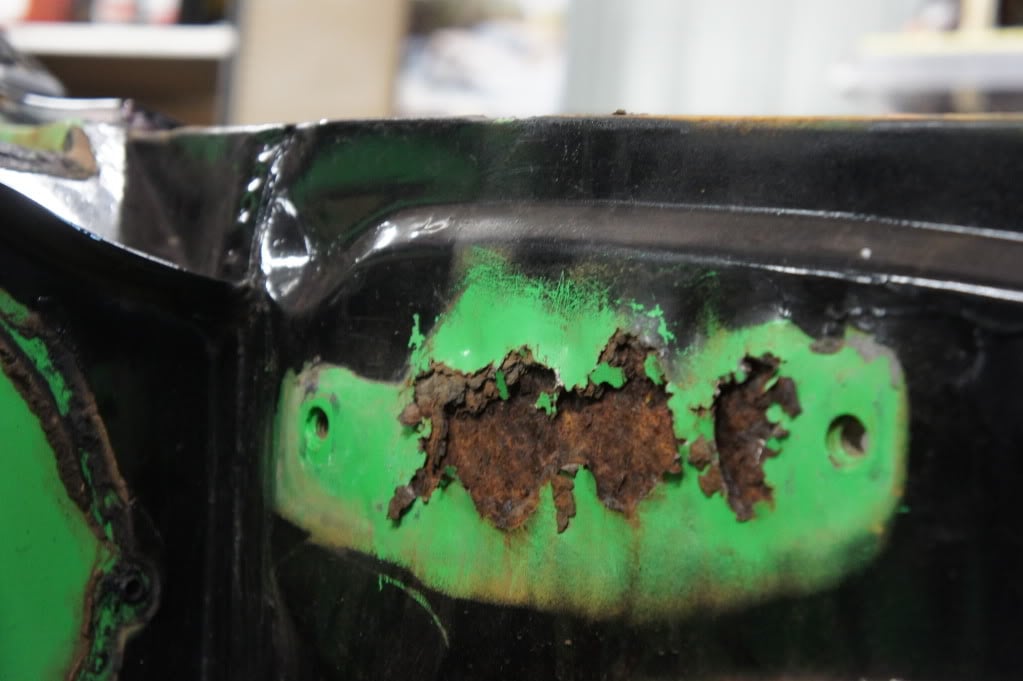
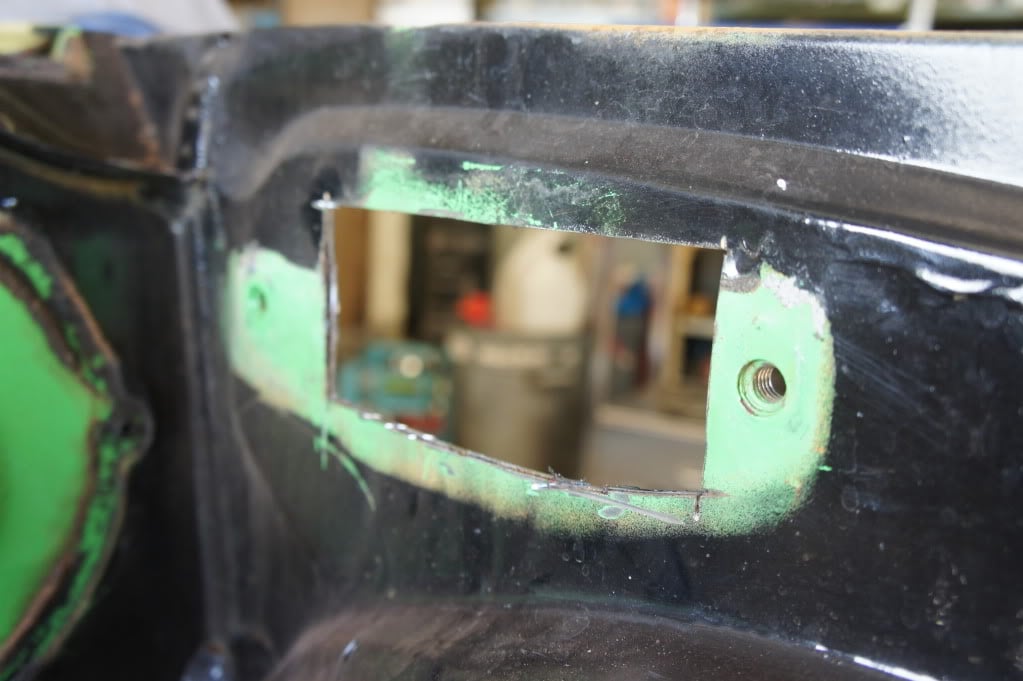
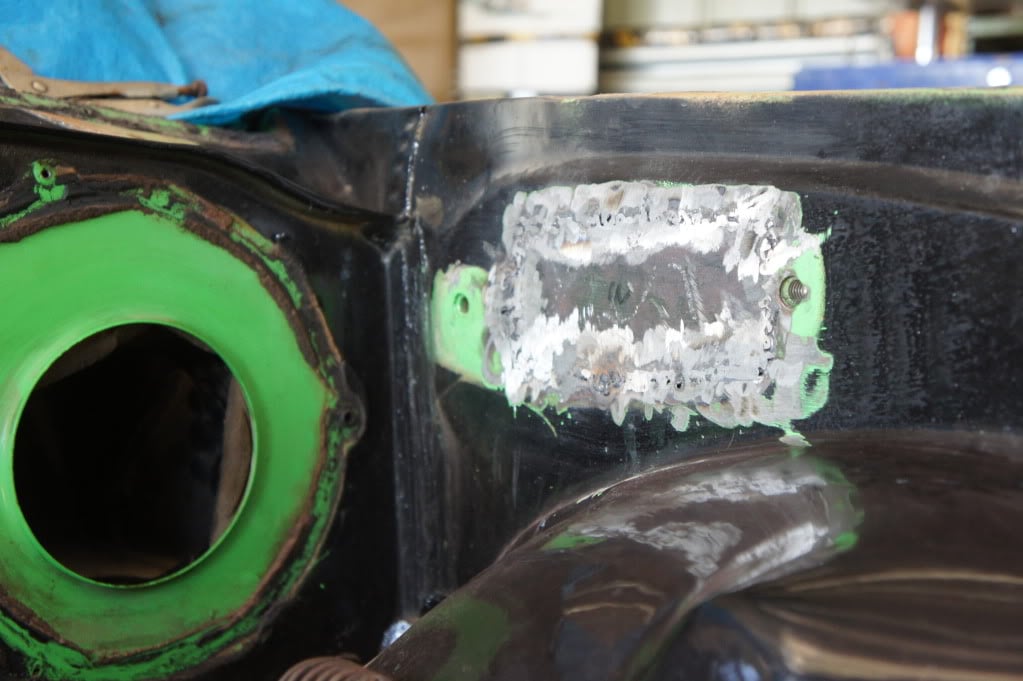
I've never done any rust repairs before, so thought this would be a great place to start as you can't see the end result!!! Coming along I think
And I havent finished this side off yet either hehe
#20 _LS1 Hatch_
Posted 07 July 2011 - 01:13 PM
And the rust repairs look like they are going well also.
Attached Files
#21 _Liam_
Posted 11 July 2011 - 07:11 PM
#22 _bangbang_
Posted 12 July 2011 - 09:00 PM
Well bugga the stick welders!! The small panels are prooving to be too difficult for the old stick (plus I can't use it properly).. so If anyone knows of a mig for sale, please let me know Untill then, I won't be able to continue with those rust repairs :(
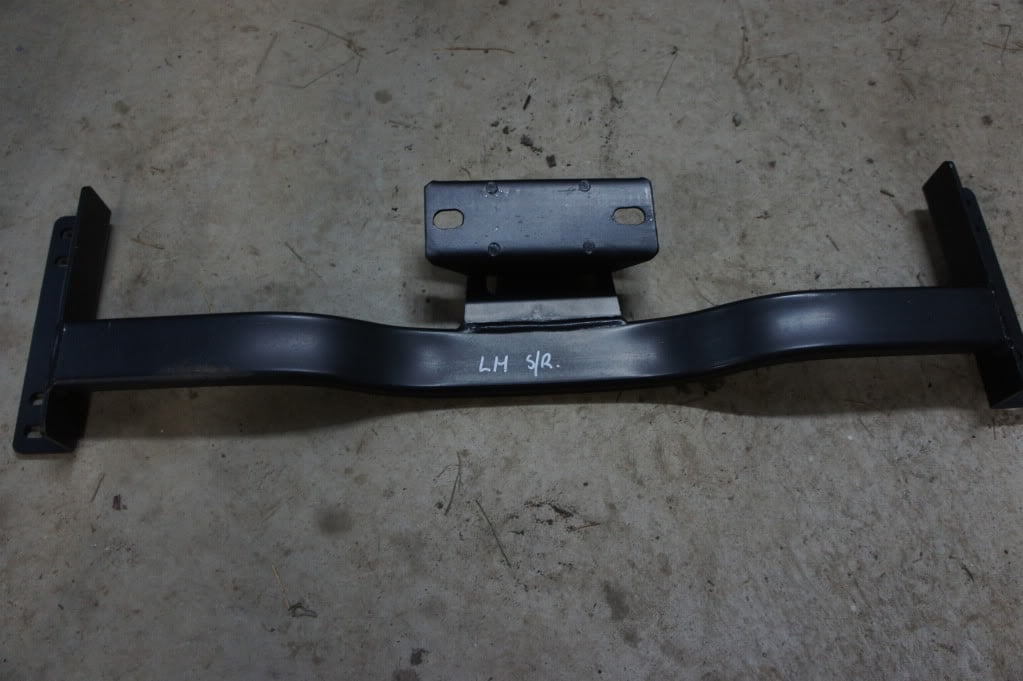
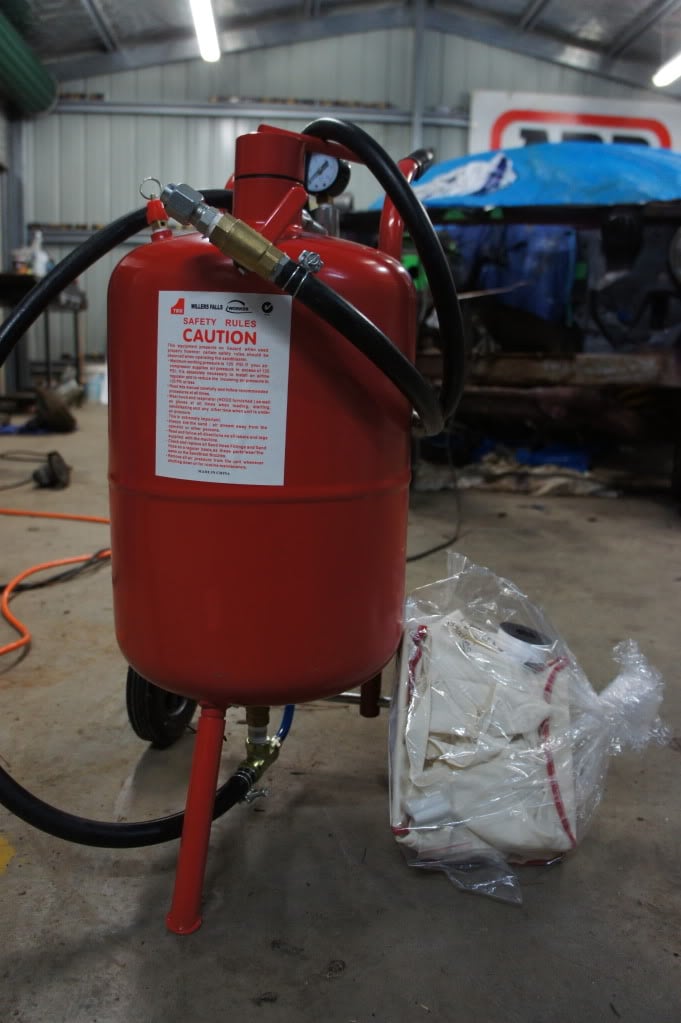
I recieved some goodies in the mail today.. a sand blasting unit - which will be used for the engine bay etc, and a CRS cross member for the singel rail gearbox. The crank/pistons etc were balanced up yesterday at COME racing, and will be here later in the week!! The block is getting grout filled and bored this week.. its all coming along nicely [bigthumbsup]
#23
Posted 12 July 2011 - 09:12 PM
#24
Posted 13 July 2011 - 12:21 AM
#25 _bangbang_
Posted 13 July 2011 - 07:10 PM
I managed to burrow a mig welder, so both plates are now welded in place Tomorrow I will pick up some sand, bog and undercoat. Woo hoo!
1 user(s) are reading this topic
0 members, 1 guests, 0 anonymous users