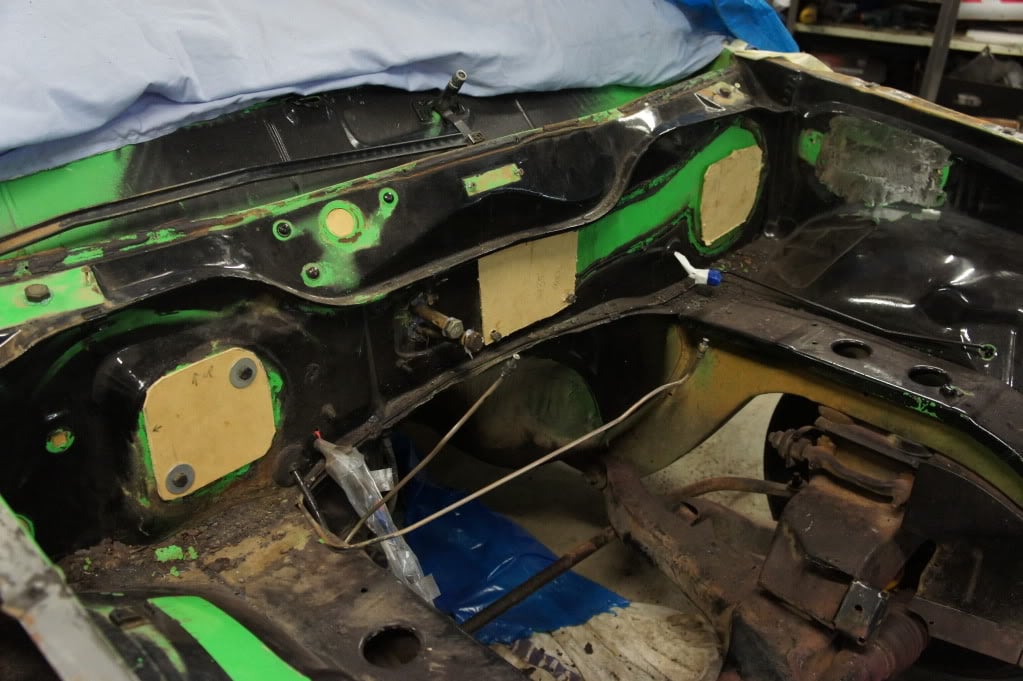
Restoring my engine bay..
#26
 _bangbang_
Posted 18 July 2011 - 09:55 PM

#27
 _bangbang_
Posted 22 July 2011 - 11:29 AM
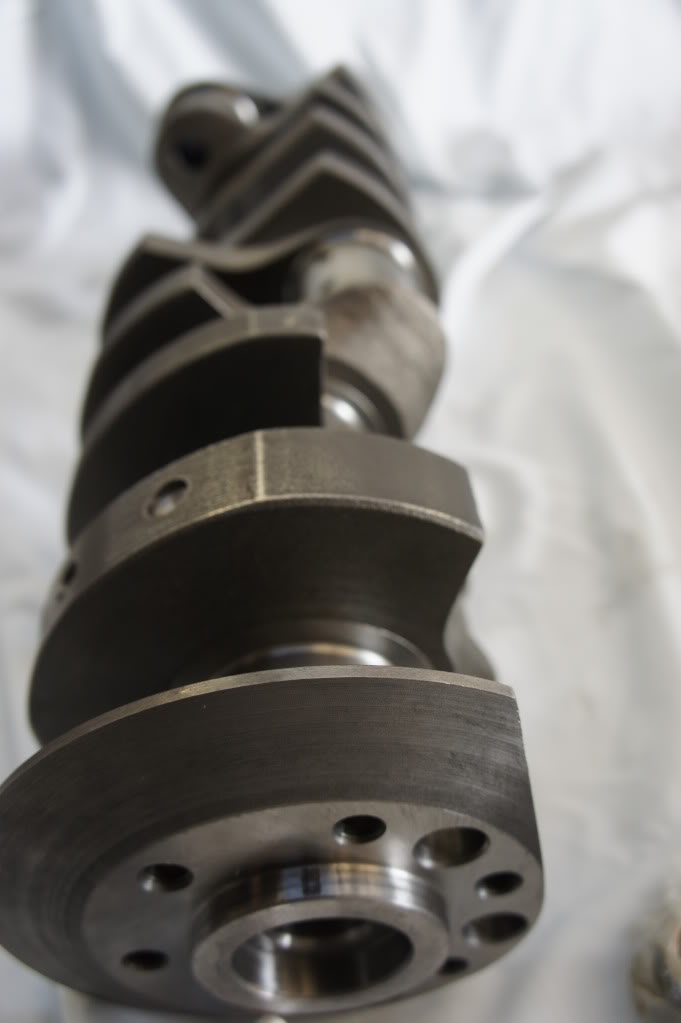
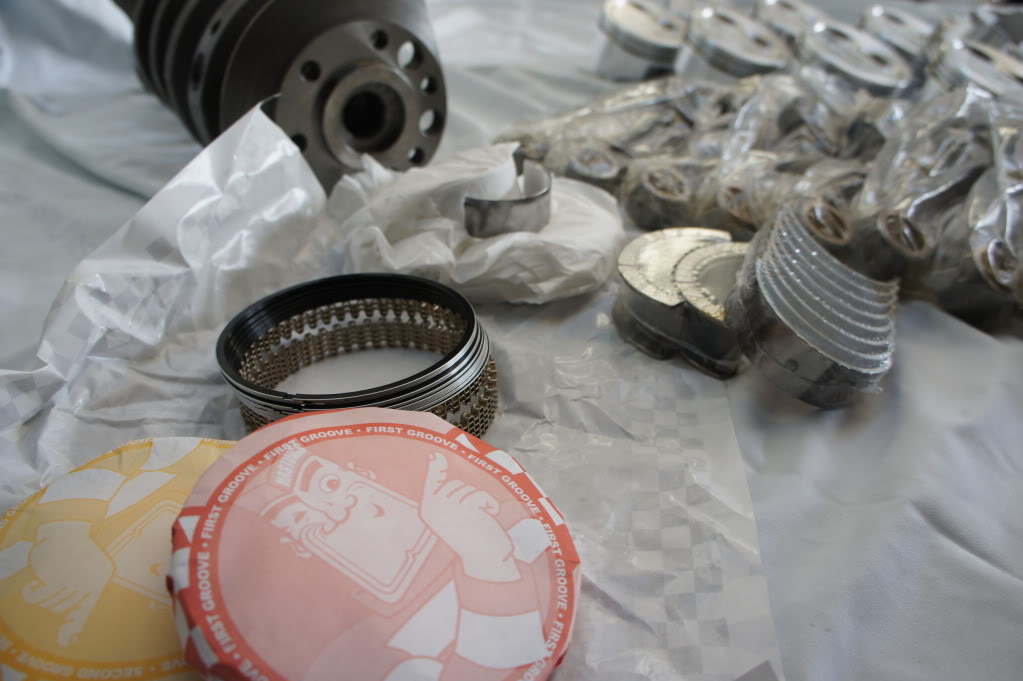
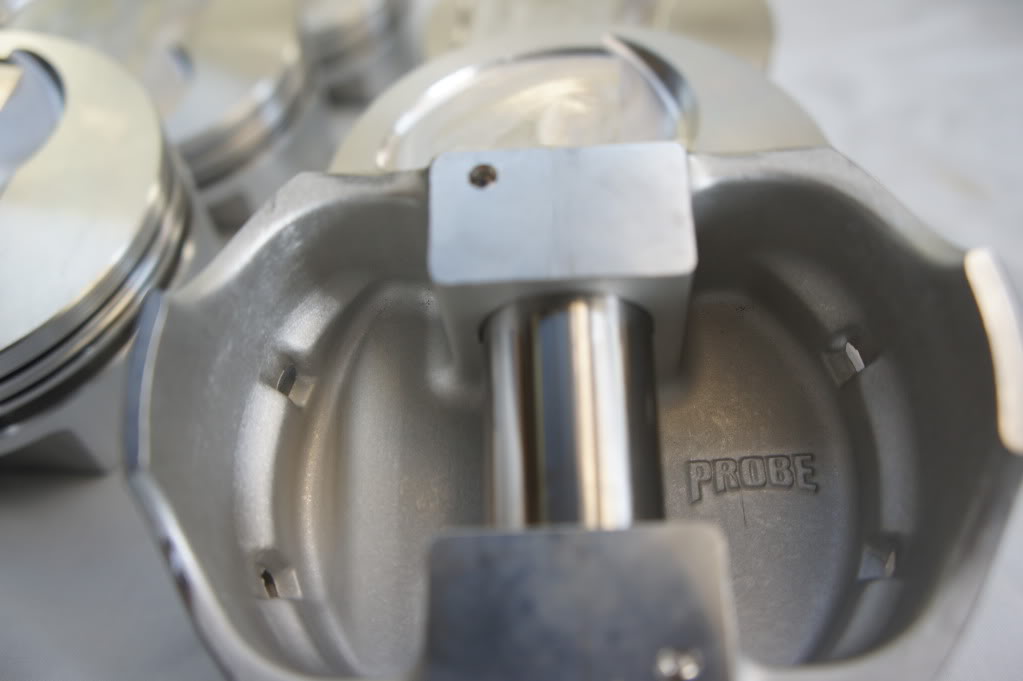
#28
 _bangbang_
Posted 30 August 2011 - 06:36 PM
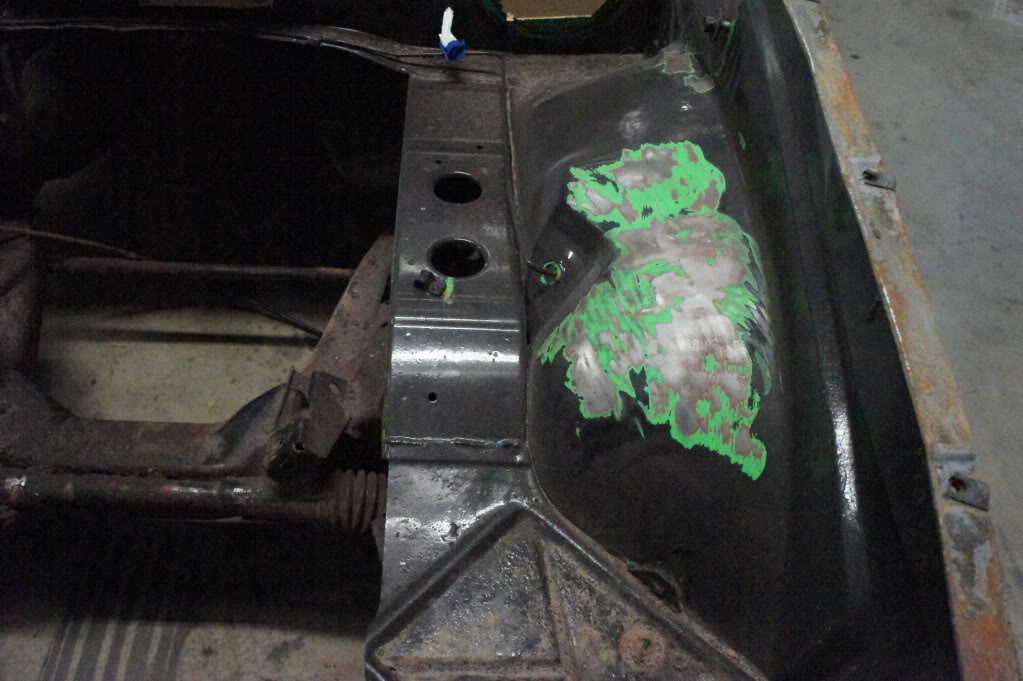
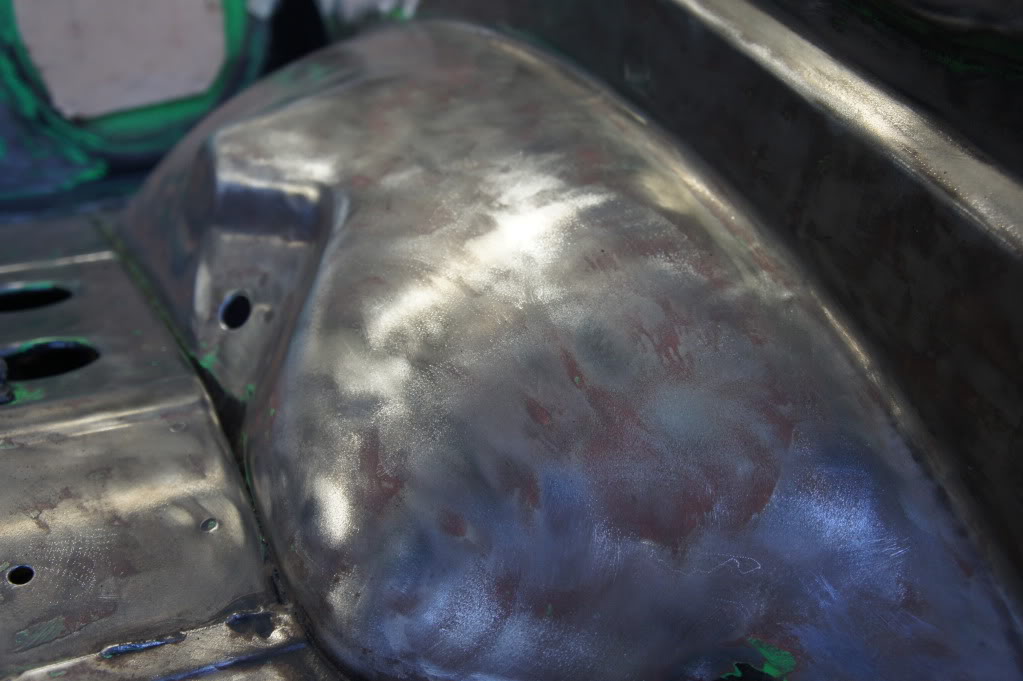
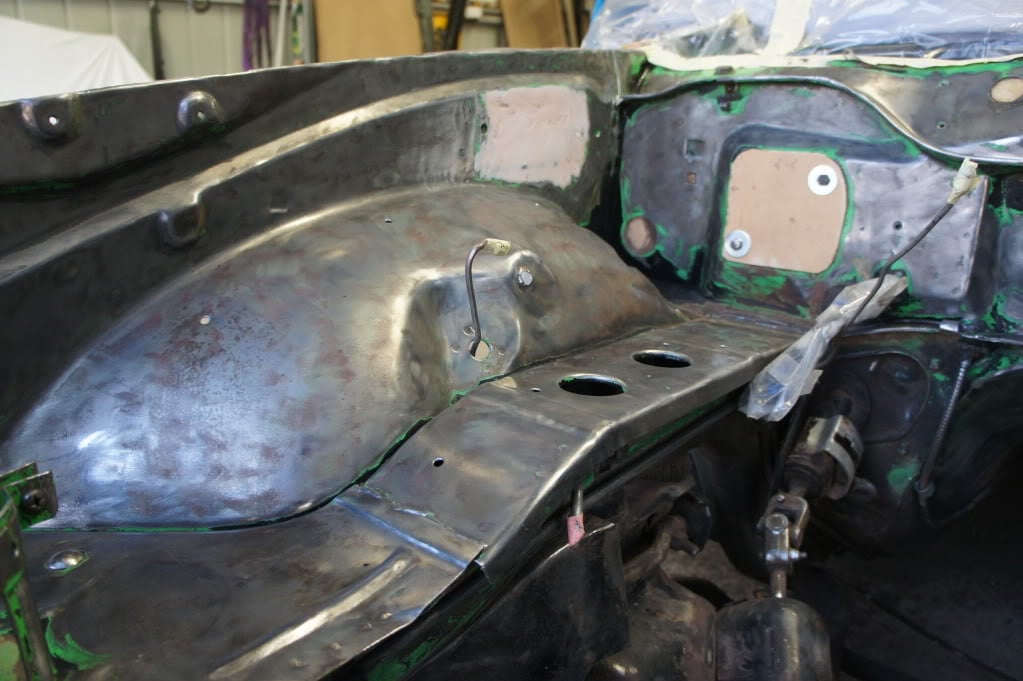
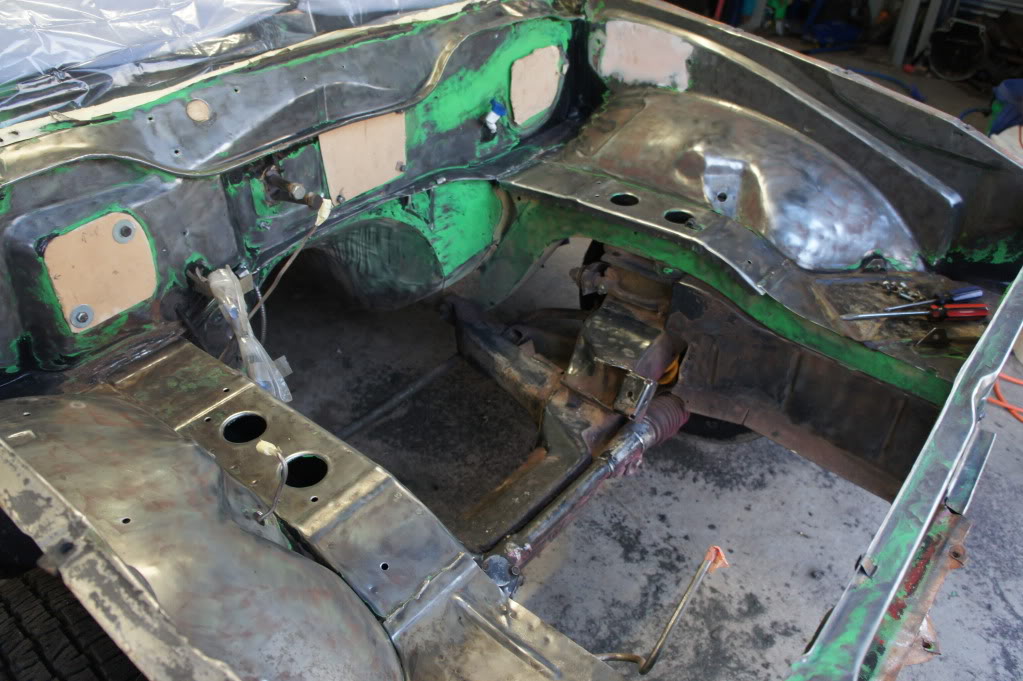
I didn't blast this right back to bare metal.. just enough to get the old "crap" off it!
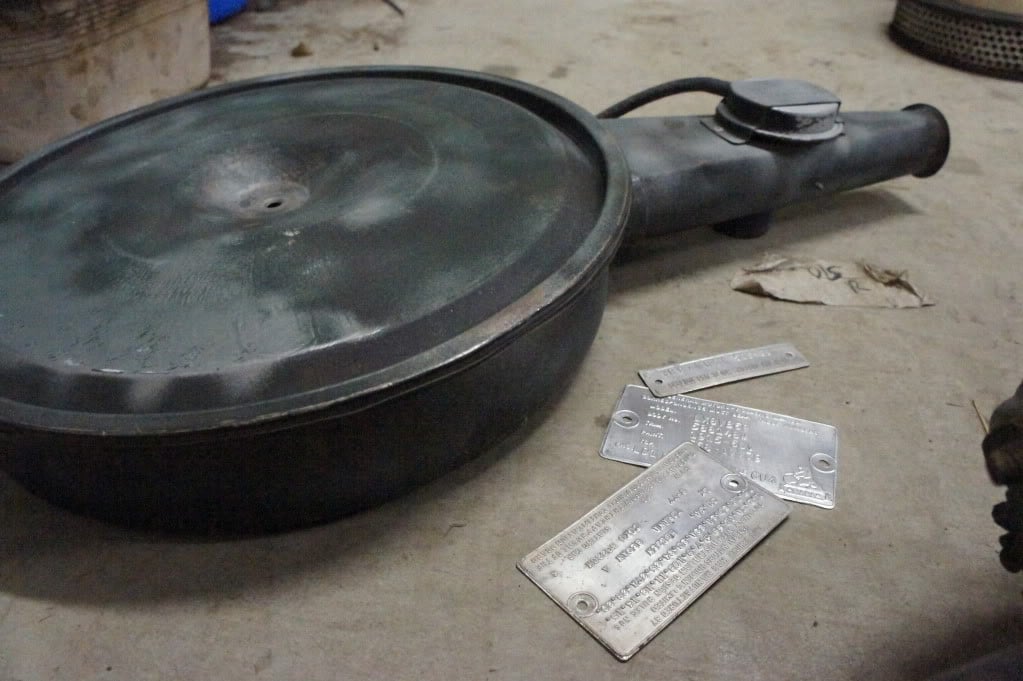
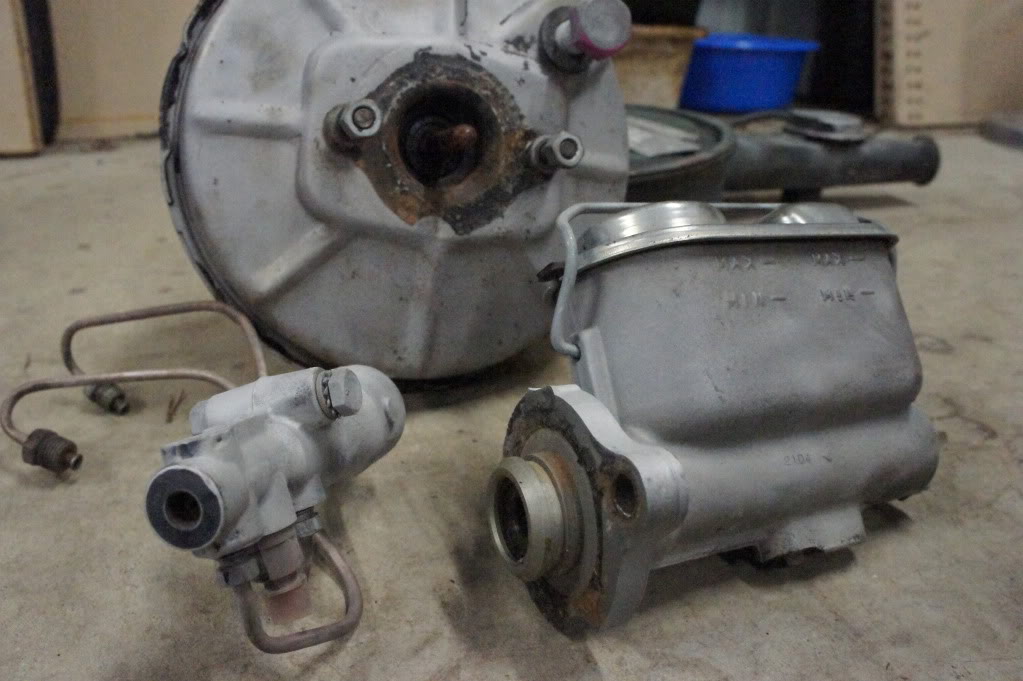
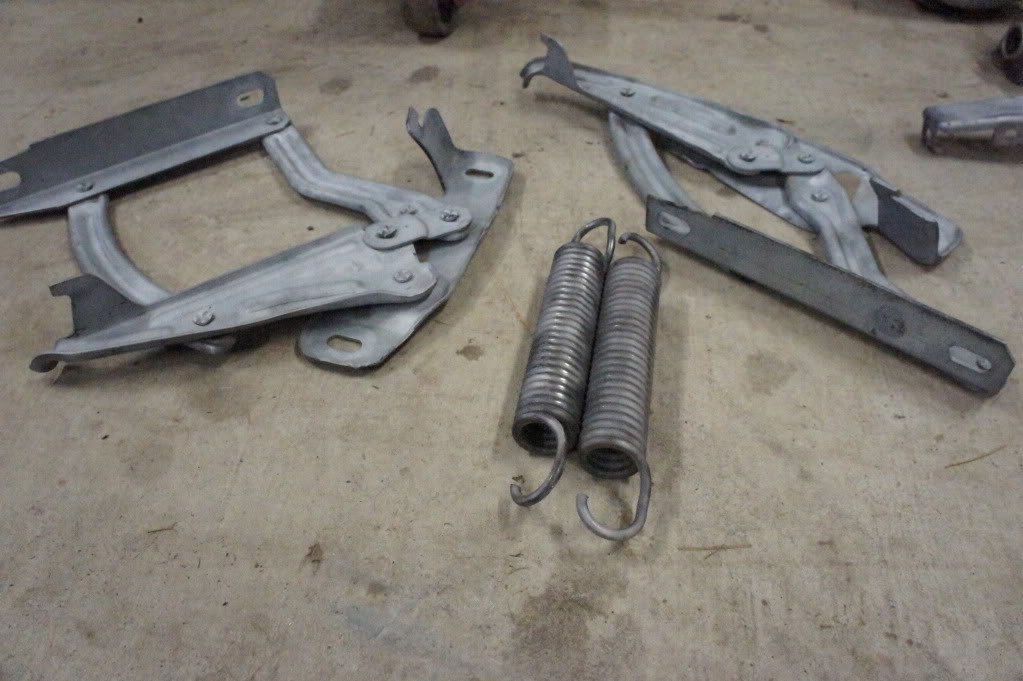
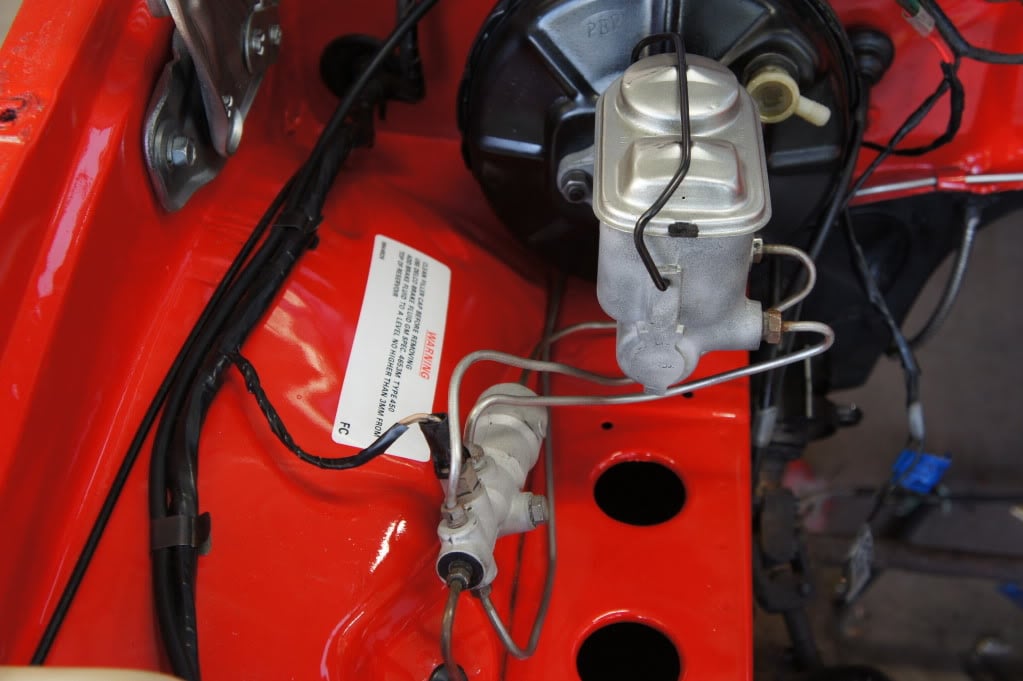
Because the brake lines had also been covered in black paint, I have brought them back to bare metal. Does anyone know how I can stop these from getting surface rust on them?? I am wanting to keep them the original look
#29
 _bangbang_
Posted 31 August 2011 - 07:13 PM
#30
 _LS1 Hatch_
Posted 01 September 2011 - 09:46 AM
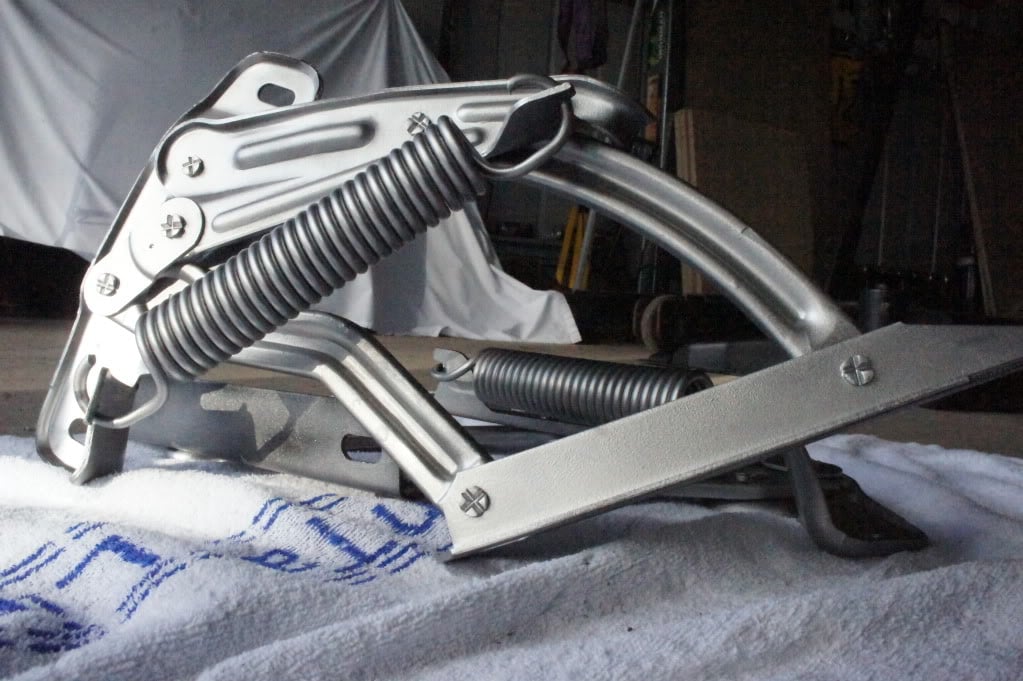
http://www.gmh-toran...-bonnet-hinges/
And on the brake lines..if you have them looking the way you want them, could always give them a coat of clear perhaps?
#31
 _bangbang_
Posted 02 September 2011 - 08:31 AM
#32
 _LS1 Hatch_
Posted 02 September 2011 - 09:26 AM
#33
 _bangbang_
Posted 03 September 2011 - 04:26 PM
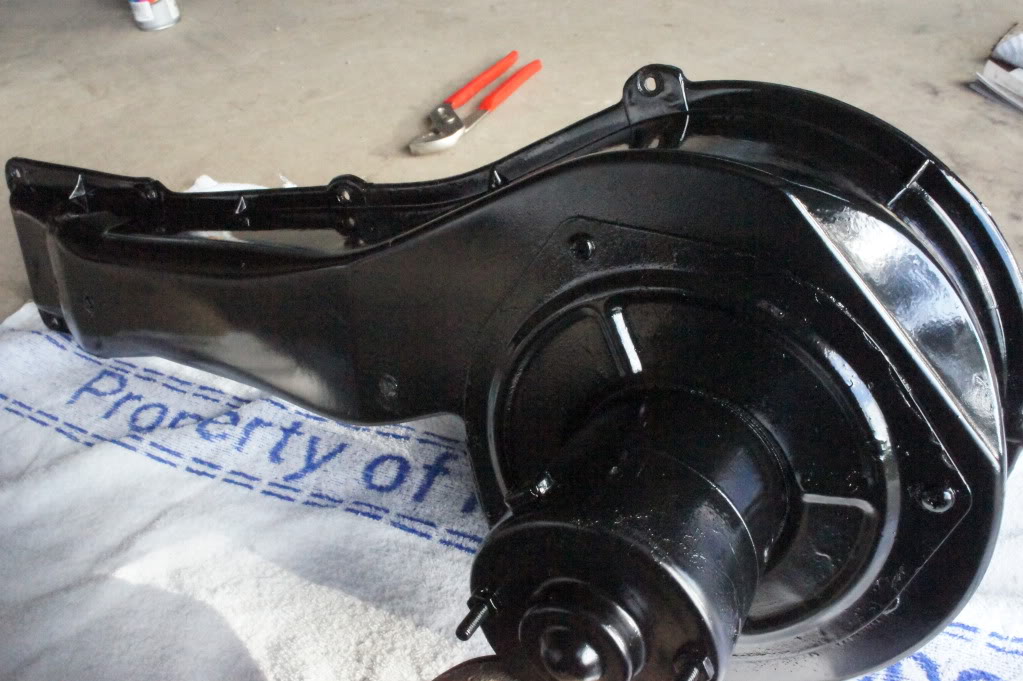
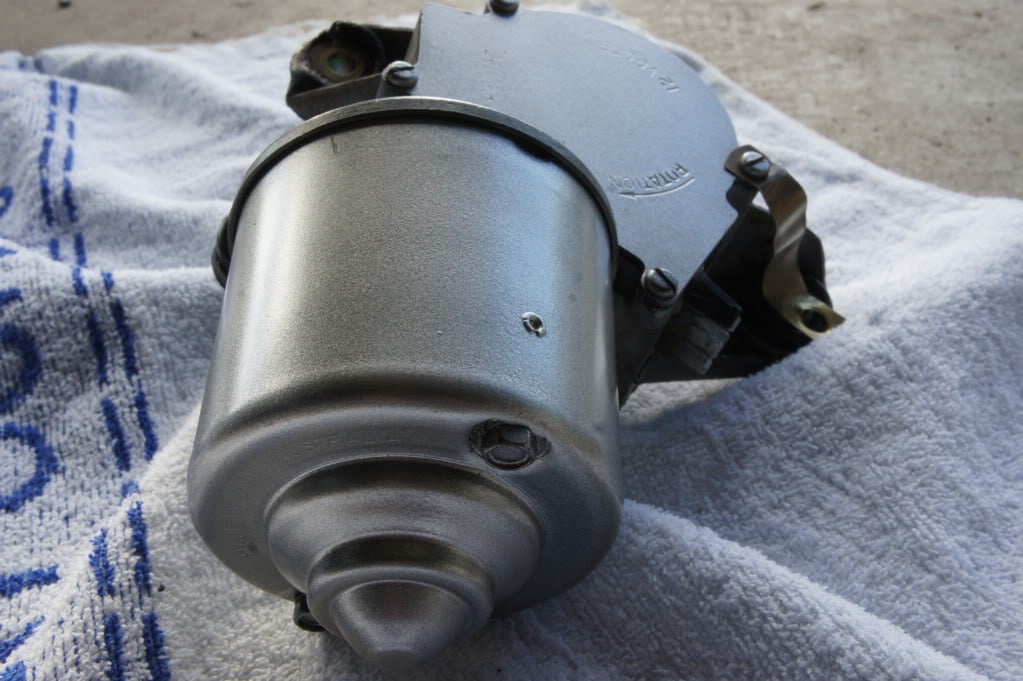
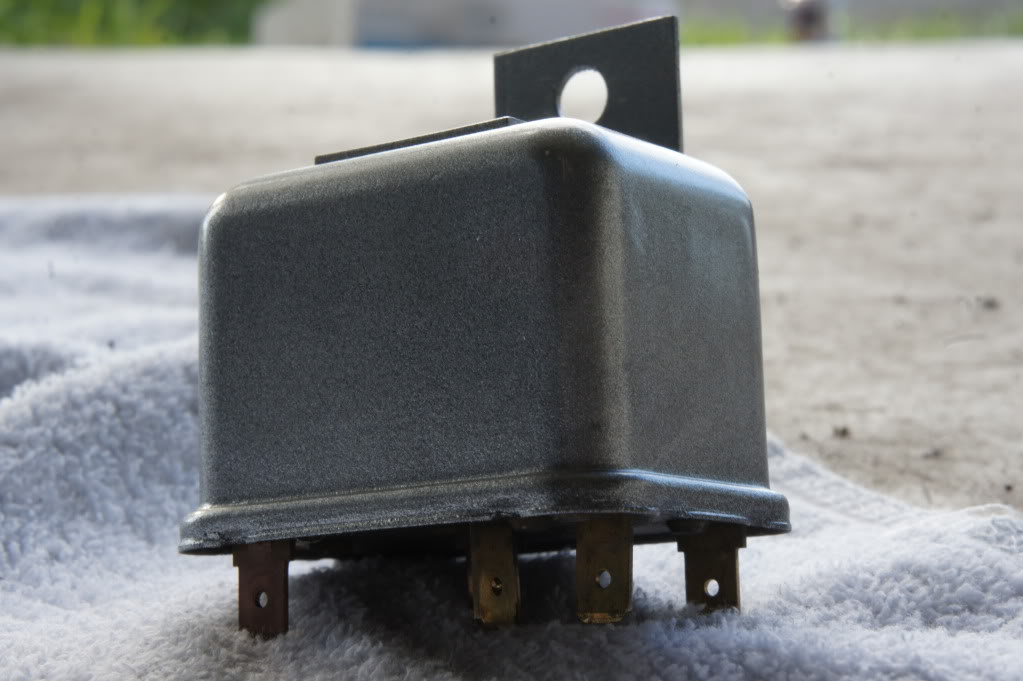
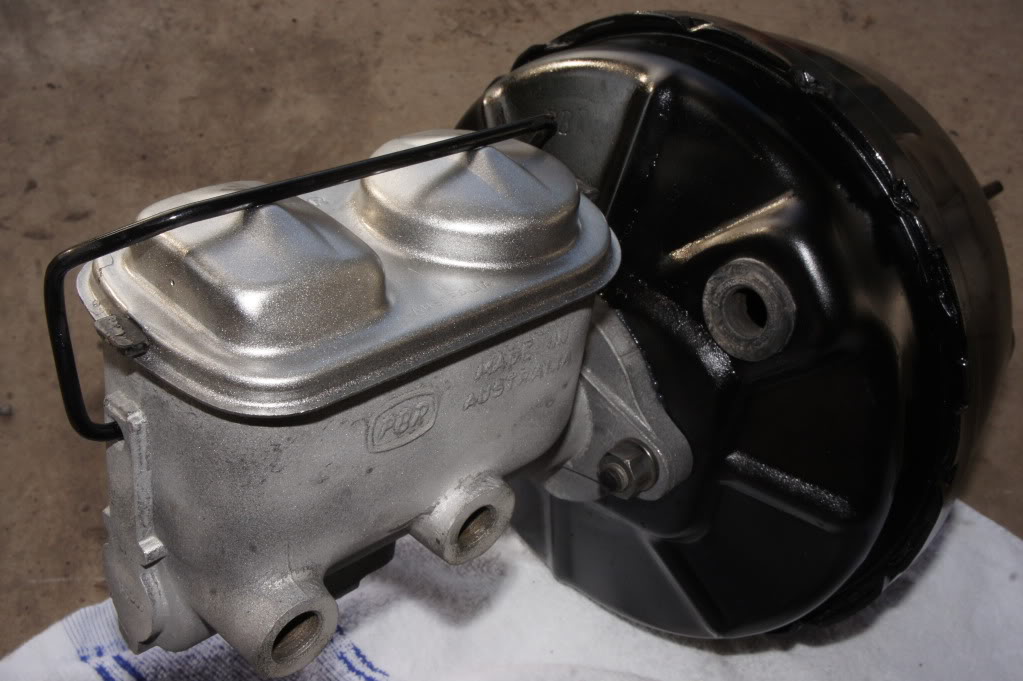
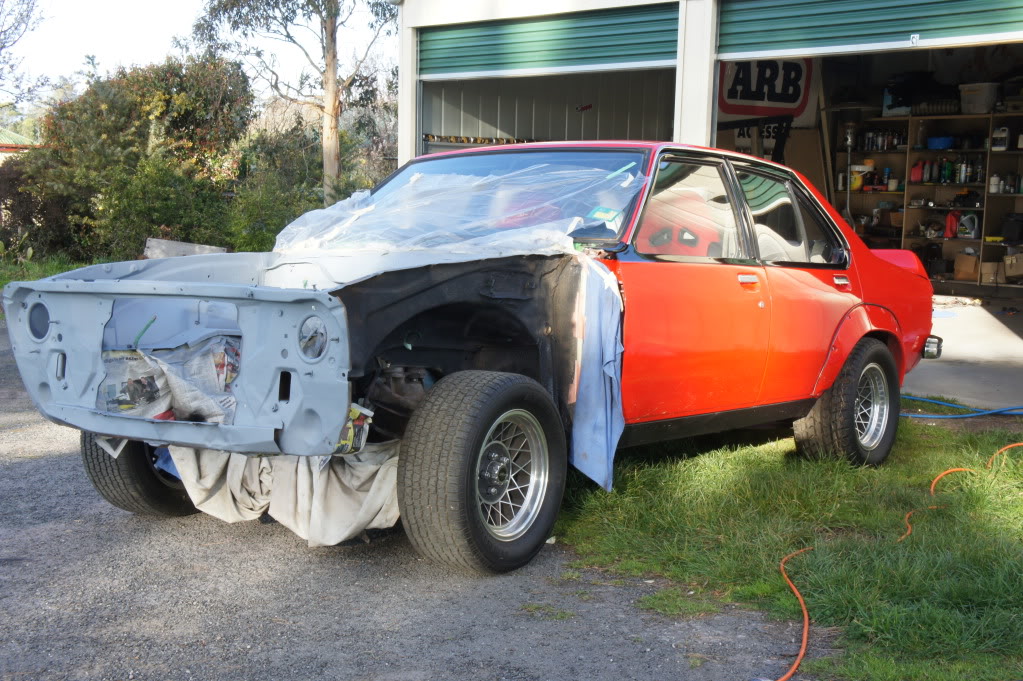
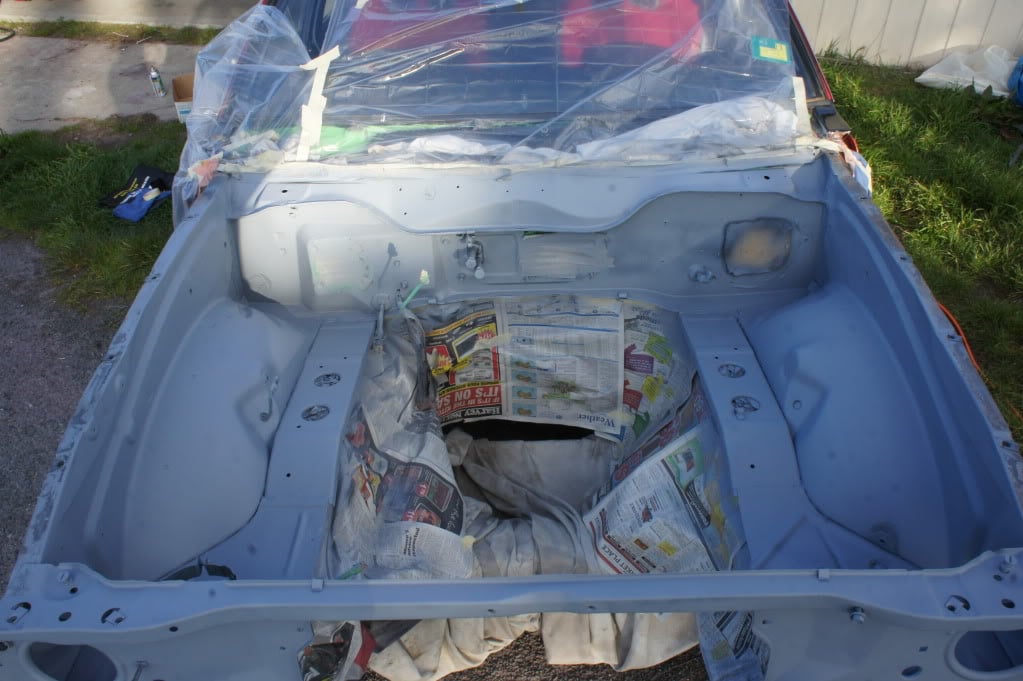
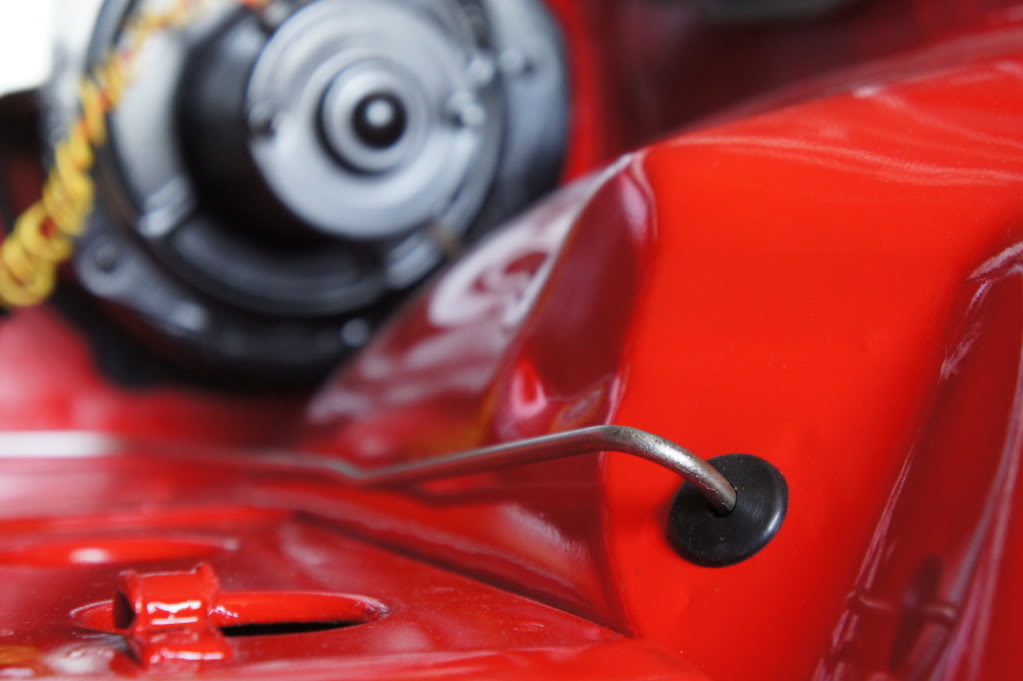
Things are coming along very well with the rest of it.. the undercoat is down, and all the other items are all painted - ready to go back in
Just got to get the top coat down, and then start bolting everything back in
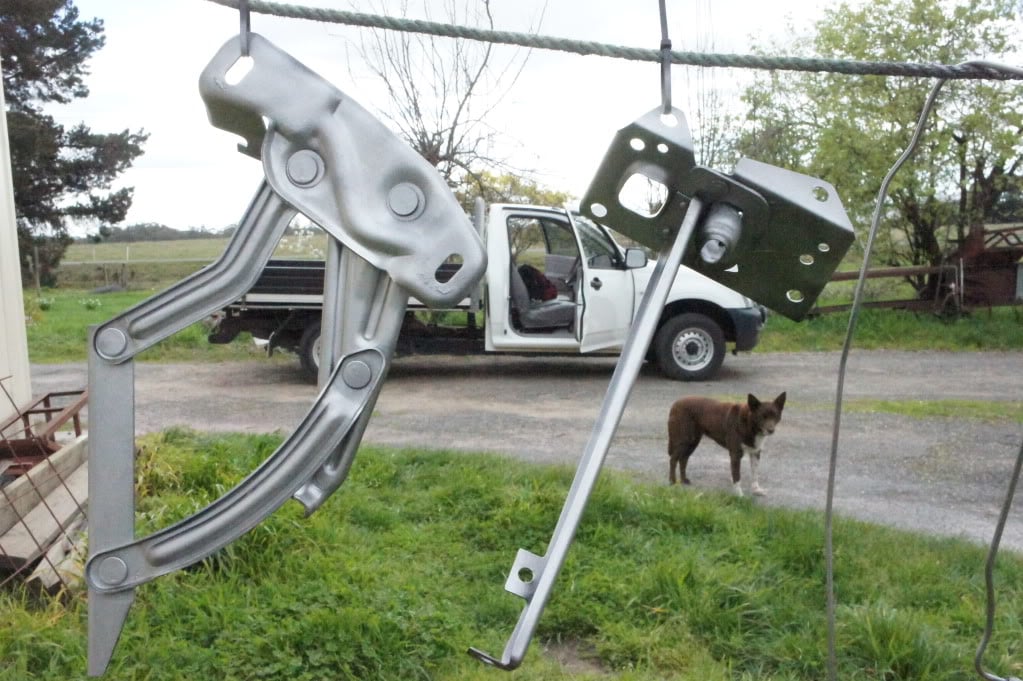
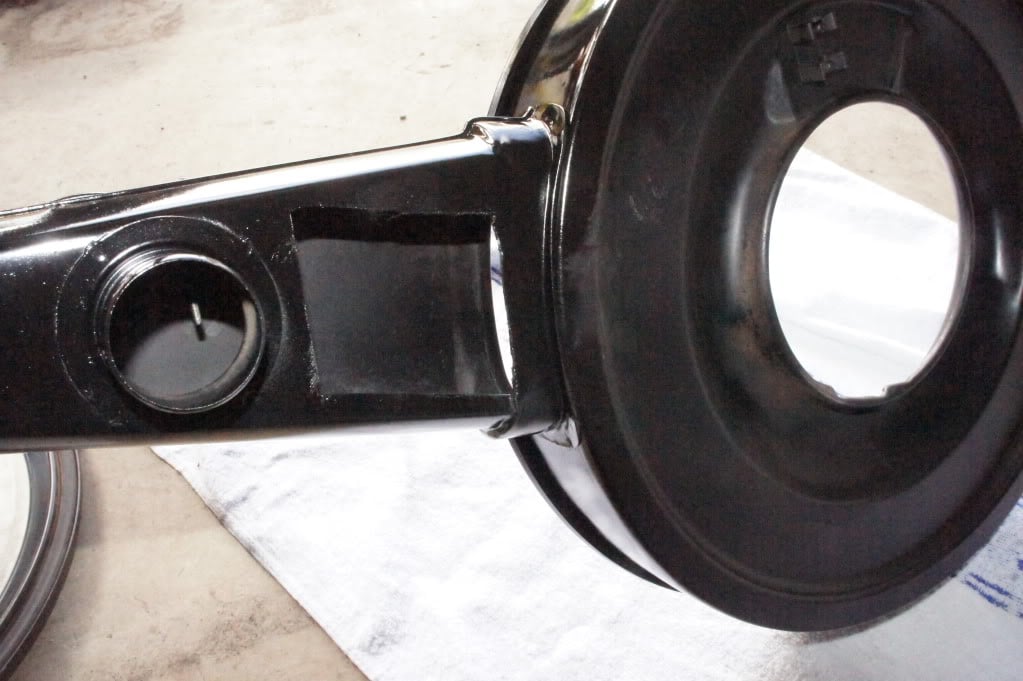
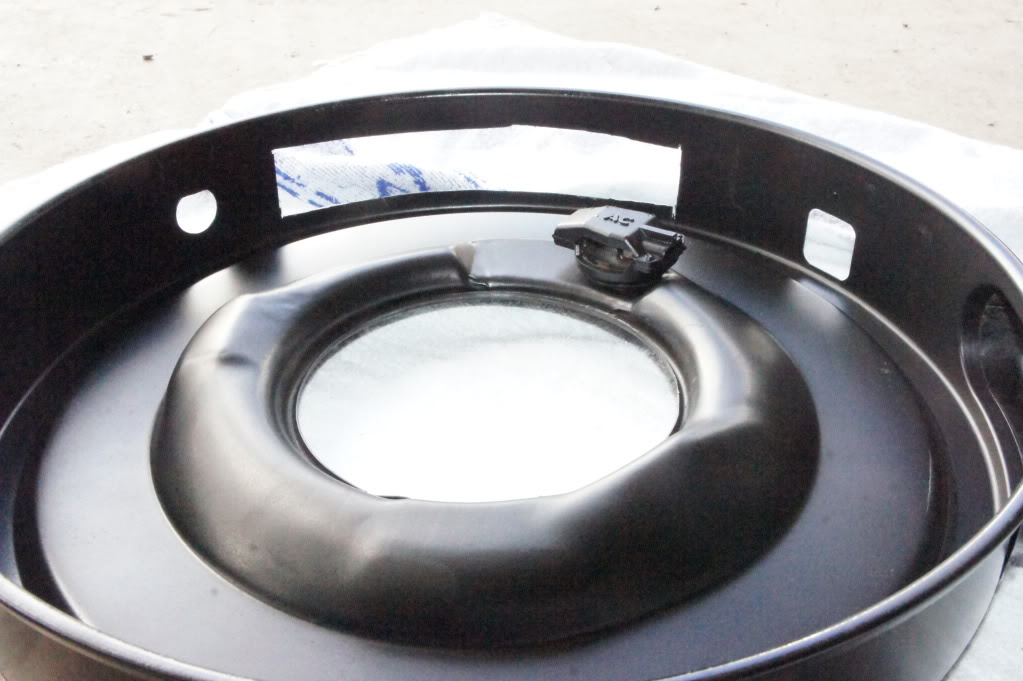
Keeping the oringal look, but cut some "hidden" holes for extra air intake
#34
 _LS1 Hatch_
Posted 04 September 2011 - 02:30 AM
#35
 _bangbang_
Posted 15 September 2011 - 11:40 AM
#36
 _Liam_
Posted 15 September 2011 - 12:17 PM
#37
 _LS1 Hatch_
Posted 15 September 2011 - 02:17 PM
#38
 _judgelj_
Posted 16 September 2011 - 01:13 PM
#39
 _hatch76_
Posted 16 September 2011 - 08:25 PM
Dan
#40
 _napes_au_
Posted 17 September 2011 - 08:00 AM
#41
 _mick74lh_
Posted 17 September 2011 - 11:46 AM
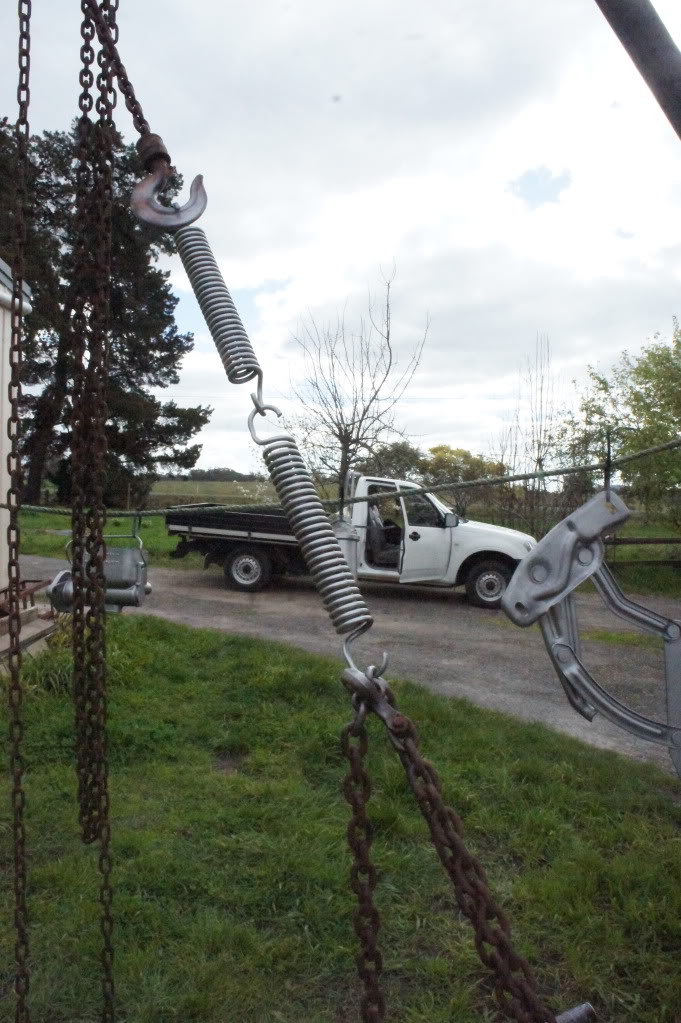
And LS1 hatch, nice idea for opening the springs up. I'll have to try that one.
#42
 _LS1 Hatch_
Posted 17 September 2011 - 12:18 PM
#43
 _bangbang_
Posted 19 September 2011 - 09:58 PM
Top work, what type of paint did you end up spraying with?
Thanks matey
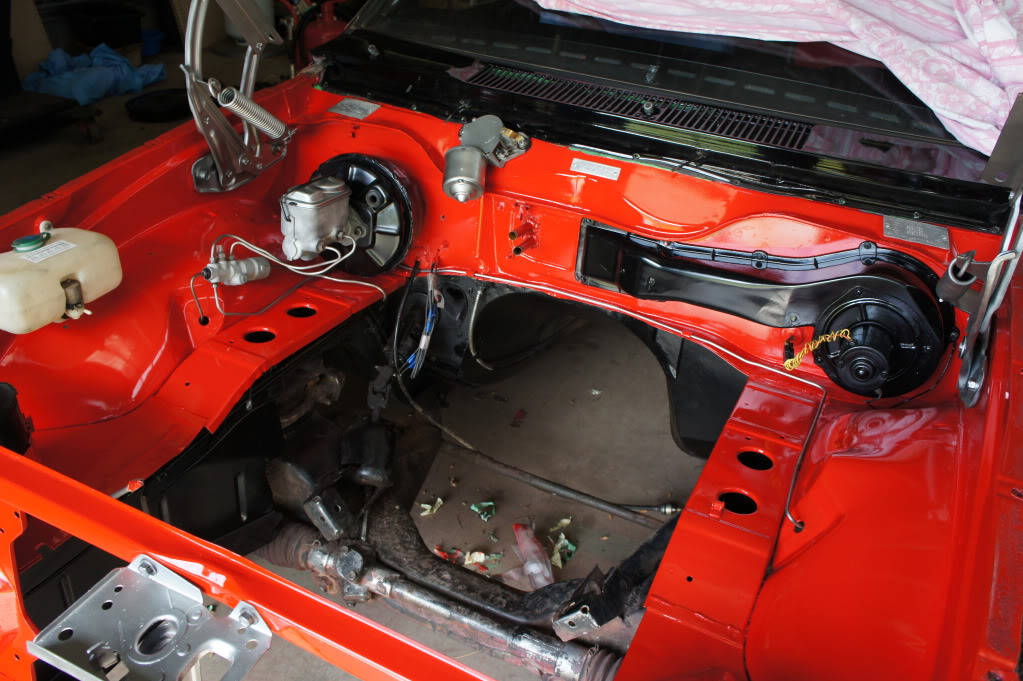
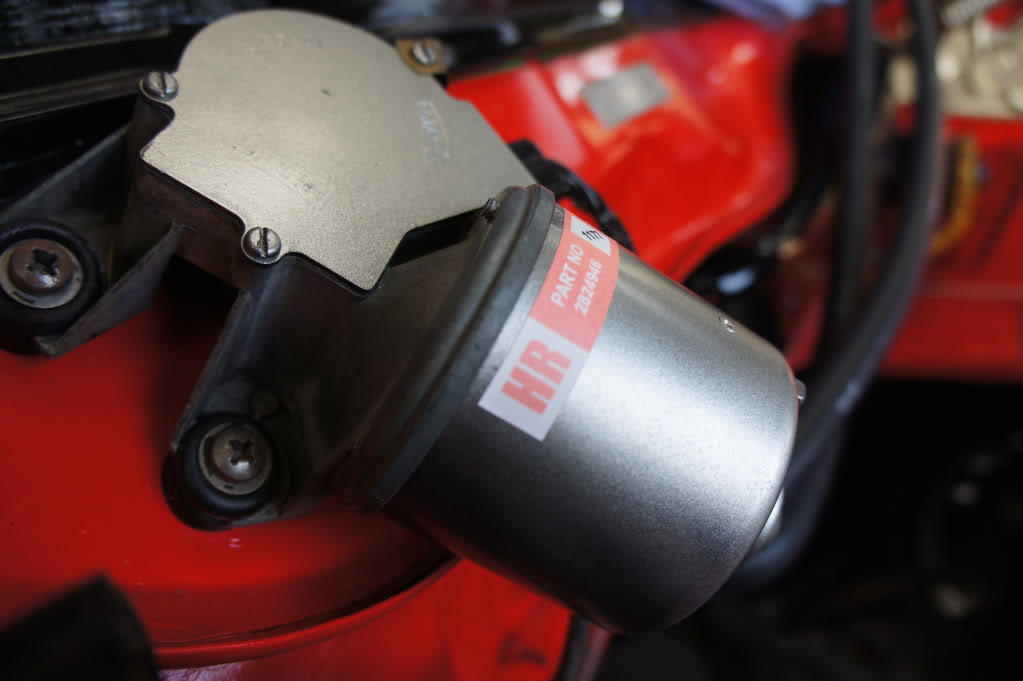
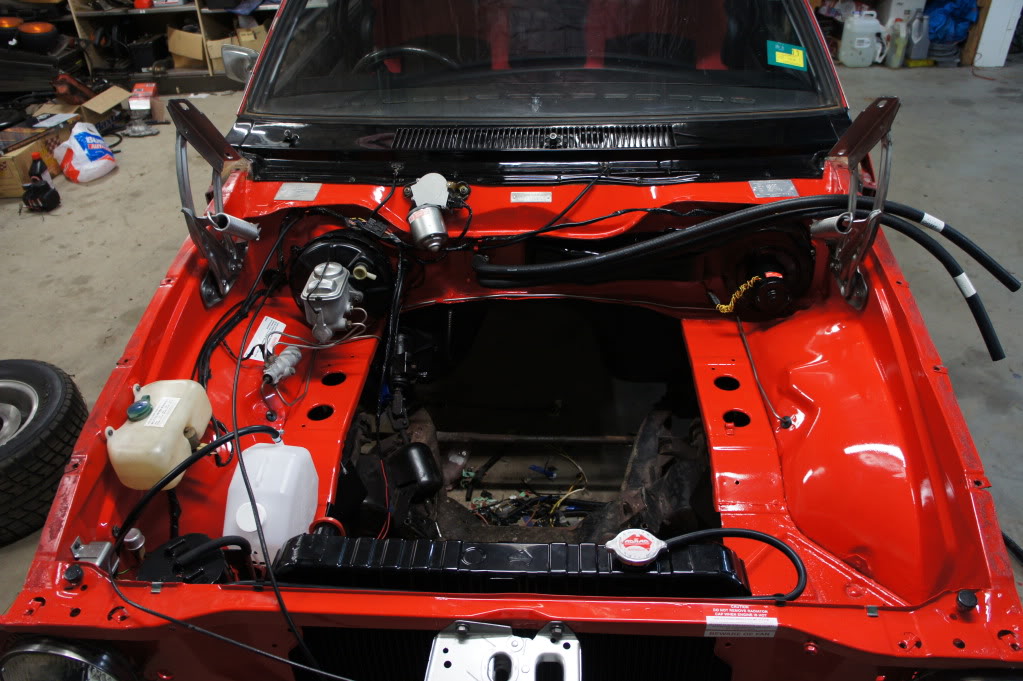
I have pretty much everything bolted back into place now, have now started the wiring. I am stripping out old un-wanted wires, wiring up the electronic ign, V8 dash cluster, and making the lumes run and look like they did when they rolled out of the factory
I have done some research, and it appears as though there is:
1: The main lume that runs along the drivers side gaurd..
2: None on the passengers side gaurd (apart from 1 clip holding the starter motor wiring lume)
3: Seems like there may be 2 that run along the firewall
4: 1 on the front of the engine (for the altenator, temp and oil gauge wires)
5: 1 on the drivers side of the engine (running along the rocker cover). This lume would be the temp and oil gauge wires, but there doesnt appear to be any on the passenger side rocker cover.
Can anyone tell me if this is correct please?? Many thanks
#44
 _bangbang_
Posted 23 September 2011 - 03:50 PM
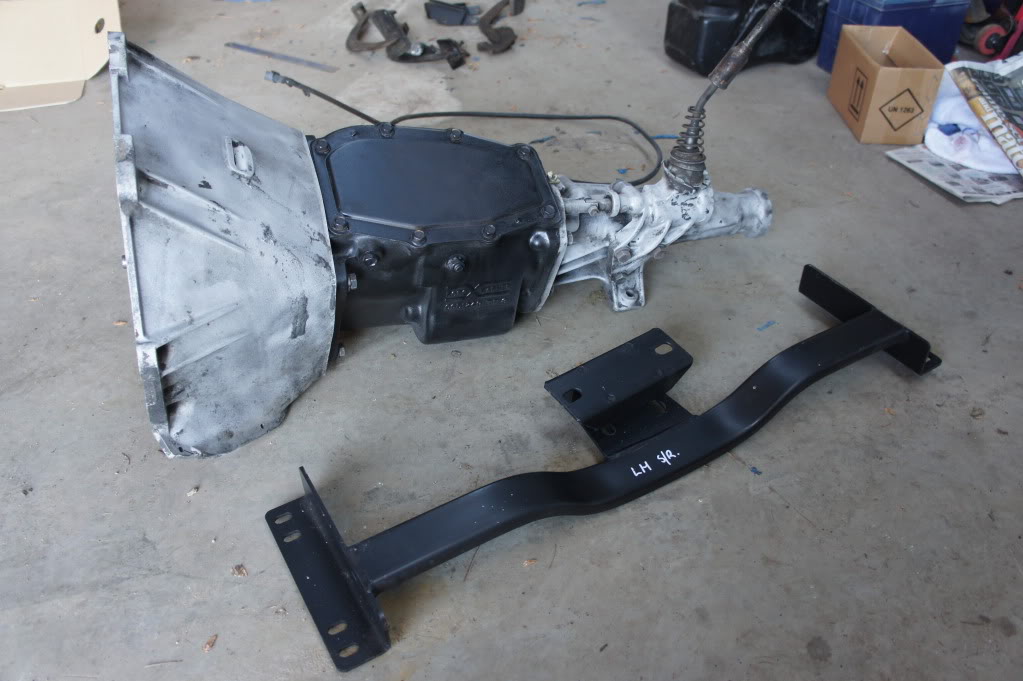
I've cleaned the gearbox up a bit and done a few other small things to it.. so that is now pretty much all good to be put in
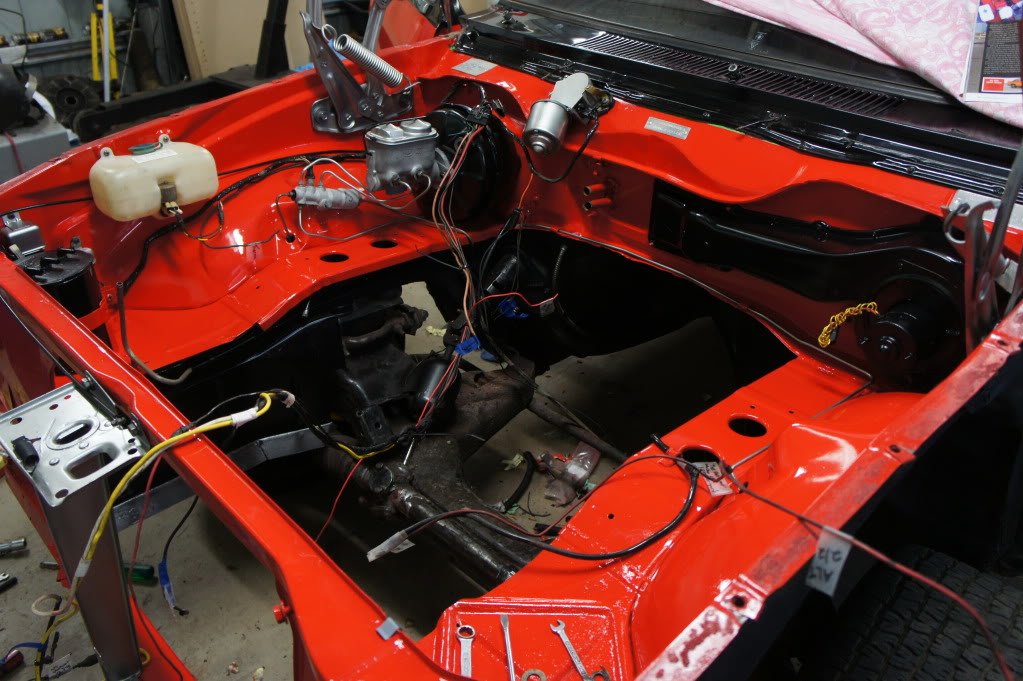
I have pretty much finished stripping out un-wanted wires from the engine bay harness.. and replaced old buggered ones.. and ran the wires for the new electronic ignition.
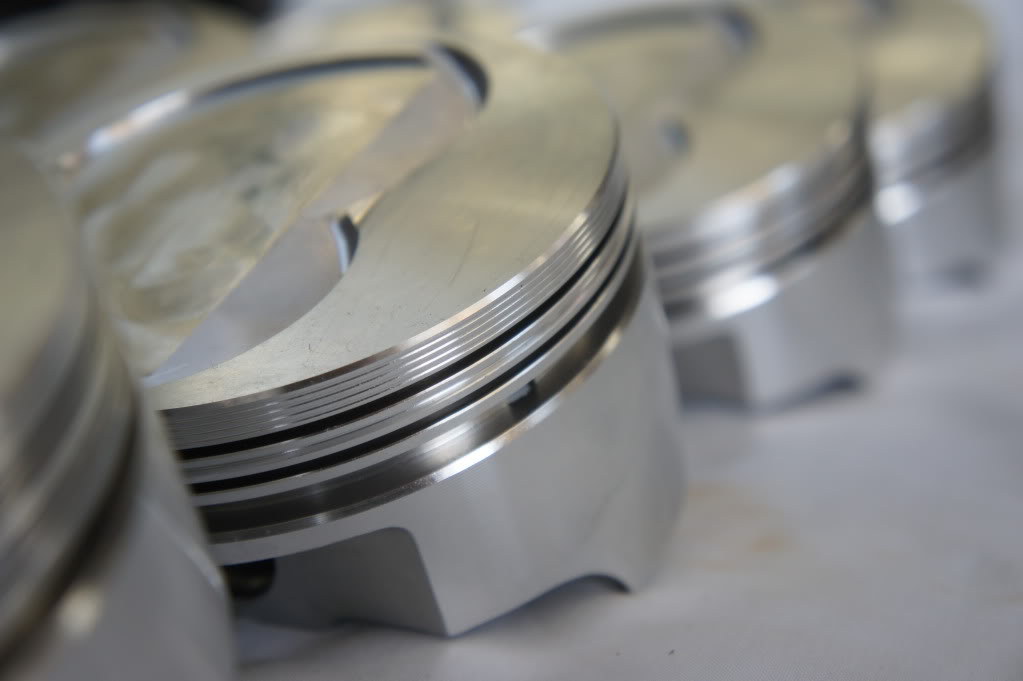
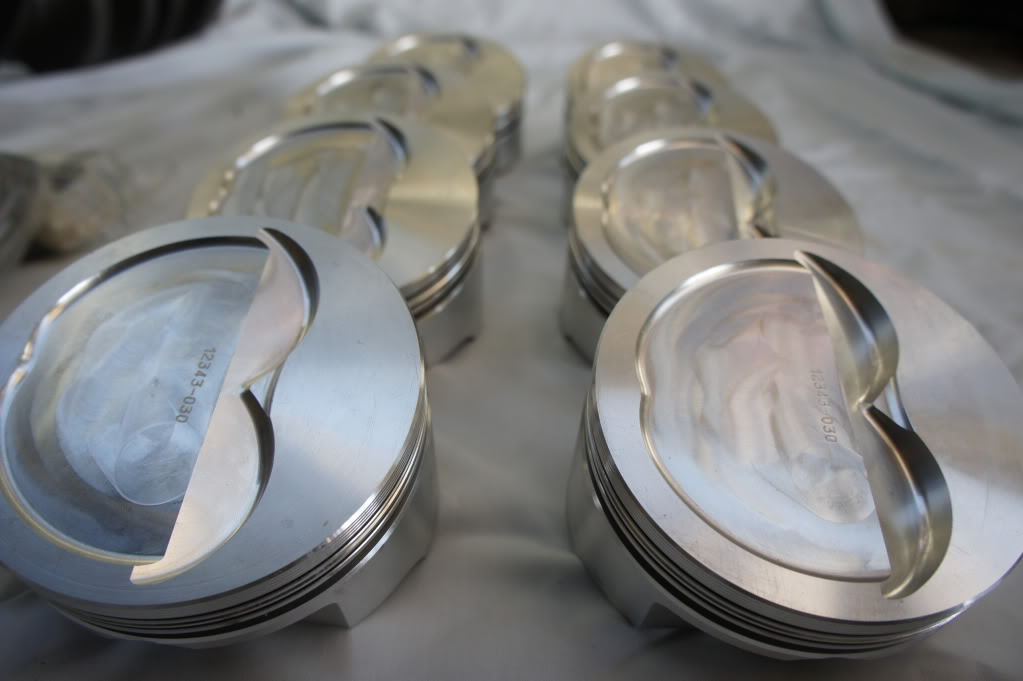
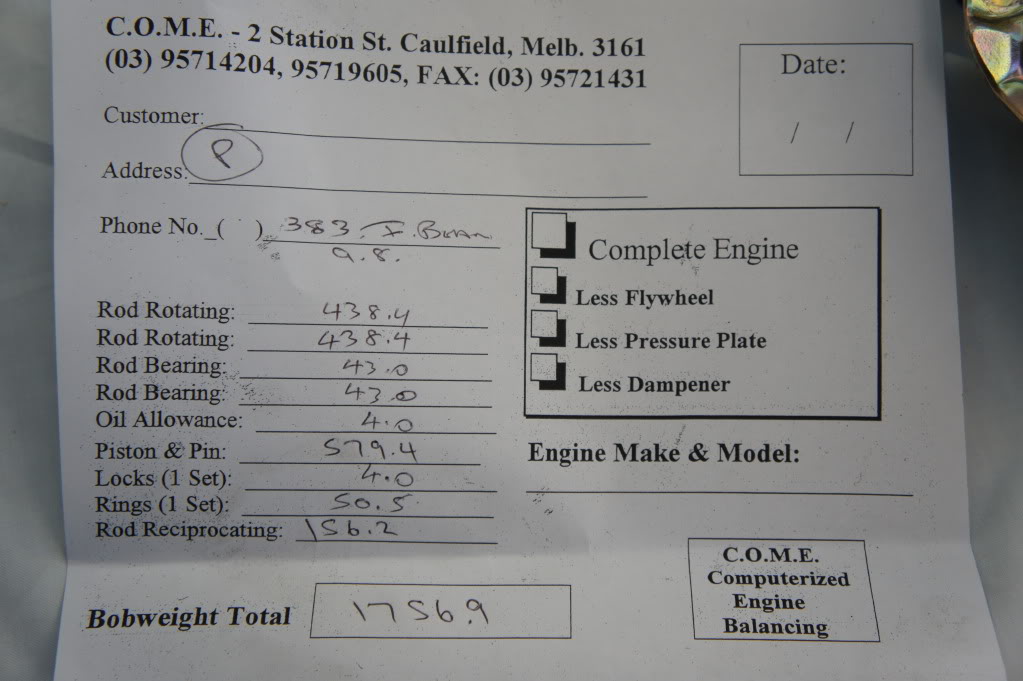
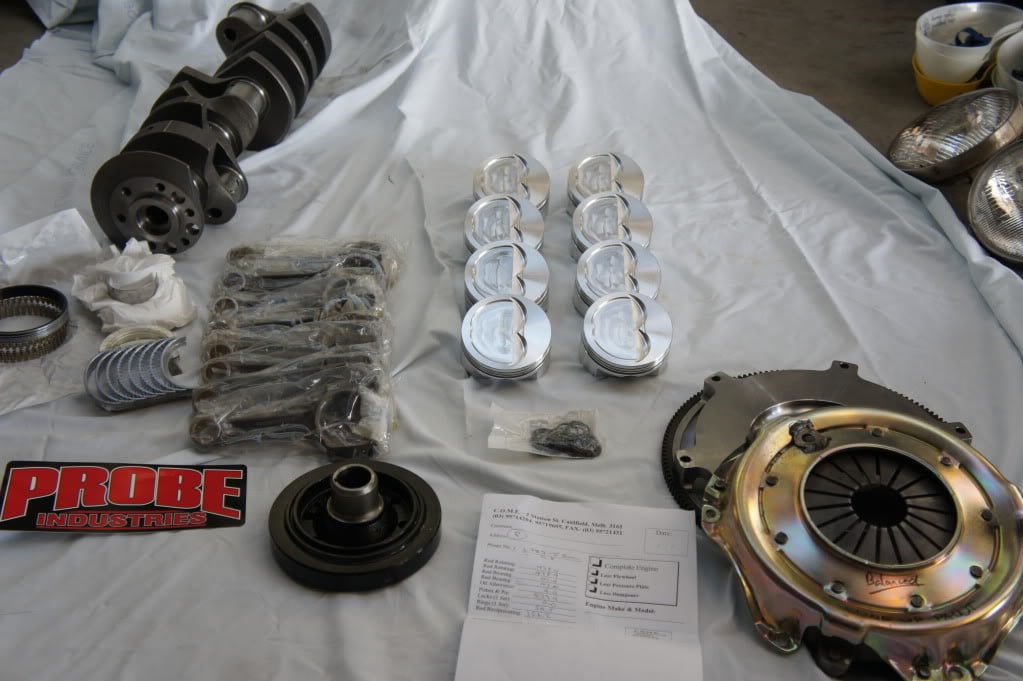
The motor build is being held up a bit due to the machine shops.. but sounds like I should have it back in a month or so
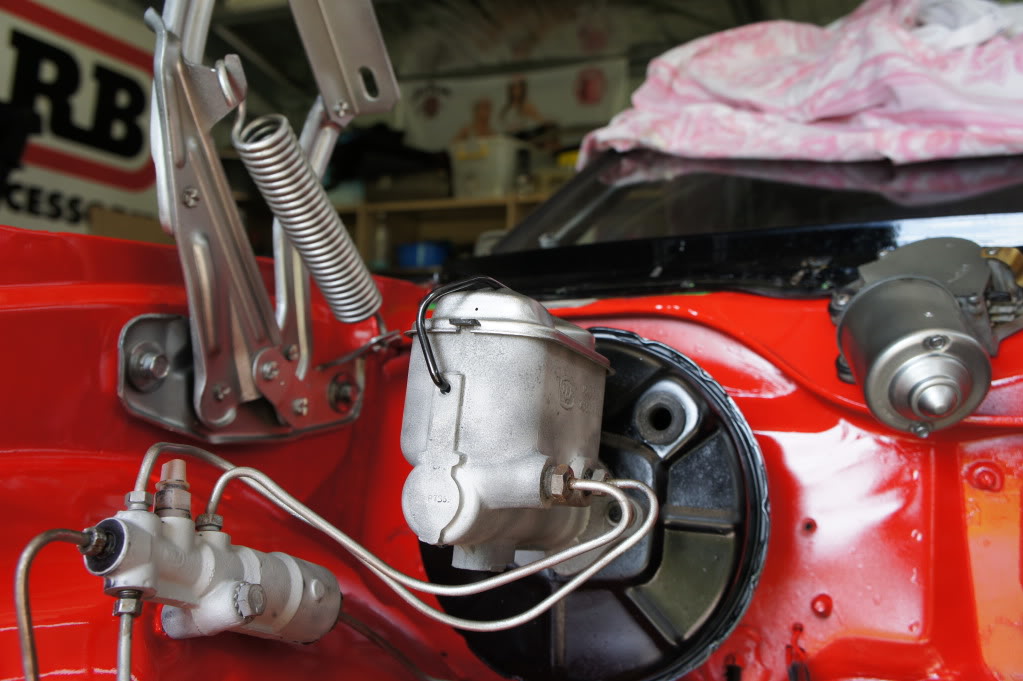
Heres the wiring before I started.. took quite a few cans to help me through that job!!
#45
 _bangbang_
Posted 08 November 2011 - 08:08 PM
#46
 _HRV74_
Posted 08 November 2011 - 08:24 PM
1 user(s) are reading this topic
0 members, 1 guests, 0 anonymous users


