Napes Build Thread
#76
 _napes_au_
Posted 07 October 2011 - 08:51 PM
#77

Posted 07 October 2011 - 08:57 PM
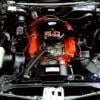
Got it running....
Nothing like the sound of a new engine running for the first time. Love your work mate.
#78
 _napes_au_
Posted 08 October 2011 - 07:57 AM
Edited by napes_au, 08 October 2011 - 08:00 AM.
#79
 _Yella SLuR_
Posted 08 October 2011 - 09:01 AM
#80
 _napes_au_
Posted 08 October 2011 - 12:49 PM
Nice. When are you going to give it a black bum?
Hopefully in the next 4-6 weeks....
Cheers
#81
 _napes_au_
Posted 10 October 2011 - 06:49 PM

#82
 _rob350hatch_
Posted 11 October 2011 - 09:39 AM
seems to me you are making steady progress.the engine bay looks awesome.will it be finished for newcastle 2012?cant wait to see it finally done.just glad ive finished mine and can sit back now and watch others.
Edited by rob350hatch, 11 October 2011 - 09:39 AM.
#83

Posted 11 October 2011 - 09:48 AM
Keep up the good work
#84
 _napes_au_
Posted 13 October 2011 - 07:13 PM

As everything was sealed with the Urethane, I filled the cavity with fish oil.... I let it sit for 15 mins then let it drain....

#85
 _napes_au_
Posted 13 October 2011 - 07:30 PM

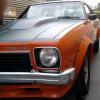
Followed but the nose cone....

I thinks the drier receiver is going to need some adjusting.... The grill's not going to get in...

Next came the bonnet....

With a lot of f#@king around, we got it sitting right...

....but the bonnet hinges aren't the best though, a bit wobbley... Shame really, they look real pretty after being zinced....
#86

Posted 13 October 2011 - 08:25 PM
#87
 _napes_au_
Posted 13 October 2011 - 08:37 PM
I just tightend up the hinge rivots in a press,worked a treat. The car is coming up great.
Thanks for that.... I'll give it a shot....
#88
 _napes_au_
Posted 22 October 2011 - 07:05 AM
You were spot on, that worked a treat!!!!
I just tightend up the hinge rivots in a press,worked a treat. The car is coming up great.
Thanks for that.... I'll give it a shot....
#89
 _nial8r_
Posted 22 October 2011 - 08:51 AM
#90

Posted 22 October 2011 - 04:18 PM
#91
 _napes_au_
Posted 25 October 2011 - 06:36 PM

I thought about painting straight over the old paint, but I thought what the hell!!!


Even though the rest of the car is painted in 2k top to bottom, I decided to paint the dash in Acrylic. Mainly because I got onto the original dash code...

The colour and texture was spot on I thought! Take no notice of the glossy bit in the middle, still was a little damp there...
Cheers
#92

Posted 25 October 2011 - 09:49 PM
#93
 _napes_au_
Posted 26 October 2011 - 12:22 PM
It's a special suede (textured) finish paint.... I'll get it from the shed tonight...Care to share the code? Is it a GMH Satin?
Cheers
#94

Posted 26 October 2011 - 11:38 PM
Cheers,
Craig
#95
 _napes_au_
Posted 27 October 2011 - 07:29 AM
Nice car and quality build John. It's going to look really nice out on the road. Have fun finishing it off and even more fun driving it.
Cheers,
Craig
I tell you what, I'm getting pretty antsy wanting to drive it... Oh yeah, thanks for the feedback Craig...
Cheers
#96

Posted 29 October 2011 - 11:25 PM
wish i had known about this forum before
i started mine
back then i did not have glasses,a mobile phone
or a laptop
seemed to have a lot of headaches back then
cheers
davemc
#97

Posted 10 November 2011 - 10:02 AM
#98
 _napes_au_
Posted 13 November 2011 - 05:48 PM
Cmon John... We need some updates!!!!!
Been a bit slack of late sorry
#99
 _gen3torrie_
Posted 13 November 2011 - 07:25 PM
#100
 _napes_au_
Posted 15 November 2011 - 01:05 PM
what type of sound deadener did you use in the guards. as i want to put some of this stuff in my torry?
After it was stripped and primed in 2k epoxy, I sprayed a coat of black stone guard...
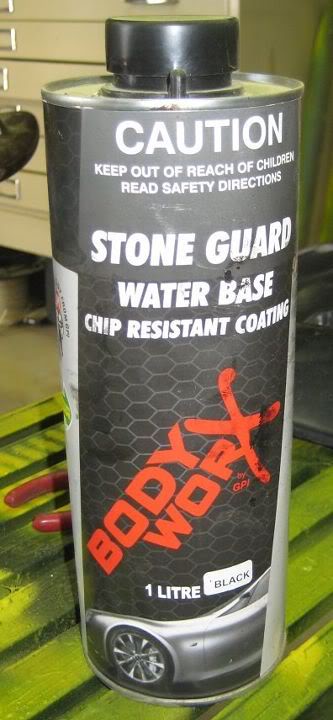
Once dry, a couple of coats of Sound deadener...
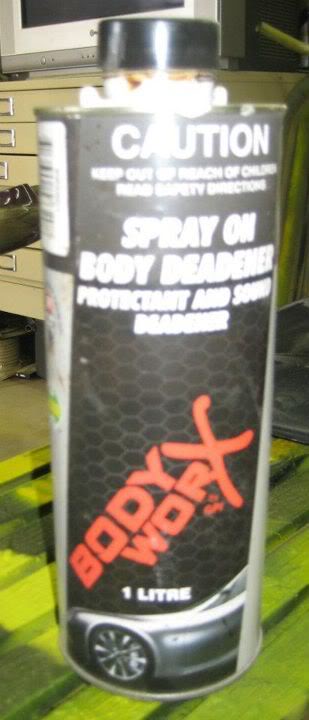
I like this one as it's a rubberise non-bitumen product....
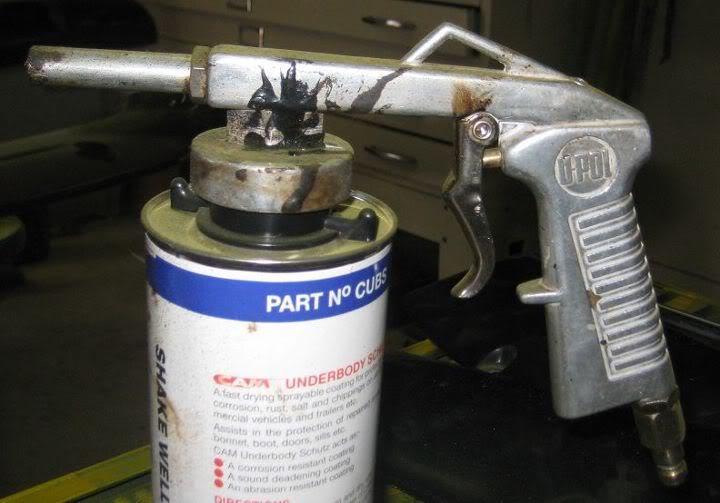
I found the easiest way to apply these is a purpose built gun to suit these one litre tins.... They simply screw on and away you go.... Cost around $40
4 user(s) are reading this topic
0 members, 4 guests, 0 anonymous users


