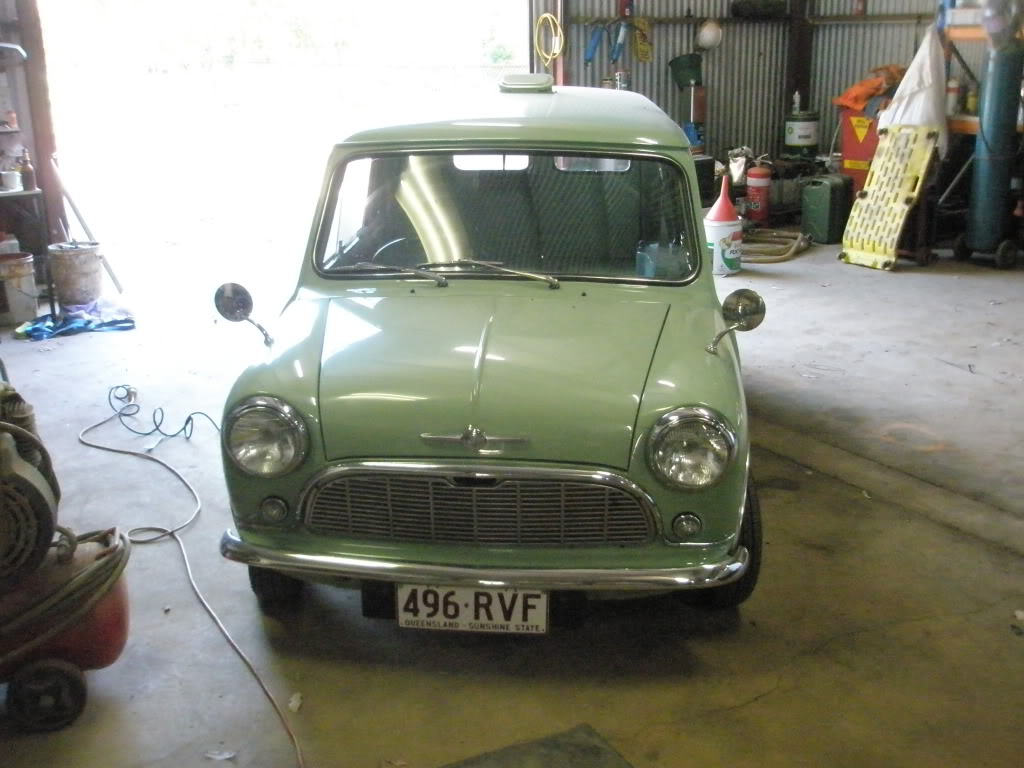
Well, like I said progress is slow, but here is an update for those that are interested...
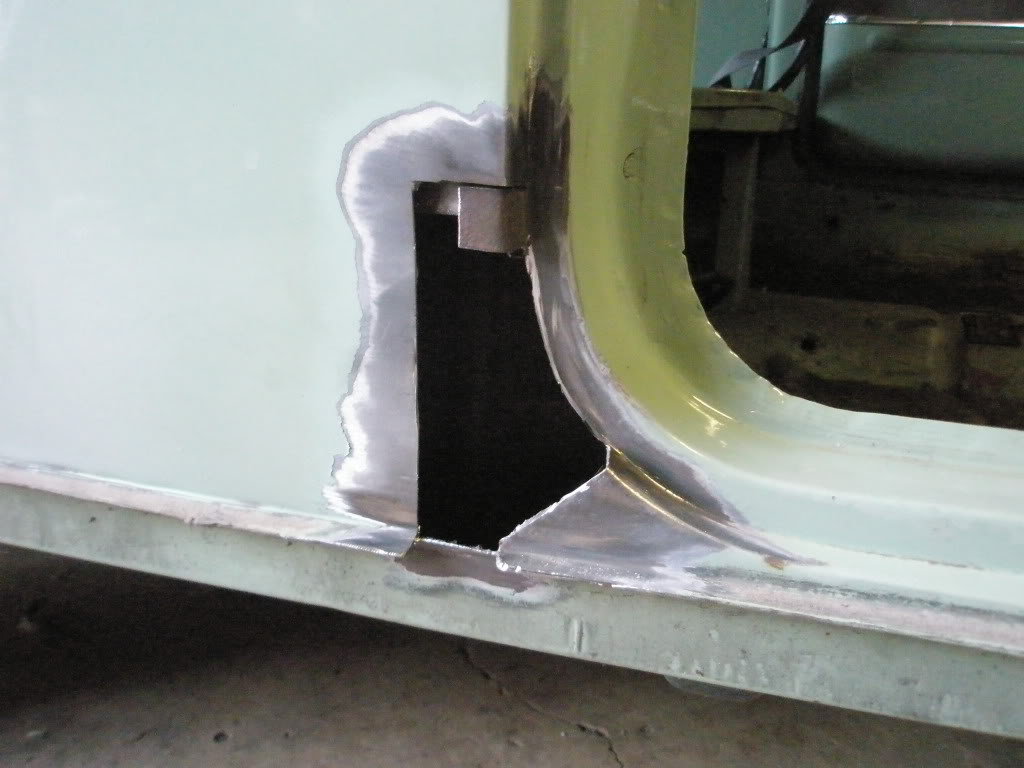
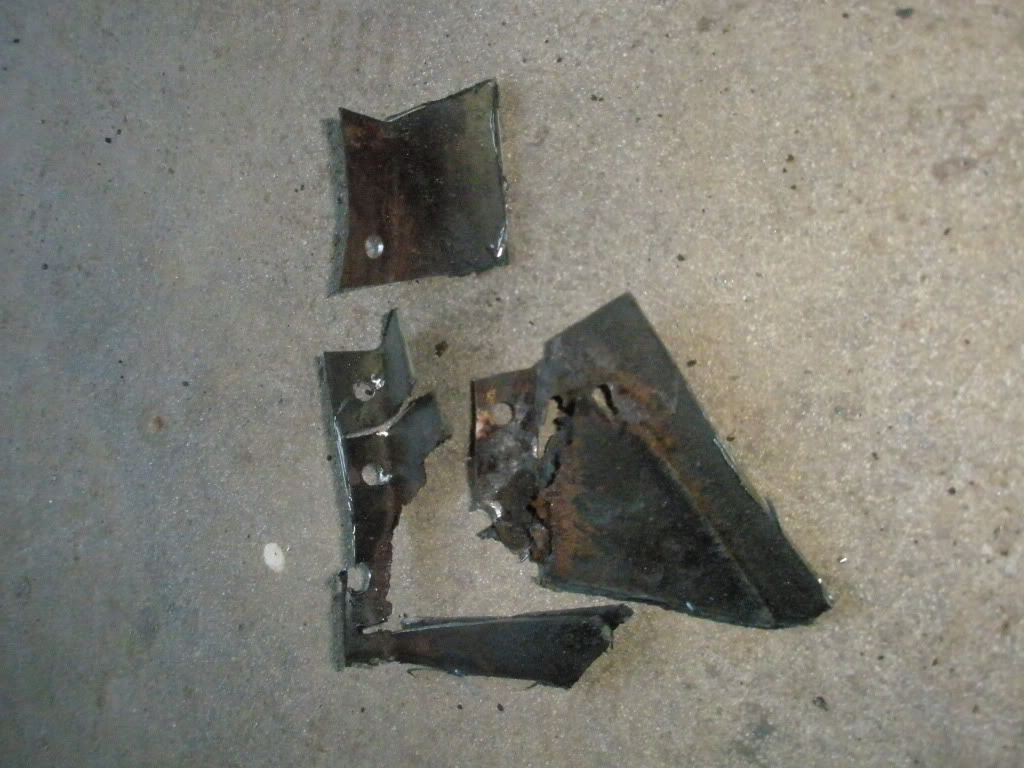
First step was to make a cardboard template of the inner panel. I originally cut it through the join between the inner and outer panels so I knew where the join was supposed to be. Once I'd made the template, then I could hook in and cut a bit more out so I wasn't welding on the join... (if you're pickin up what I'm puttin down. It should make more sense as I progress...)
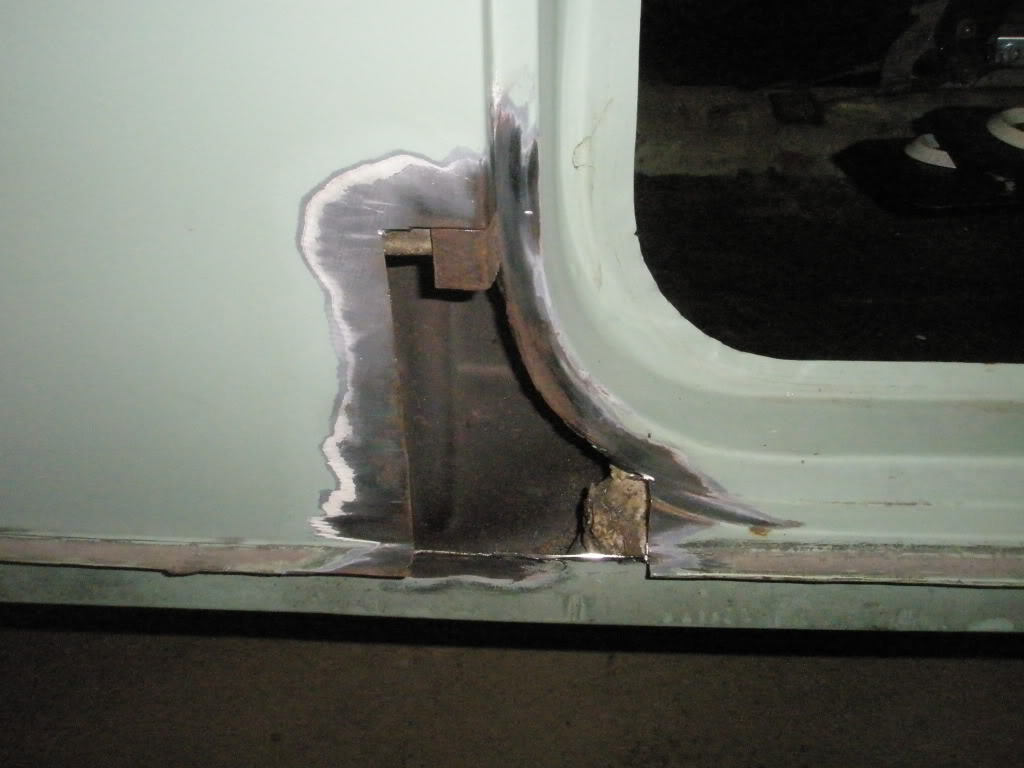
I then had to make up the inner panel which now included a small part of outer panel seeing as I had cut the extra section out. This meant putting a small swage (dogleg) in the piece so when the 2 panels overlap they still end up flat to follow the body line. This is how I did it...
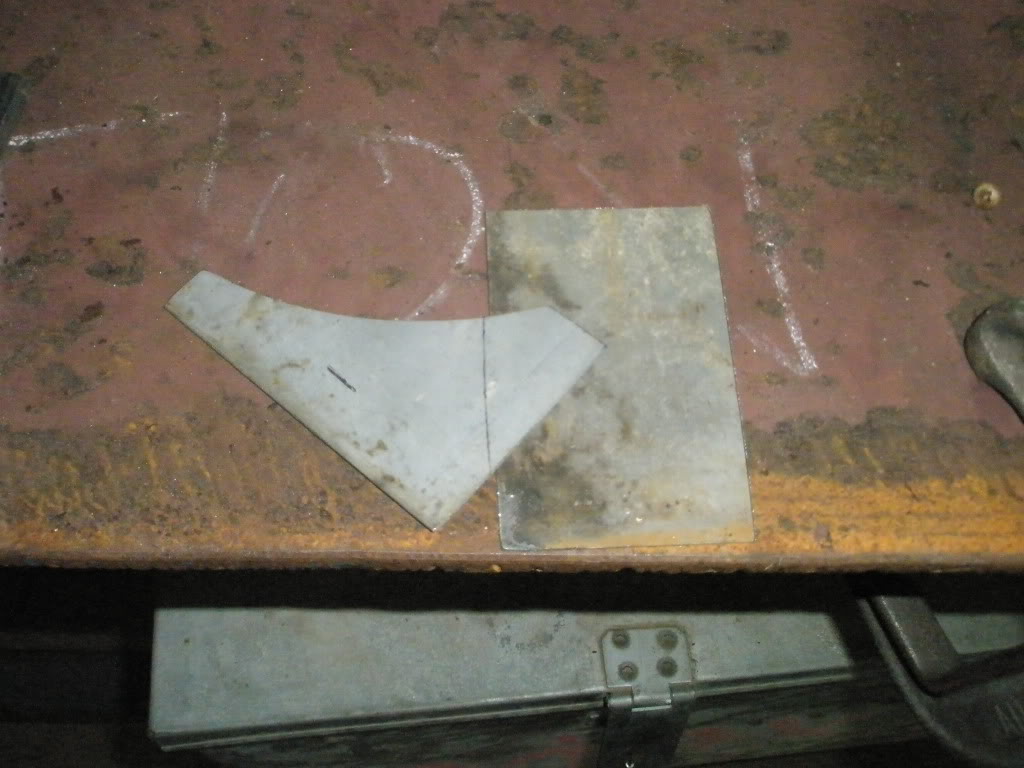
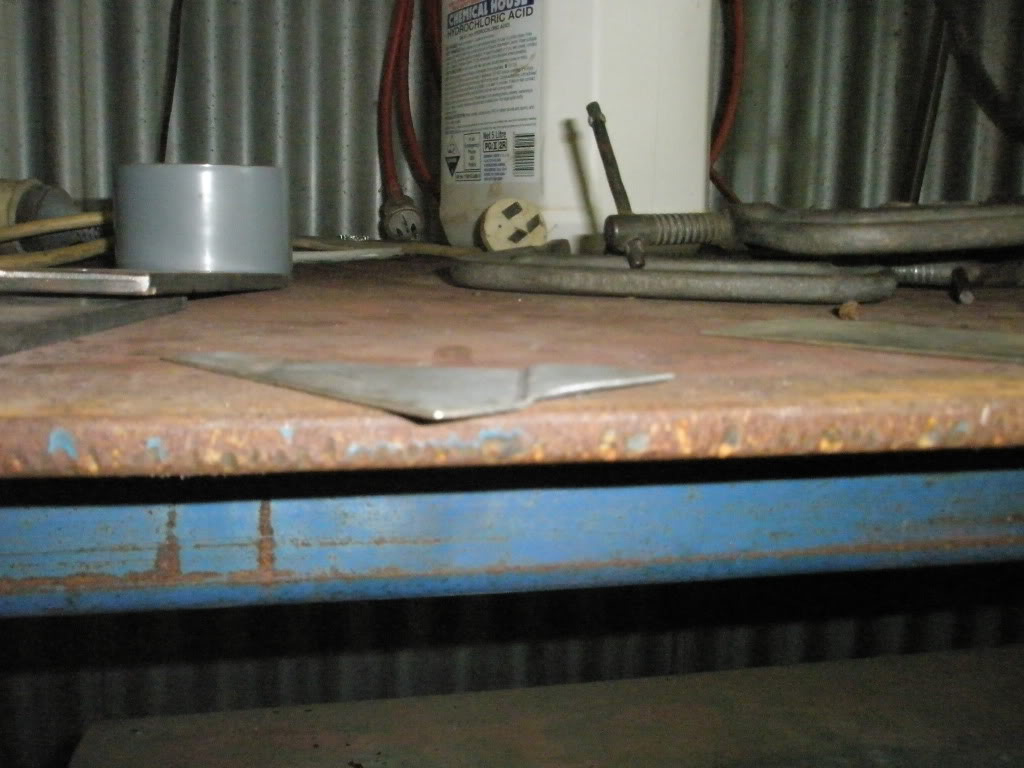
Firsly, I cut a new piece of steel with an updated template, marked it where the swage has to be from the old template, then found a spare piece of panel steel, the same thickness as the swage depth to clamp underneath the new panel to the bench...
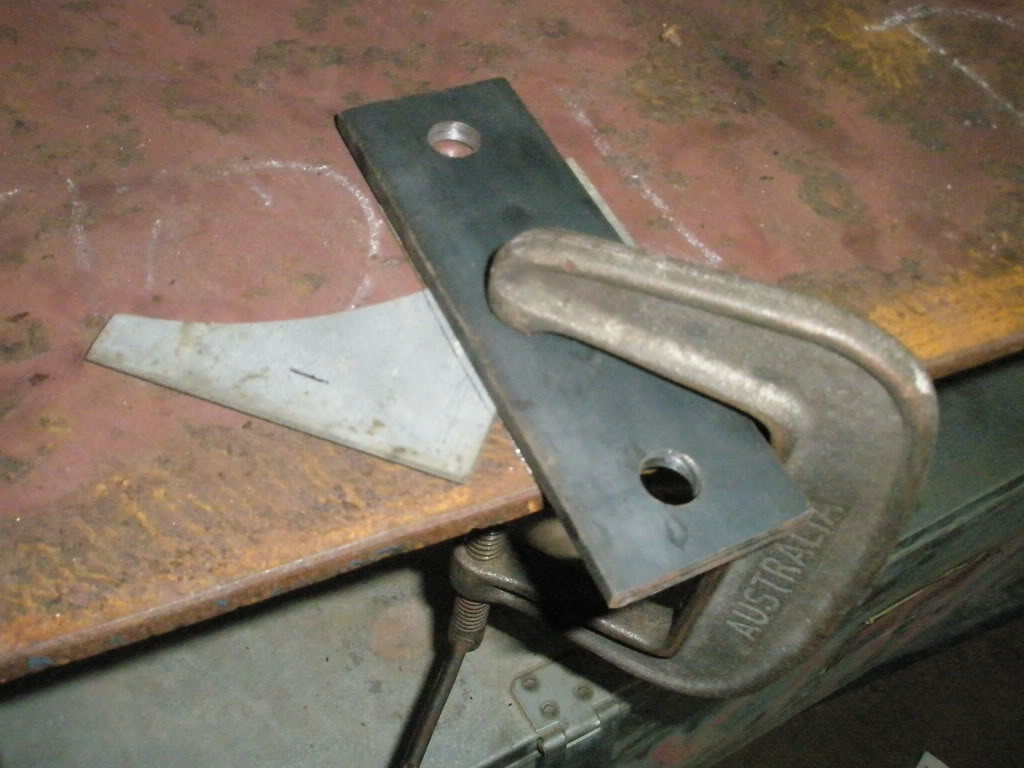
With another piece of substantial sized plate clamped on top of it, both of them lining up with the swage mark...
Then with another substantially sized plate (I used 6mm thick x 50mm wide for both), I clamped that a little off the swage line with a drift on top (I used a piece of 50mm angle to spread the load) and gave it a few hits with a FBH...
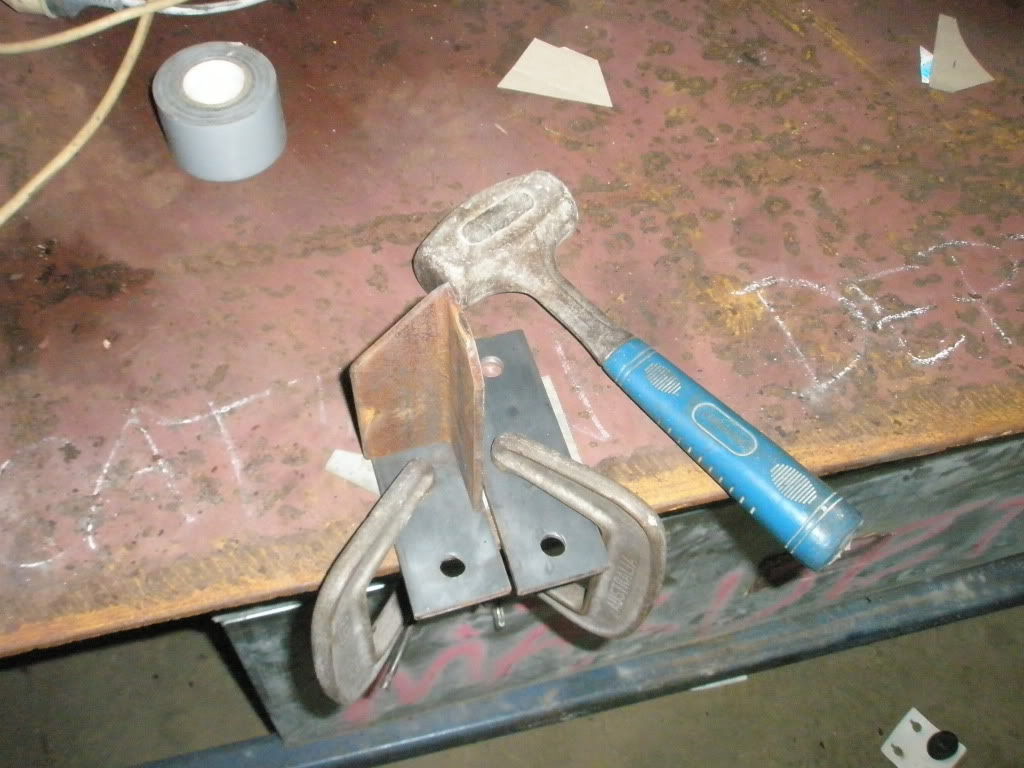
And ended up with this...
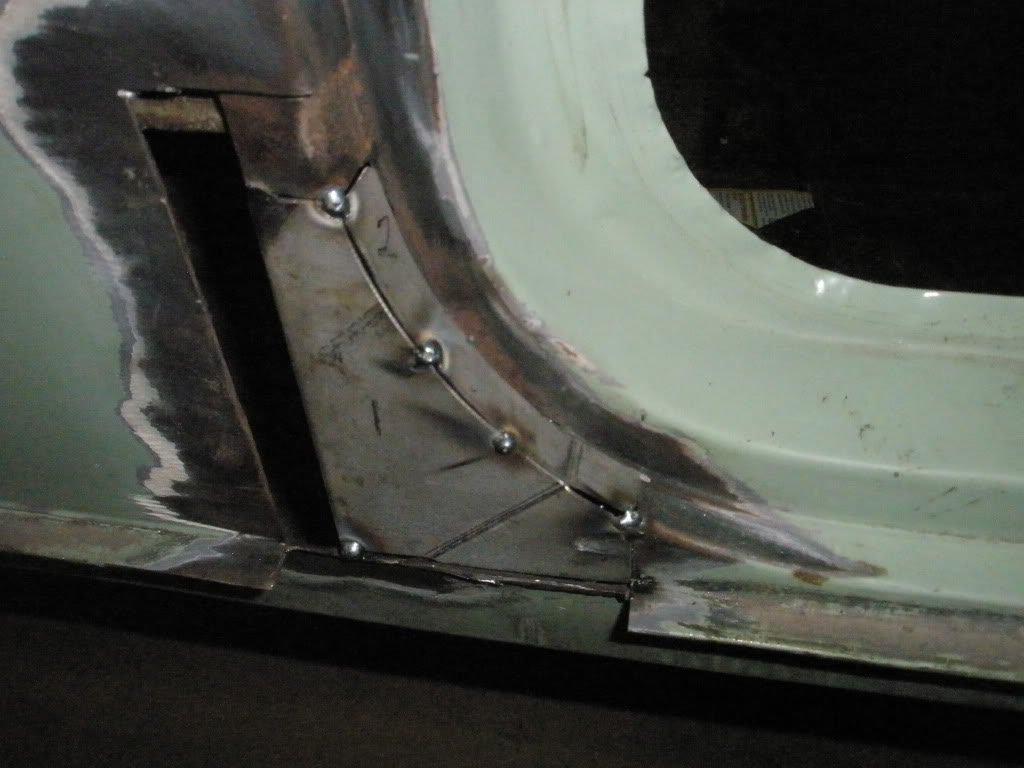
I cut and bent a strip to fill in the inside of the door jamb, which also required a swage to match and tacked them in...
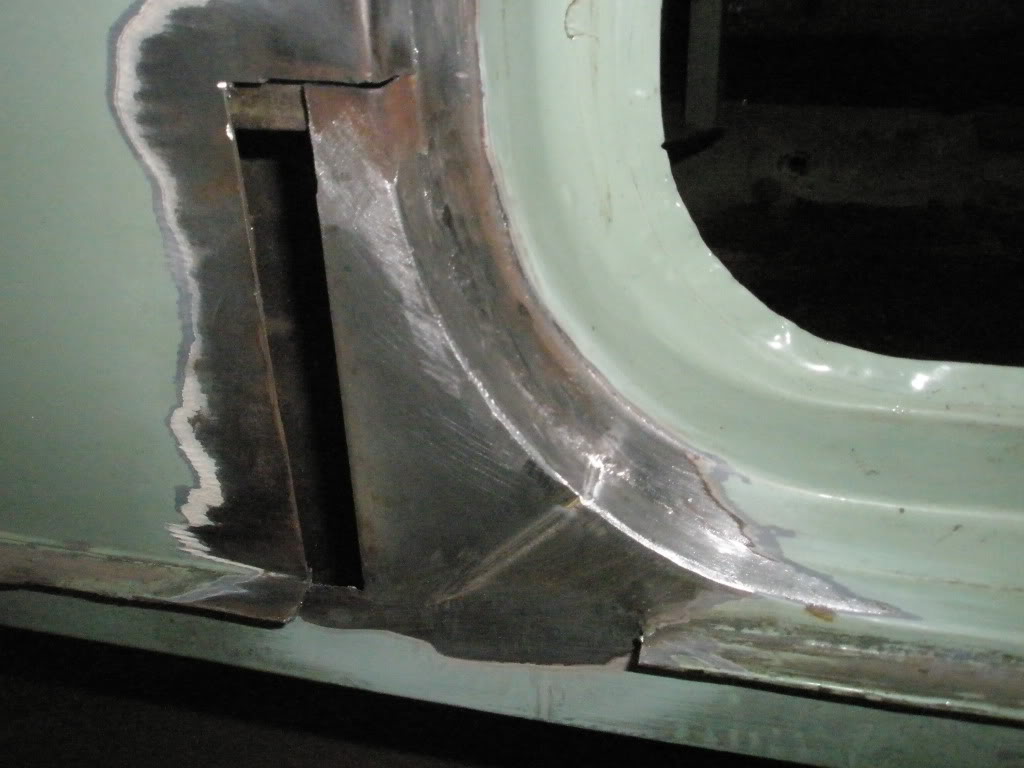
After fully welding them and cleaning them up, it looked like this...
To clean up the weld in the tight corner of the swage I used a Dremel with a tiny little round burr...
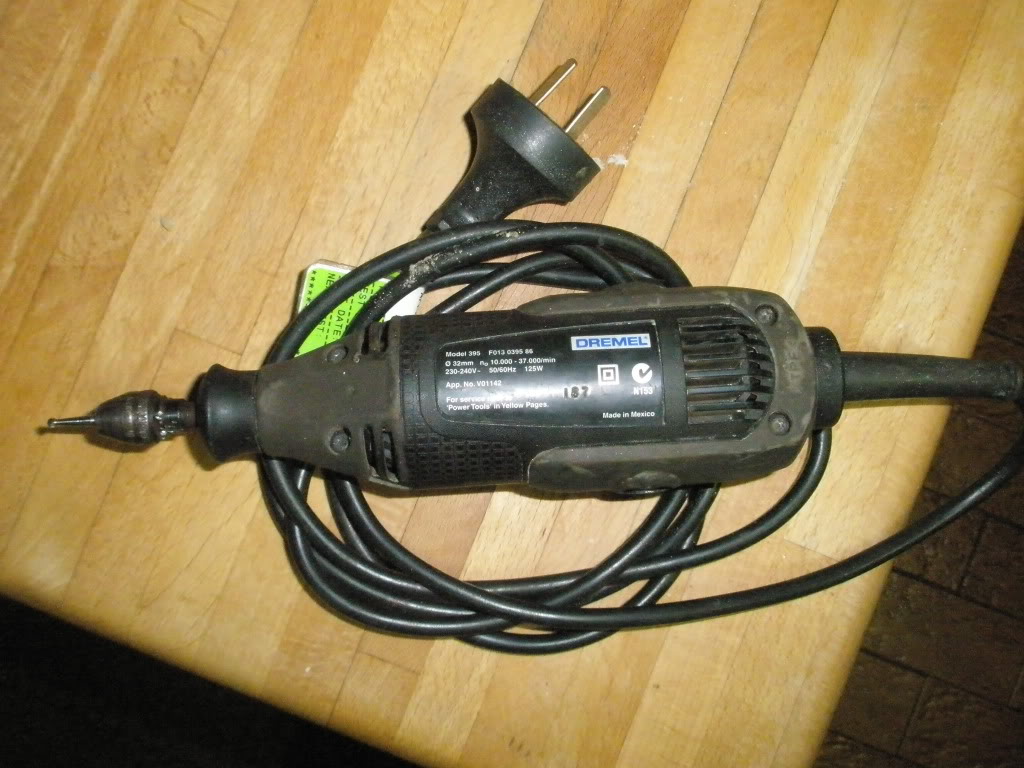
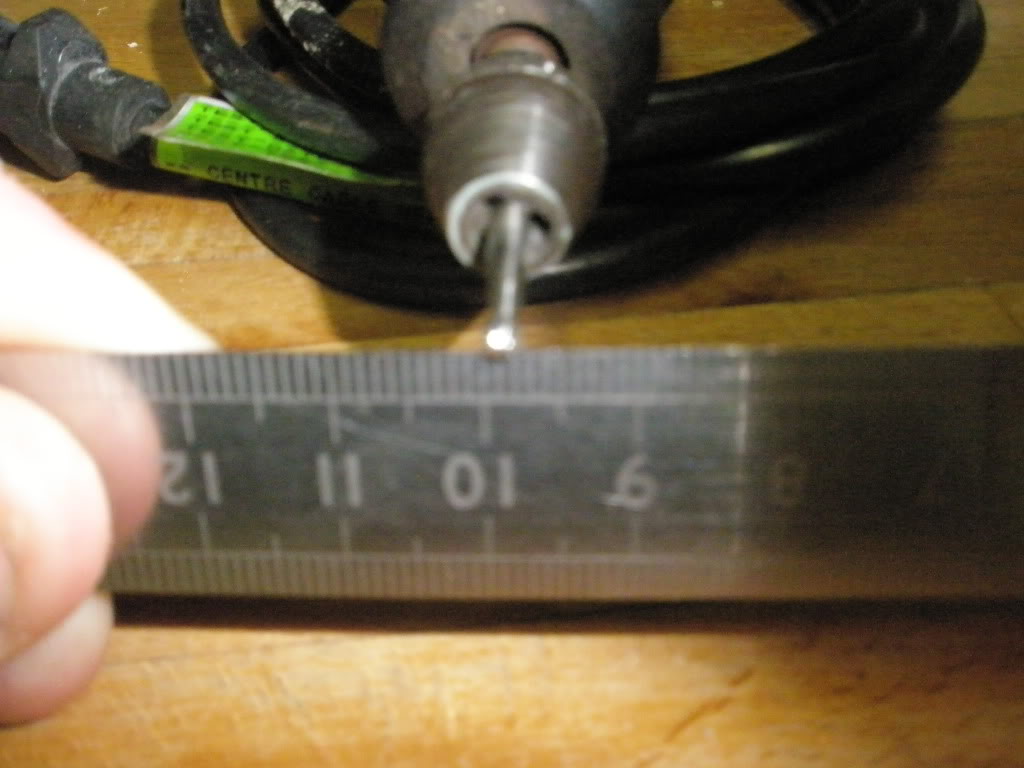
Worth it's weight in gold for this job!
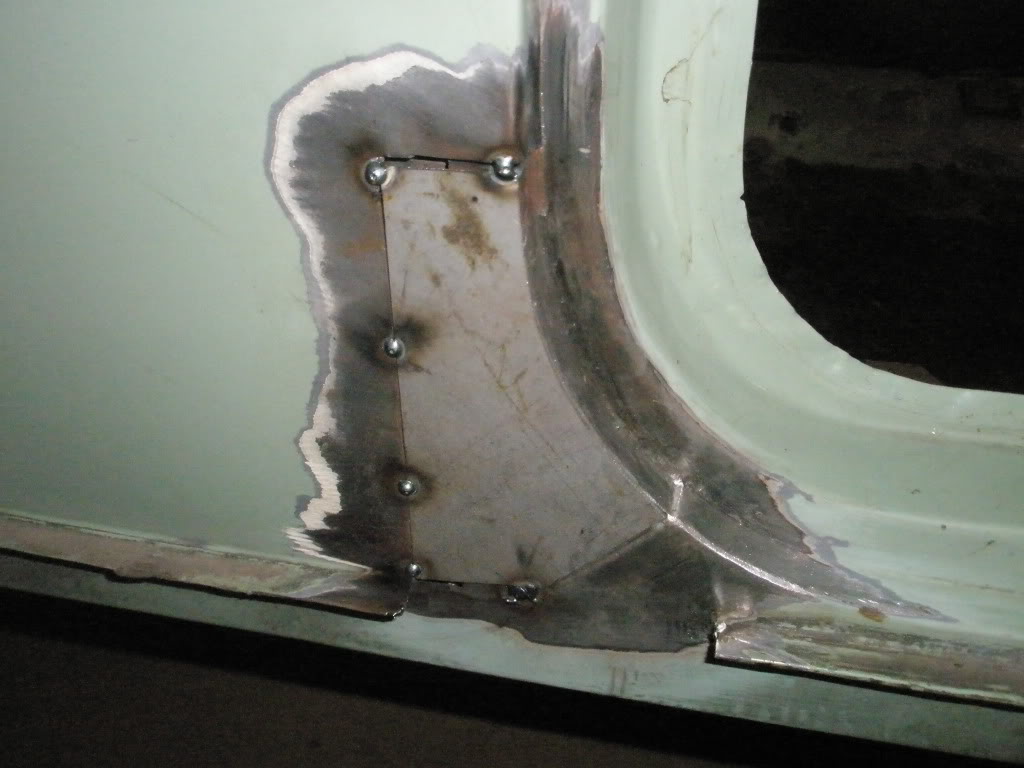
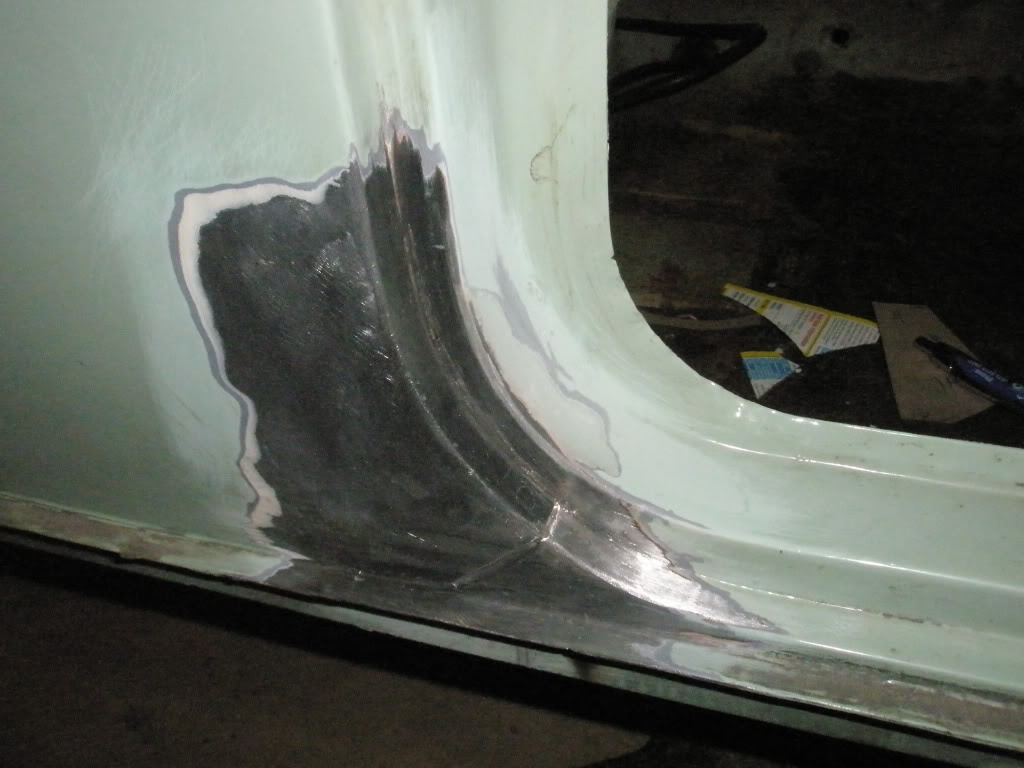
There was then the task of the outer panels. I cut the first new piece to shape, and after a little curving to match the body lines I tacked it in like so...
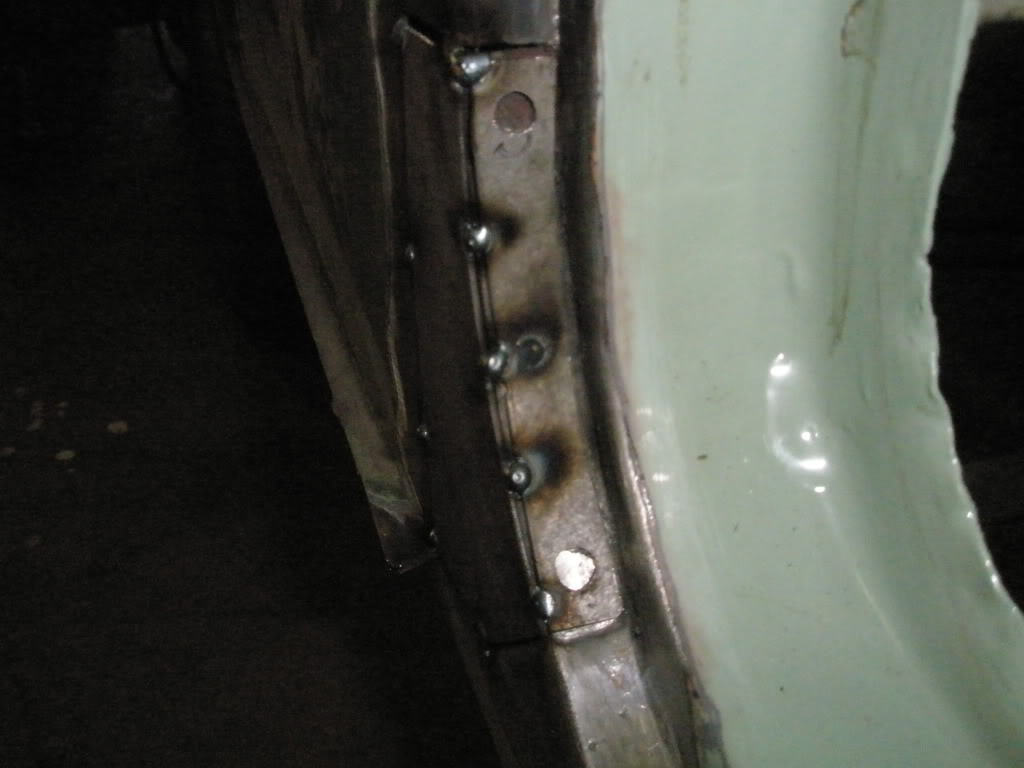
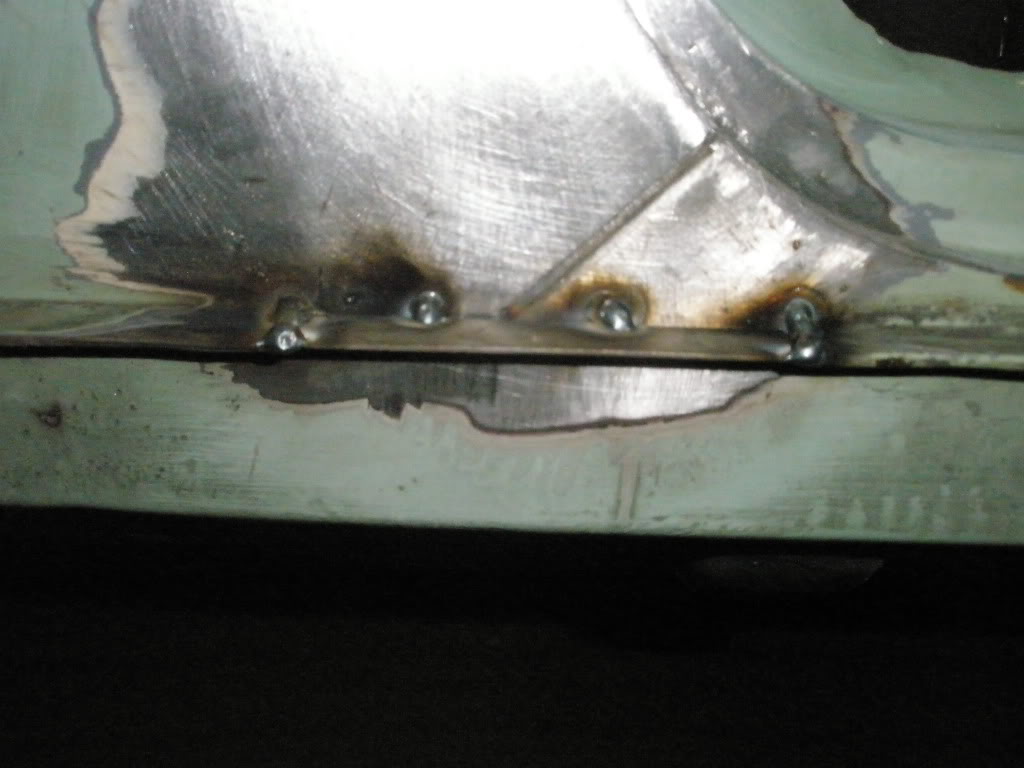
The next piece to go in was the outer door jamb section which is spot welded from factory so i made the strip up and drilled it to match the factory spot weld spacing and plug welded it, as well as welding it to the new outer panel.
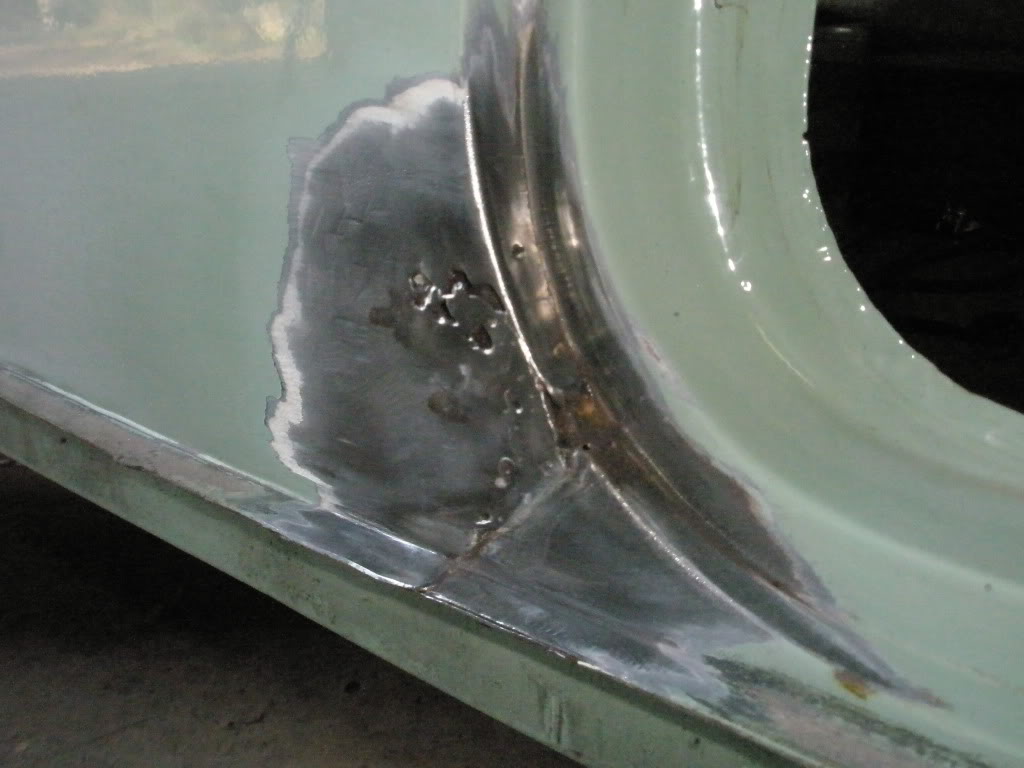
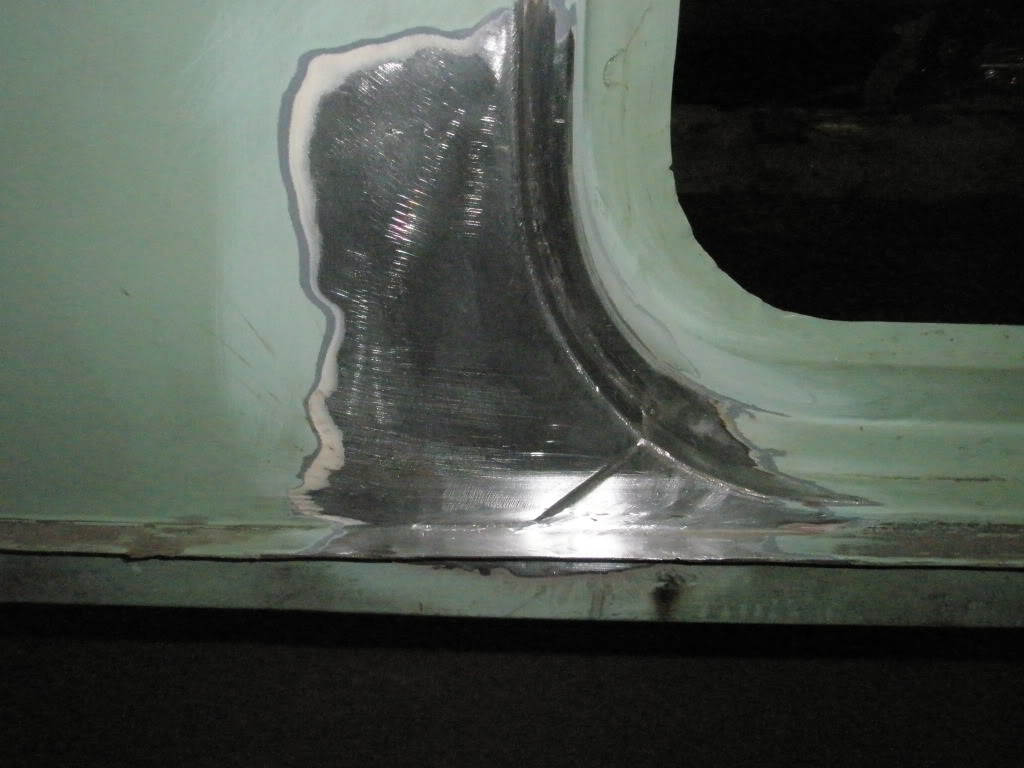
This is it all welded and cleaned up...
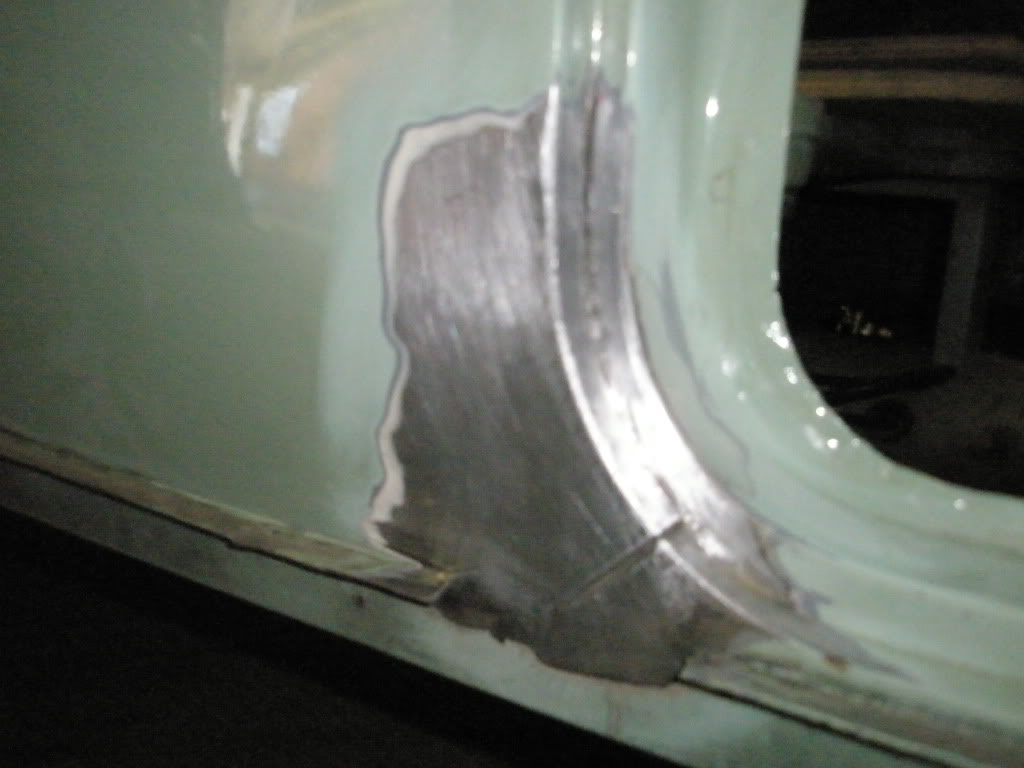
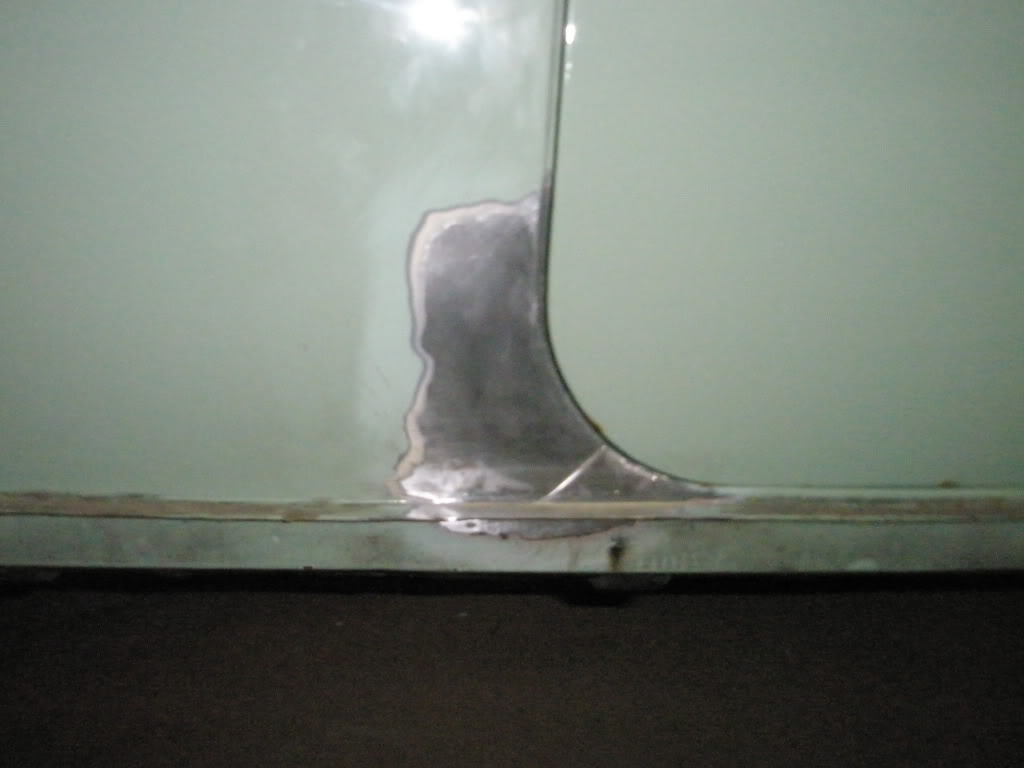
The last piece to go in was the lower seam which is where the lower sill and upper panel meet. As this is covered with a polished ally strip, and the fact that I have just welded the upper and lower panels together, I didn't see the point in sandwiching 2 pieces back in to it to invite rust to gather again. I put 1 piece in as such...
And finished...
I just need to prime it, give it a little spray filler and job done.
There may be more to do on this with seat mounts, etc, but I need to speak to the owner before I go any further.
Until next time... Thanks for reading, Cheers!
Edited by Squarepants, 03 December 2011 - 09:49 PM.