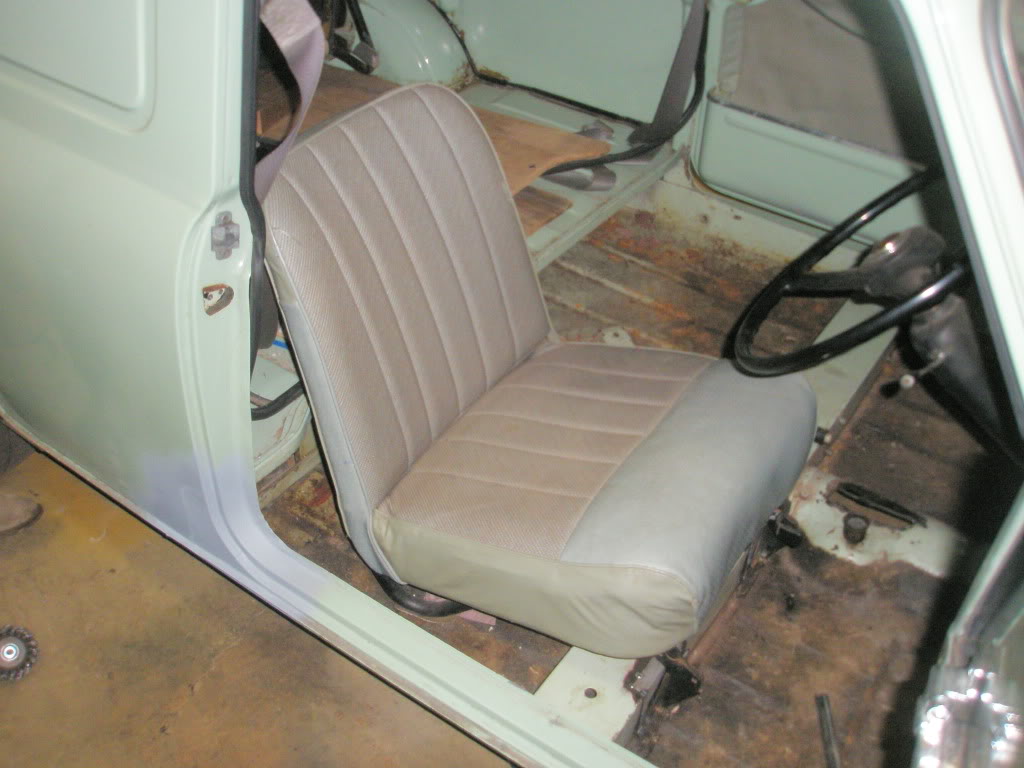
So I've got the go ahead to fix the seat mounts.
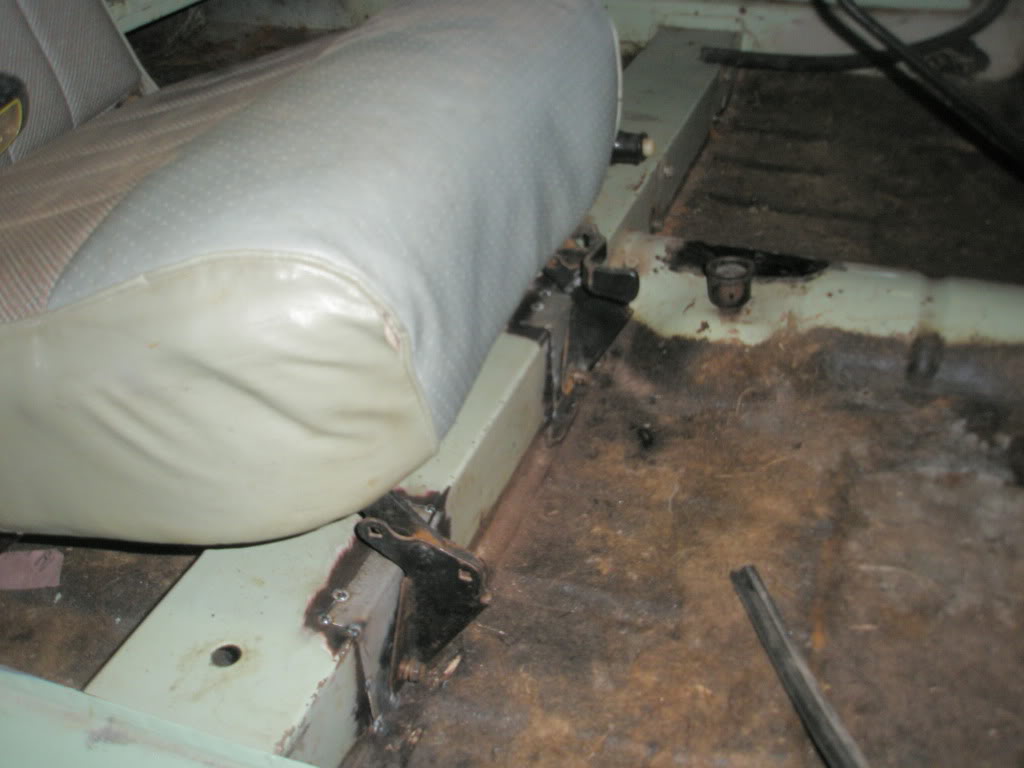
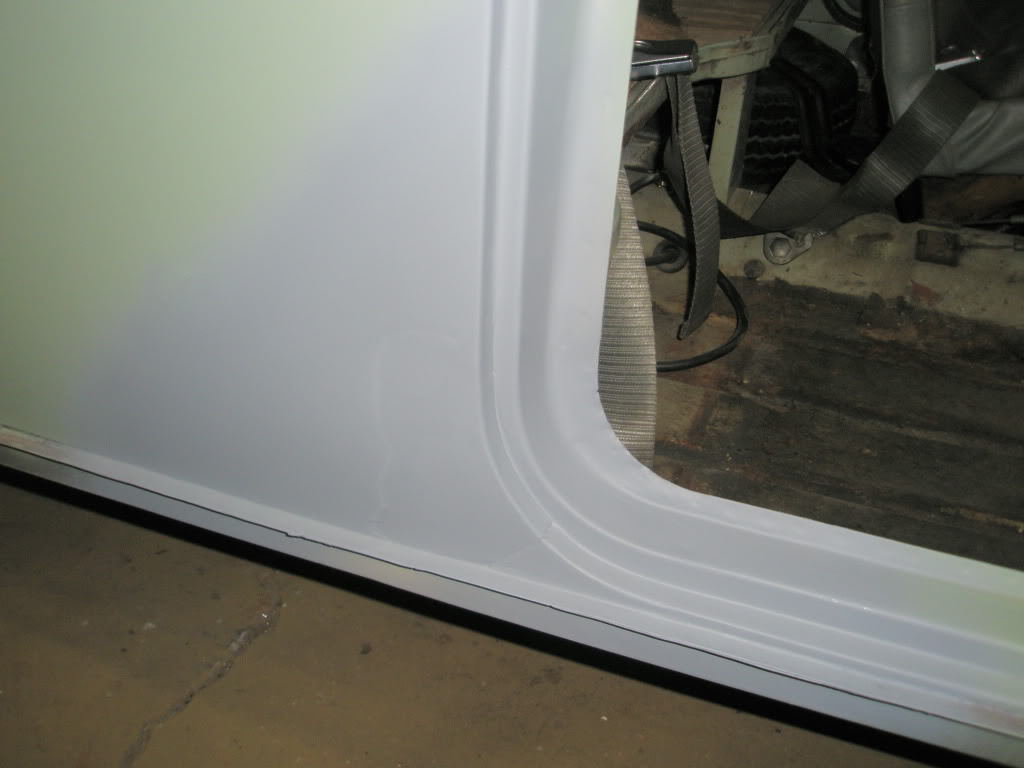
Here are the passenger side mounts that are ugly but functional...
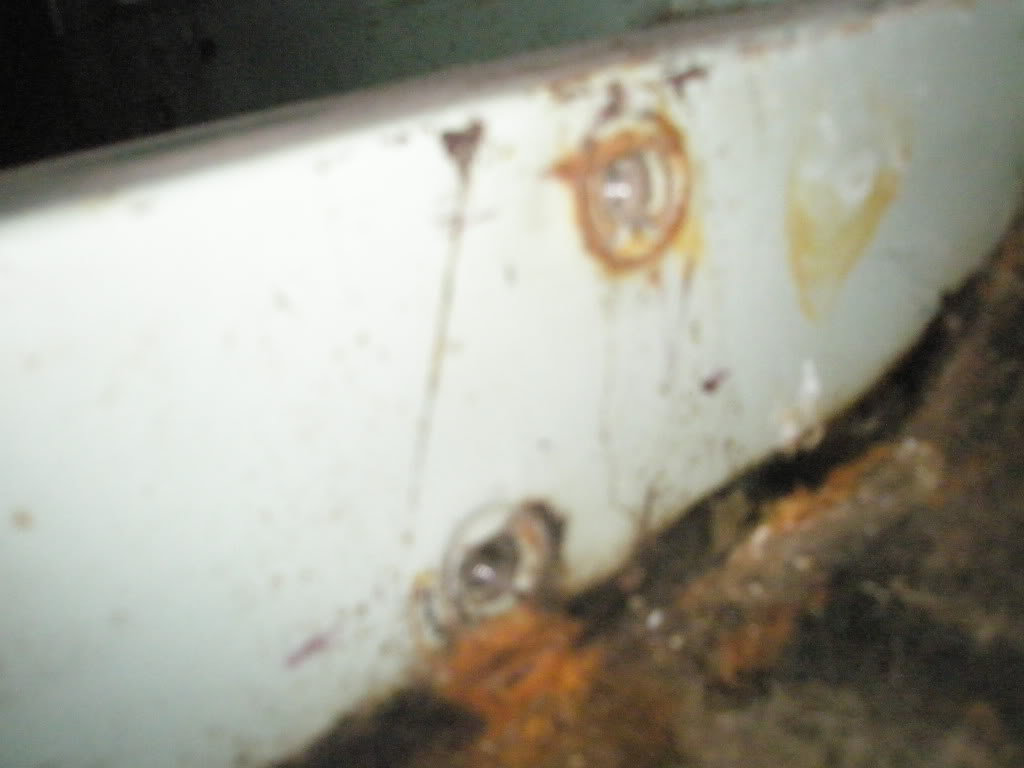
Nutserts for seat mounts... Hmmmm.
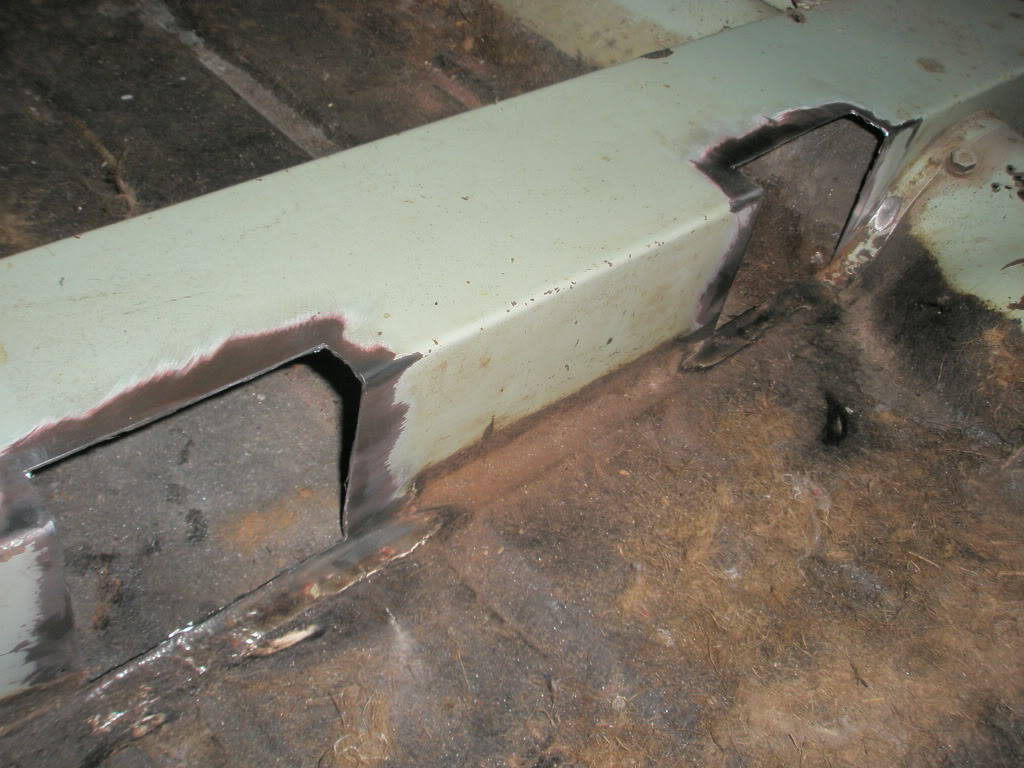
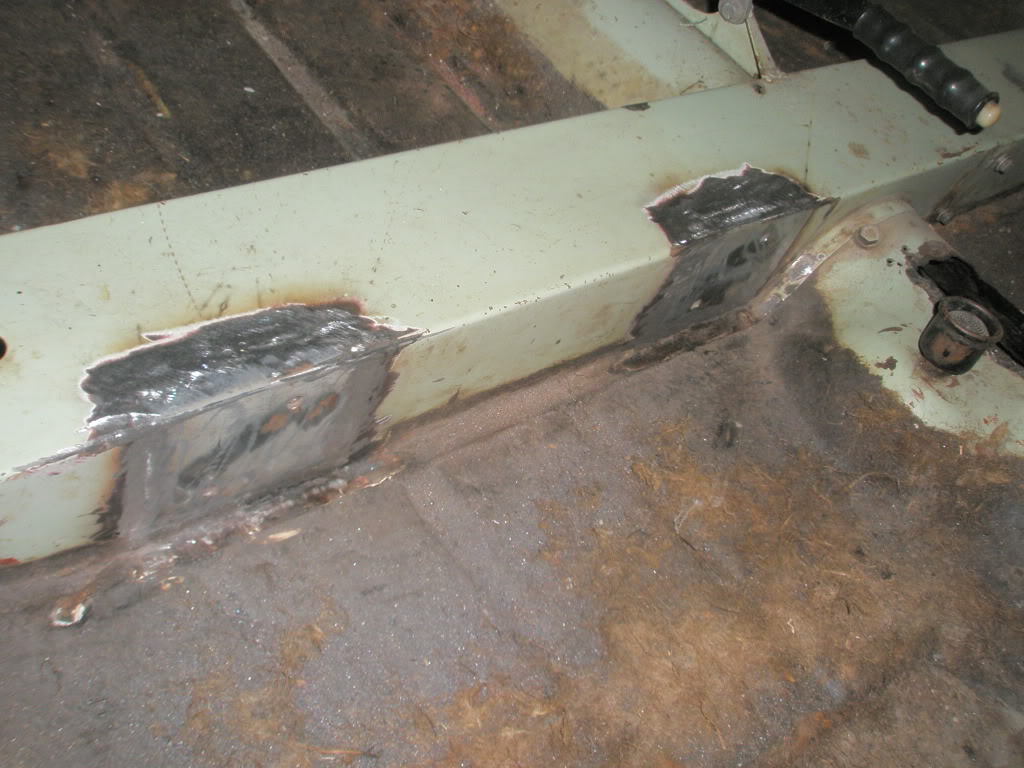
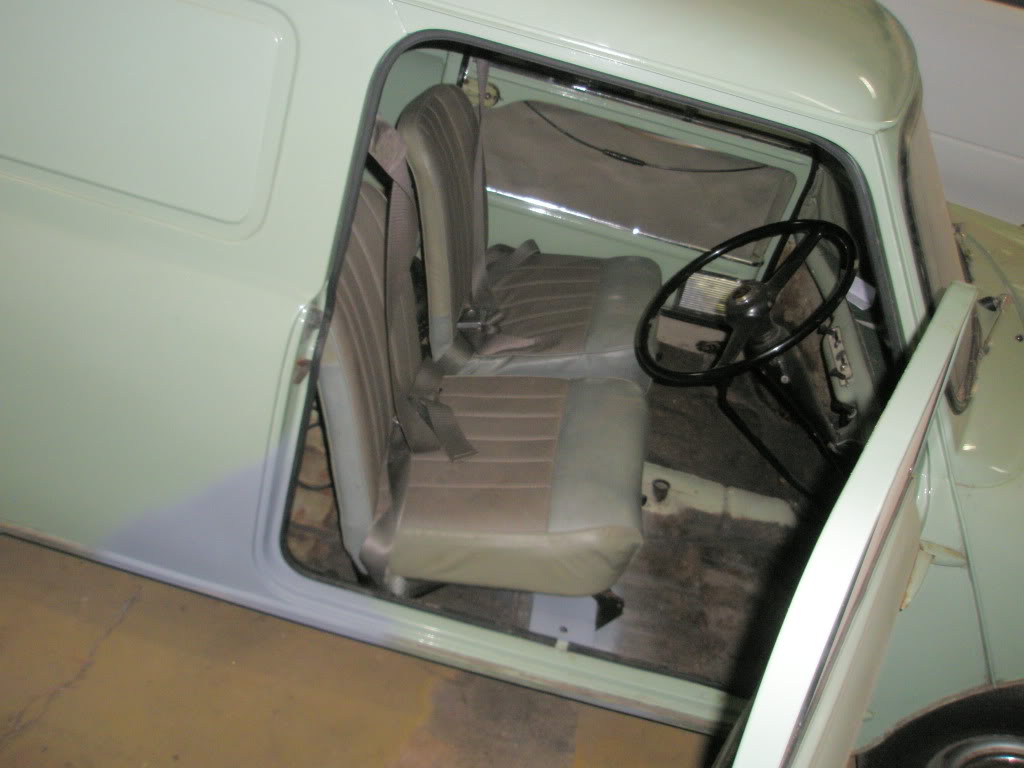
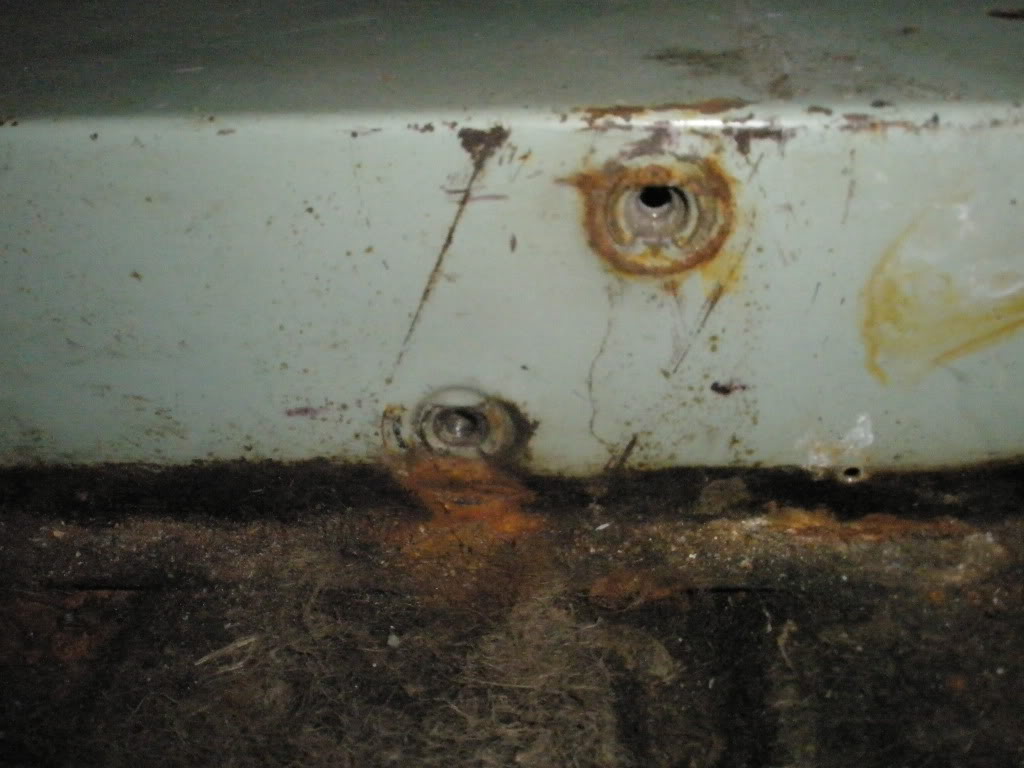
Here are the drivers side mounts...
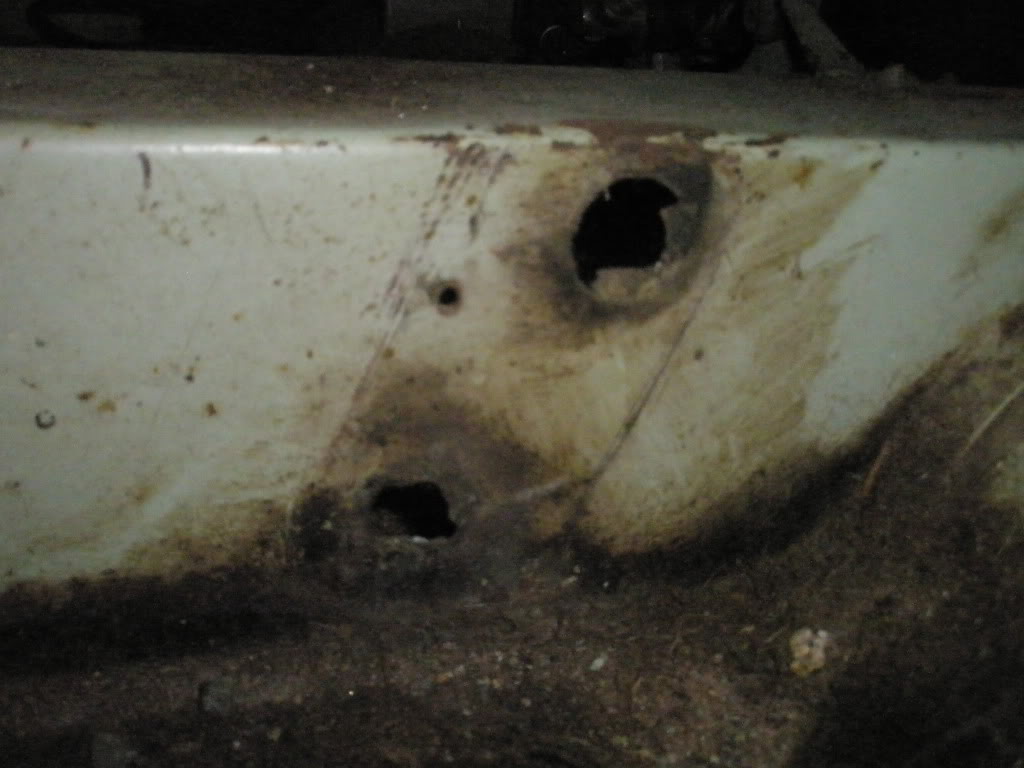
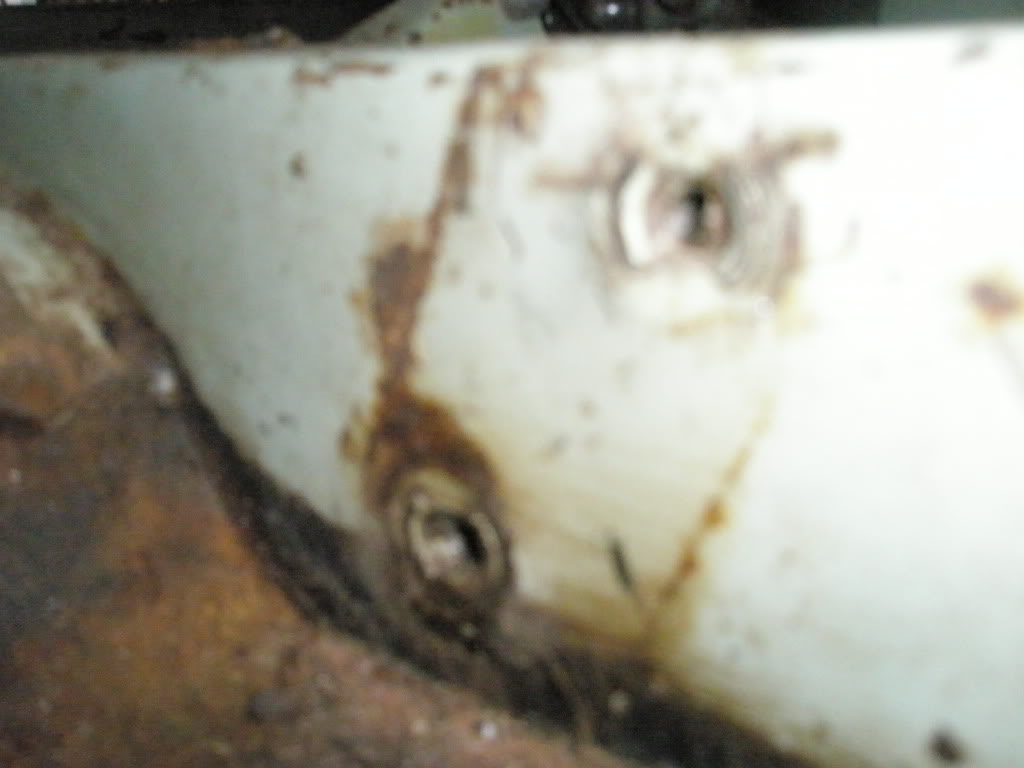
As you may or may not be able to see in the dodgy pics, the nutserts have busted out of the x member, leaving gaping holes.
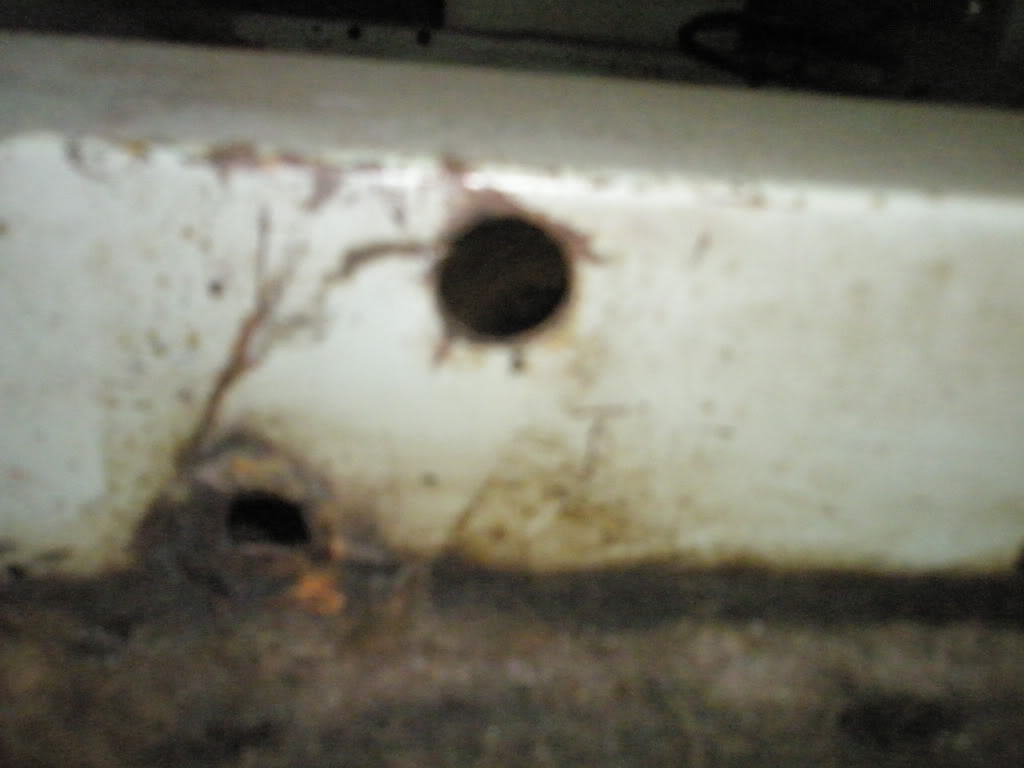
Back of the x member...
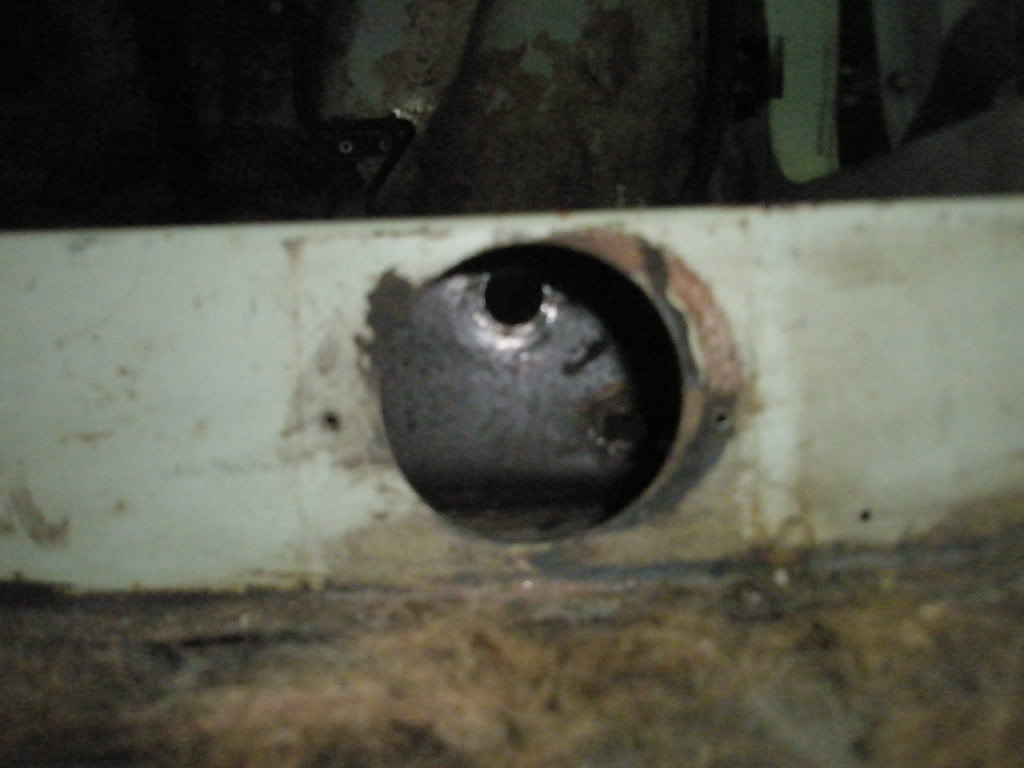
Hole is to allow access to fit the next generation of seat mount engineering brilliance...

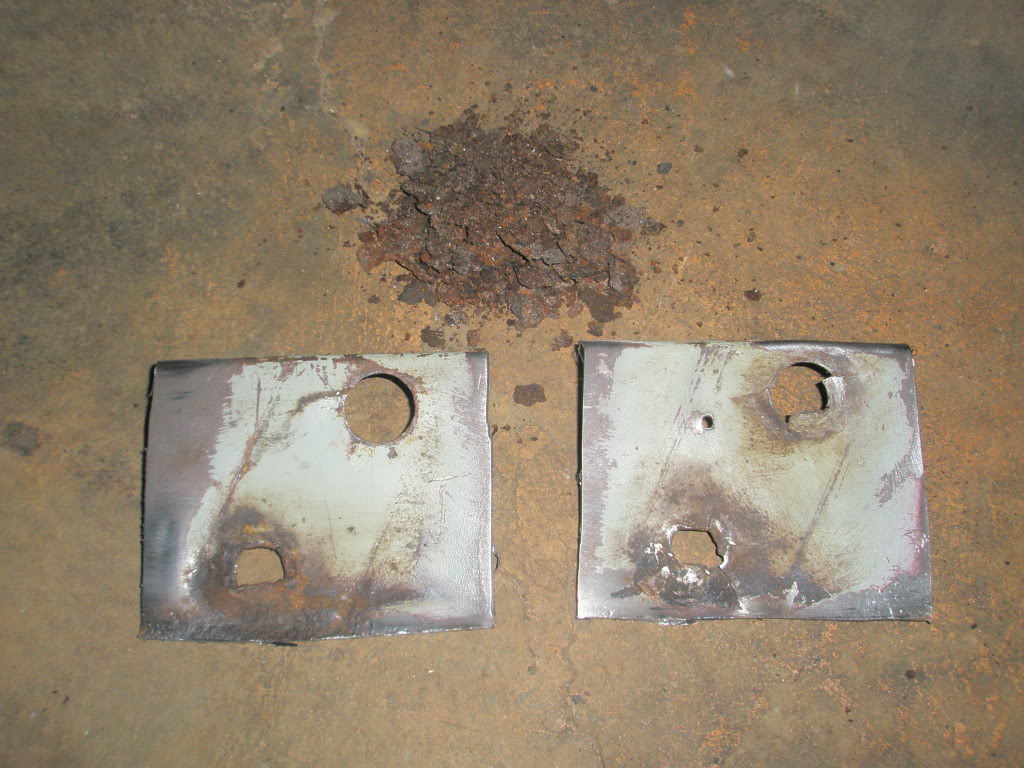
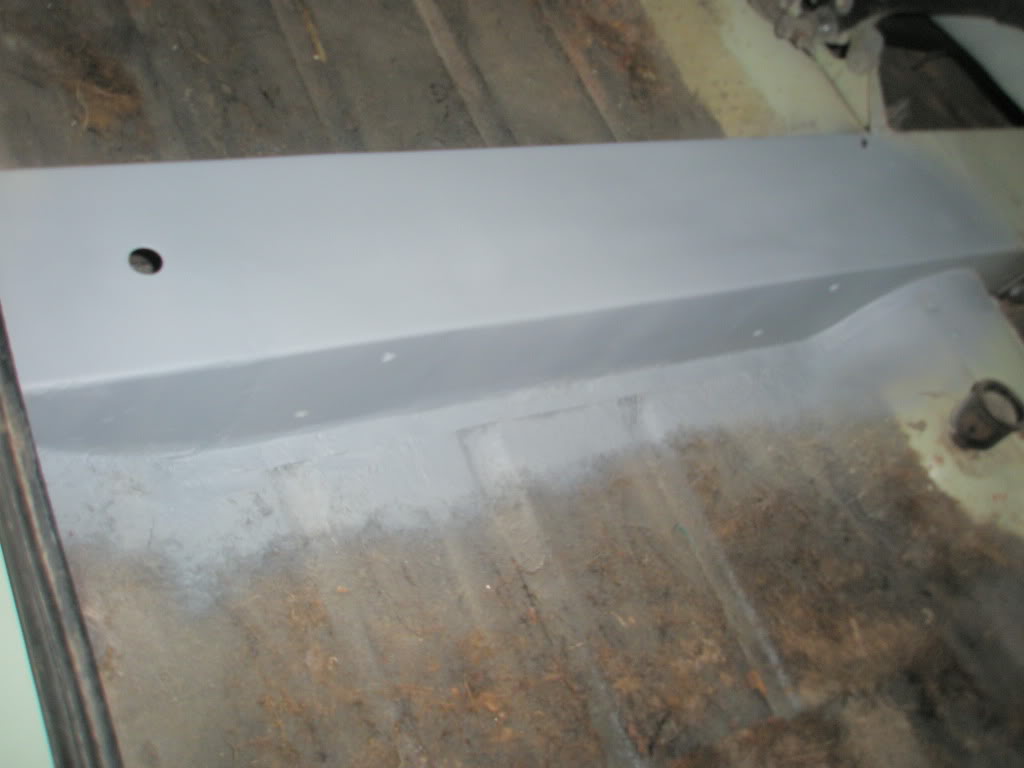
Anyhoo, I have started making new mounts.
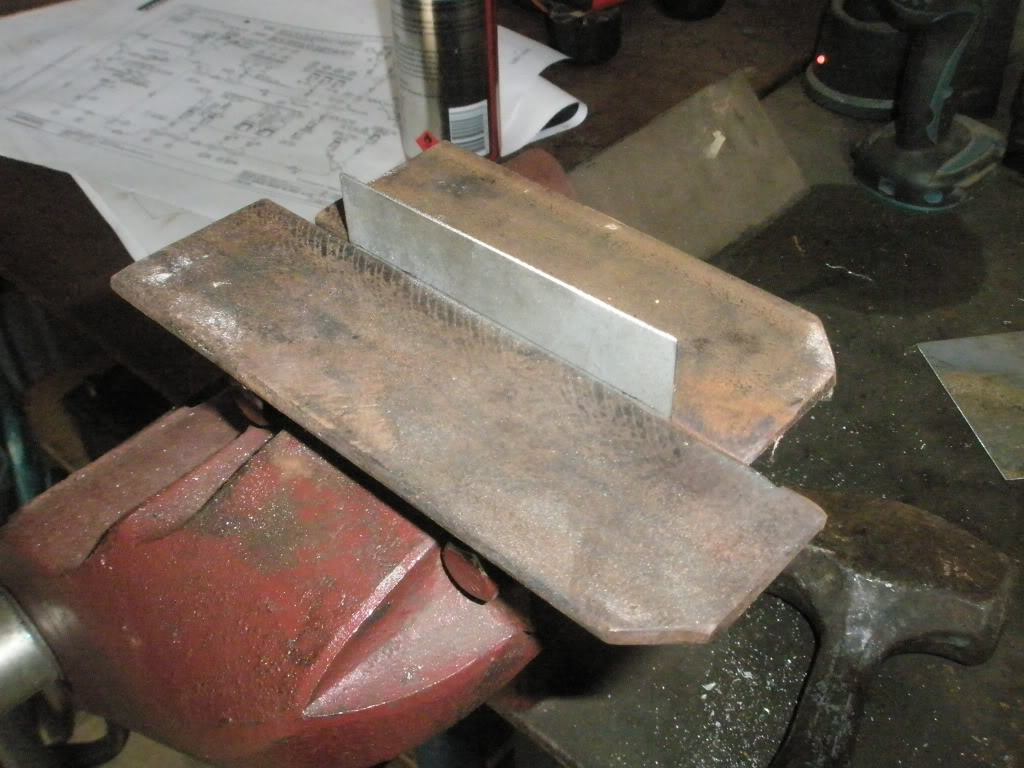
After measuring the good side up, I have established where the hole centres should be on the dodgy side and made some plates up. I have decided to fold them at the top and cut into the top side of the x member just to add an extra dimension to the welded area and increase the surface area of the repair in hope of making it stronger. As I don't have any fancy folding gear I used the trusty bench vice and a couple bits of scrap angle iron.
By gently tapping the protruding edge evenly all the way along, backwards and forwards repeatedly, the fold ends up looking like this...
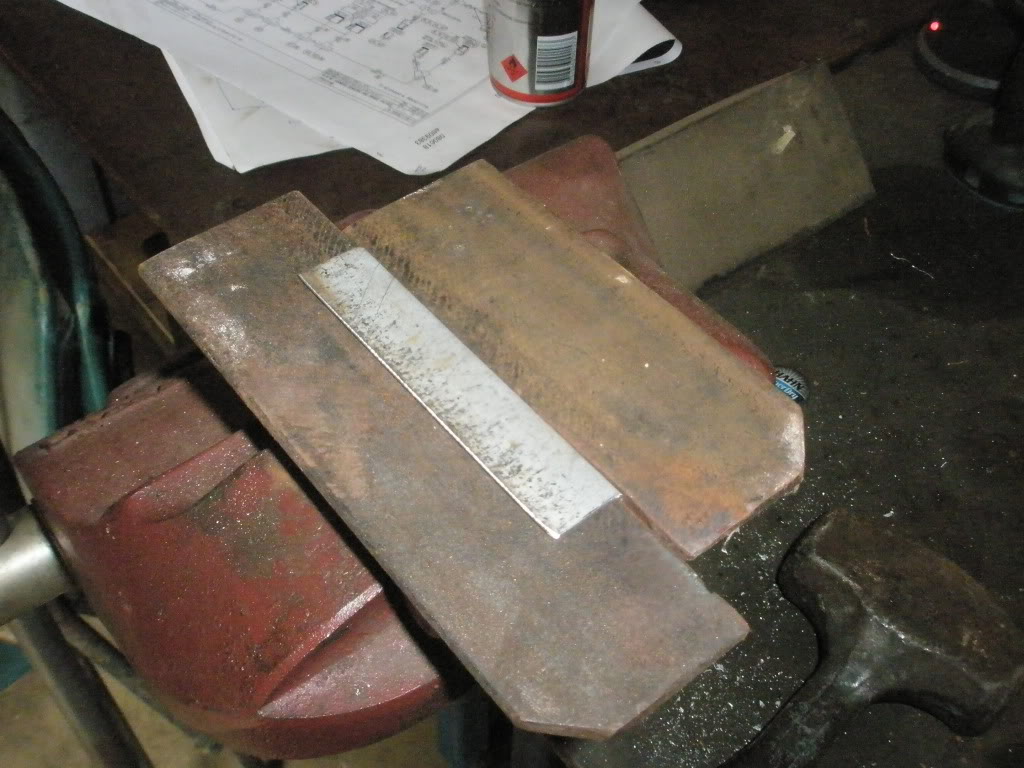
Sorry to those that can do this shit but I'm putting this stuff in for those that have never done any metal work and want to start trying. Back yard metal work 101!
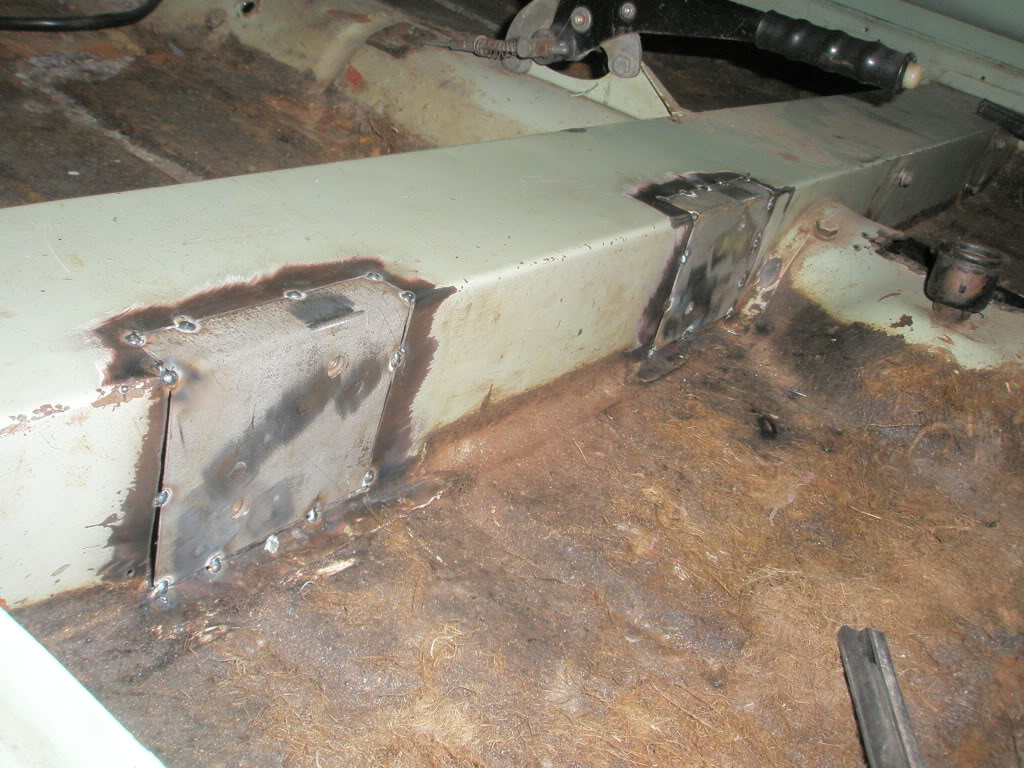
Anyhoo, I wanted to spread the load out a bit so I tacked in some large panel washers between the new piece and the captive nuts...
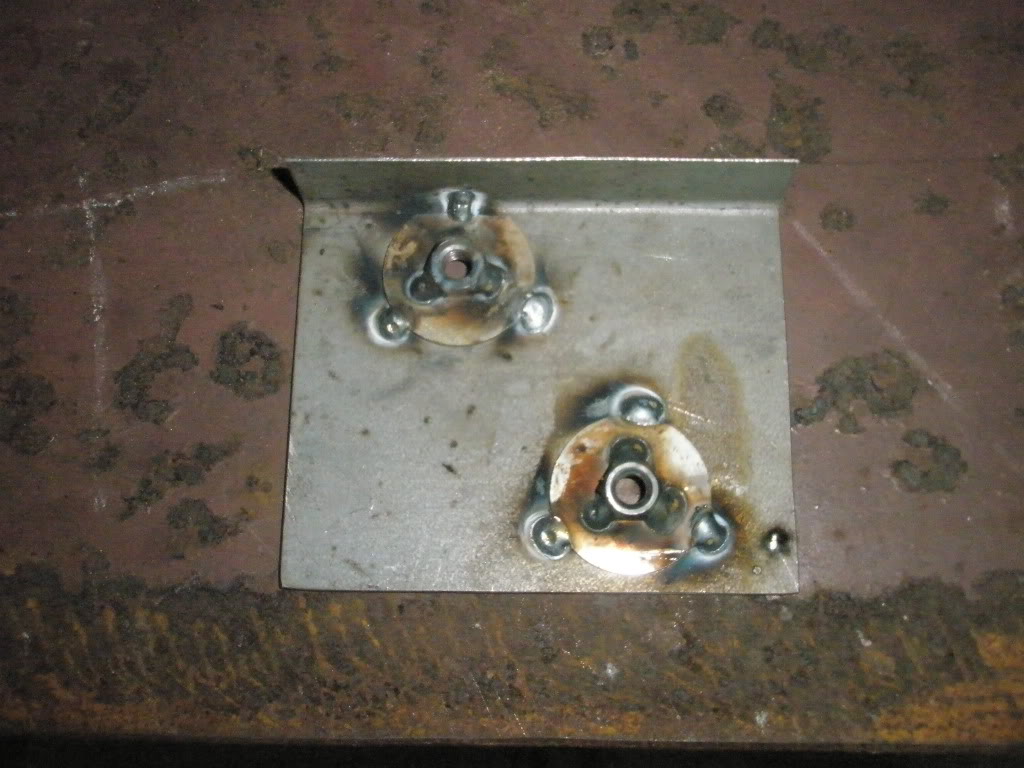
Next step is to mark out the x member where the new pieces will sit, cut it out and weld in the new bits.
More pics with the next chapter of progress.
Cheers all!


 View Garage