Tips on fitting Roof Lining
#1
Posted 02 November 2011 - 08:36 PM
Ive had a look on there website which gives a basic run down:
http://cgautoupholstery.com/cart/index.php?main_page=page&id=8
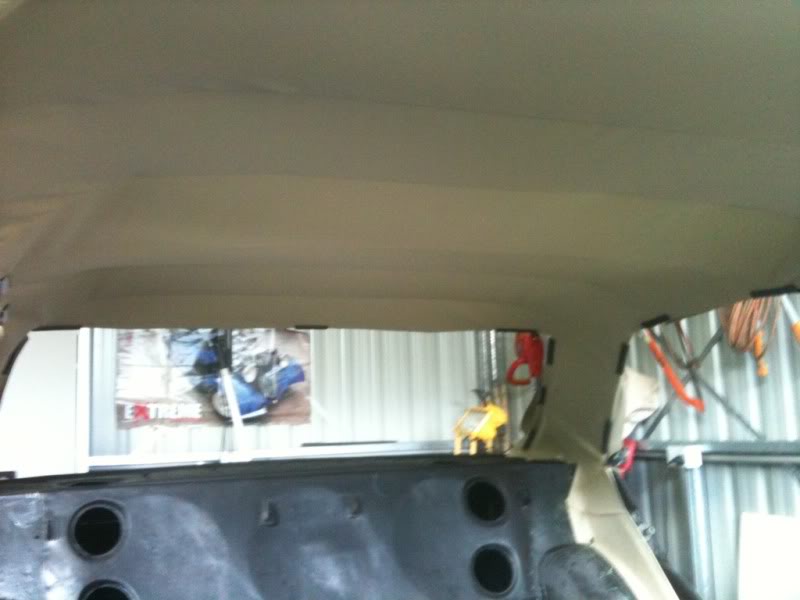
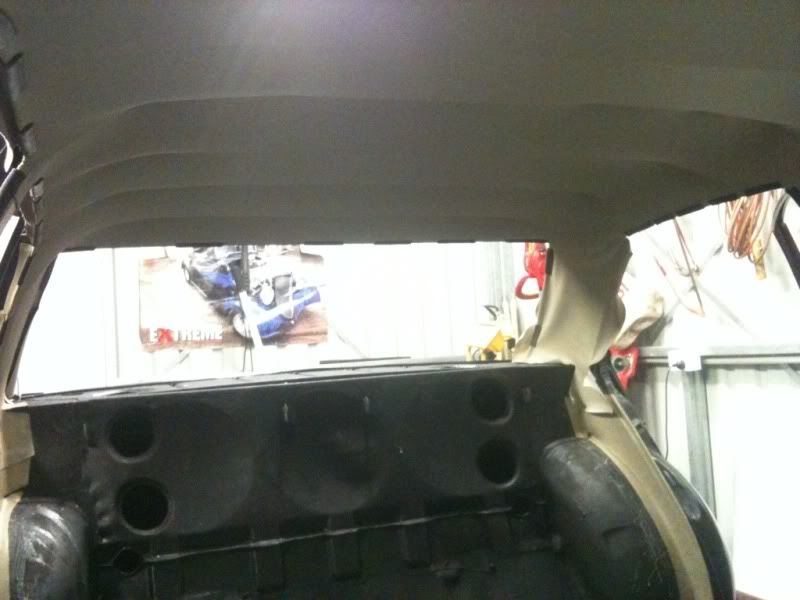
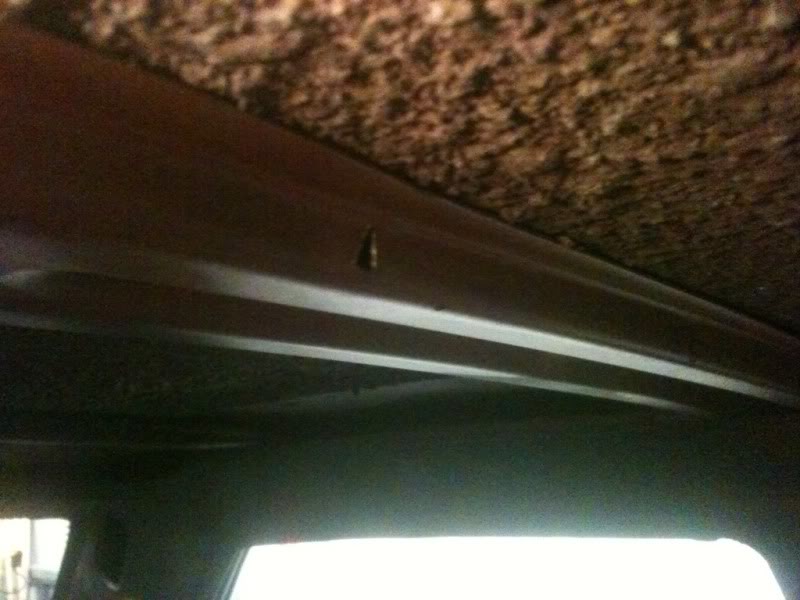
One big concern I have is about the 2 wires. There are hooks in the beams running across the roof which the wires are held up by. The rear beam has all the hooks in tact. The front beam however.... out of the 6 hooks total, 3 have been broken off....
From right to left it goes. hook-missin-hook-interior light-missing-missing-hook.....
Im not sure what to do here.... I was thinking drilling another hole next to the existing one where the hook is missing and feeding a small cable tie through? Or even just some lockwire?
Ive been told to fit the wires first up???
Ive bought 2m of pinch weld which Ill cut up into bits to keep the edges in place when Im fitting.
Any hints,tips or suggestions would be appreciated.
From the GMH Manual:
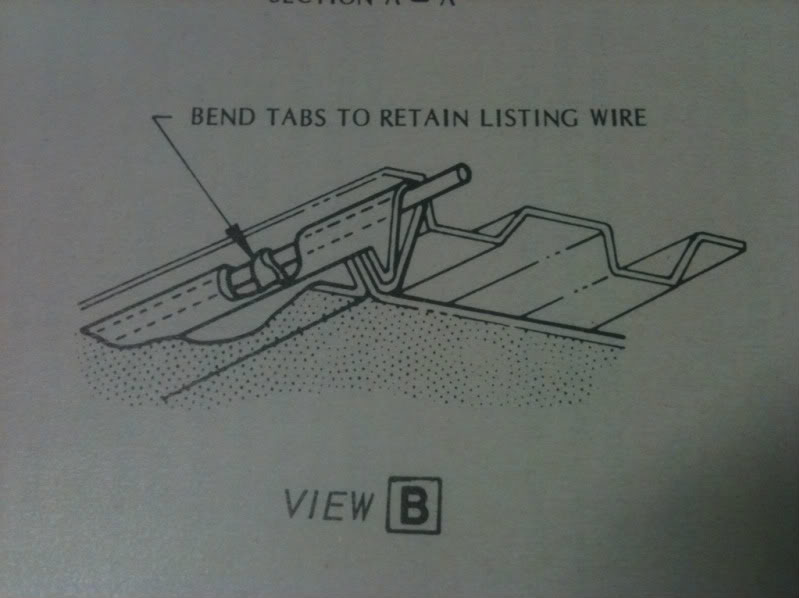
Intact tab
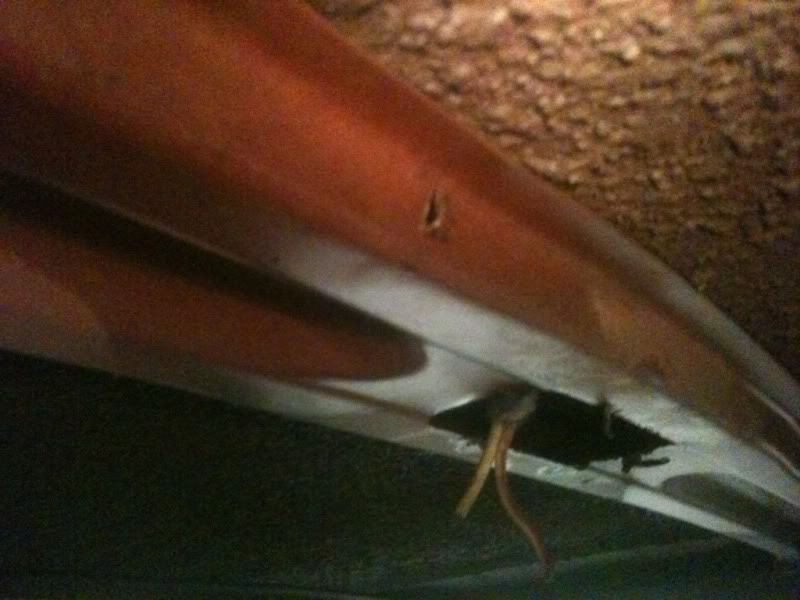
Missing tab
#2
Posted 02 November 2011 - 09:10 PM
#3
Posted 03 November 2011 - 04:23 PM
#4 _HER 76_
Posted 03 November 2011 - 04:36 PM
The headlining in question was for a XM Ford Falcon, so maybe that's why I had trouble.
#5
Posted 08 November 2011 - 03:10 PM
#6 _BIGCAV_
Posted 08 November 2011 - 03:54 PM
#7 _hatch76_
Posted 08 November 2011 - 08:11 PM
Cheers
#8 _mick74lh_
Posted 08 November 2011 - 10:29 PM
- Yeah sorry Daniel I missed that you mentioned using the old pinch weld. But it works well eh
Edited by mick74lh, 08 November 2011 - 10:30 PM.
#9
Posted 09 November 2011 - 06:12 AM
Im about to give it a go on mine as soon as I get it back from the painters.
#10
Posted 09 November 2011 - 02:01 PM
#11 _Brad1979UC_
Posted 09 November 2011 - 10:56 PM
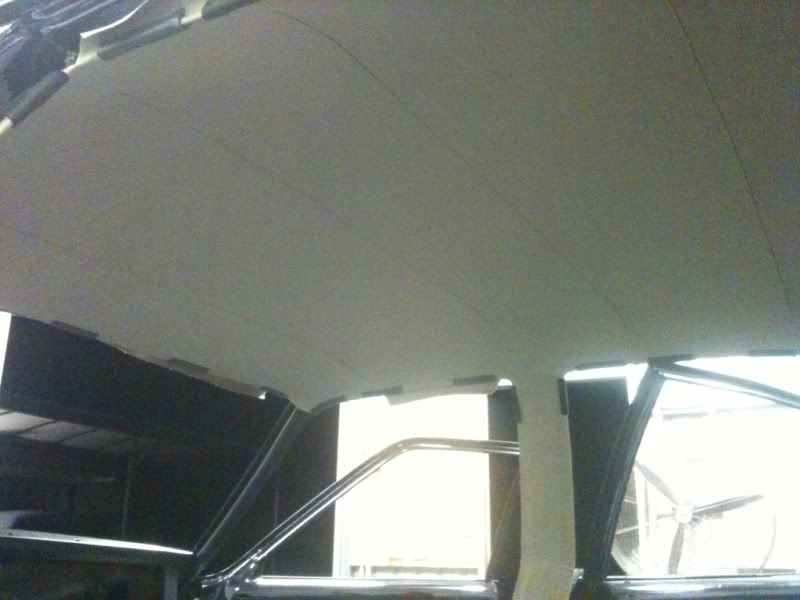
It's easy enough to fit though, but make sure you use all of the hooks in the roof....otherwise it may not look right in the part you didn't use a hook.
When we did mine a hook broke off and I really didn't think much of it, and it's just a little inconsistent in that spot, otherwise it was an ebay buy that looks great . Good luck!
#12 _UCV80_
Posted 10 November 2011 - 06:39 AM
#13
Posted 12 November 2011 - 09:50 PM
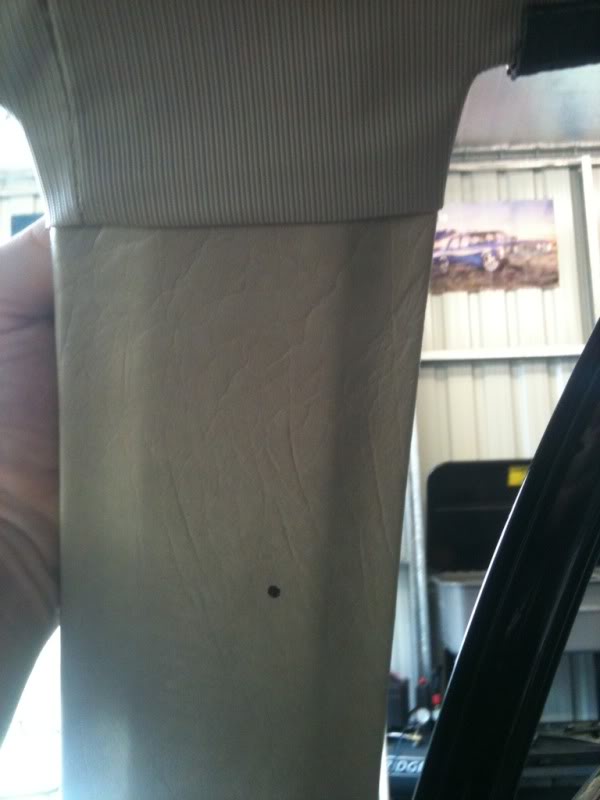
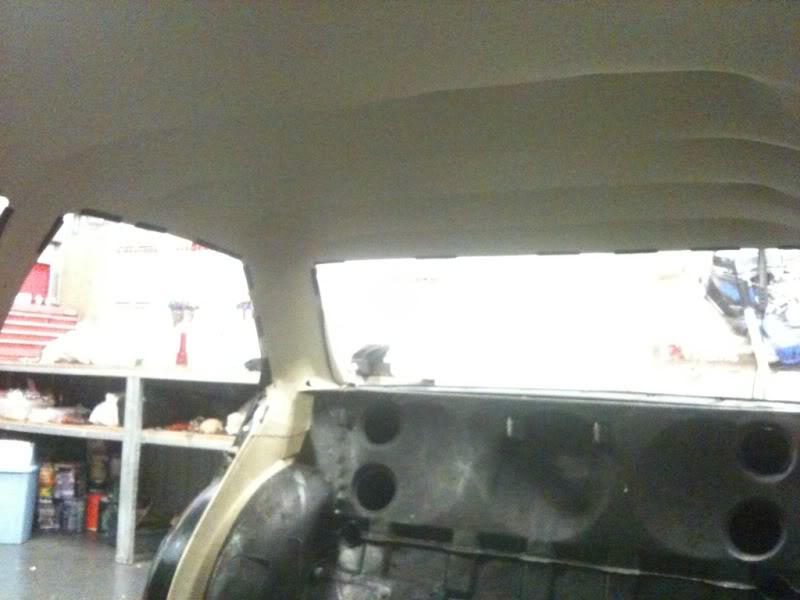
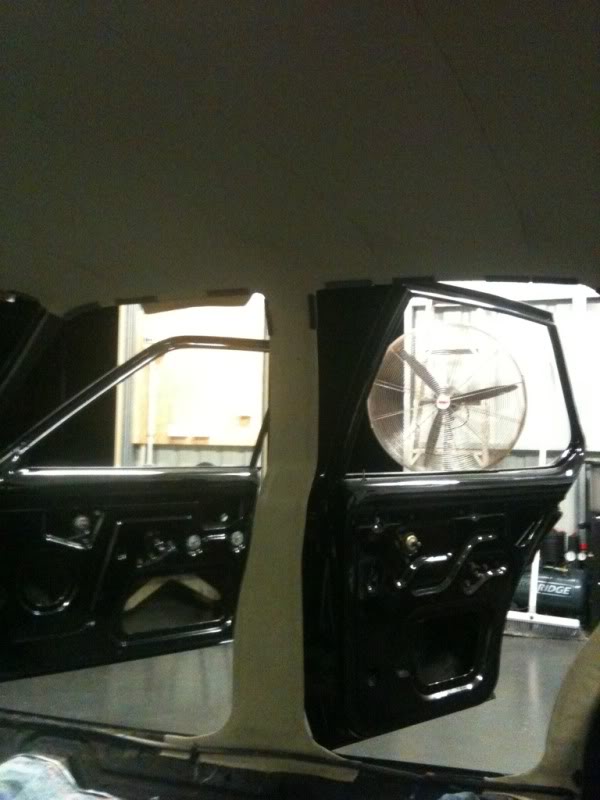
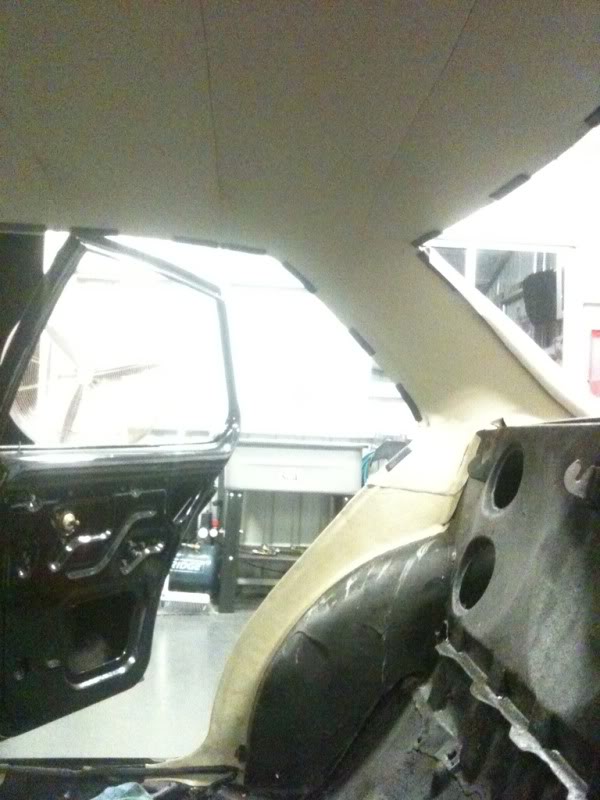
Can I ask a BIG FAVOR..... Can someone please take a pic of the B pillar where the roof lining meets the pillar? Im not sure how high or low this part of the lining should be....
Edited by hanra, 12 November 2011 - 09:52 PM.
#14
Posted 13 November 2011 - 01:49 PM
#15
Posted 13 November 2011 - 02:57 PM
#16
Posted 13 November 2011 - 03:00 PM
#17
Posted 13 November 2011 - 04:35 PM
#18
Posted 15 November 2011 - 09:55 PM
#19
Posted 16 November 2011 - 10:30 AM
#20
Posted 16 November 2011 - 10:39 AM
#21
Posted 16 November 2011 - 12:50 PM
What adhesive will / did you use? Is a Kwik Grip type of glue ok to use when gluing the edges?
The pinch weld looks like its the goods to use as well!
#22
Posted 16 November 2011 - 12:57 PM
#23 _LH8VD69_
Posted 16 November 2011 - 01:43 PM
I guess most people get upholsterers to fit there roof linings?
I paid a upholsterer to do mine. He stripped out the old roof lining/ all old pillar velour that was glued on including the old velour door tops then fitted all the factory stuff including the vynal on the 'a' ? pillar at the front. All done in 24 hrs at a cost of $300. Money well spent I think ;-)
#24
Posted 16 November 2011 - 08:47 PM
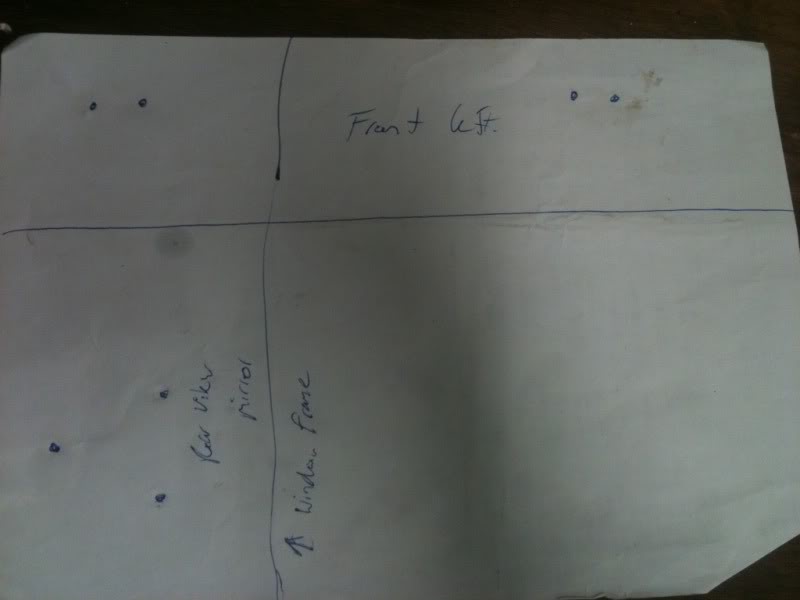
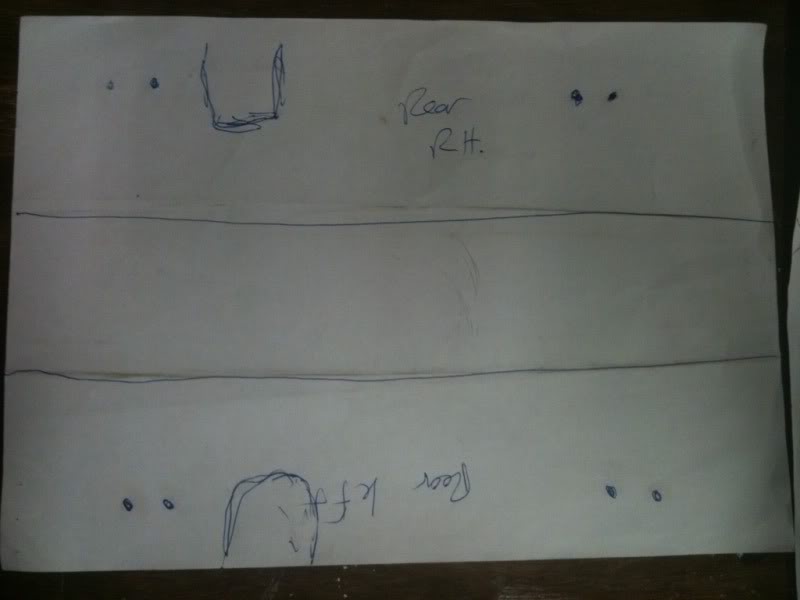
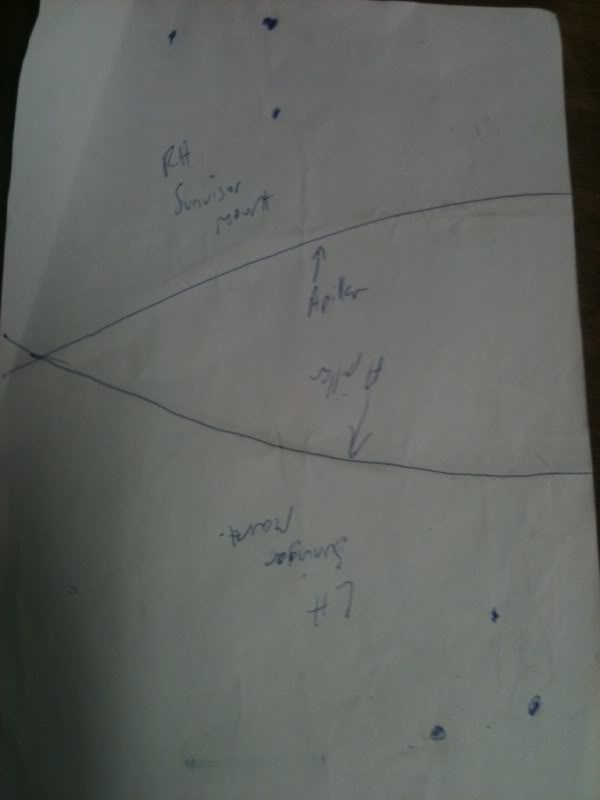
One small thing I did prior to fitting the headlining was to take a few bits of paper and mark out the positions of all the holes for the grab handles, sunvisor mounts and rear view mirror. Hopefully will save me having to poke around endlessly searching for a hole...?
#25 _dunger_
Posted 17 November 2011 - 07:19 PM
the trim code is 1916-65v (sienna)?
1 user(s) are reading this topic
0 members, 1 guests, 0 anonymous users