Welch plug behind the cam is in oil, right?
LC S Coupe Rebuild
#176
 _judgelj_
Posted 06 November 2013 - 09:39 PM
#177

Posted 07 November 2013 - 06:28 AM
Welch plug behind the cam is in oil, right?
That's correct
#178
 _judgelj_
Posted 10 November 2013 - 09:08 PM
OK, so i always day dreamed about the days i would actually make progress, and im glad its all happening. It is stressful, but i reckon next time i do this (hopefully never), will be much easier. Now one thing ive learnt, is to lower expectations when it comes to things fitting, so here i go.
Finally guilted myself into changing the welch plugs. Lucky i did as they were pretty badly corroded inside. Replaced with brass that i thought i would polish.
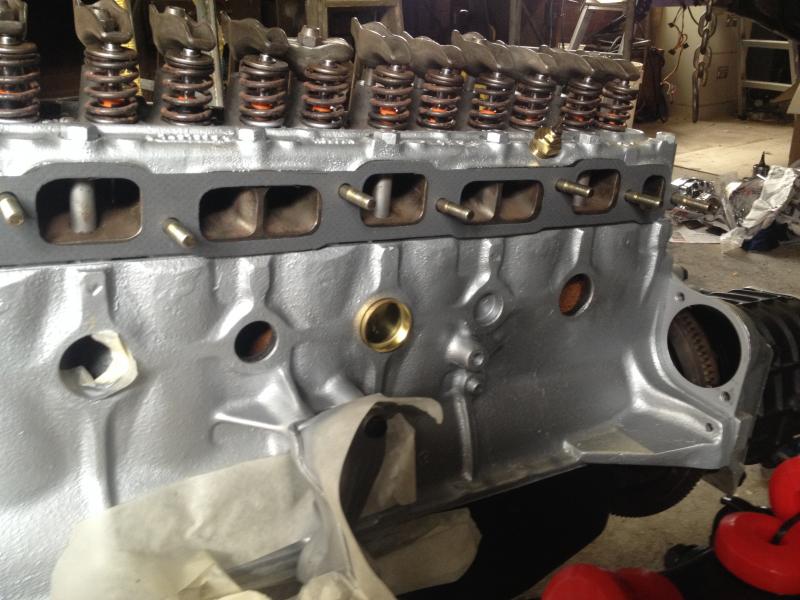
And voila!
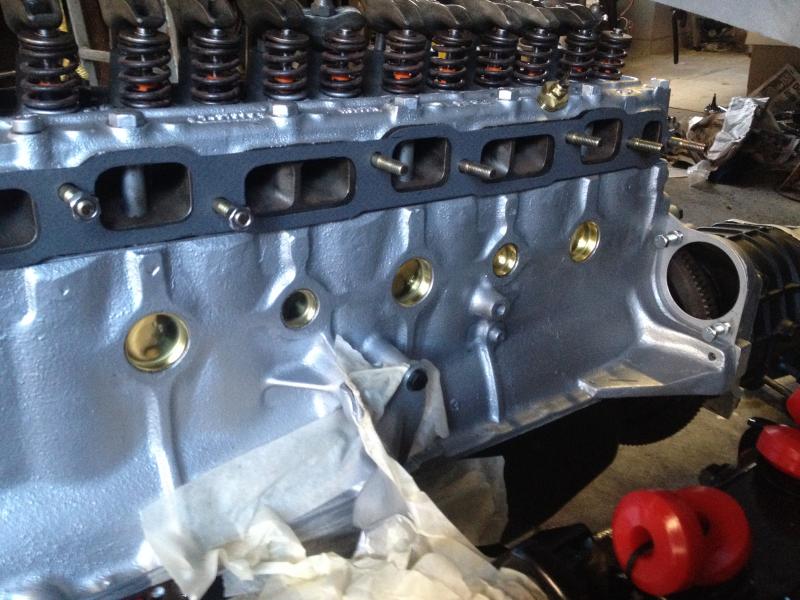
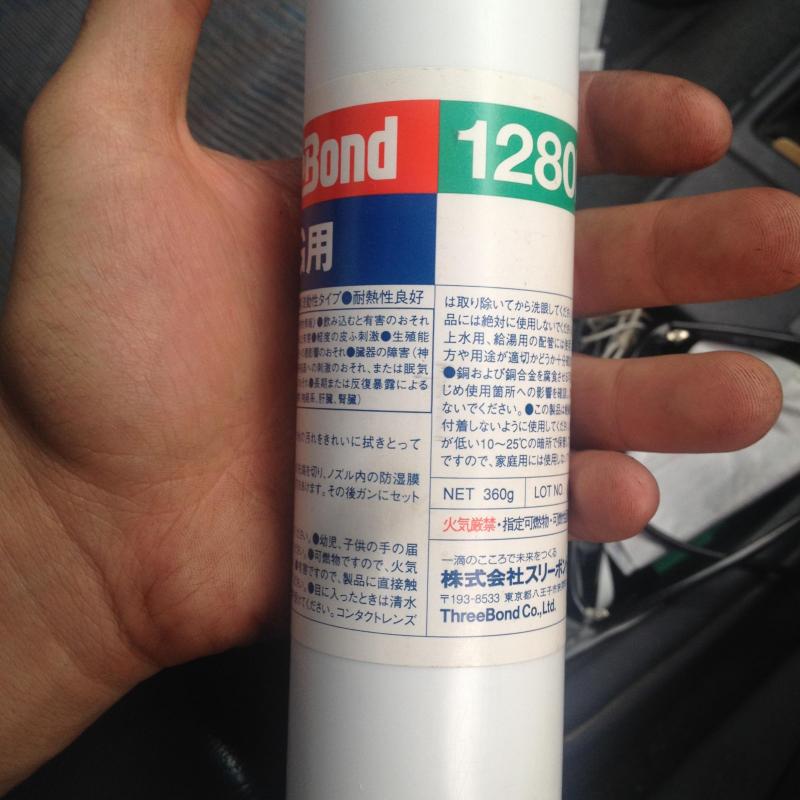
Used some of my special 3bond cant get in shops and bolted on pretty much everything.
Dont ask about the oil spill. Lent out my lifting blocks so used a ratchet strap and when i let it down the weight was at the front of the engine, not the back (go figure).
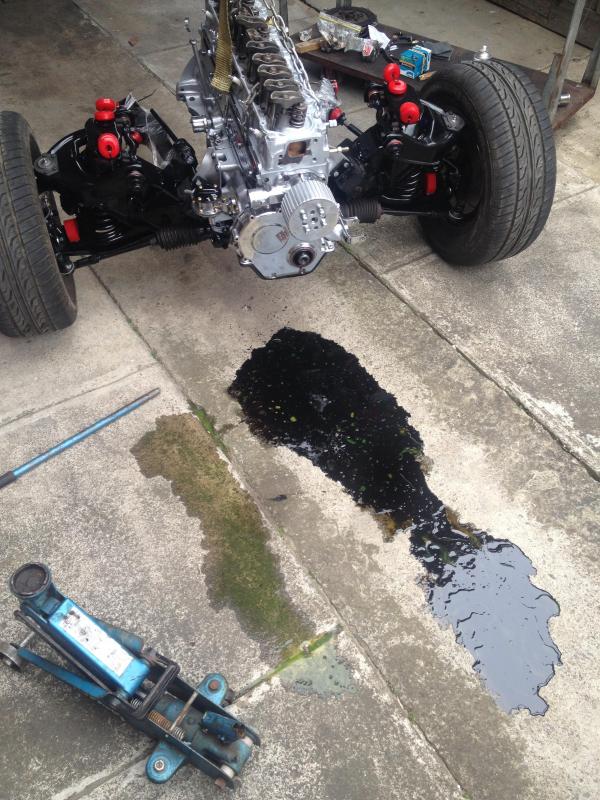
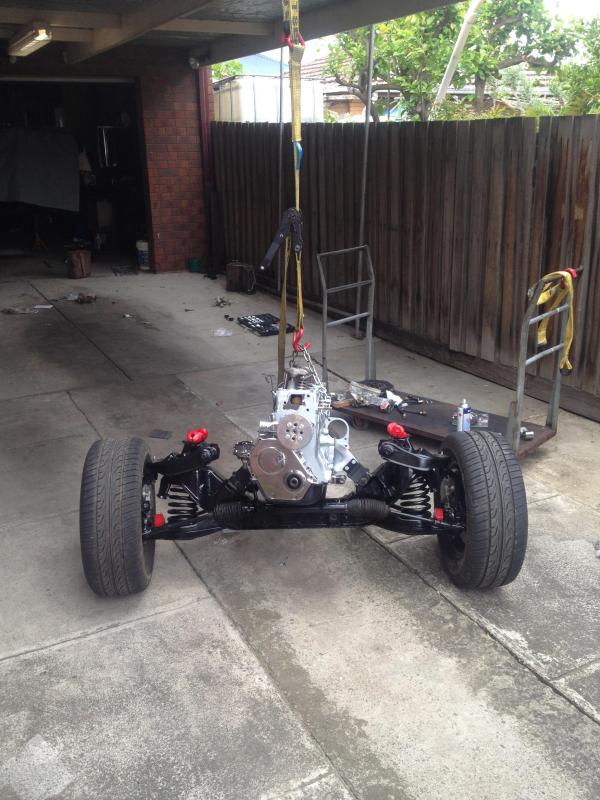
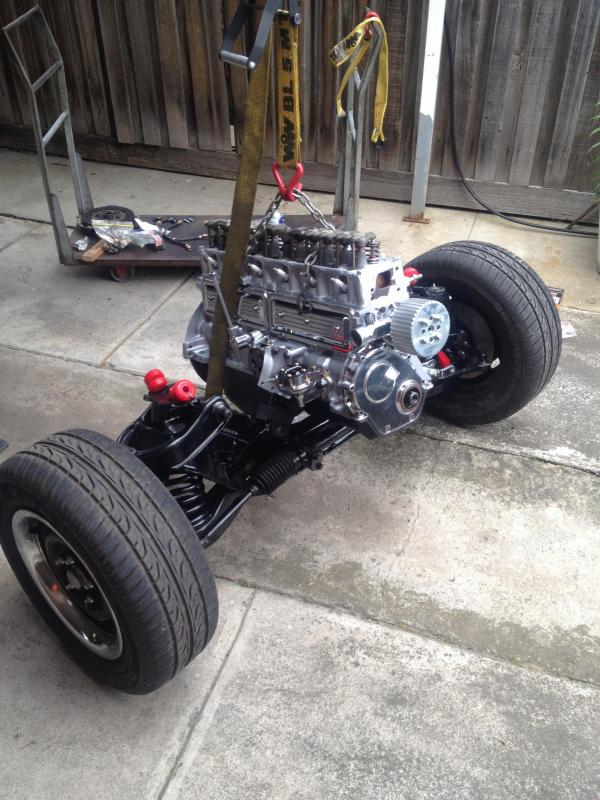
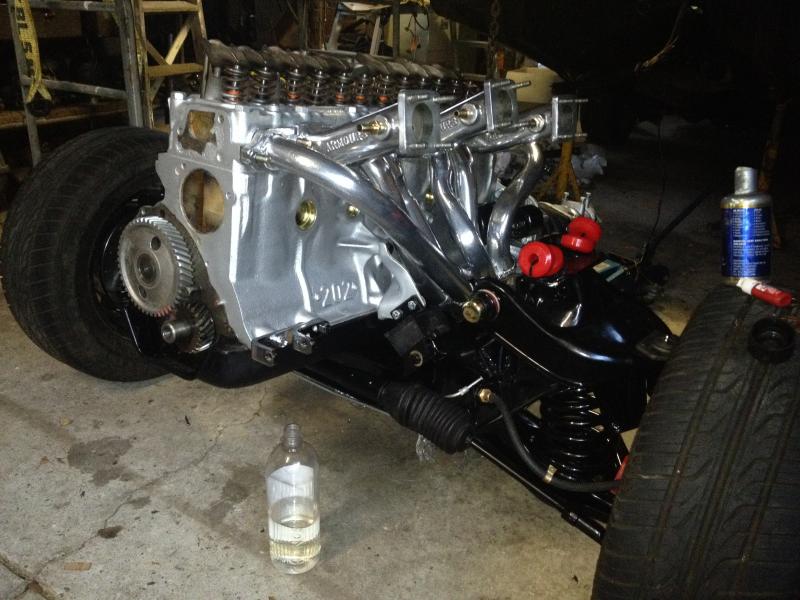
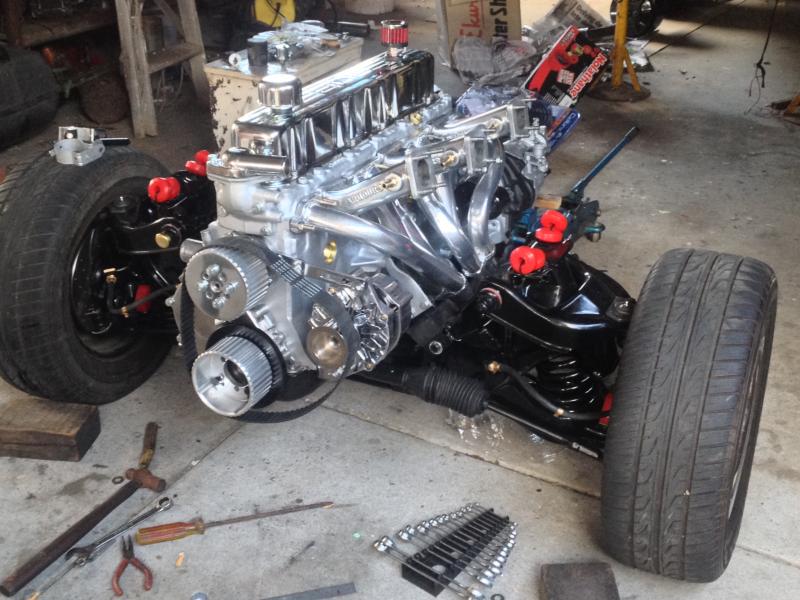
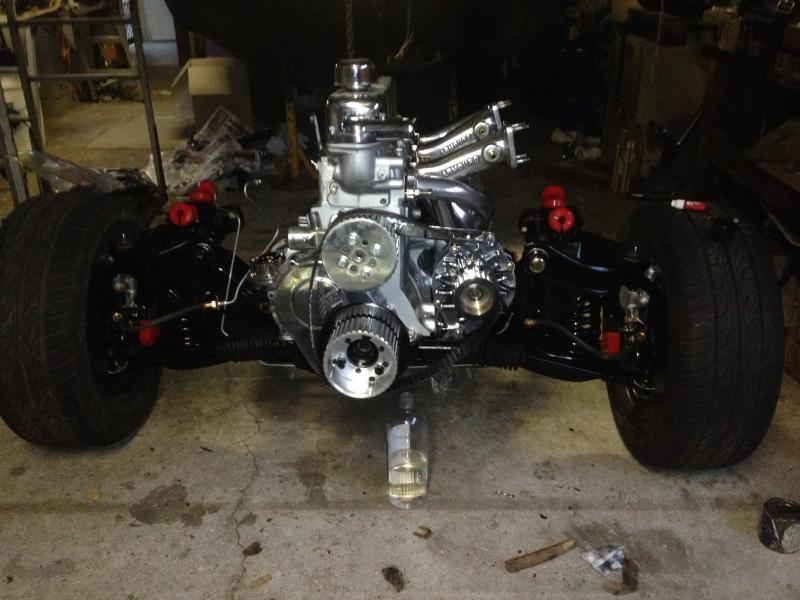
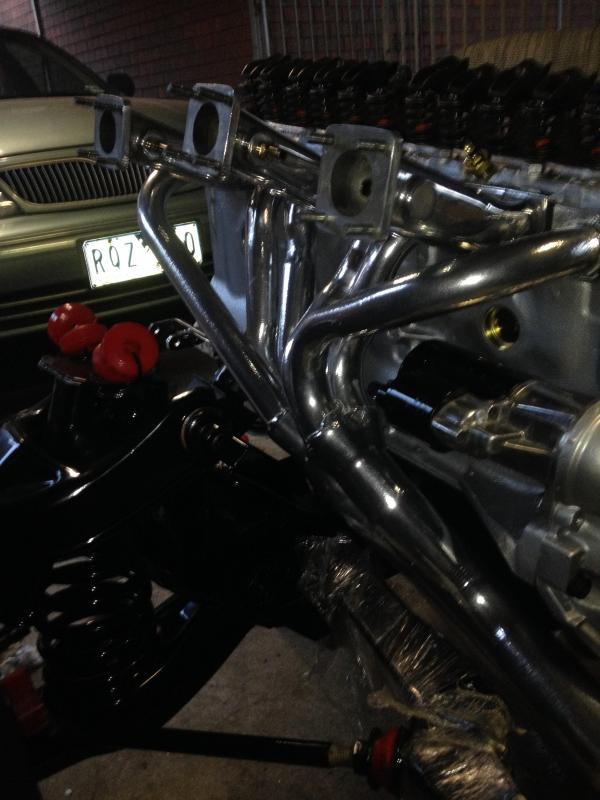
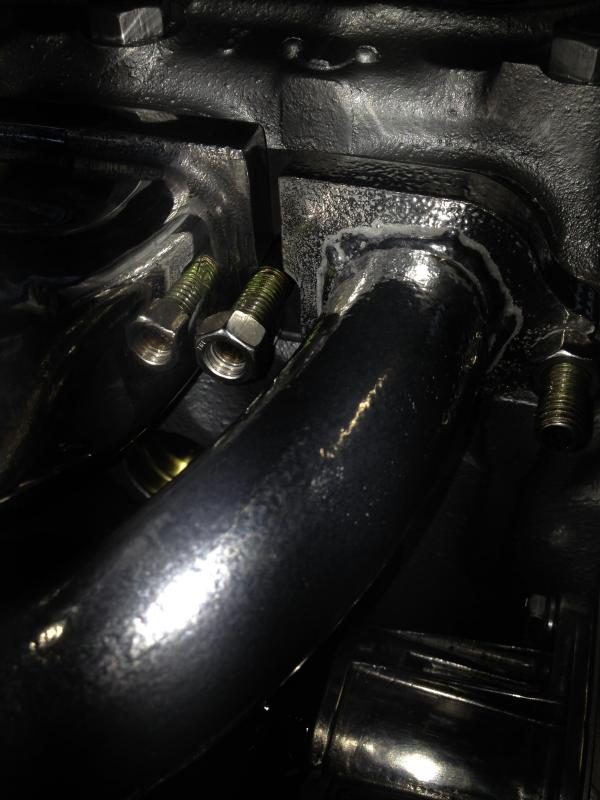
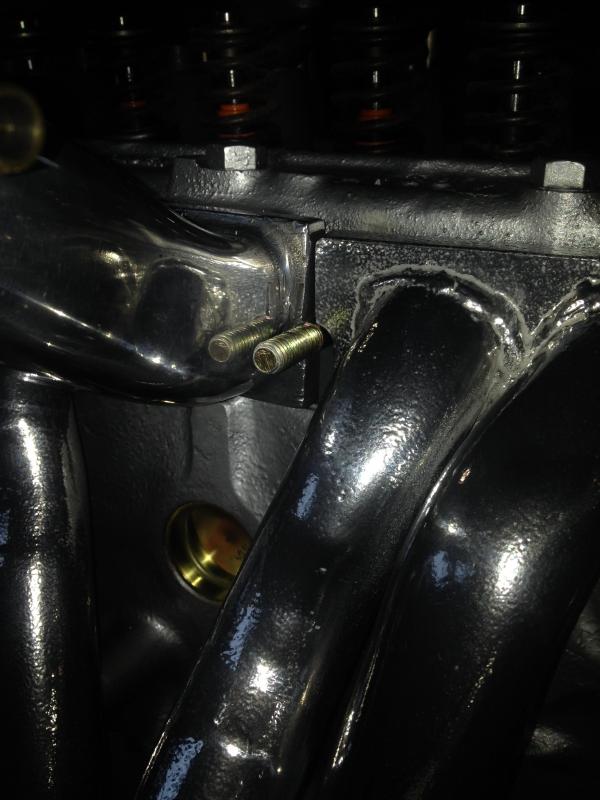
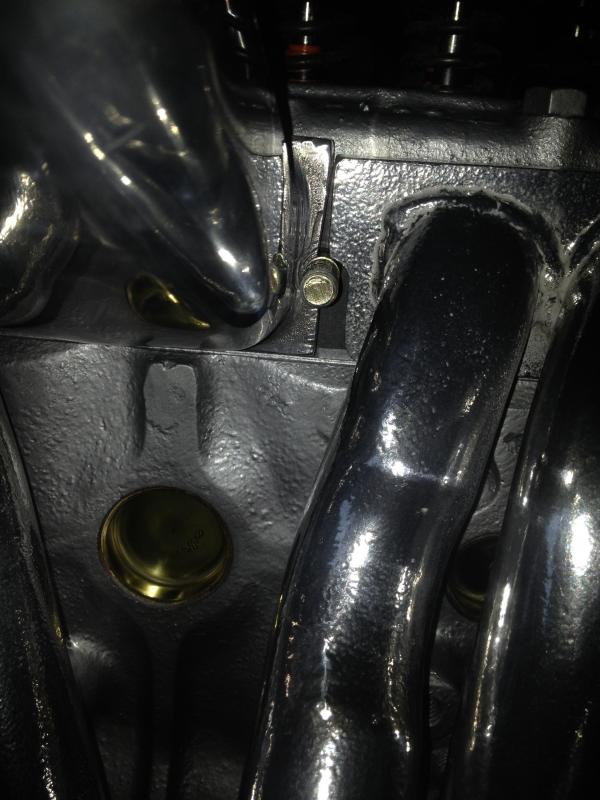
Apart from that i need to move my alternator forward and was wondering if anyone cold confirm whether or not holden made a long alternator bracket. Apart from that i could use a picture of the factory k fram brake line the plumbs up the passenger caliper to prop valve as i had to cut mine out and now it doesnt have to right angle to connect back up.
Cheers
Edited by judgelj, 10 November 2013 - 09:17 PM.
#179

Posted 10 November 2013 - 09:19 PM
Did the 3Bond stick to your hand? ![]()
#180
 _judgelj_
Posted 10 November 2013 - 09:21 PM
Its that good, rob. Just wanted to gloat ![]()
#181

Posted 11 November 2013 - 04:18 PM
exhaust shops have smaller nuts that may help
#182

Posted 11 November 2013 - 06:08 PM
hi jacob,heres a pic ,they a bit big lol ljzedded 045.jpg 121.98K
2 downloads
#183

Posted 11 November 2013 - 06:11 PM
#184

Posted 11 November 2013 - 06:19 PM
#185

Posted 11 November 2013 - 06:27 PM
hey judge was that gilmer setup new.
#186
 _Agent 34_
Posted 11 November 2013 - 06:43 PM
motor looks a treat , hang in there with the build.
it just takes time , but it's looks like your doing a great job jacob
#187
 _judgelj_
Posted 11 November 2013 - 07:55 PM
Thanks for those pics mate precisely what I wanted. Funny though as prop valve to rear brakes line runs through a grommet to the left of my booster, not underneath to the right like yours. Gilmer drive was new, just a pain as the alternator needs to come forward and the belt he sent me was too long. Apart from that I'm determined to make it work despite how much everyone whines about them. The other kits that are 202 specific may work better but they are thinner and you might as well use a v belt.
And grant, thanks for the kind words mate, it is hard. I remember you always saying one mm at a time, and how true that is. You have to be patient as it doesn't happen in a day
Edited by judgelj, 11 November 2013 - 08:00 PM.
#188

Posted 11 November 2013 - 10:12 PM
no worries judge,was just lookin under( holden 6 with gilmer drive) and there is some valuable info there,and its on this forum lol,goes back 6 years ago,one dude is sayin that the top bracket needs to be doubled up and the bottom one welded as they crack between the bolt holes.heaps of info there for ya.
cheers
#189
 _judgelj_
Posted 11 November 2013 - 10:57 PM
#190

Posted 12 November 2013 - 06:08 AM
As far as I'm aware Holden only used one lower mount on all Holden 6's.
I made this using 2 lower mounts to push the belt forward to clear the bigger balancer that I fitted.
 P1010855 (600 x 450).jpg 67.92K
3 downloads
#191
 _judgelj_
Posted 12 November 2013 - 08:09 AM
#192

Posted 13 November 2013 - 06:21 AM
I cut a second bracket, welded it to a another at the correct length.
 P1010855 (600 x 450) - Copy.jpg 89.88K
2 downloads
#193
 _judgelj_
Posted 13 November 2013 - 08:47 AM
#194
 _judgelj_
Posted 13 November 2013 - 05:35 PM
I made one up today, ended up splitting the two halves, which was near impossible and sliping the half that bolts up flush forward and drilling holes/adding material. Will have to make a spacer to sit behind the alternator.
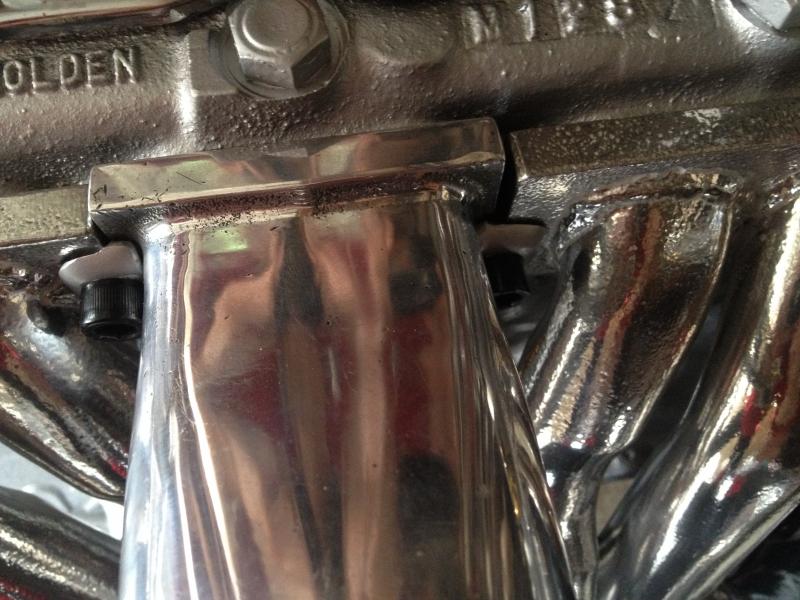
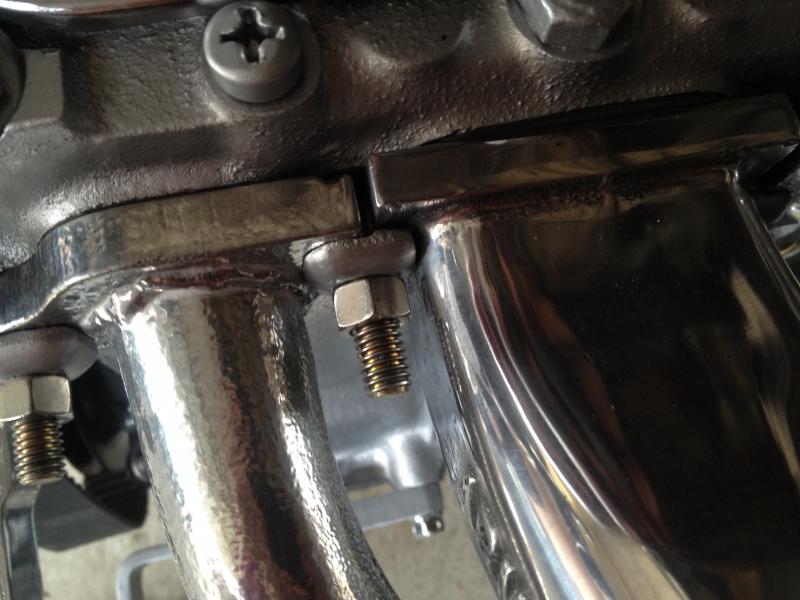
exhaust shops have smaller nuts that may help
I went around this morning to a couple shops no one has them?
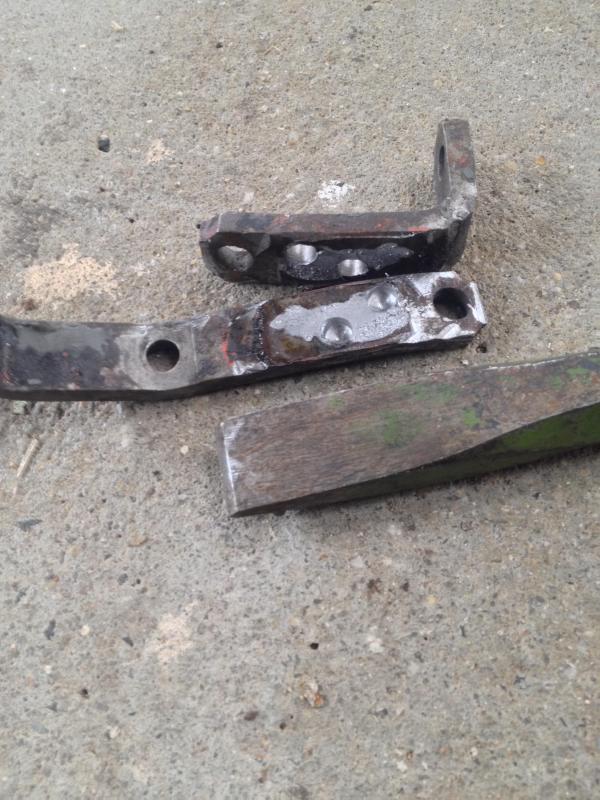
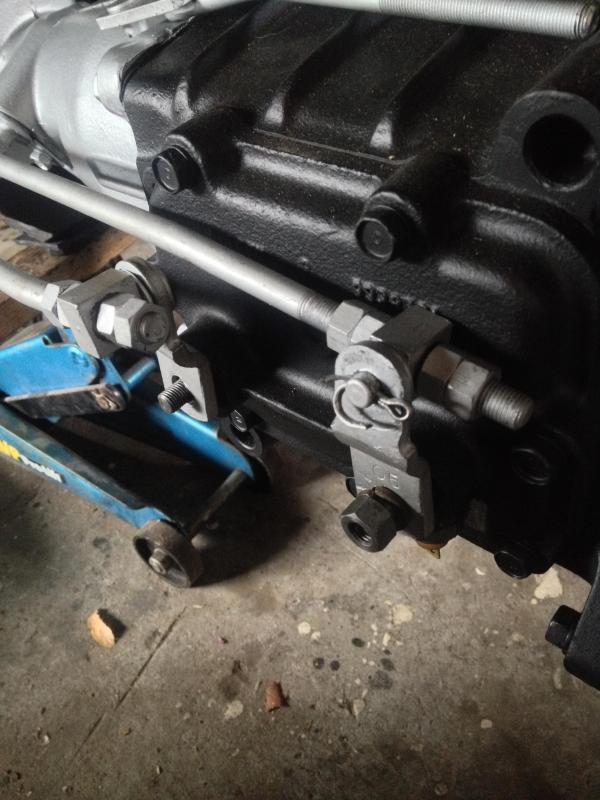
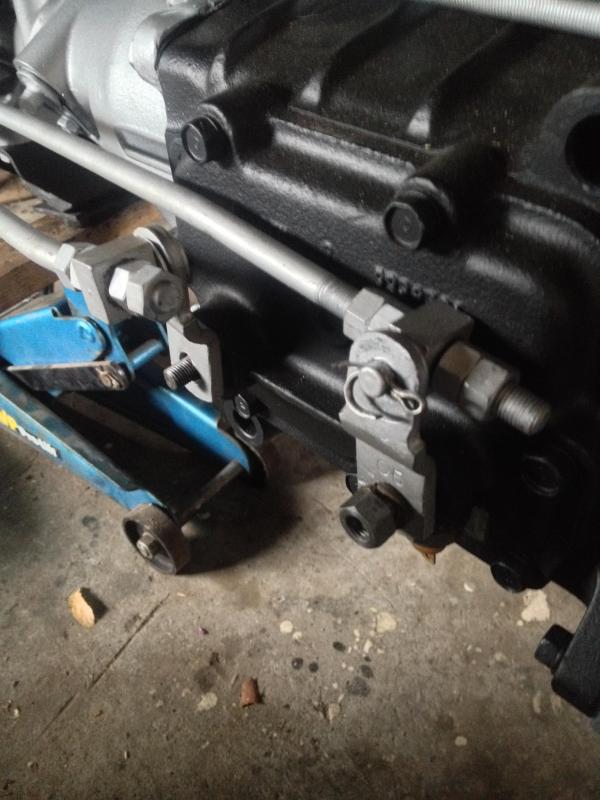
Fitted up the linkages. It used to have a plastic type looking bracket the sat above the selector which i had to bend inwards to fit. Im not using a side mounted type, will this foul on the tunnel (1/2 gear selector)
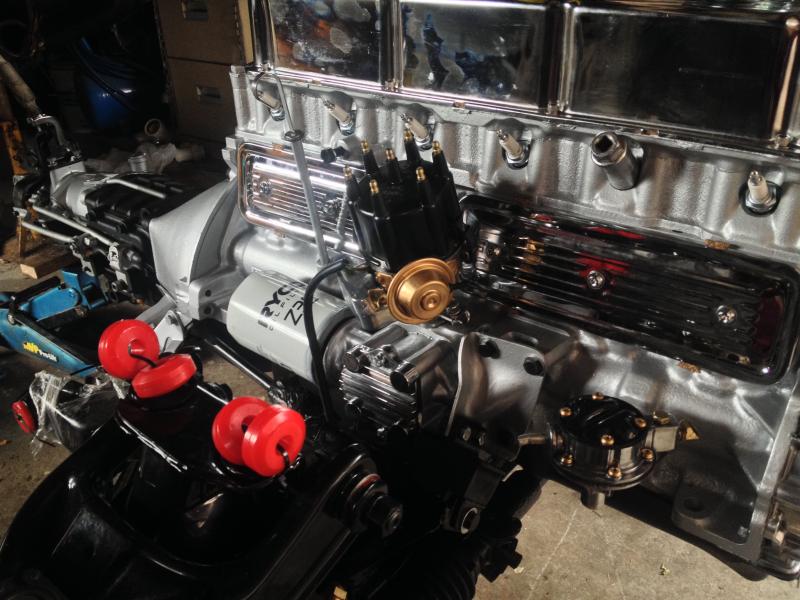
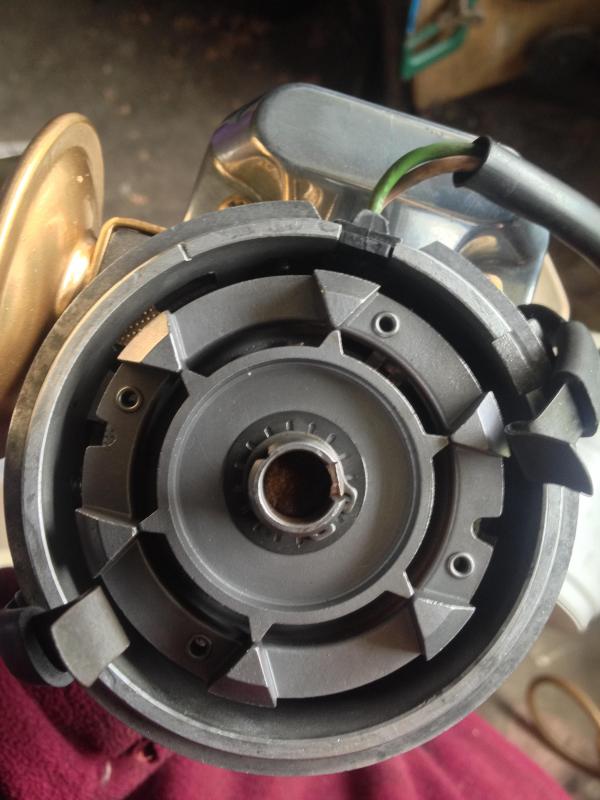
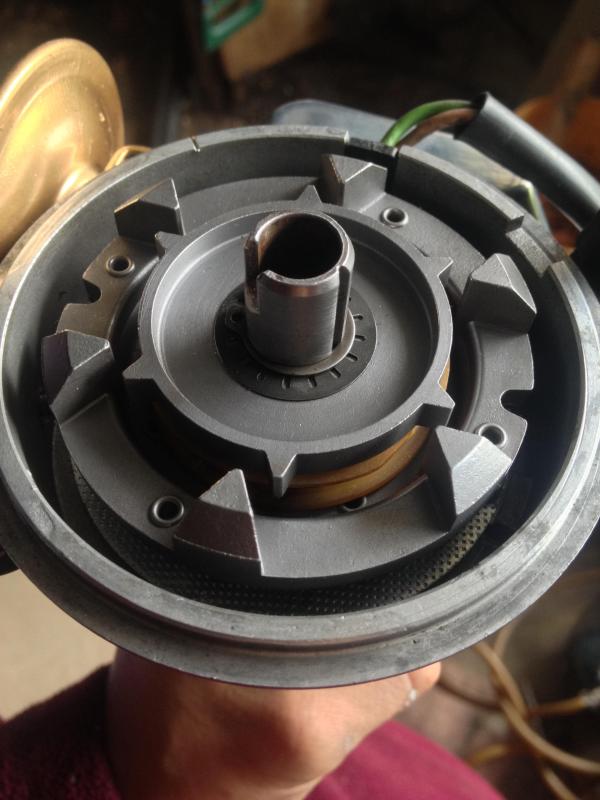
Got my dizzy back so took some time to fit it and set up timing and leads. Anyone know which terminal on the dizzy is for pink/green? Also where do i run the distributors new 12v wire to?
Edited by judgelj, 13 November 2013 - 05:40 PM.
#195

Posted 13 November 2013 - 05:50 PM
Mate I reckon the silver block looks sweet.
Matt
#196
 _judgelj_
Posted 13 November 2013 - 05:55 PM
Appreciate that mate, wasnt sure myself but its growing on me. I think it will stand out nicely like i intended.
#197
 _judgelj_
Posted 13 November 2013 - 06:54 PM
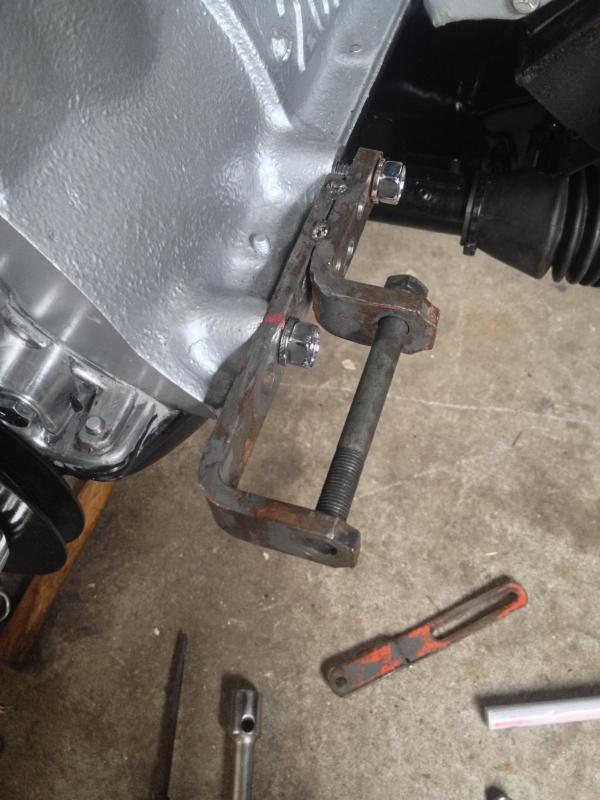
Brings the alternator forward 15mm which sits the belt nicely in the middle.
#198

Posted 14 November 2013 - 08:40 AM
The smaller nuts are same thread but a spanner size down on the outside. Extractor nuts I believe they are called. Any reputable exhaust shop or spare parts shop should have them
#199
 _judgelj_
Posted 14 November 2013 - 09:09 AM
#200
 _judgelj_
Posted 18 November 2013 - 06:59 PM
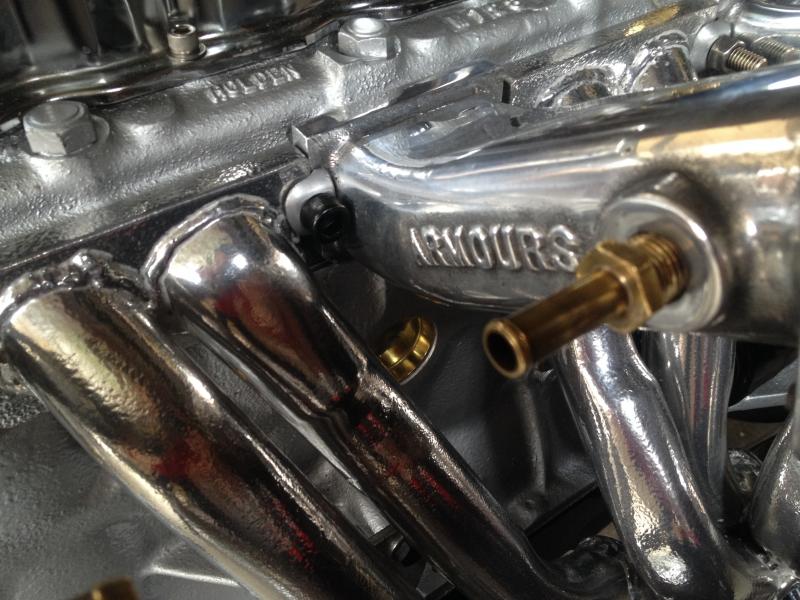
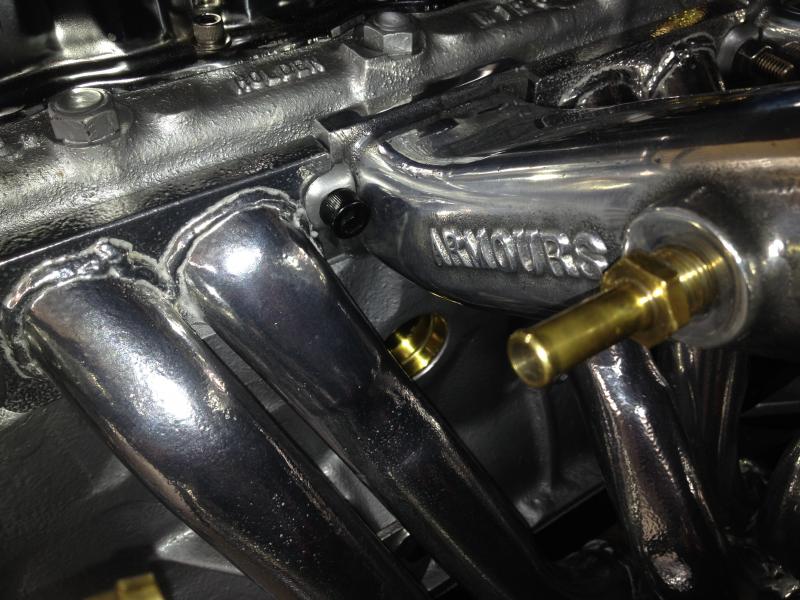
Couldnt find these small size extractor bolts, strangely. Dont know what ill do might just go cap heads for the trouble spots.
Apart from that everything is in and im in the process of connecting everything. Only problem is going to be a 56mm radiator. Wont fit now with the gilmer drive (insert lame i told you so joke here) so will have to get creative. Either go back to stock (ugly), or machine down the pulleys. Will have to see. Also waiting for my third and hopefully final belt as the 320 and 367 sizes that i received were wrong.
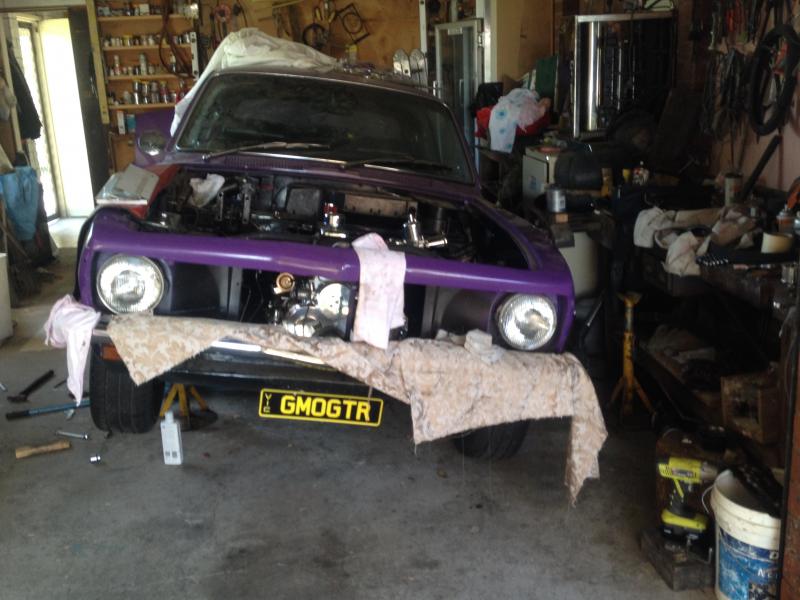
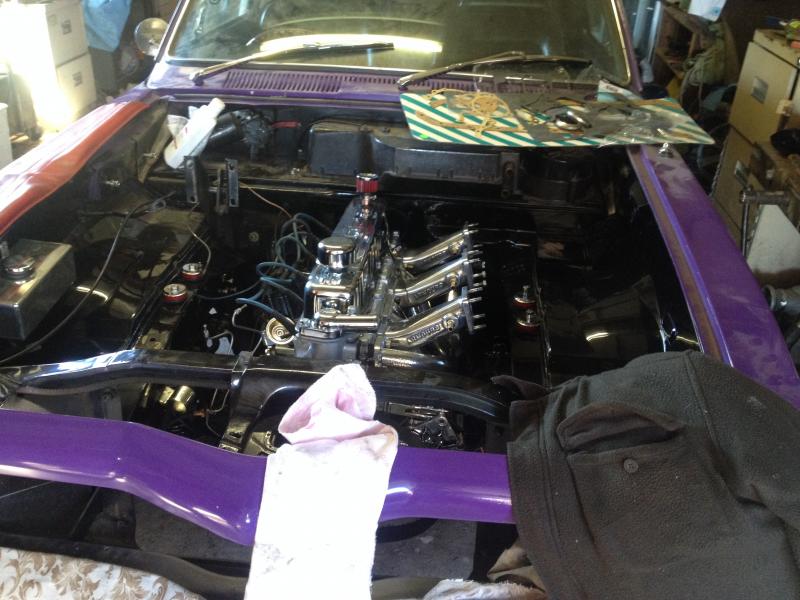
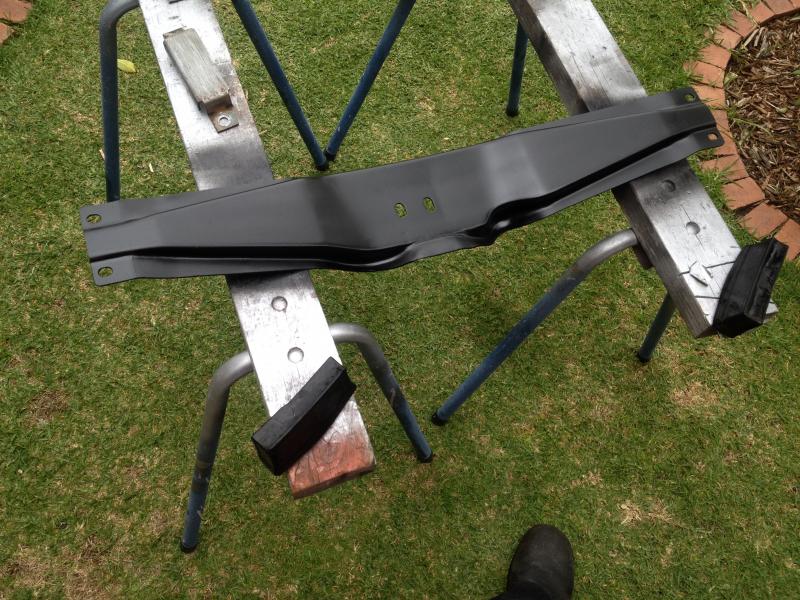
Freshly painted crossmember. Goodluck fitting it !
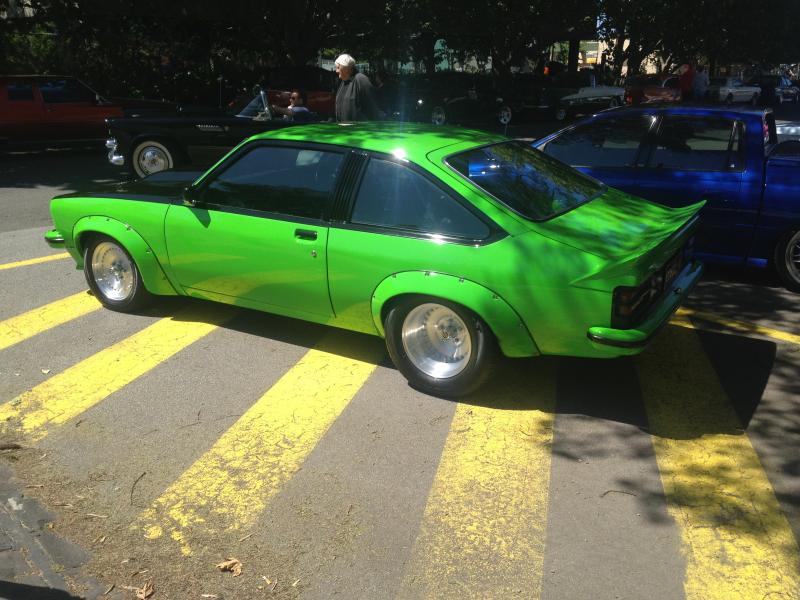
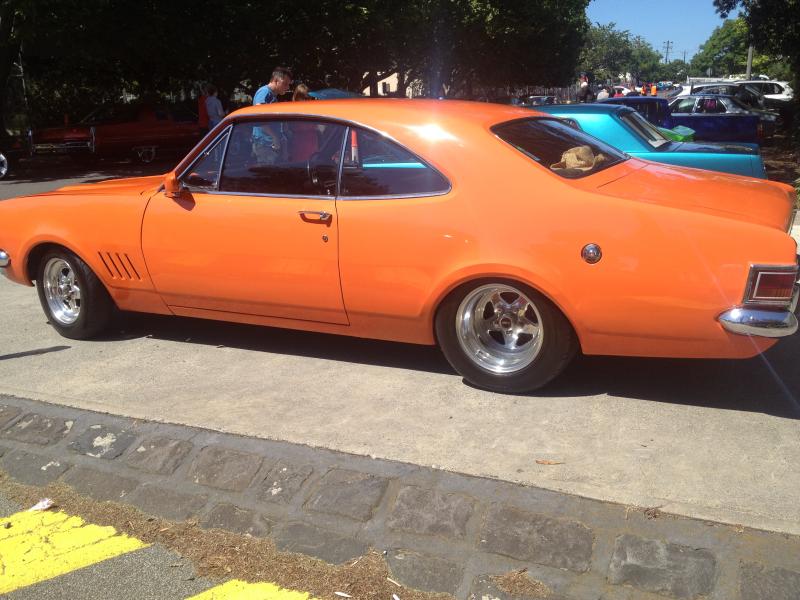
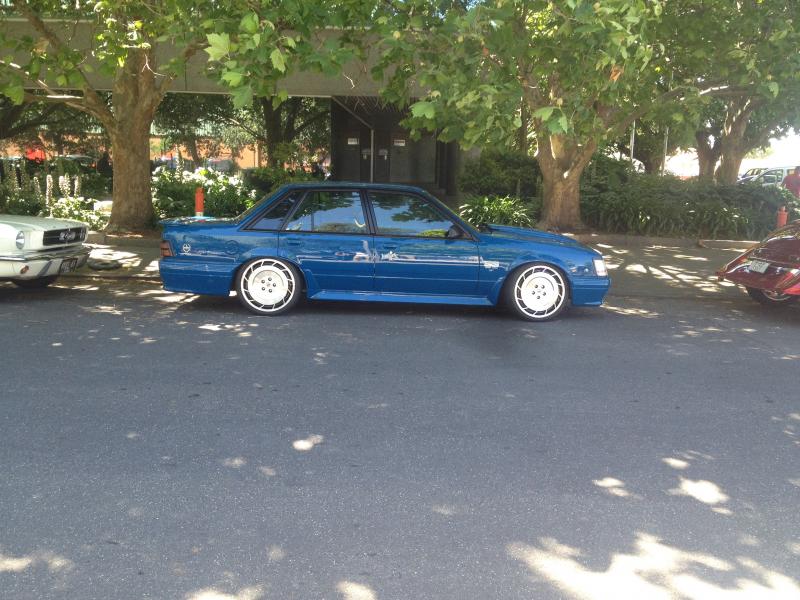
Few snaps a mate took at a local car show. Worth posting...
1 user(s) are reading this topic
0 members, 1 guests, 0 anonymous users



 View Garage

