hey Marty......you have some serious talent there mate......very nice.

#201

Posted 04 October 2013 - 11:01 PM
#202

Posted 05 October 2013 - 08:52 AM
#203

Posted 05 October 2013 - 11:32 AM
Great work,looking good.
Cheers Graham.
#204

Posted 05 October 2013 - 11:39 AM
Very Good Job Marty,
You will need a floor mirror so you can admire the underside when parked up. Dave I
#205

Posted 05 October 2013 - 12:30 PM
Thanks Graham and Dave, yeah I am happy with the underside. There are a couple of runs and dry patchs I might fix later but all in all it looks nice.
Just sold the rotisserie, great deal, I bought it for $630 and sold it for $700 a little worse for wear. Happy days.
#206

Posted 05 October 2013 - 01:06 PM
Yeah but you did have to modify it before you used it so the extra is for your time spent minus wear and tear ![]()
#207

Posted 06 October 2013 - 06:46 PM
 ImageUploadedByTapatalk1381048875.930295.jpg 69.79K
33 downloads
 ImageUploadedByTapatalk1381048926.712930.jpg 43.59K
34 downloads
 ImageUploadedByTapatalk1381048990.196796.jpg 66.71K
33 downloads
Edited by sibhs, 06 October 2013 - 06:47 PM.
#208
 _LONA-CK_
Posted 24 October 2013 - 06:38 PM
where you at now mate,,, it looks fantastic
cheers gong
#209

Posted 24 October 2013 - 10:49 PM
The RH grill side piece which I thought I might have to move is OK, I tried another grill in the hole and that's fine, my grill has a bend in it which I heated and straightened, all good now. Big tip....triple check before jumping the gun and doing something drastic.
Now that the front is clear it's time to sort it out. Firstly mark out the bigger bumper bracket holes.
 IMG_3873.jpg 31.67K
39 downloads
Make up the chassis strengthening plates and fit, then cut out for bumper bracket.
 IMG_3941.jpg 36.25K
35 downloads
 IMG_3944.jpg 47.07K
34 downloads
Drivers door gap was wrong so I've welded a rod to the front guard and now the gaps are even. I'm looking for gaps about 3-4mm. Not a fan of the real narrow gaps, I have a concern that when painted it would be too close and cause issues when the car is in use and chip paint off.
 IMG_3922.jpg 38.35K
35 downloads
 IMG_3936.jpg 38.74K
33 downloads
Stripped the rear of the car and etched that after a couple of minor welds.
 IMG_3940.jpg 51.03K
31 downloads
 IMG_4033.jpg 47.91K
31 downloads
Found some rust I missed while sand blasting, I blew a small hole in the drip rail and stopped hoping I could weld it up. Found the rust was bigger than expected so after a quick call to Mark (thanks Mate) I had a piece to weld in. IMG_3970.jpg 33.06K
32 downloads
 IMG_3972.jpg 28.88K
31 downloads
Gave the k frame and diff a rust convert then etched them the next day. You can also see I've drilled the lower holes for the suspension in K Frame.
 IMG_3977.jpg 84.23K
30 downloads
 IMG_4026.jpg 49.45K
31 downloads
 IMG_4031.jpg 34.69K
32 downloads
Cut the rear of my stone tray to match 73 model, re-drilled holes, welded up dis-used holes in chassis, fitted strengthening bars. I think I'll leave the welding of this once the engine is in so I'm sure it wont catch on anything.
 IMG_3978.jpg 42.87K
34 downloads
 IMG_3981.jpg 43.12K
33 downloads
 IMG_3984.jpg 45.16K
33 downloads
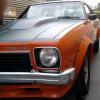
Got my paint, wow, it's bright. Looks like a fluro work vest. I asked for GMH Tangerine, it says on the can Turnpike/Tangerine. I think Turnpike is a LC colour, are they the same tints?
 IMG_3990.jpg 61.43K
34 downloads
I had bonnet gap issues, back to cowl is square, good gap LH side but drivers side was too narrow. What to do?
Had a panel beater come over for a look and he helped with a twisted door, a guard sitting high, but what was suggested for this problem worried me. Hit the top of the guard with a bolster then hit the guard out. (sounds bad, and it was) I started this process but after 5 mins I realised this isn't working, plus There will be a visible crease in the top of guard when looking from below. I decided to cut the guard, pull the edge over and weld it up. Then ground weld under guard so no visible sign. Was some scary shit there but now I'm satisfied.
 IMG_3992.jpg 24.59K
44 downloads
 IMG_3997.jpg 29.73K
38 downloads
 IMG_4045.jpg 30.07K
39 downloads
Door catchs fitted and drivers side is straight.
 IMG_4011.jpg 34.28K
30 downloads
 IMG_4012.jpg 24.2K
30 downloads
 IMG_4025.jpg 56.12K
30 downloads
Etched the lower dash panel.
Welded in the gusset
 IMG_4041.jpg 26.74K
29 downloads
Masked up ready for another coat to check my work.
 IMG_4046.jpg 37.05K
30 downloads
Cheers all
Marty
#210

Posted 25 October 2013 - 09:47 AM
Cheers Graham .
#211

Posted 25 October 2013 - 09:48 AM
When will we see some of that orange on the car?
#212

Posted 25 October 2013 - 08:46 PM
Not sure when the tangerine goes on. When I'm happy with the body I suppose. Maybe a good job for between Christmas and new year. I'd like to test it on something first so maybe the boot lid? Marty
Edited by sibhs, 25 October 2013 - 08:47 PM.
#213

Posted 25 October 2013 - 11:38 PM
can't beat good gaps
your going to love the colour
#214

Posted 26 October 2013 - 12:19 AM
great thread marty, great workmanship through the build,not shy of having a go
I truly admire youre dedication,it is an outstanding
job you have done,anyone would think this is your 10th buildup
cheers
jason
#215

Posted 26 October 2013 - 03:08 PM
#216

Posted 26 October 2013 - 07:34 PM
Hi Guys, thanks for the encouragement, great to see people are reading this. I appreciate all the advise too. Remember, I don't know what I'm doing here so just cause I do it doesn't make it right.
Dave (71XU1) I got the door seal out of the bag last week and was going to fit it. Then it looked like I might damage clips when removing it and having to join and glue it looked like something I only want to do once. So, what's the go? Is it really necessary? How do I remove it once fitted without tearing rubber or pulling/damaging clips out etc? The panel beater who came over didn't think it was necessary, but I have found his advice questionable to the end result I'm trying to achieve.
Cheers
Marty
#217

Posted 26 October 2013 - 07:42 PM
cheers Dave
#218

Posted 26 October 2013 - 07:50 PM
No Dave, I've got a car to finish. I'll be at the next meeting though.
I'm doing "Jog for Jugs" tomorrow morning, it's a breast cancer money raiser. Could be and eye opener ;-)
Marty
Edited by sibhs, 26 October 2013 - 07:51 PM.
#219

Posted 27 October 2013 - 10:48 AM
#220
 _Agent 34_
Posted 27 October 2013 - 07:17 PM
Marty,
you just put the rubbers on with the clips , you will have to cut the join at the front of door lower hing. Buy some rubber magic off rares you will need it , but not sure what happens if you get it on the un painted door so maybe someone else can advise here.
one of my doors fitted great , the other is a bastard to close but the rubber is getting better, the only thing a trial rubber is going to tell you is;
where it is binding
if you have bogged too much on A pillar part and this is binding the door and rubber
be careful on the bottom of the door where the scuff plates are placed as this is an area where it can bind and cause problems , also at the top.
go bro go
nice colour looks like that LJ with number plates " crazy 6 " at torana fest with the J zed head
#221

Posted 27 October 2013 - 07:40 PM
Hi Grant,
Yeah "Crazy 6" 's colour was very nice, a combination of Tangerine and LonoRanger I think he said.
So how did you go getting the clips out, did it damage them at all?
How's "Lucky" going? Haven't seen any updates for a while. Got those carbies sorted I hope?
Just finished painting the diff and K Frame, they've got a bit of orange peel but might just leave them as is. I'm still getting used to my new spray gun, I had the air to low I think.
Cheers
Marty
#222

Posted 27 October 2013 - 10:38 PM
Just be gentle and you won't tear the seal.You can buy new clips separately if you need them,cheap to buy.
Worked for me.
Cheers Graham.
#223
 _Agent 34_
Posted 28 October 2013 - 07:13 PM
Hi Grant,
. Got those carbies sorted I hope?
my advice is put a single stomberg on it , three carbies , three times the drama , getting there slowly though, I do a bit each week with them and are moving in the right direction with the tune.
#224
 _LONA-CK_
Posted 04 November 2013 - 07:07 AM
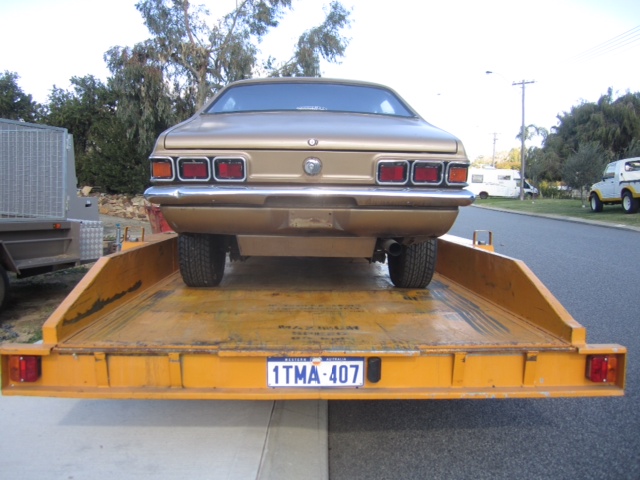
hi marty,,, what did you do with this drop tank??? do you still have it,,,
cheers gong
#225
 _LONA-CK_
Posted 04 November 2013 - 07:14 AM
is it the same as the one i had in the ute i built???
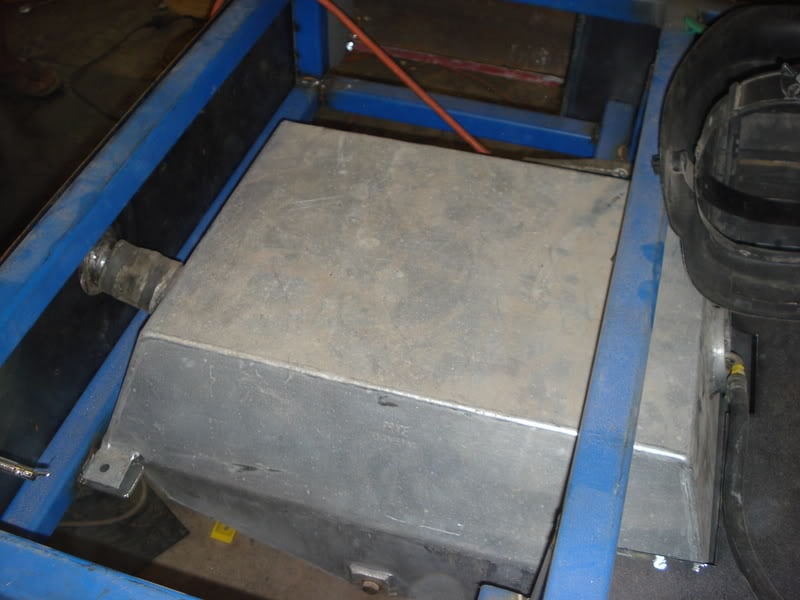
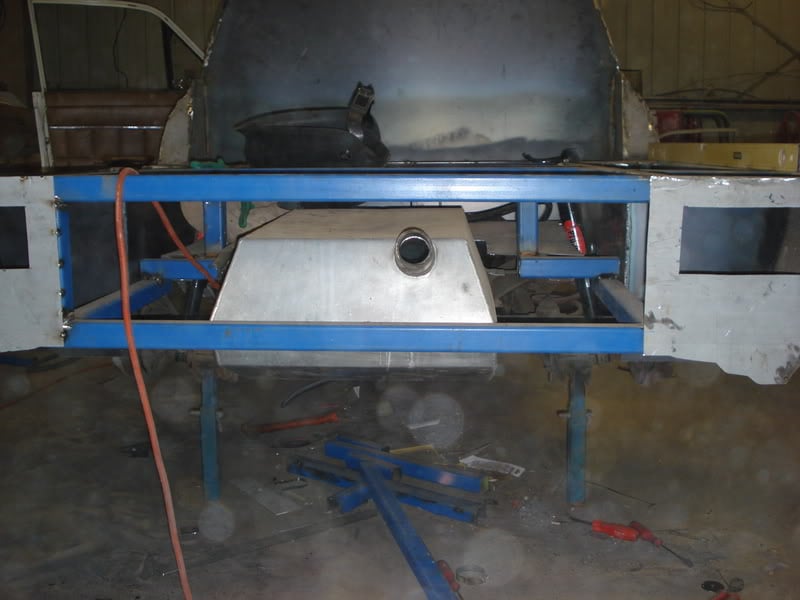
cheers gong
1 user(s) are reading this topic
0 members, 1 guests, 0 anonymous users


