Rusty Lx 4 door rebuild.
#76

Posted 09 August 2014 - 08:28 AM
Keep up the good work.
#77
 _greg2240_
Posted 09 August 2014 - 03:04 PM
congrat's mate,that's goin to be 1 tidy car,
#78
 _mick74lh_
Posted 10 August 2014 - 05:52 PM
I have to say your attention to detail on all the panel gaps and flare and spoiler fitup is second to none. So nice to see!
#79

Posted 06 October 2014 - 09:02 PM
Ok its time for a little update for those that are interested.........its been a while but continually working on Rusty the torana.
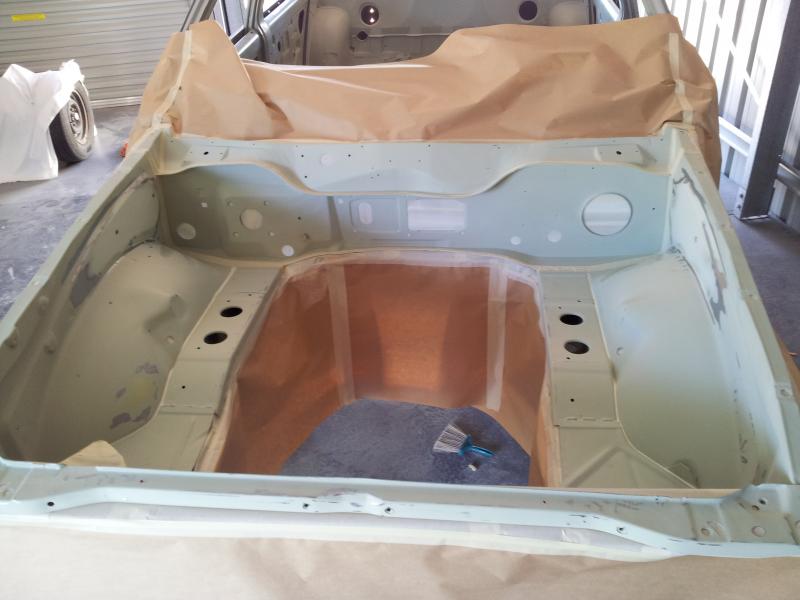
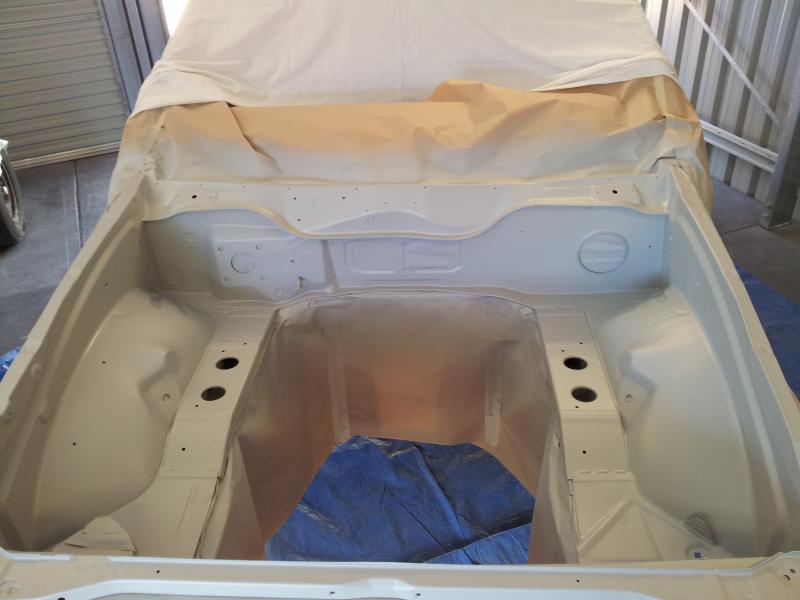
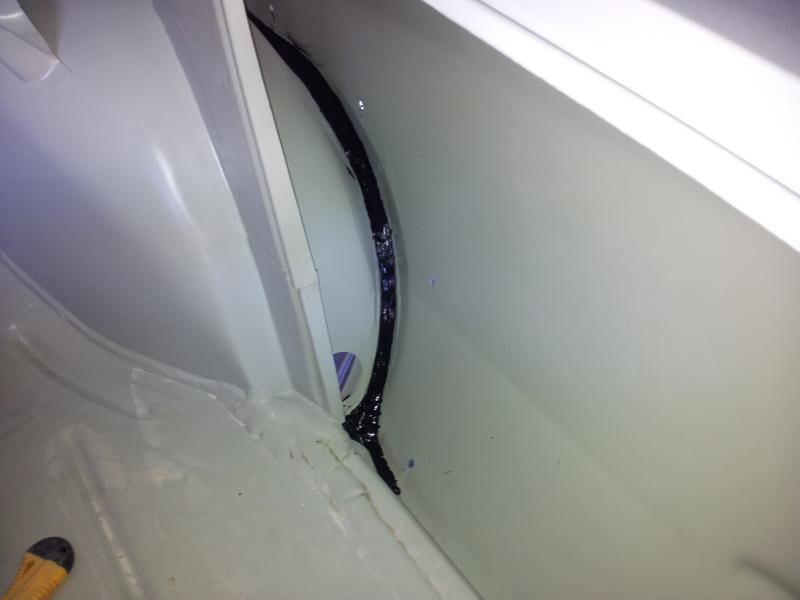
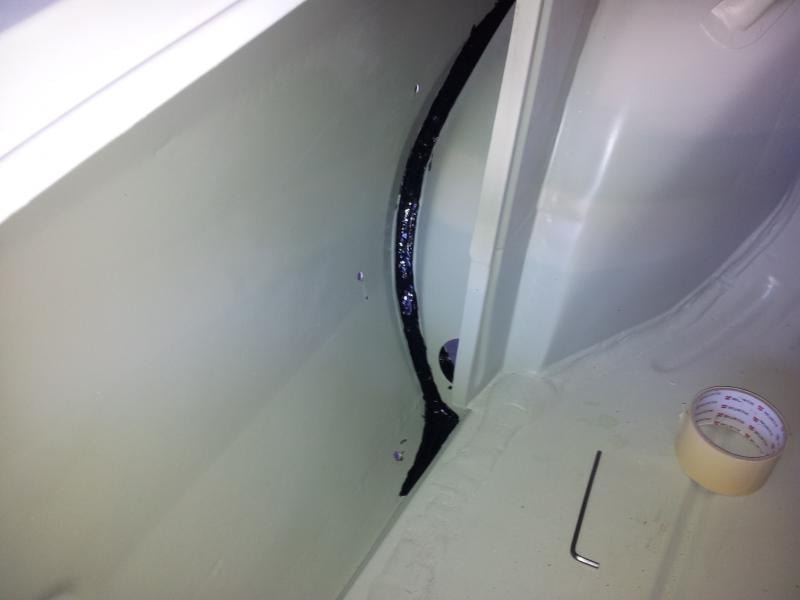
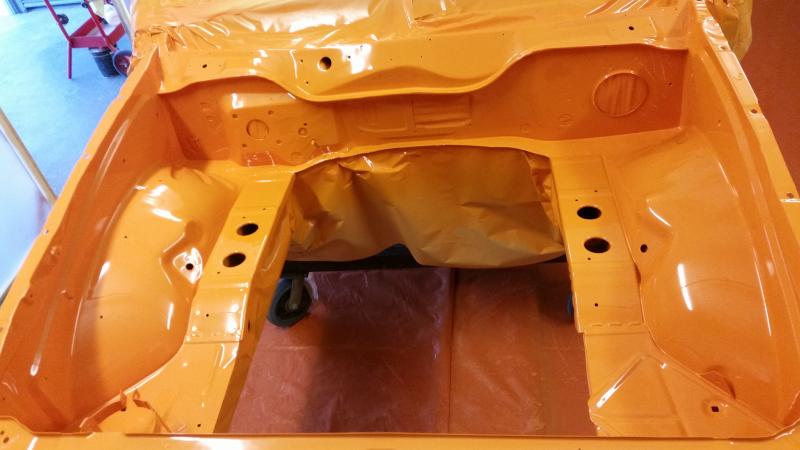
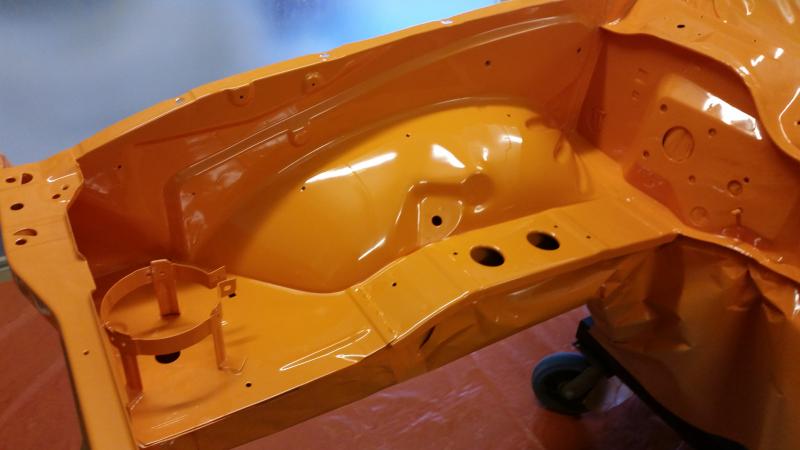
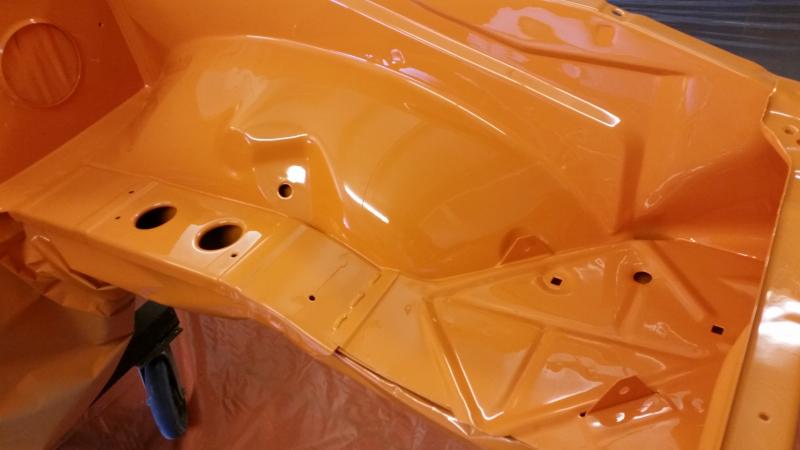
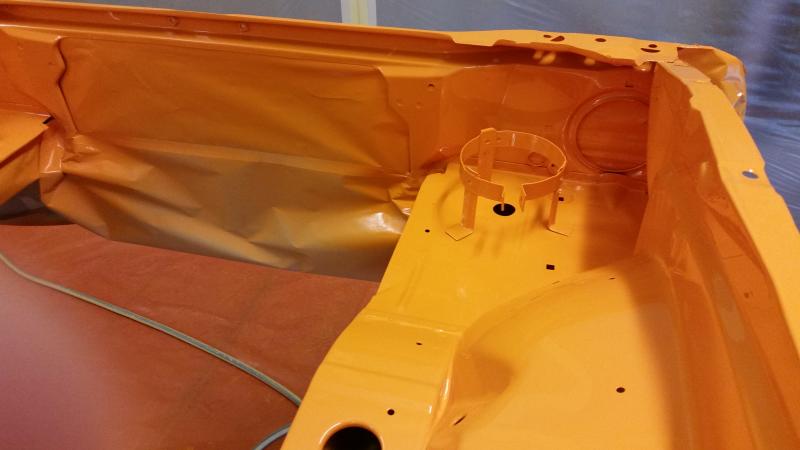
Just finished off the engine bay ready for paint.......im going the original look, seam sealer and all cause I like the factory look with all the plumbing and wires.....just looks more mechanical to me.....just what its meant to be.
Heres a few pics
and high filled
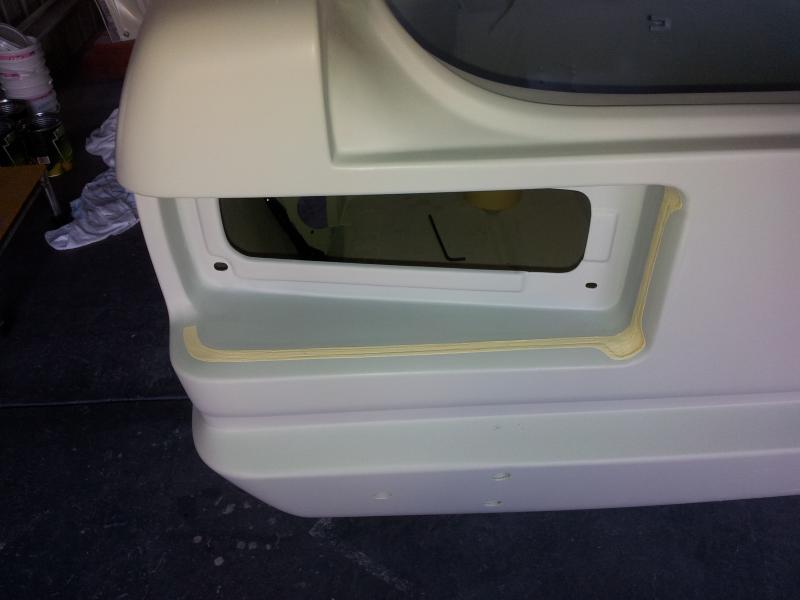
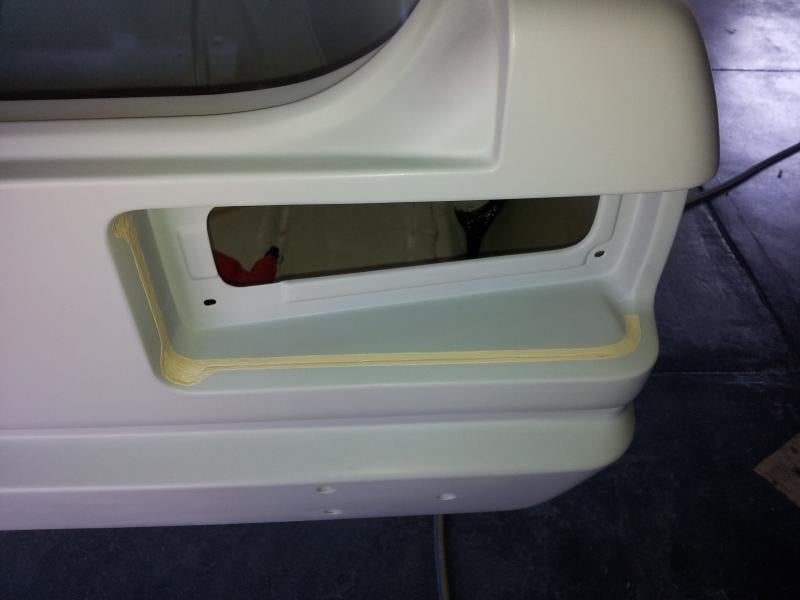
Next I finished off some seam sealing on the rear of the car.
Tail light buckets
Then the rear wheel arches as these were cut for bigger wheels.......no more rust for theses babies
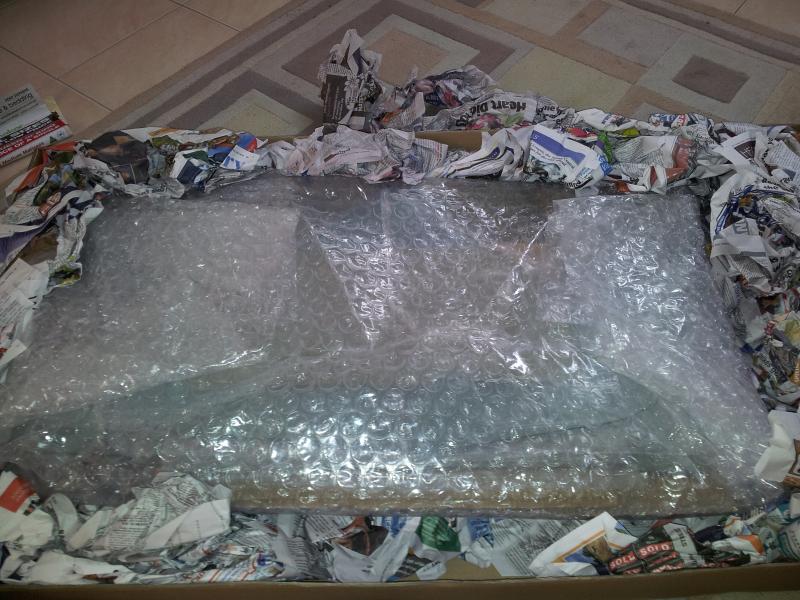
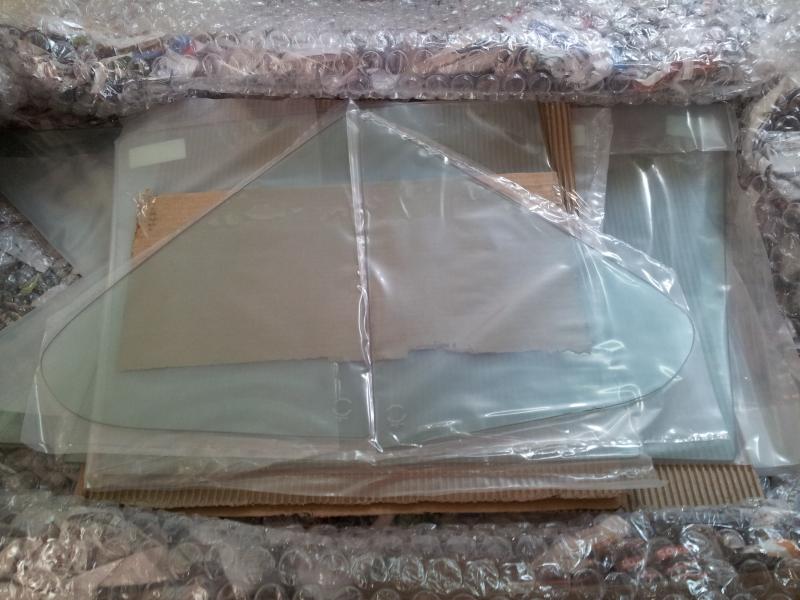
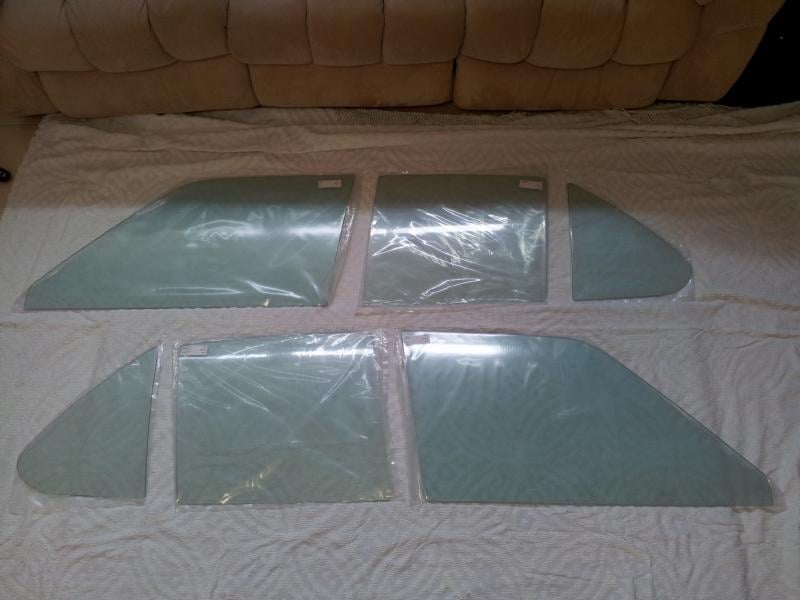
Heres my brand new side glass that I got from Gass 4 Classics in Queeensland
This whole set in tinted glass was $1056.00 delivered and I have to say that these guys are the best.......they kept ringing me every couple of days to inform me where the order was up to and were extremely helpfull.
They can supply the hole range of glass for 4 door and hatch including rear windows in clear or tint with demister. All the talk on here about not being able to get glass is not quite right........these guys have it or can make it at a reasonable price.
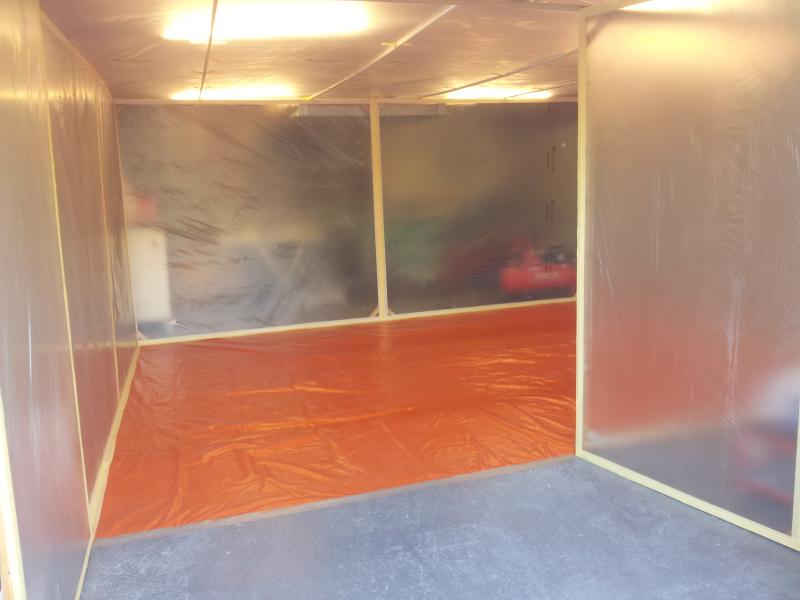
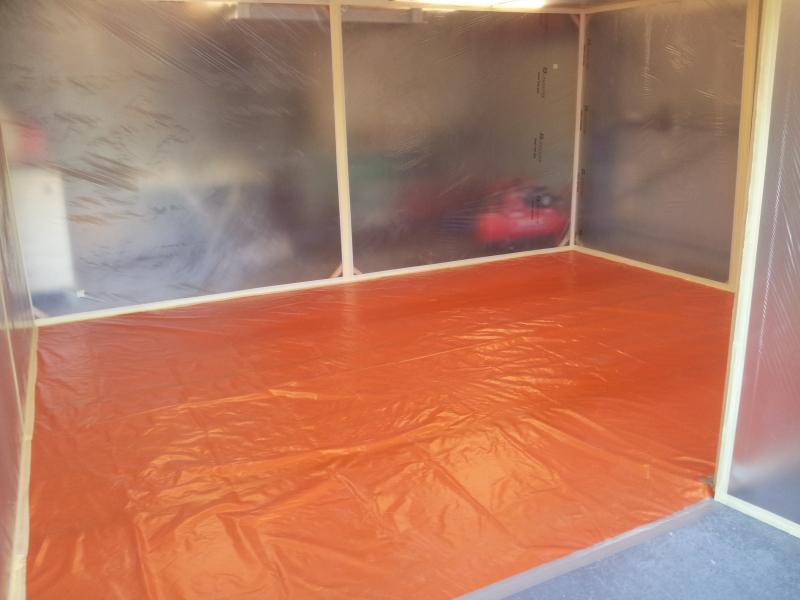
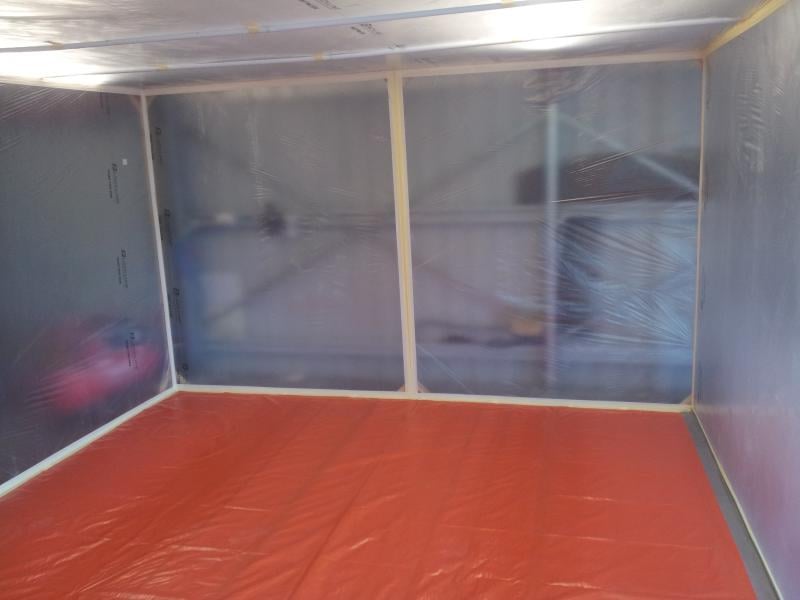
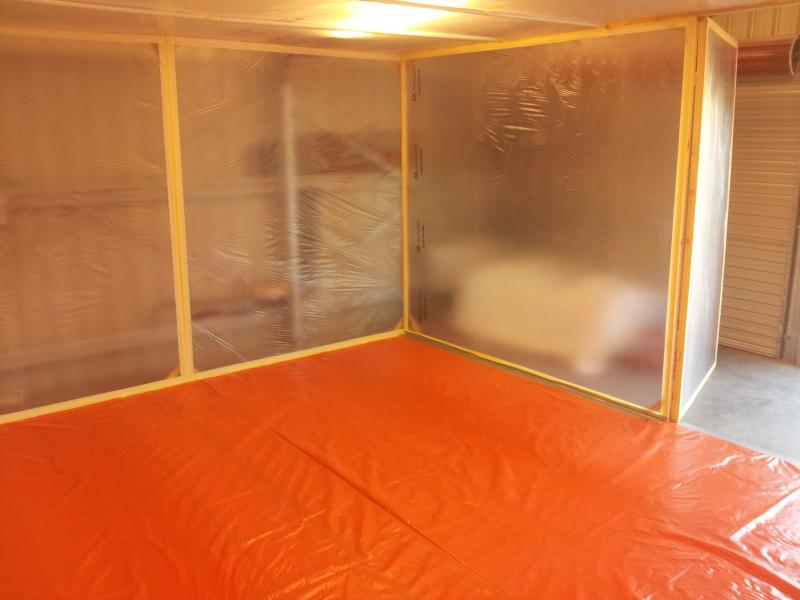
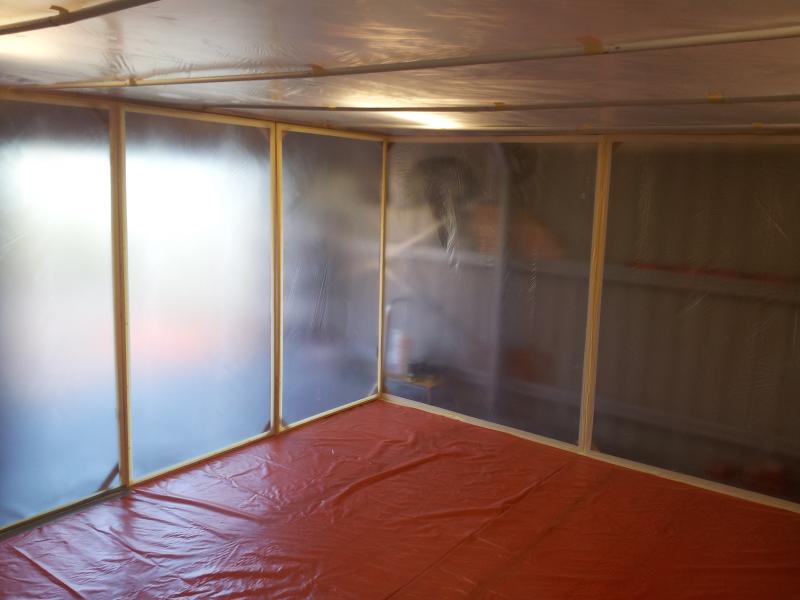
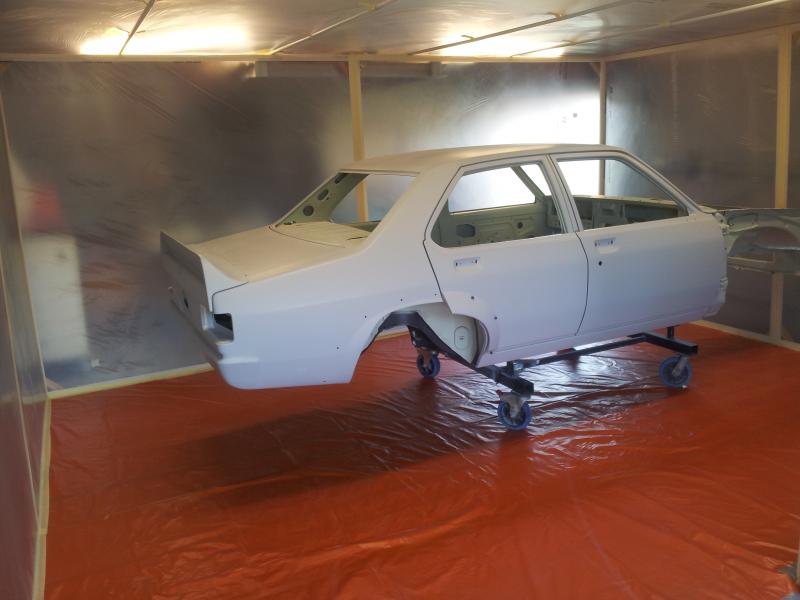
Now onto the exciting part.......Ive just spent the long weekend building my spray booth in the shed.
Yep its time for paint and now im ready to get into it.
This whole temporary booth cost just under $100.00 to make.....got the wood for the frames at Bunnings on special because it had got wet.... $1 for a 3 meter length.
Needed 34 lengths so the frame only cost about $40.00 including screws to hold it together.
I used masking plastic on the frames cause this is caroma coated and has a slight static charge which pulls the crap in the air towards the plastic and then the over spray settles on it sticking it there permanantly.
Just to give you an idea of the size.......the car does fit in nicely with heaps of room to move.......its 6m x 4m with one double opening entry.
Ok thats it for now......next will be paint time ...booya
#80
 _76lxJAS_
Posted 06 October 2014 - 09:22 PM
like your booth mate very impressive,
do you have some extraction fan or something in there?
will get very cloudy without it,
#81

Posted 06 October 2014 - 09:30 PM
Working on that as we speak ![]()
#82
 _76lxJAS_
Posted 06 October 2014 - 09:36 PM
i done similar to you with my booth at the time,
i used a huge pedastool fan from bunnings and mounted a board around it under my roller door, worked a treat,
as everyone said though." dont do that it will spark and blow up your shed" didnt happen though.
can just see the fan in the background of my pic.
Attached Files
Edited by 76lxJAS, 06 October 2014 - 09:44 PM.
#83

Posted 07 October 2014 - 06:23 AM
#84
 _greg2240_
Posted 07 October 2014 - 11:25 AM
hi mate, what seam sealer did you use and what method did you use to apply it ? if you don't mind that is. Neat job. thanks Greg
#85
 _hatch76_
Posted 07 October 2014 - 08:03 PM
#86

Posted 07 October 2014 - 09:04 PM
hi mate, what seam sealer did you use and what method did you use to apply it ? if you don't mind that is. Neat job. thanks Greg
Hi Greg, no problems telling what I done.
I use Wurth brand seam sealer...
I just taped up the area that needs sealing......this will give it a nice clean line when finished.....then using a caulking gun, apply a bead of sealer between the taped area and use a firm flat artist brush to work it into the seam.
Once its been worked into any gaps just smooth it off with the brush moving in one direction until you have it looking nice and neat or until your satisfied with the look.
I personally went for the brushed look because this is the factory look however I taped the edges to give it a cleaner line.....much nicer than factory which was all over the place lol.
When you finally get it looking how you want peel the tape away before the sealer skins over.......this allows the hard edge from the tape to settle down nice and flat before it sets......just makes the edges a bit smoother.
Also dont forget to reseal the inside of the tail light buckets (in the boot) as well......its a bit tricky to get too but the artist brush will do the job.
If your doing inside the wheel arches....again I used a caulking gun with the nozzel cut fairly large and then I put a piece of rubber tube over the nozzel so I could reach all the way up behind the air vents on the inside......i put plenty in there just like factory and it turned out pretty good....just take your time and be careful not to get it everywhere as its hard to clean up in the area behind the rear air vents.
There you have it.....pretty easy and a fair result.
Cheers
Al
Nice job on the car and booth, will be very nice I'm sure when finished
Thanks Daniel......Im trying lol
Cheers
Al
#87
 _The Baron_
Posted 07 October 2014 - 09:25 PM
Yeh thats what im trying to get around....a sealed spark proof motor would be the go.
Ex n, Ex e or Ex d?
If you use it to feed the clear air in (feed through filter material), it will be a safer setup.
Edited by The Baron, 07 October 2014 - 09:27 PM.
#88

Posted 07 October 2014 - 09:40 PM
Ex n, Ex e or Ex d?
If you use it to feed the clear air in (feed through filter material), it will be a safer setup.
Yep keeping it outside the booth and pushing filtered air in would be much safer and thats exactly what Ive been thinking........Ive got the sparkies at work looking into a fan for me that will do the job........not sure about the Ex im not up on the technical lingo.....it pays to study these things before you blow yourself up lol
#89

Posted 07 October 2014 - 09:41 PM
#90
 _greg2240_
Posted 07 October 2014 - 09:58 PM
awesome, thanks Al, hopefully mine will look as good as yours, Greg
#91
 _GMH-001_
Posted 07 October 2014 - 10:32 PM
Not saying it's a healthy choice but I have sprayed many cars in a closed shed using a jet heater between coats to maintain temps and haven't had an issue yet (touch wood) and tbh I've never heard a legitimate case where someone actually has had a fire from airborne paints. In saying that I'm building a more suitable booth once the new shed goes up hopefully in the coming months.
Yours is looking good Al looking forward to seeing the colour
#93
 _76lxJAS_
Posted 12 October 2014 - 08:54 PM
What paint are you using. 2k. Or acrylic?
How did you go with you ventilation set up?
#94

Posted 12 October 2014 - 10:38 PM
#95

Posted 13 October 2014 - 07:37 AM
The pics really don't do it justice cause the lights are shining through plastic sheet however I can assure you its like glass.
#96

Posted 13 October 2014 - 11:12 AM
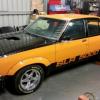
So XY GT Ford Raw orange? Looks nice indeed.
#97

Posted 13 October 2014 - 12:18 PM
#98
 _Caustic_
Posted 13 October 2014 - 06:58 PM
That is awesome Sir..Love that spray booth.
#99

Posted 13 October 2014 - 07:23 PM
Az
#100

Posted 13 October 2014 - 07:42 PM
It's 1977 to 1981 XC. .....there are 2 raw oranges this is lighter and more vibrant than the 1970 colour
Im impressed should stand out
1 user(s) are reading this topic
0 members, 1 guests, 0 anonymous users



 View Garage