Jump to content


1990 Harley XL1200


  • Please log in to reply
275 replies to this topic

#126 _judgelj_

_judgelj_
  • Guests

Posted 05 February 2014 - 11:14 AM

Yeah you're both right, the only reason im persisting so much is if i dont do it, i feel pretty guilty and incapable. But then again i really cant be bothered. I like the idea of stainless wrap, i might actually do that i have some spare. Though out of curiosity, do we know anyone that sells it by the meter, or roll? Seldom do you come by the kits, at least where i live, and i would want the one size...


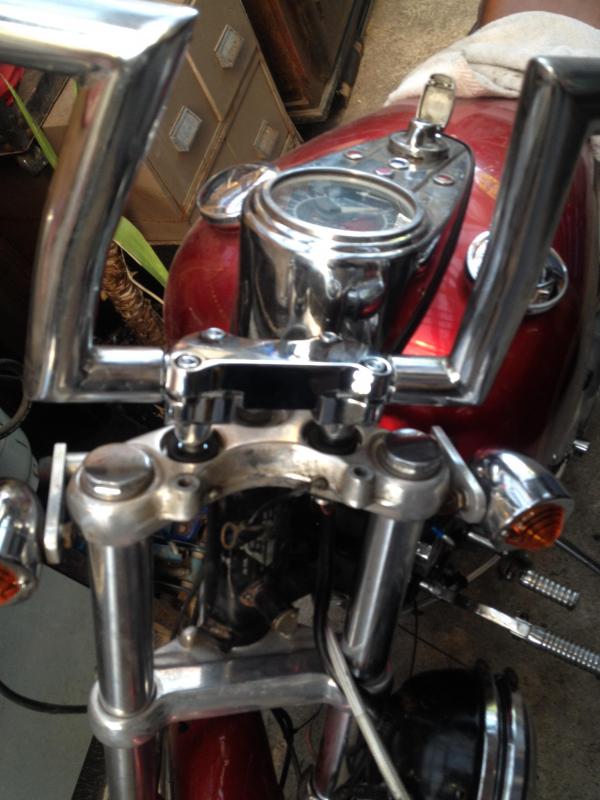
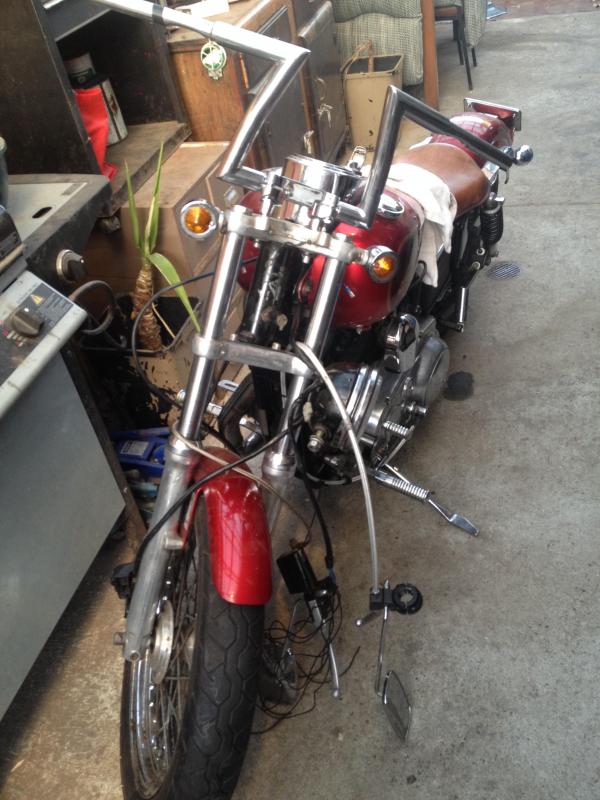
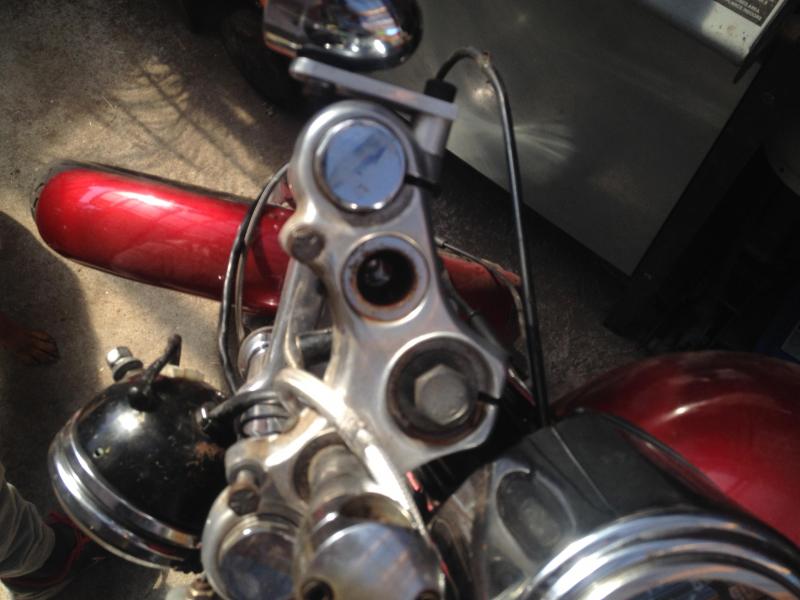
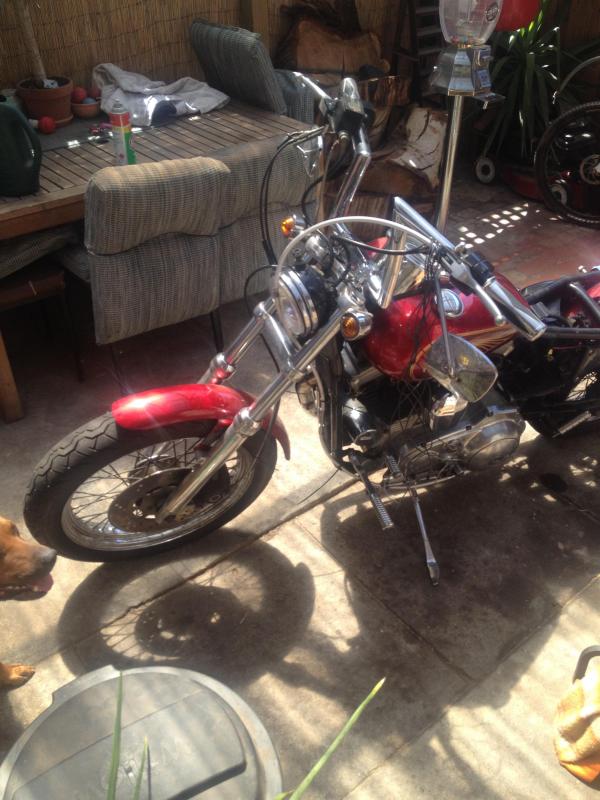
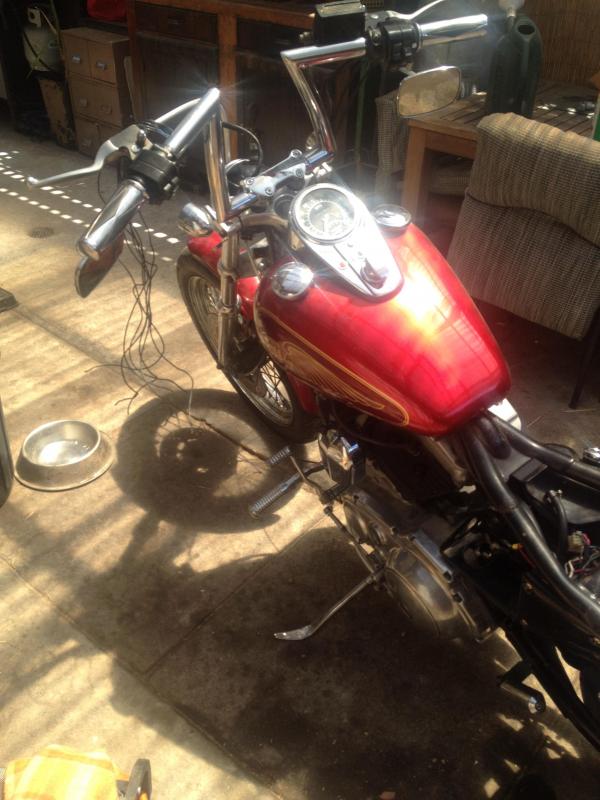
It was an absolute prick trying to swap these risers. Took me about 3 trips to the shop to finally understand how it all works and what i needed. Turned out the old risers had a solid bushing AND they were rusted in. So took a while of bashing the riser out, only to require the bushing to be bashed out. Finally got it, fitted the standard rubber mounts and risers.


I bought some more trimmer line this morning so will give it ONE more crack. If not, external wiring it is!!!
 

IMG_35941_zpsf210ac7a.jpg
IMG_35931_zpsc6e0688f.jpg
IMG_35911_zps763d31c4.jpg


#127 _judgelj_

_judgelj_
  • Guests

Posted 06 February 2014 - 11:56 AM

Anyway slapped it all together quickly this is how it came out. Still not 100% sure i liked it but it will have to stay this way for now. Ideally i'd like to finish lowering it but it will need some spacers made up, for which i have obtained some 25mm solid alloy bar. Only problem is i dont know how to cut it so it is perfectly square. This stuff melts with cut off discs, any ideas?


IMG_36111_zps2bed7522.jpg

IMG_36101_zps360b11e9.jpg


#128 kiwi-lilj

kiwi-lilj

    Forum Fixture

  • Members
  • PipPipPipPipPip
  • 1,426 posts
  • Name:Blair
  • Location:NZ
  • Car:LIL J
  • Joined: 14-September 08

Posted 06 February 2014 - 01:01 PM

Face the ali square in a lathe.

#129 _judgelj_

_judgelj_
  • Guests

Posted 06 February 2014 - 04:12 PM

dont have access to the lathe right now unfortunately! my mate doesnt have access to one at his work (locked out for noise). Will the cutoff disc melt it bad? 


#130 _Bomber Watson_

_Bomber Watson_
  • Guests

Posted 06 February 2014 - 07:16 PM

I slice ally all the time with a 5". 


Not sure what you mean by "melt"? 


Just flick the grinder on, dip the ultrathin into a candle to wax the disk up and go for broke. 


If you have access to anything that you can spin it on, drill press or even a suitably sized power drill in a vice, it will give you a dead square cut if the job is spinning and your just holding the grinder. 


Cheers. 


#131 _LS2 Hatch_

_LS2 Hatch_
  • Guests

Posted 06 February 2014 - 07:34 PM

How do you hold it in a drill press?
Does it have to fit in the chuck or do you have another way?

#132 _Bomber Watson_

_Bomber Watson_
  • Guests

Posted 06 February 2014 - 07:42 PM

Generally it would have to fit in the chuck. 


But if you can manage to drill a hole dead straight then you can put a bolt through it and grab that in the chuck. 


I have access to a lathe at work so usually use that, but if i need to whip something up quickly on a weekend i generally improvise, always small jobs though, the spacers Jacob is trying to make may be a bit on the big side. 


But yeah i've managed to use the drill press as a lathe a few times for minor stuff, either making a square cut on something that already has a true hole in the middle, taking something down a bit by spinning it in the drill and holding a file against it,  or drilling a true hole in the middle by mounting a spare chuck in the vice with a drill bit and the job in the chuck of the drill, 16mm chuck holds fairly big jobs, not big enough for the job in question though. . 


Cheers. 


Edited by Bomber Watson, 06 February 2014 - 07:45 PM.


#133 _Bomber Watson_

_Bomber Watson_
  • Guests

Posted 06 February 2014 - 07:52 PM

What you could do Jacob, again you would probably need a pedastal drill and a vise, is mark the bar real neat, i like to cover the job with purple highlighter then set a scribe up from the bench at the required height.


Sit the job against it and spin it so you get a perfect line, then slice it just on the side of the line with the angle grinder. 


Just do baby cuts, basically rest it against the job following the line, take it out of the vise, spin it a bit, then do another baby cut. Once you have a cut 1mm or so all the way around you can get a bit more aggressive, but still dont cut right through it. The ultrathin will want to follow the line so go say 5mm in, spin it, so on.


Once your all the way through mount it dead square and drill a hole as straight as you can through the middle. If you have a pedestal drill this should be relatively easy.


Drill the hole to far below the required size, so the bolt head is smaler than your required size, drill it so the bolt is a snug fit. Put said snug fit bolt in this, tighten a nut up,  then spin it up and face it with a file. 


Then drill back through the hole in the middle to your required size. 


Bit of frOcking around but should come out just as good as a lathe job. 


Cheers. 


#134 _judgelj_

_judgelj_
  • Guests

Posted 06 February 2014 - 08:56 PM

They are some interesting techniques, never quite thought of them. Ill use the pedastal with a file of some sort, sounds like it wouldnt be too hard with ally.


The problem i have is the grinder heating up the ally and melting it, leaving a crap surface. Why do you dip in candle wax? 


#135 _Bomber Watson_

_Bomber Watson_
  • Guests

Posted 06 February 2014 - 09:07 PM

I dont know the scientific explanation as im not some kinda NASA research dude. 


All i know is it works wonders, you should try it. Grinding disks, sanding pads, drill bis, everythign gets dipped in wax when im playing with ally. 


Cheers. 


#136 _Bomber Watson_

_Bomber Watson_
  • Guests

Posted 06 February 2014 - 09:09 PM

I should proly add if its your first go mark the job say 1mm longer than you want so you have room to play, a bit longer spent with teh file is easyer than starting again. 


If you frOck it up more than 1mm then you have no place doing such things and should give up on life :P


Cheers. 


#137 _LS2 Hatch_

_LS2 Hatch_
  • Guests

Posted 06 February 2014 - 09:44 PM

Great tutorial Bomber. Makes a lot of sence. I have done this before but never actually realized what I was doing. For me it was just bush mechanics.

Don't know if it right or not but I was taught to use wax also. My thought was it doesn't allow the blade to clog up with crap, keeps it clean allowing the blade to do its job. I was taught this while making a set of 5 degree trip ply trees for my first chopper build. Also made my forward controls and risers. I used my jigsaw, router, trimmer and belt sander, then polished them. thought I was pretty good considering I'm a cabinet maker and had never used metal/ally before.
My how time flys!!!!!!!

#138 _Bomber Watson_

_Bomber Watson_
  • Guests

Posted 06 February 2014 - 09:48 PM

Thats precisely what it is mate, bush mechanics. 


IE, improvising and working out how to do a job with the tools available, not the tools you wish you had. 


Cheers. 


#139 _judgelj_

_judgelj_
  • Guests

Posted 06 February 2014 - 11:01 PM

Oh what I meant why do we wax cover things when working with ally? What does it achieve?

Only problen is getting drilling the bare square to fit a bolt in there so it will fit in the chuck.

Seems like some pretty ambitious stuff you made for the chopper. You should share some pics. Cheers

#140 TerrA LX

TerrA LX

    Fulcrum Fixture

  • Members
  • PipPipPipPipPipPipPip
  • 14,241 posts
  • Location:Sid 'n' knee
  • Joined: 31-May 06

Posted 07 February 2014 - 04:52 AM

ALeqM5gODMpSkOrOIKyTyM0j9_bX7LHNtws_zpsf

http://www.bonhams.c..._release/15634/

#141 _judgelj_

_judgelj_
  • Guests

Posted 07 February 2014 - 09:55 AM

No way that is insane!!

#142 TerrA LX

TerrA LX

    Fulcrum Fixture

  • Members
  • PipPipPipPipPipPipPip
  • 14,241 posts
  • Location:Sid 'n' knee
  • Joined: 31-May 06

Posted 07 February 2014 - 10:36 AM

I wouldn't frack with the guy, I've seen what he does to his pigeons...

#143 _judgelj_

_judgelj_
  • Guests

Posted 07 February 2014 - 10:50 AM

Haha, i saw that. He set them up, mob style. 


#144 _LS2 Hatch_

_LS2 Hatch_
  • Guests

Posted 07 February 2014 - 05:49 PM

What a pissa!!! A pope with a Harley! That's why they call him the people's pope :)

#145 _judgelj_

_judgelj_
  • Guests

Posted 07 February 2014 - 06:59 PM

I smell a bikie affiliation scandal. 


#146 _judgelj_

_judgelj_
  • Guests

Posted 08 February 2014 - 08:57 PM

I took the master cylinder off the front bars and let it sit on the ground for a while. After re fitting it I noticed I had no brake lever, checked the reservoir and it's full. What could be happening? I was going to bleed it but at $50 for 500ml I might see if I can't work it out.

Cheers

#147 _Bomber Watson_

_Bomber Watson_
  • Guests

Posted 08 February 2014 - 09:26 PM

$50 for 500ml?


#148 _ChaosWeaver_

_ChaosWeaver_
  • Guests

Posted 08 February 2014 - 10:54 PM

Sounds like air in the lines....  if your paying $50 for brake fluid, i got some swamp land you may be interested in.......  If you don't want to bleed it, you can cable tie the brake lever to the handle bar and let the air move up the lines .......  but i suggest you bleed it.....  Good quality brake fluid should be under $15......  goodluck...


#149 _judgelj_

_judgelj_
  • Guests

Posted 08 February 2014 - 10:59 PM

Dot 5, $50 for half a litre, and I shopped around too!

Could it really have gotten air up the top from being layed on the ground? Everything still connected obviously. Would I take the reservoir top off and cable tie the lever in?

But the again if a bleed should do the trick I don't mind, just wanted to be sure it was air.

#150 _ChaosWeaver_

_ChaosWeaver_
  • Guests

Posted 09 February 2014 - 06:34 AM

Yeah you can take the top of the reservoir and cable tie the lever, it just may take a bit of time..     my break lever was OK, but had a little bit of a soft lever pull,  I removed the front wheel to change wheel bearings ...  when I pulled the Calipers off, I pushed the pistons back as far as they would go (to make it easier to fit the wheel back in)  this pushed the little bit of air out that was giving me a soft lever...  now my brakes are awesome, the lever is very firm, and only travels about an 25mm, instead of coming 3/4 of the way to the handle bar..  you could also try this, just BE CAREFUL that the brake fluid does pore out of your reservoir when you do this......   I hope this link works...  BikeBiz  brake fluid prices...   cheers mate       http://motor.bikebiz...t 4 brake fluid


1 user(s) are reading this topic

0 members, 1 guests, 0 anonymous users